안녕하세요.
전국민 헌혈 참여 플랫폼, 피플을 개발하고 있는 개발자 이재규입니다!

피플은 배포를 docker와 aws의 ecs로 배포를 하고 있습니다.
기존 배포 프로세스
github action을 사용하기 전에 배포 프로세스는 아래와 같습니다.
#release로 pr시에
docker build -t people .
docker tag people:latest [aws-ecr-repository-url]/people:latest

#aws cli로그인 안되었을시
aws ecr get-login --no-include-email

#ecr에 docker image 업로드
docker push [aws-ecr-repository-url]/people:latest

#ecs에서 task definition에 서비스 업데이트 ( 새배포적용)
Github Action CI/CD
그럼 이번에는 Github Action CI/CD를 이용해봅시다.
필수조건은 ecr repository와 ecs cluster가 존재해야됩니다.
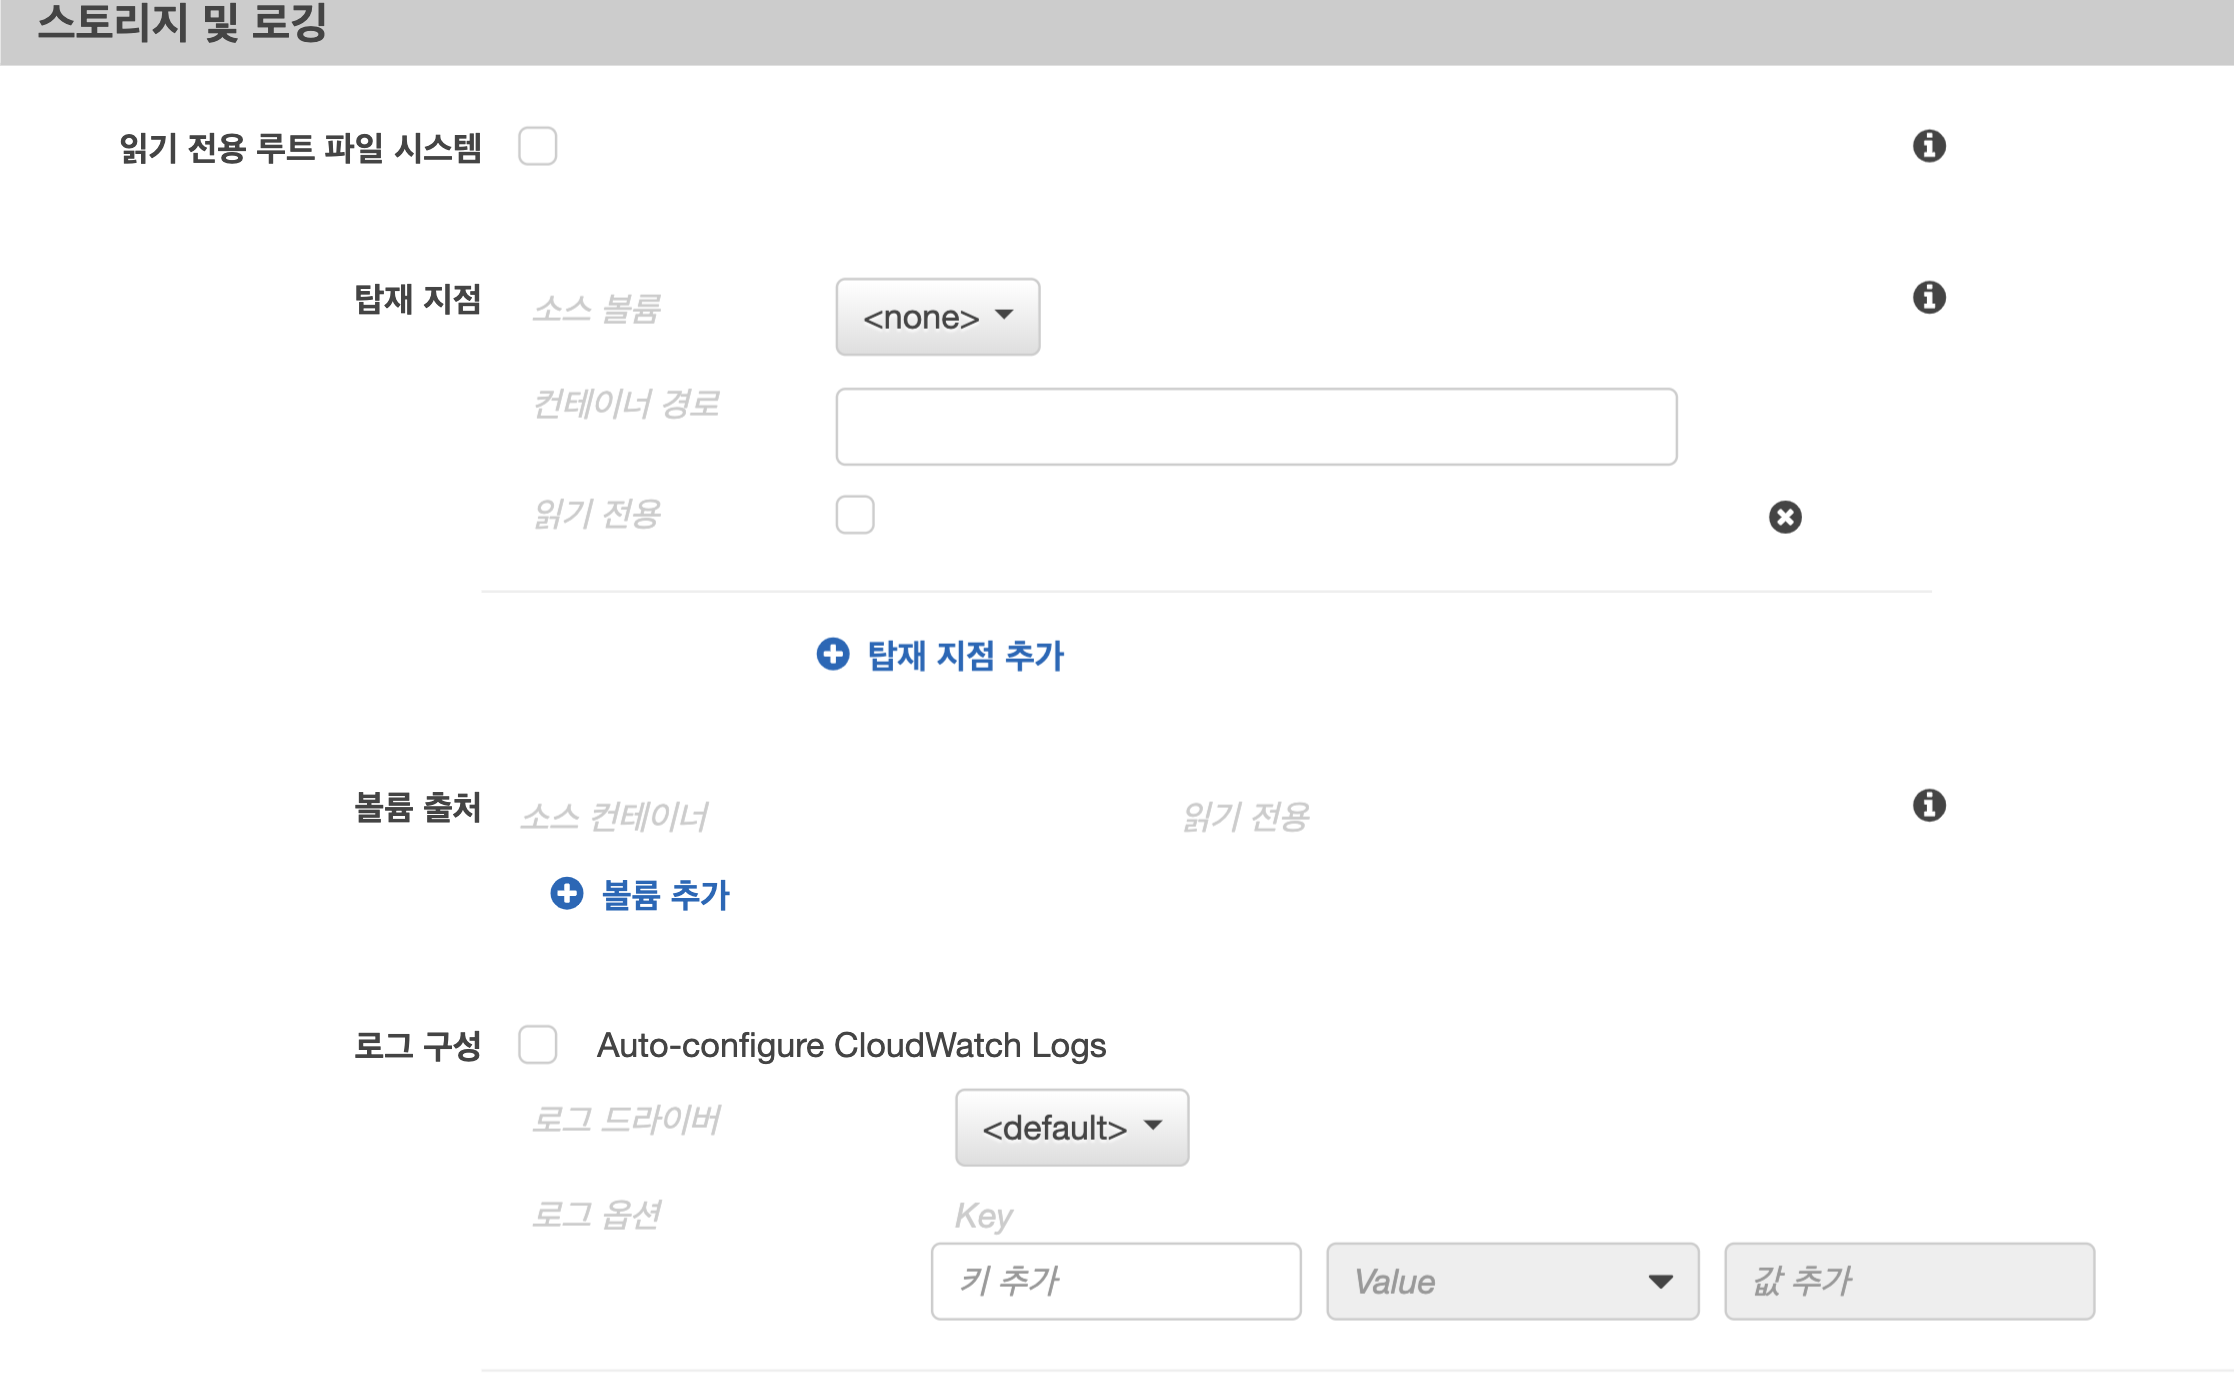
스토리지 및 로깅탭 설정
이미 ecs를 사용하고 있으면 새개정 생성 후 container 생성 창에서 스토리지 및 로깅탭의 auto-configure CloudWatch logs를 클릭합니다.
그 후 서비스 생성이나 서비스 업데이트를 진행해주세요.
생성이 된 후에는
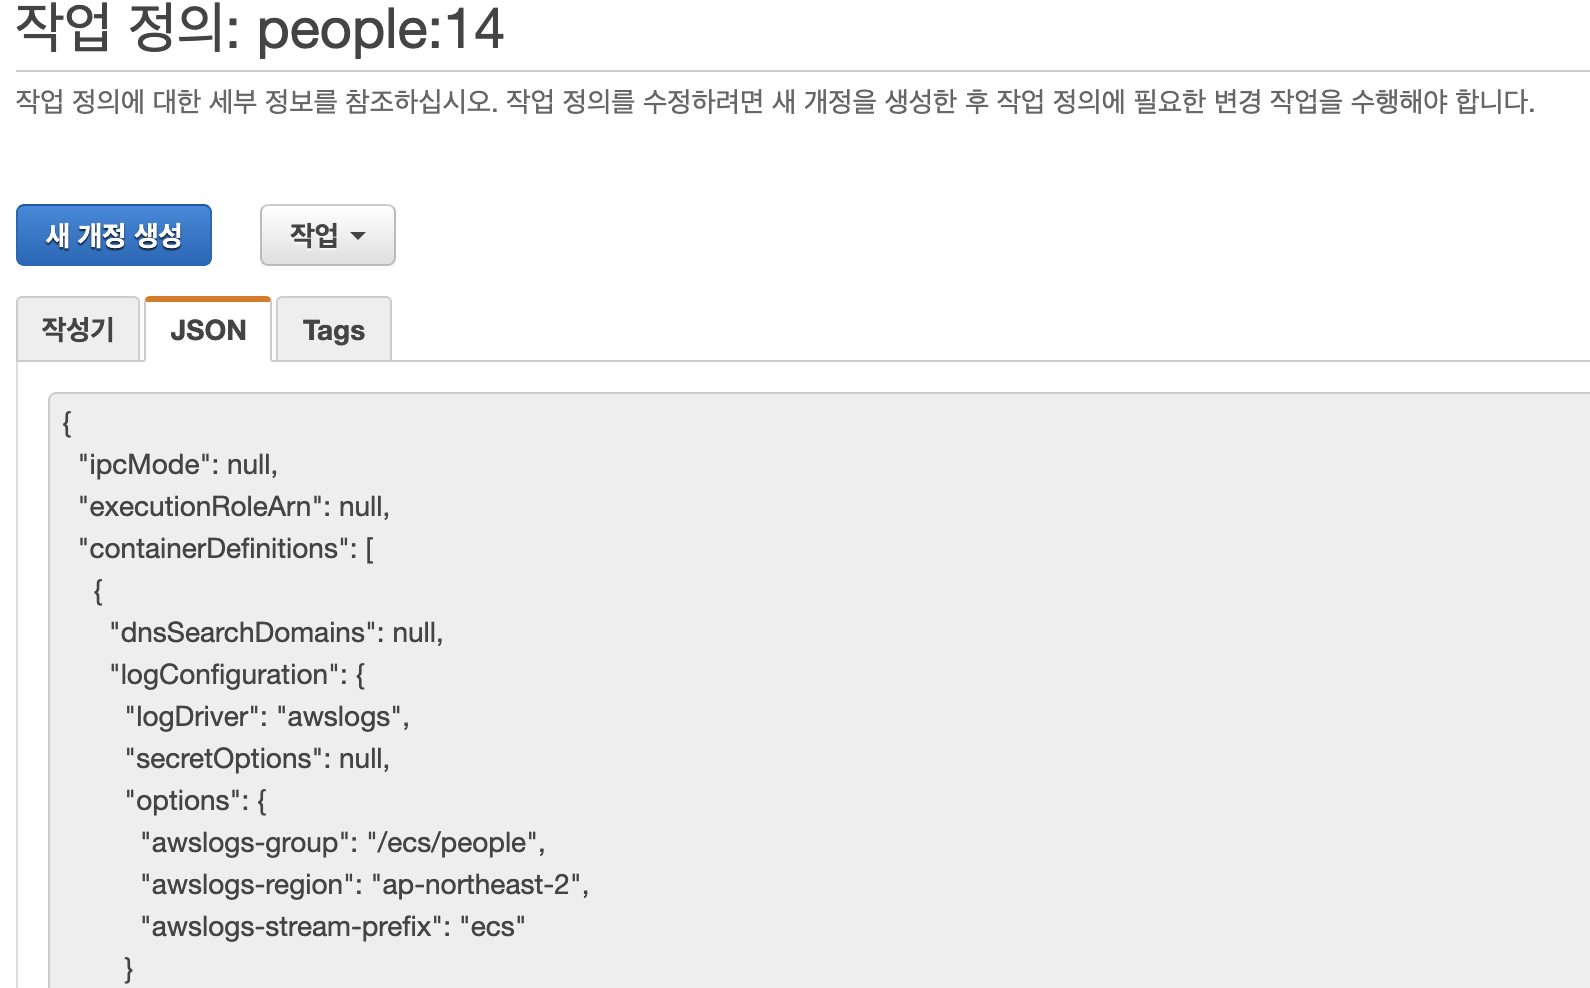
json탭에서 json을 복사 후
aws ecs register-task-definition --generate-cli-skeleton >> task-definition.json명령어를 치신 후 복사한 json과 비교하며 빈값을 채워줍니다.
모르고 json탭에 복사한 걸 넣었다가 저는 아주 고역을 치뤘습니다.
task-definition.json
task-definition 변수 정독하시고 잘 설정하시길 바랍니다..
다 만들면 root directory에 task-defi
피플의 task-definition
{
  "ipcMode": "task",
  "containerDefinitions": [
    {
      "dnsSearchDomains": [],
      "logConfiguration": {
        "logDriver": "awslogs",
        "secretOptions": [],
        "options": {
          "awslogs-group": "/ecs/로그이름",
          "awslogs-region": "리전",
          "awslogs-stream-prefix": "ecs"
        }
      },
      "entryPoint": [],
      "portMappings": [
        {
          "hostPort": 80,
          "protocol": "tcp",
          "containerPort": 3000
        }
      ],
      "command": [],
      "linuxParameters": [],
      "environment": [
        {
          "name": "환경변수",
          "value": "환경변수 값"
        }
      ],
      "resourceRequirements": [
            ],
      "ulimits": [],
      "dnsServers": [],
      "mountPoints": [],
      "secrets": [],
      "dockerSecurityOptions": [],
      "memoryReservation": 512,
      "volumesFrom": [],
      "stopTimeout": 2,
      "image": "ecr 이미지 이름",
      "startTimeout": 2,
      "dependsOn": [],
      "workingDirectory": "도커파일 workdir과 매칭",
      "interactive": true,
      "healthCheck": {
                "command": [
                   "CMD-SHELL", "curl -f http://localhost/ || exit 1"
                ],
                "interval": 300,
                "timeout": 30,
                "retries": 3,
                "startPeriod": 0
            },
      "essential": true,
      "links": [],
      "pseudoTerminal": true,
      "name": "people"
    }
  ],
  "placementConstraints": [],
  "family": "people",
  "pidMode": "task",
  "requiresCompatibilities": [
    "EC2"
  ],
  "networkMode": "bridge",
  "inferenceAccelerators": [],
  "volumes": []
}
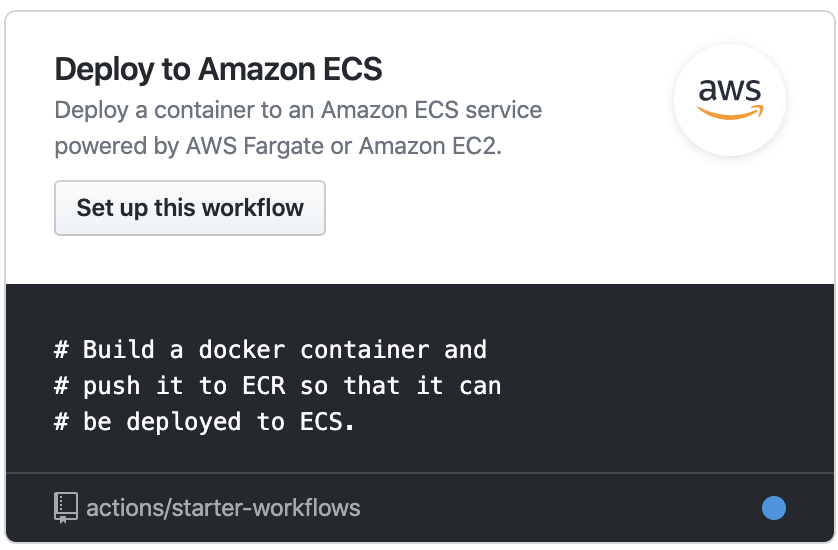
github action aws.yml 설정
그 후 github action을 클릭 후 ecs를 선택합니다.
aws.yml 파일에서 ecr repository name, region, ecs contiainer name 을 수정해주고
repository setting tab에 secret에 secret 변수들을 설정해줍니다.
어디 브랜치에 커밋이 되었거나 pr이 되었을때 CI/CD가 작동할 수 있도록 브랜치 설정도 해줍니다.
aws.yml
on:
push:
branches:
- master
- release*
pull_request:
branches:
- master
- release
name: Deploy to Amazon ECS
jobs:
deploy:
name: Deploy
runs-on: ubuntu-latest
steps:
- name: Checkout
uses: actions/checkout@v1
- name: Configure AWS credentials
uses: aws-actions/configure-aws-credentials@v1
with:
aws-access-key-id: ${{ secrets.AWS_ACCESS_KEY_ID }}
aws-secret-access-key: ${{ secrets.AWS_SECRET_ACCESS_KEY }}
aws-region: ap-northeast-2
- name: Login to Amazon ECR
id: login-ecr
uses: aws-actions/amazon-ecr-login@v1
- name: Build, tag, and push image to Amazon ECR
id: build-image
env:
ECR_REGISTRY: ${{ steps.login-ecr.outputs.registry }}
ECR_REPOSITORY: ECR리포지토리 이름
IMAGE_TAG: ${{ github.sha }}
run: |
# Build a docker container and
# push it to ECR so that it can
# be deployed to ECS.
docker build -t $ECR_REGISTRY/$ECR_REPOSITORY:$IMAGE_TAG .
docker push $ECR_REGISTRY/$ECR_REPOSITORY:$IMAGE_TAG
echo "::set-output name=image::$ECR_REGISTRY/$ECR_REPOSITORY:$IMAGE_TAG"
- name: Fill in the new image ID in the Amazon ECS task definition
id: task-def
uses: aws-actions/amazon-ecs-render-task-definition@v1
with:
task-definition: task-definition.json
container-name: 컨테이너이름
image: ${{ steps.build-image.outputs.image }}
- name: Deploy Amazon ECS task definition
uses: aws-actions/amazon-ecs-deploy-task-definition@v1
with:
task-definition: ${{ steps.task-def.outputs.task-definition }}
service: 서비스이름
cluster: 클러스터이름
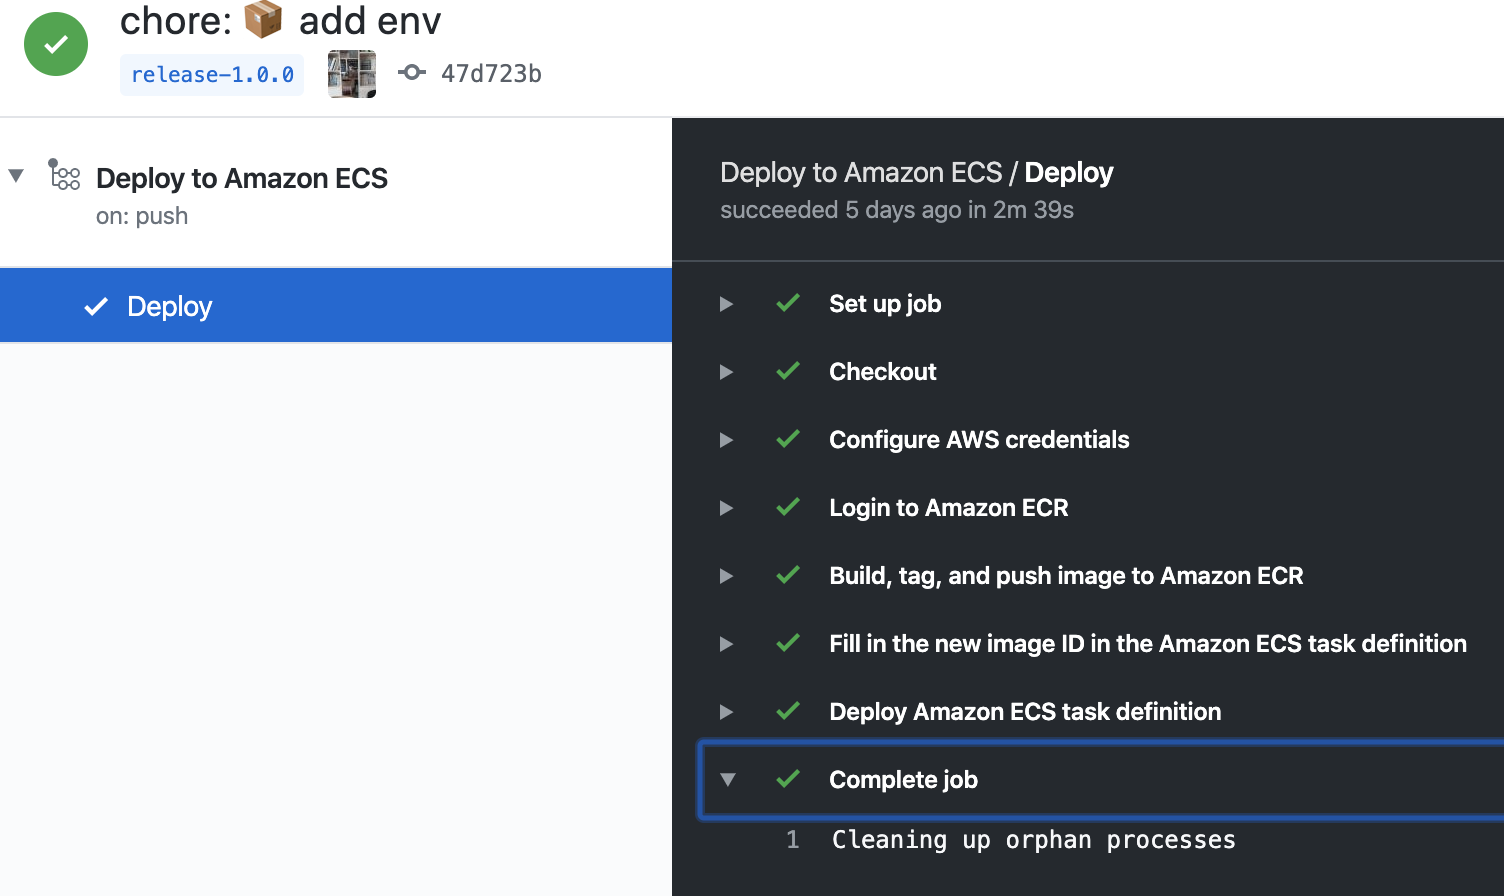
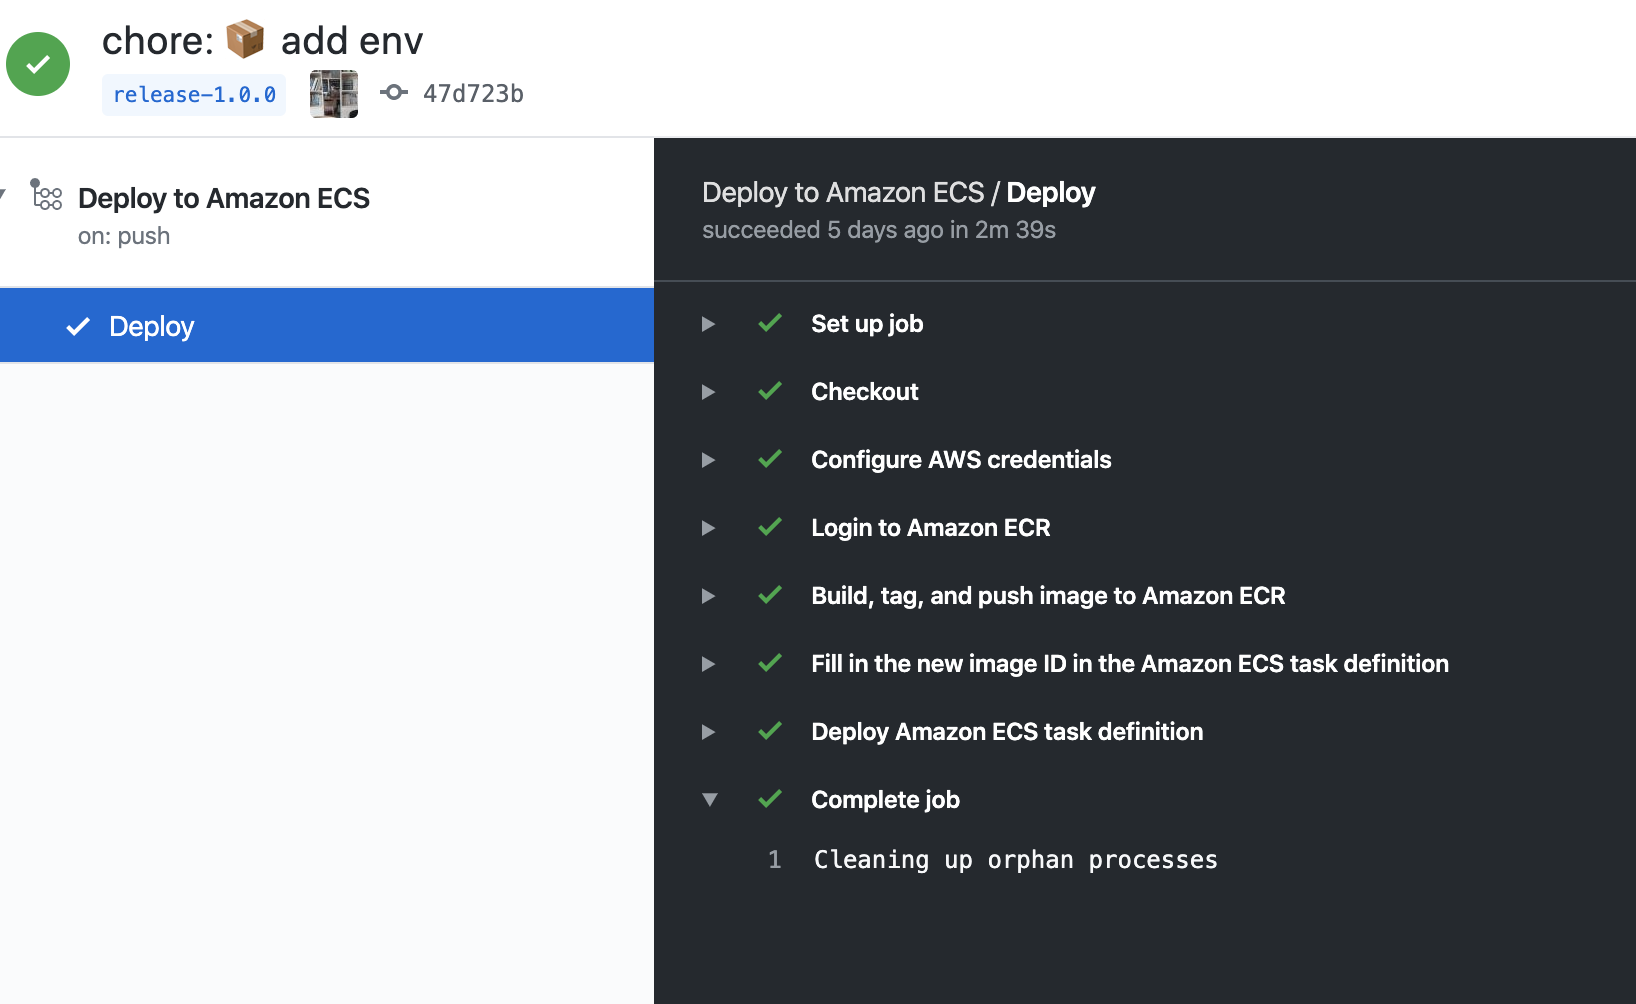
wait-for-service-stability: true다 완성하였습니다 commit push를 하게되면 CI/CD를 통해 Deploy가 될 것입니다.
deploy 완료
주의할점
ecs에서는 docker에 env 파일이 안먹어서 aws system manager를 이용하거나 container 에 NODE_ENV뿐만 아니라 다른 parameter도 추가 해야됩니다. 다음 포스팅은 aws system manager를 이용한 parameter 보관법을 올리겠습니다! 혹시 다른 방법이 있으면 댓글로 알려주세요~


다음글 기대중입니다 ㅋㅋ