
들어가며
이 글은 Spring Boot를 공부하며 정리한 글입니다.
RESTful API
클라이언트와 서버는 서로 API를 이용해서 통신을 하고 있습니다. 그 중에서도 REST API를 가장 많이 사용하죠. 이번에는 Spring boot를 통해 REST API를 만들어보겠습니다.
흔히, REST API에서 사용되는 건 HTTP 메소드입니다. 그 중에서 POST, GET, PUT, DELETE가 가장 대표적인데요. POST는 생성, GET은 읽기, PUT은 업데이트, DELETE는 삭제입니다. CRUD라고 많이하죠.
@RestController 생성
@RestController 어노테이션은 Spring boot에서 @Controller와 @ResponsibleBody이 합쳐진 표현입니다. @RestController를 클래스에 붙여줌으로써 해당 클래스를 이용해서 REST API를 생성할 수 있습니다.
Spring Initailizr를 이용해서 프로젝트를 만들어줍시다. 이전 글을 읽어주면 손쉽게 프로젝트를 생성할 수 있을것입니다.
Spring Initailizr를 이용해서 프로젝트 생성하기
제가 만들 REST API는 간단하게 사람들의 정보를 불어오게끔 만들예정입니다. 그래서 Human class를 생성하여 기본적인 도메인을 생성할게요.
class Human(private var name: String, private var age : Int,) {
    private var id : String = ""

    init {
        this.id = UUID.randomUUID().toString()
    }

    fun getID() = id

    fun getName() = name

    fun getAge() = age

    fun setName(name : String) {
        this.name = name
    }
}
Human class는 name과 age를 외부에서 전달받아서 고유값인 id는 생성시에 자동으로 부여하게 하겠습니다. UUID.randomUUID()은 무작위의 UUID를 생성해줍니다. 이 값을 전달하겠습니다.
이제 도메인을 이용해서 틀을 만들었으니, @RestController를 생성하여서 기초작업을 마무리하겠습니다.
@SpringBootApplication
class FirstspringserverApplication

fun main(args: Array<String>) {
	runApplication<FirstspringserverApplication>(*args)
}

@RestController
class HumanController() {
    private var people : MutableList<Human> = mutableListOf()

    init {
        this.people.addAll(listOf(
                Human(name= "짱구", age= 5),
                Human(name= "철수", age= 5),
                Human(name= "맹구", age= 5),
                Human(name= "유리", age= 5),

        ))
    }
HumanController는 생성됨과 동시에 짱구, 철수, 맹구, 유리를 생성하여 people이라는 배열안에 삽입하도록 하였습니다. 훈발놈은 없어요.
Get
이제 Get 메소드를 생성해보겠습니다. 이 메소드를 이용해서 사람들의 정보를 불러오겠죠.
@RestController
@RequestMapping("/")
class HumanController() {
    private var people : MutableList<Human> = mutableListOf()

    init {
        this.people.addAll(listOf(
                Human(name= "짱구", age= 5),
                Human(name= "철수", age= 5),
                Human(name= "맹구", age= 5),
                Human(name= "유리", age= 5),

        ))
    }
	// 사람들정보 불러오기
    @GetMapping("/people")
    fun getCoffees() : Iterable<Human> = people;
}
우리가 생성한 HumanController는 @RequsetMapping 어노테이션을 통해서 /로 지정합니다. 이렇게 하면 /에서는 그저 사람정보를 생성해서 배열에 삽입만할것입니다. 화면에는 무엇도 나타나지 않아요.
하지만, @GetMapping을 이용해서 생성한 Get메소드는 /people경로에서 사람들의 정보를 불러올것입니다. 확인하겠습니다.
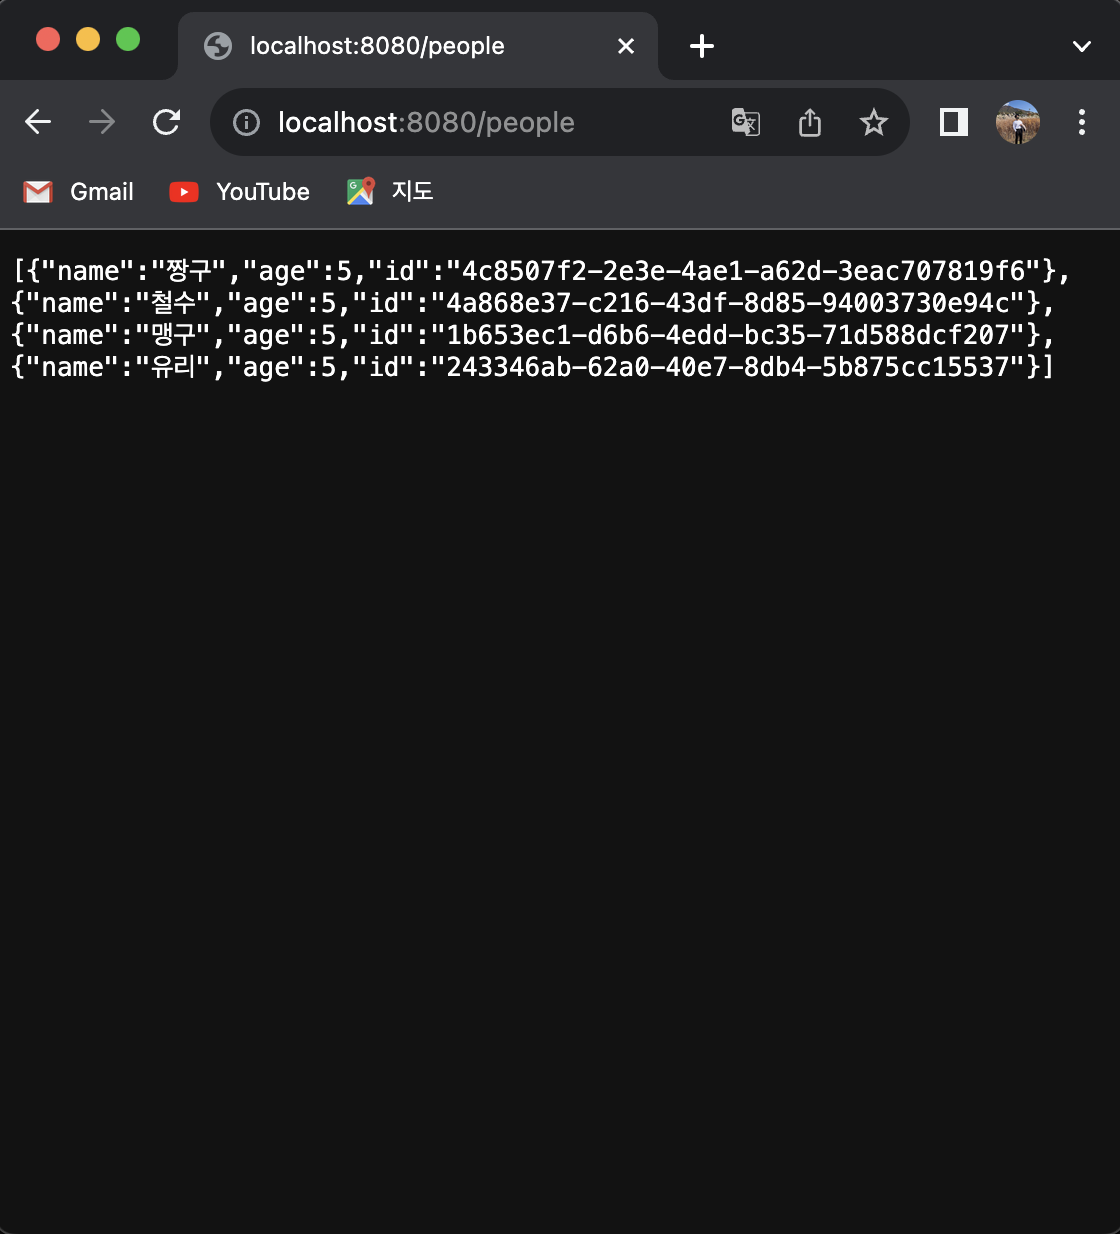
성공적으로 Get메소드를 생성하고 수행결과를 표시하였습니다.
POST
POST 메소드는 값을 생성하는 메소드입니다. 새로운 짱구의 친구를 생성하여 삽입시켜주는 메소드를 제작하겠습니다. POST 메소드는 자동 마샬링 덕분에 간단하게 생성할 수 있습니다.
    @PostMapping("/people")
    fun postPeople(@RequestBody human : Human) : Human {
        people.add(human)
        return human
    }
PUT
PUT은 갱신하기 위해 사용하는 메소드입니다. 경로를 통해서 값을 전달받아서 리소스가 있다면 갱신하고, 없다면 생성하는 것이 PUT 메소드입니다.
    @PutMapping("/people/{id}")
    fun putPeople(@PathVariable id : String, @RequestBody human : Human) : ResponseEntity<Human> {
        var humanIndex : Int = -1

        for (human : Human in people) {
            if (human.getID() == id) {
                humanIndex = people.indexOf(human)
                people[humanIndex] = human
            }
        }

        return if (humanIndex == -1) ResponseEntity(postPeople(human), HttpStatus.CREATED)
        else ResponseEntity(human, HttpStatus.OK)
    }
경로를 통해 전달받은 값은 @PathVariable 어노테이션을 붙여줘야합니다. PUT 메소드는 @PutMapping을 통해 경로를 설정할 수 있어요.
DELETE
마지막으로 DELETE 메소드입니다. PUT 메소드처럼 url경로를 이용해서 값을 전달받아서 삭제해주면 됩니다.
    @DeleteMapping("/people/{id}")
    fun deletePeople(@PathVariable id : String) {
        people.removeIf {human : Human -> human.getID() == id }
    }
마찬가지로 @DeleteMapping을 통해서 경로를 지정합니다.
마무리하며
위 과정을 통해서 간단하게 GET, POST, PUT, DELETE 메소드를 생성해봤습니다. 근데, 경로가 중복되는 부분이 많죠? @RequestMapping을 통해서 중복된 경로를 제거할 수 있습니다.
@RestController
@RequestMapping("/people")
class HumanController() {
    private var people : MutableList<Human> = mutableListOf()

    init {
        this.people.addAll(listOf(
                Human(name= "짱구", age= 5),
                Human(name= "철수", age= 5),
                Human(name= "맹구", age= 5),
                Human(name= "유리", age= 5),

        ))
    }

    @GetMapping
    fun getPeople() : Iterable<Human> = people;

    @PostMapping
    fun postPeople(@RequestBody human : Human) : Human {
        people.add(human)
        return human
    }

    @PutMapping("/{id}")
    fun putPeople(@PathVariable id : String, @RequestBody human : Human) : ResponseEntity<Human> {
        var humanIndex : Int = -1

        for (human : Human in people) {
            if (human.getID() == id) {
                humanIndex = people.indexOf(human)
                people[humanIndex] = human
            }
        }

        return if (humanIndex == -1) ResponseEntity(postPeople(human), HttpStatus.CREATED)
        else ResponseEntity(human, HttpStatus.OK)
    }

    @DeleteMapping("/{id}")
    fun deletePeople(@PathVariable id : String) {
        people.removeIf {human : Human -> human.getID() == id }
    }
}