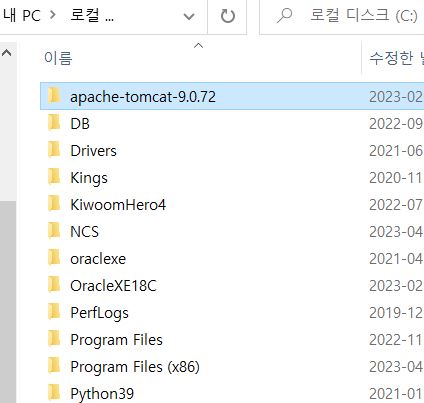
톰캣 서버 폴더에 들어간다
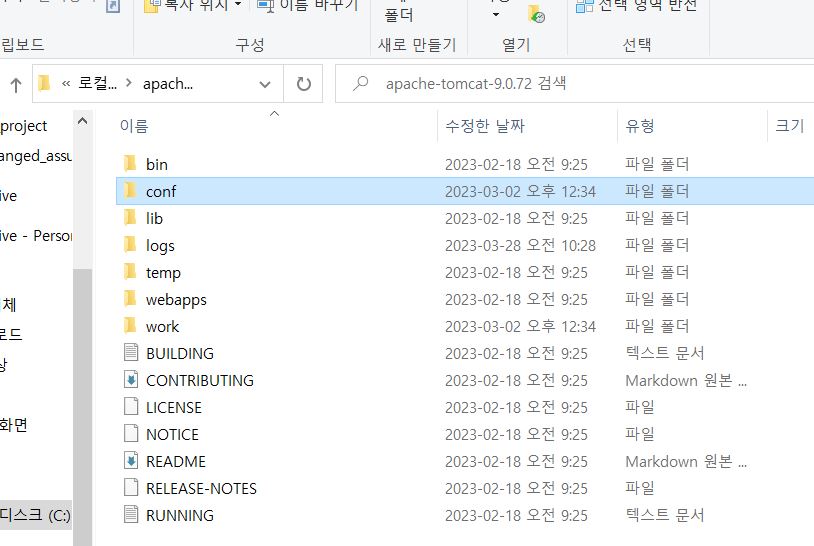
conf 폴더에 들어간다.
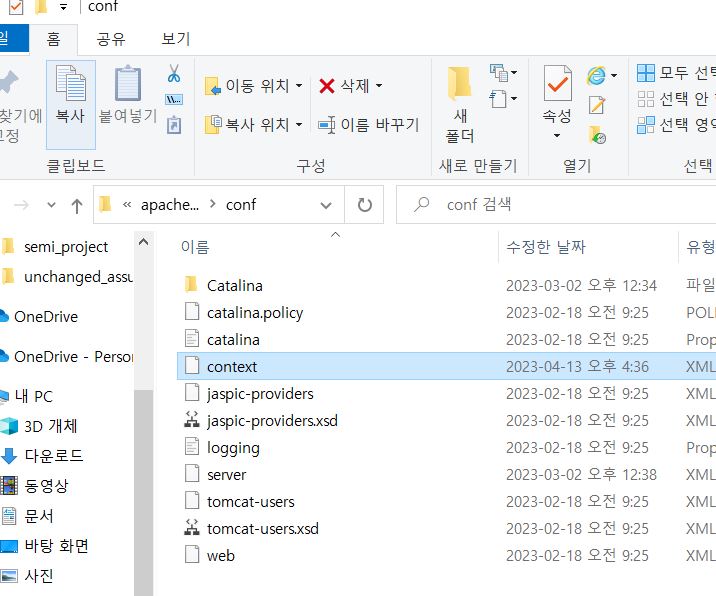
context.xml 파일을 메모장으로 연다
제일 하단에다가 아래와 같이 작성해준다.
<Resource name="디비 명(이건 본인이 공통적으로 써주면 됨 ex jdbc/text_oracle)" auth="Container"
type="javax.sql.DataSource" driverClassName="oracle.jdbc.OracleDriver"
url="jdbc:oracle:thin:@127.0.0.1:1521:xe"
username="DB 로그인 아이디" password="DB 비밀번호" maxTotal="20" maxIdle="10"
maxWaitMillis="-1"/>
프로젝트의 web.xml도 연다
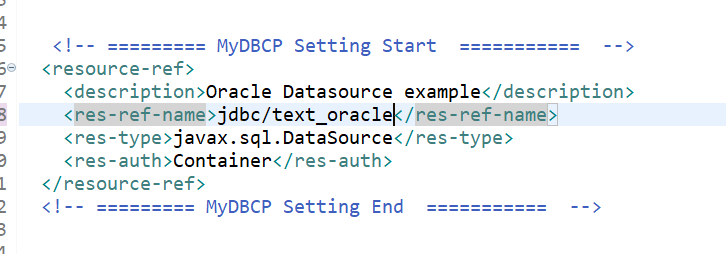
  <resource-ref>
 	<description>Oracle Datasource example</description>
 	<res-ref-name>jdbc/text_oracle</res-ref-name>
 	<res-type>javax.sql.DataSource</res-type>
 	<res-auth>Container</res-auth>
  </resource-ref>
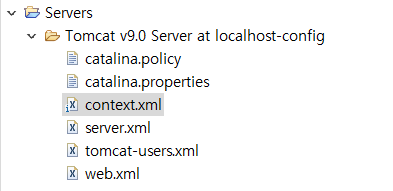
서버에 context.xml에 들어간다.
 	<!-- ======= MyDBCP Setting Start ======= -->
	<Resource auth="Container" driverClassName="oracle.jdbc.OracleDriver" maxIdle="10" maxTotal="20" maxWaitMillis="-1" name="디비 명(이건 본인이 공통적으로 써주면 됨 ex jdbc/text_oracle)" password="디비 비번" type="javax.sql.DataSource" url="jdbc:oracle:thin:@127.0.0.1:1521:xe" username="디비 로그인 아이디"/>
    <!-- ======= MyDBCP Setting End ======= -->
이렇게 작성하면 톰캣 서버를 껏다 켜지 않아도 된다.
이제 오라클 연동은 끝났다 DAO에서 디비를 가져오는 방법은 다음과 같다.
아래에 생성자를 만들어주자.
이를 통해 conn = ds.getConnection(); 을 가져올 수 있다.
	public MemberDAO() {
		try {
			Context initContext = new InitialContext();
			Context envContext  = (Context)initContext.lookup("java:/comp/env");
			ds = (DataSource)envContext.lookup("디비 명(이건 본인이 공통적으로 써주면 됨 ex jdbc/text_oracle)");

		}
		catch(NamingException e) {
			e.printStackTrace();
		}
	}

정확한 정보를 전달할려고 노력합니다.