
Today I Learned
매일 배운 것을 정리하며 기록합니다. 노마드 코더의 강의를 통해 typescript 공부를 했습니다.
Creating a Block part Three
본격적으로 블록체인을 만들어 보겠습니다.
import * as CryptoJS from "crypto-js";
import { timeStamp } from "node:console";

class Block {
  public index: number;
  public hash: string;
  public previousHash: string;
  public data: string;
  public timestamp: number;

  static calculateBlockHash = (
    index: number,
    previousHash: string,
    timestamp: number,
    data: string
  ): string =>
    CryptoJS.SHA256(index + previousHash + data + timestamp).toString();

  constructor(
    index: number,
    hash: string,
    previousHash: string,
    data: string,
    timestamp: number
  ) {
    (this.index = index),
      (this.hash = hash),
      (this.previousHash = previousHash),
      (this.data = data),
      (this.timestamp = timestamp);
  }
}

const genesisBlock: Block = new Block(0, "20202020", "", "hello", 123456);

let blockchain: Block[] = [genesisBlock];

const getBlockchain = (): Block[] => blockchain;

const getLatestBlock = (): Block => blockchain[blockchain.length - 1];

const getNweTimestamp = (): number => Math.round(new Date().getTime() / 1000);

const createNewBlock = (data: string): Block => {
  const previousBlock: Block = getLatestBlock();
  const newIndex: number = previousBlock.index + 1;
  const newTimestamp: number = getNweTimestamp();
  const newHash: string = Block.calculateBlockHash(
    newIndex,
    previousBlock.hash,
    newTimestamp,
    data
  );
  const newBlock: Block = new Block(
    newIndex,
    newHash,
    previousBlock.hash,
    data,
    newTimestamp
  );
  return newBlock;
};

console.log(createNewBlock("hello"), createNewBlock("bye"));
// 이 파일이 모듈이 된다는 것을 이해할 수 있도록 만들어 주는 코드
// 1번 줄에서 "블록 범위 변수 'name'을(를) 다시 선언할 수 없습니다.ts(2451)" 에러가 나는 걸 방지해 줌, 약간 버그같은 느낌
export {};
yarn start
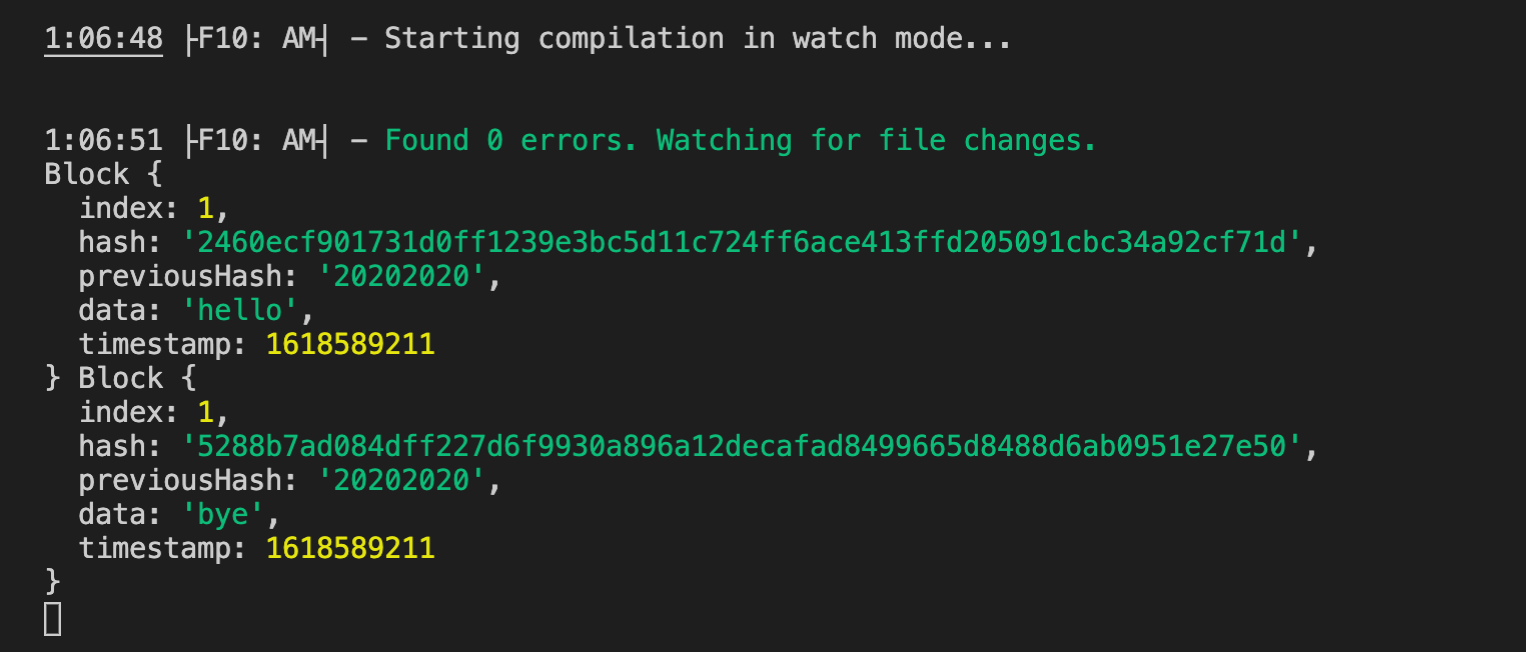
위는 createNewBlock 함수를 통해 만든 블럭입니다.
블럭을 만들어 봤으니 다음으로는 블럭이 유효한지 검사하는 로직이 필요합니다.
이는 클래스의 static 속성과 클래수 외부에 함수를 만들겠습니다.
그리고 유효성 검사를 통과하면 블록체인에 넣겠습니다.
Validating Block Structure
import * as CryptoJS from "crypto-js";
import { timeStamp } from "node:console";

class Block {
  public index: number;
  public hash: string;
  public previousHash: string;
  public timestamp: number;
  public data: string;

  static calculateBlockHash = (
    index: number,
    previousHash: string,
    timestamp: number,
    data: string
  ): string =>
    CryptoJS.SHA256(index + previousHash + data + timestamp).toString();

  static vaildateStructure = (aBlock: Block): boolean =>
    typeof aBlock.index === "number" &&
    typeof aBlock.hash === "string" &&
    typeof aBlock.previousHash === "string" &&
    typeof aBlock.timestamp === "number" &&
    typeof aBlock.data === "string";

  constructor(
    index: number,
    hash: string,
    previousHash: string,
    data: string,
    timestamp: number
  ) {
    (this.index = index),
      (this.hash = hash),
      (this.previousHash = previousHash),
      (this.data = data),
      (this.timestamp = timestamp);
  }
}

const genesisBlock: Block = new Block(0, "20202020", "", "hello", 123456);

let blockchain: Block[] = [genesisBlock];

const getBlockchain = (): Block[] => blockchain;

const getLatestBlock = (): Block => blockchain[blockchain.length - 1];

const getNweTimestamp = (): number => Math.round(new Date().getTime() / 1000);

const createNewBlock = (data: string): Block => {
  const previousBlock: Block = getLatestBlock();
  const newIndex: number = previousBlock.index + 1;
  const newTimestamp: number = getNweTimestamp();
  const newHash: string = Block.calculateBlockHash(
    newIndex,
    previousBlock.hash,
    newTimestamp,
    data
  );
  const newBlock: Block = new Block(
    newIndex,
    newHash,
    previousBlock.hash,
    data,
    newTimestamp
  );
  addBlock(newBlock);
  return newBlock;
};

const getHashForBlock = (aBlock: Block): string =>
  Block.calculateBlockHash(
    aBlock.index,
    aBlock.previousHash,
    aBlock.timestamp,
    aBlock.data
  );

const isBlockValid = (candidateBlock: Block, previousBlock: Block): boolean => {
  if (!Block.vaildateStructure(candidateBlock)) {
    return false;
  } else if (previousBlock.index + 1 !== candidateBlock.index) {
    return false;
  } else if (getHashForBlock(candidateBlock) !== candidateBlock.hash) {
    return false;
  } else {
    return true;
  }
};

const addBlock = (candidateBlcok: Block): void => {
  if (isBlockValid(candidateBlcok, getLatestBlock())) {
    blockchain.push(candidateBlcok);
  }
};

createNewBlock("second block");
createNewBlock("third block");
createNewBlock("fourth block");
console.log(blockchain);

// 이 파일이 모듈이 된다는 것을 이해할 수 있도록 만들어 주는 코드
// 1번 줄에서 "블록 범위 변수 'name'을(를) 다시 선언할 수 없습니다.ts(2451)" 에러가 나는 걸 방지해 줌, 약간 버그같은 느낌
export {};
Conclusions
yarn start

이제 유효성 검사 후 블록을 연결시켰기 때문에 blockchain을 콘솔로 찍어보면 위의 로그처럼 나옵니다.
해시를 보시면 현재 해시는 다음 블록의 이전 해시에 입력되어 있는 것을 보실 수 있습니다.
간단하게 블록체인을 만들며 타입스크립트를 익혀 보았습니다.
타입스크립트를 공부하면서 너무 재밌고 아름답다고 느꼈습니다.
이는 공부한 내용을 복습하고 회고를 통해 좀 더 자세히 다뤄보겠습니다.
Reference : 노마드 코더, 『Typescript로 블록체인 만들기』, #0.10~#0.13

이 코드 지속가능합니까, 휴먼?