서론
요즘 취업을 준비하며 본격적으로 코딩테스트를 대비하고 있다. 주 언어로 JavaScript 를 사용중이나 백준같은 경우 javascript 입출력이 너무 불편하게 되어 있어서 백준과 leetcode 로 코테를 연습중에 있기도 하고 알고리즘 테스트로 Python 에 제공되는 편리한 라이브러리들이 많기에 연습을 python 으로 하고 있다.
그러면서 채용 공고가 계속 올라오고 있으니 지원을 해보고 있는데 나를 표현할 수 있는 포트폴리오를 제출하라는 경우들이 종종 있어서 한번쯤은 만들어둘 필요를 느끼고 있었기에 전에 디자인했던 나만의 포트폴리오를 기반으로 프로젝트를 준비했다.
프로젝트는 개인프로젝트로 진행하는 만큼 내가 평소에 해보고 싶었던 기술들을 활용해보고자 했다.
먼저, react 는 CRA 로 편리하게 프로젝트를 만들어 Babel 이나 Webpack 같은 설정들을 따로 하지 않더라도 미리 설정이 되어있어 type: module 을 설정하지 않더라도 require 이 아닌 import 를 사용할 수 있고, import 시, 타입을 지정하지 않고 import App from './App' 처럼 import App from './App.jsx' 같이 뒤에 타입을 명시하지 않아도 된다.
또한 webpack 처리가 되어 있어 SPA 라 모든 페이지가 index.html 에 root 로 반영이 되는데 이때 node.js 에서처럼 각 페이지에서 쓰이는 script 를 모두 가져올 필요가 없이 미리 번들링하여 가져온다.
이 모든 처리가 CRA 에서 자체적으로 처리가 되지만 webpack 같은 경우 Javascript 로 만들어지기도 해서 상대적으로 속도가 느리다.
최근 트렌드로 vite 가 떠오르고 있는 것도 모듈 번들링시 Go 로 만들어진 Esbuild 를 사용하기에 번들링 속도에 있어서 Webpack 보다 10~100 배정도 빠른 성능을 보여주기도 한다.
또한 최근 등장한 단위 테스트 툴로 vitest 가 있는데 vite 기반 프로젝트에서 잘 돌아가기도 하고 ( 굳이 아니어도 express, node.js 에서도 npm 으로 설치하면 돌아가긴 했다. ) 기존 jest 와 문법이 거의 동일하기에 vite 기반 react 프로젝트로 포트폴리오를 만들고자 했다.
설치 및 기본 설정
vite 기반 react 프로젝트를 생성시, redux 도 사용하는 것을 고려하고 있었기에 redux 의 설치 템플릿을 사용했다.
# Vite with our Redux+TS template
# (using the `degit` tool to clone and extract the template)
npx degit reduxjs/redux-templates/packages/vite-template-redux my-app
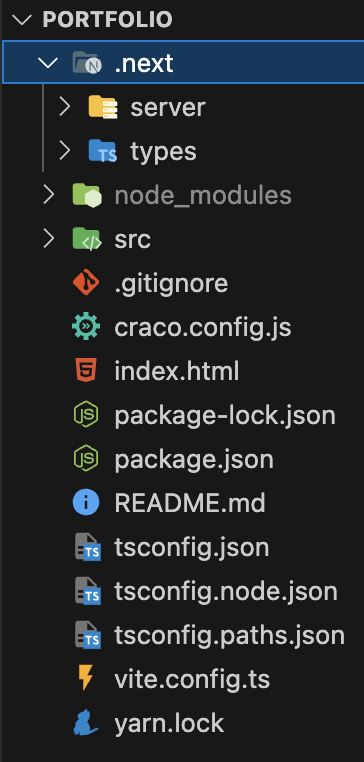
위의 명령어로 프로젝트를 생성해줬는데 다음 첨부한 이미지처럼 next 폴더도 같이 생성되는 것을 볼 수 있었다. 아마 저 템플릿으로 만들면 next.js 도 같이 사용할 수 있도록 하는 것 같았다. 만약 해당 템플릿으로 프로젝트를 만들어 backend 를 붙인다면 next.js 를 잘 활용할 수 있을 것 같았다.
그 외에 npm 으로 설치한 목록이다. 전역 상태관리가 개인적으로는 redux 보다 recoil 이 사용하기 편해서 이번 포트폴리오에서는 recoil 을 주로 사용했는데 justand 나 jotai 의 경우 진입장벽이 낮기도 하고 사용방법도 쉬워서 다음 프로젝트에선 해당 전역상태관리 툴을 사용해볼 생각이다.
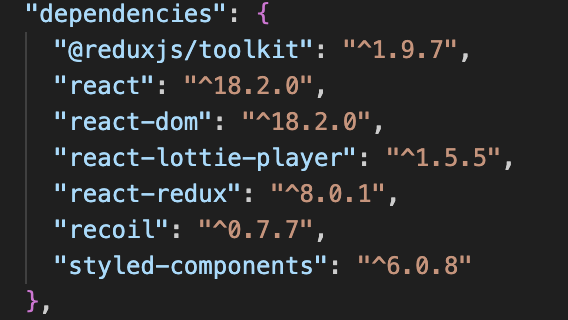
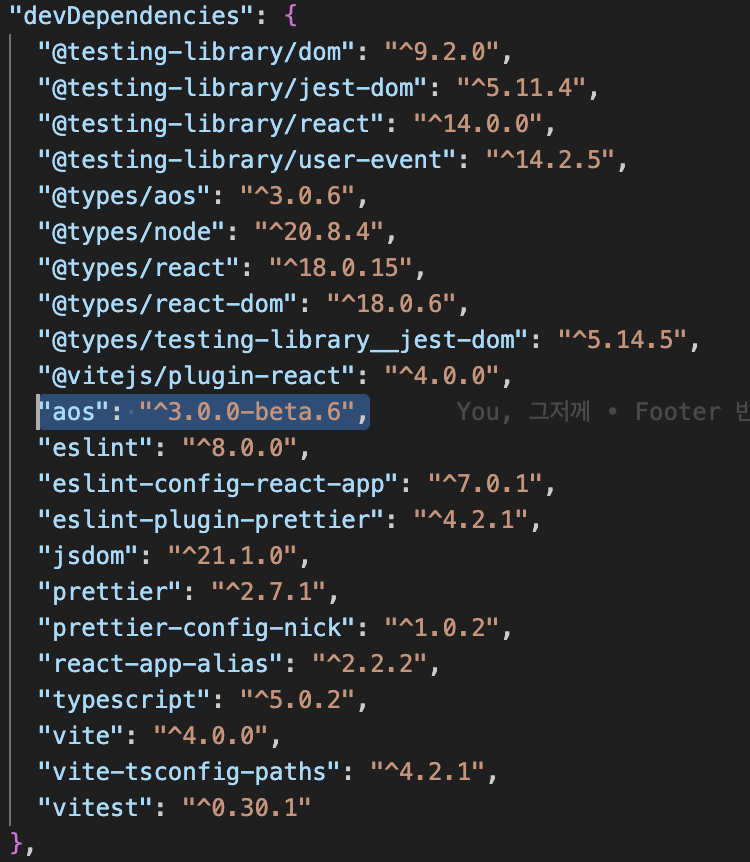
그 외엔 -D 를 붙여서 개발용으로 aos 와 @types/aos 를 설치해주었다. 나머지는 템플릿을 통해 자동으로 설치된 내용이다.
스크롤 인터렉션 기능을 간단하게 쓰기 위해 aos 를 사용했다.
절대경로 설정
react 를 사용하면 상단에 import 시 상대경로를 사용하면 ../../../../ ........ 같이 타고타고 들어가는 부분이 정말 정말 길어진다.
만약 CRA 로 프로젝트를 만들었다면 @craco 를 사용해서 절대경로 설정을 해주면 되는데 이번 프로젝트는 vite-react 에 Typescript 를 사용하고 있어서 따로 설치하지 않고 tsconfig.json 과 vite.config.ts 설정을 수정해줬다.
tsconfig.json
{
  "extends": "./tsconfig.paths.json",
  "compilerOptions": {
    "target": "ESNext",
    "useDefineForClassFields": true,
    "lib": ["DOM", "DOM.Iterable", "ESNext"],
    "allowJs": true,
    "skipLibCheck": true,
    "esModuleInterop": false,
    "allowSyntheticDefaultImports": true,
    "strict": true,
    "module": "ESNext",
    "moduleResolution": "bundler",
    "resolveJsonModule": true,
    "isolatedModules": true,
    "noEmit": true,
    "jsx": "react-jsx",
    "types": ["testing-library__jest-dom", "aos"],
    "baseUrl": ".",
    "paths": {
      "@atoms/*": ["src/components/atoms/*"],
      "@molecules/*": ["src/components/molecules/*"],
      "@organisms/*": ["src/components/organisms/*"],
      "@pages/*": ["src/components/pages/*"],
      "@data": ["src/static/data/data.json"],
      "@color": ["src/static/colors/color.json"],
      "@font": ["src/static/fonts/font.json"],
      "@style": ["src/static/styles/style.json"],
      "@icon": ["src/static/images/icon/*"],
      "@image": ["src/static/images/image/*"],
    },
    "typeRoots": ["node_modules/@types"]
  },
  "include": ["src"],
  "references": [{ "path": "./tsconfig.node.json" }]
}
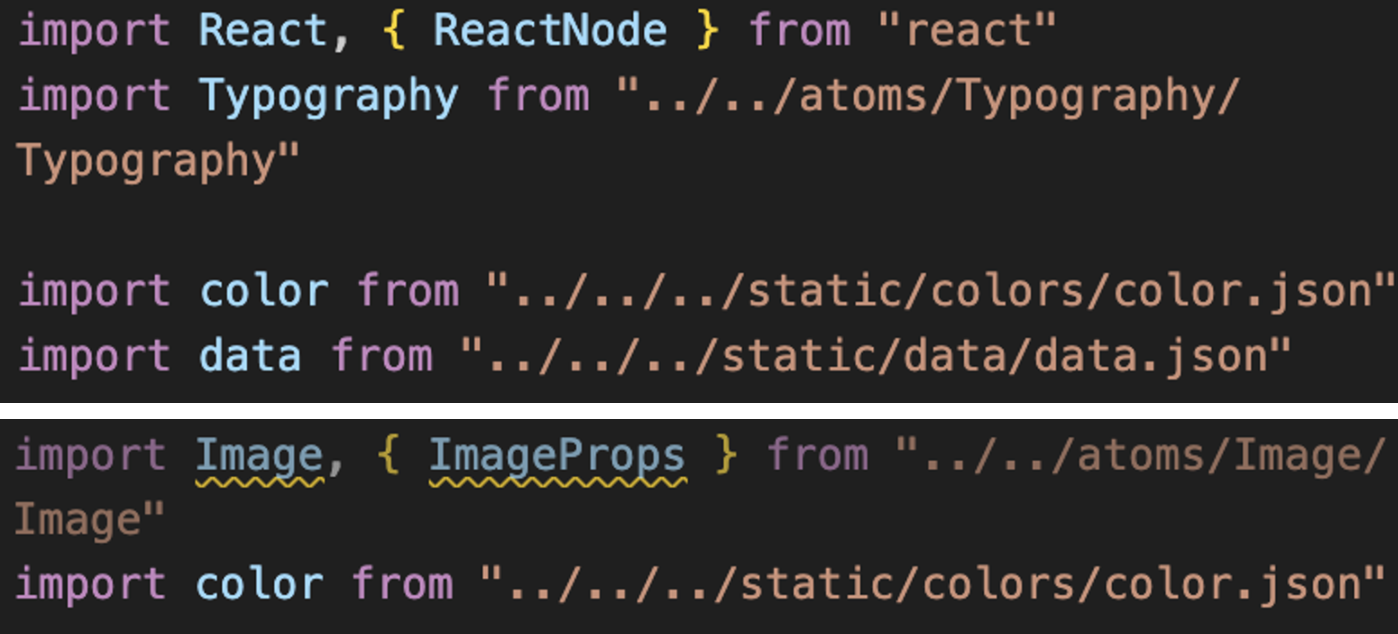
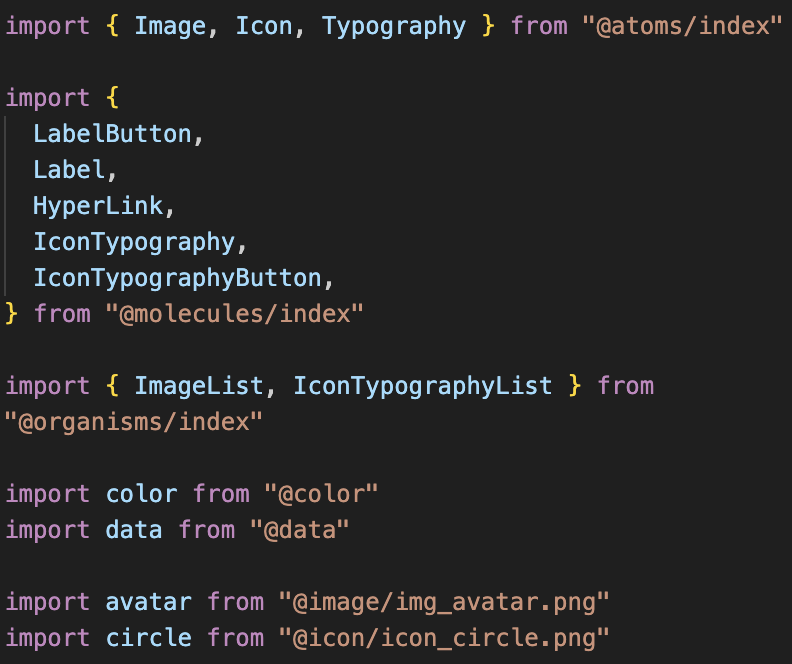
나는 이 프로젝트에서 아토믹 디자인 패턴을 사용하여 컴포넌트들을 생성해줬다. 그래서 atoms, molecules, oraganisms, pages 구조로 컴포넌트들을 만들어줬고 각각의 컴포넌트에서 참고할 static 데이터로 텍스트 json 을 관리하는 data, 색상 hex 값을 관리하는 color, 폰트체에 관한 font, 스타일을 관리하는 style 과 이미지, 아이콘을 관리하는 icon, image 에 대한 절대경로 설정을 해줬다.
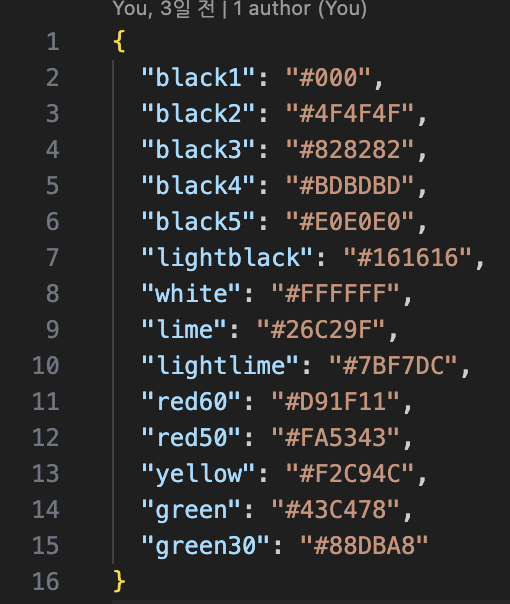
color.json
data.json
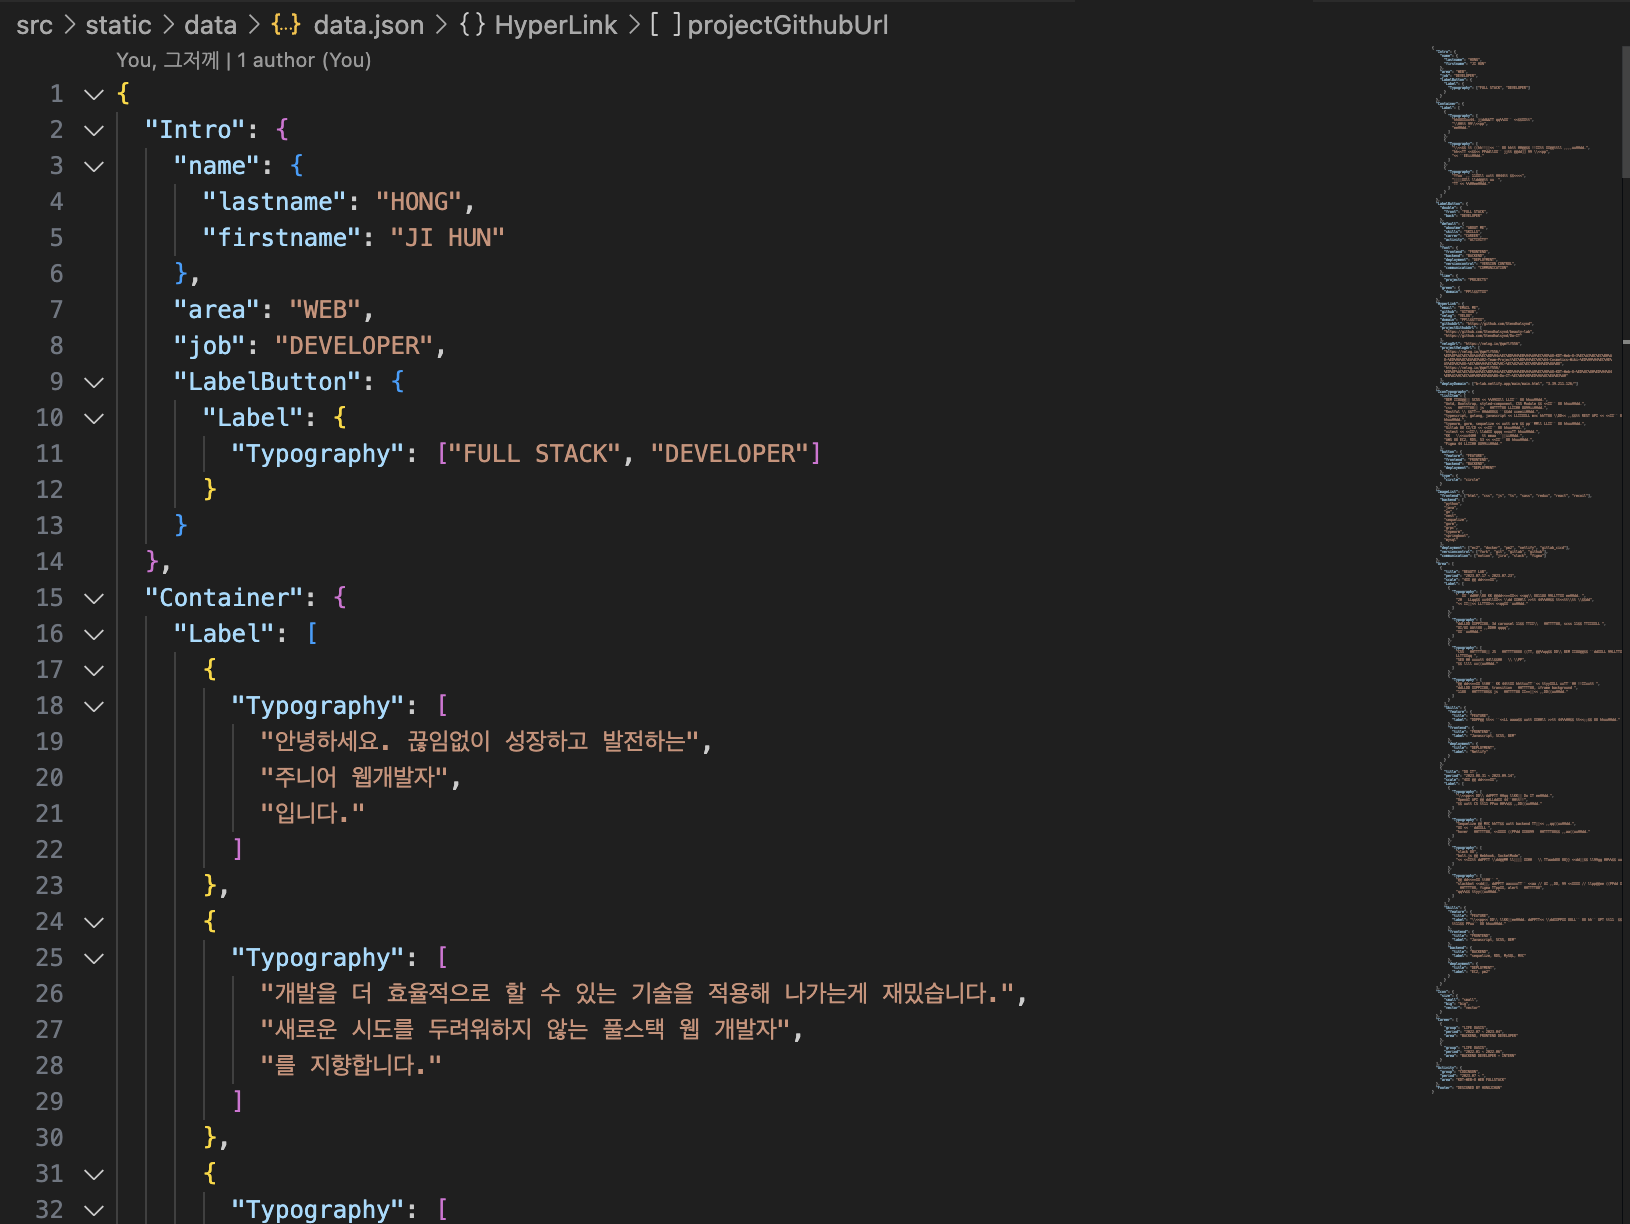
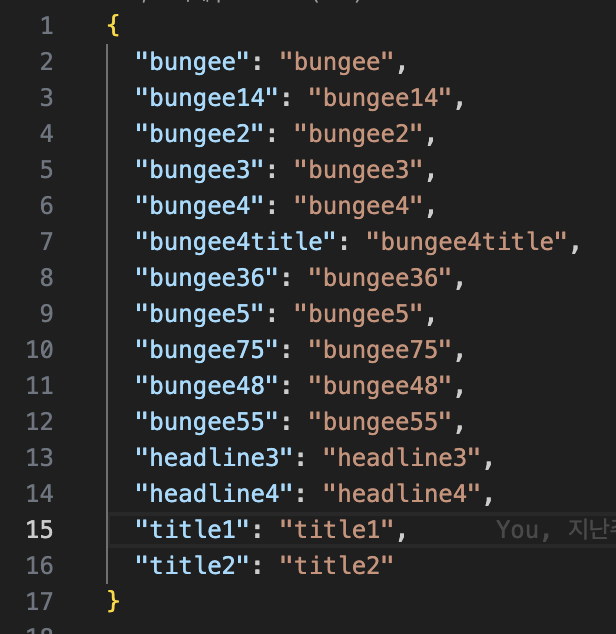
data.json 파일을 따로 만들어 두어 children 으로 텍스트를 바로 전달하지 않고 모든 컴포넌트는 해당 json 파일을 불러와 text 관리는 모두 data.json 에서 처리되도록 했다.
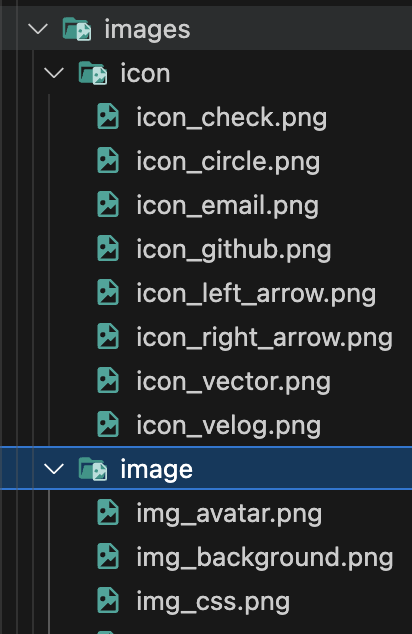
image, icon
font.json
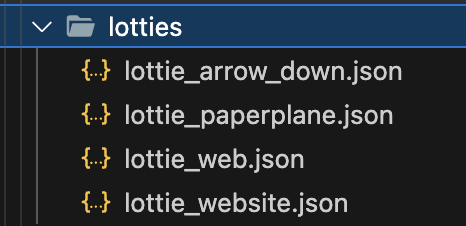
lottie
vite.config.ts
import { defineConfig } from "vitest/config"
import react from "@vitejs/plugin-react"
import tsconfigPaths from "vite-tsconfig-paths"
import { resolve } from "path"

// https://vitejs.dev/config/
export default defineConfig({
  resolve: {
    alias: [
      {
        find: "@atoms",
        replacement: resolve(__dirname, "src/components/atoms/"),
      },
      {
        find: "@molecules",
        replacement: resolve(__dirname, "src/components/molecules/"),
      },
      {
        find: "@organisms",
        replacement: resolve(__dirname, "src/components/organisms/"),
      },
      {
        find: "@pages",
        replacement: resolve(__dirname, "src/components/pages/"),
      },
      {
        find: "@data",
        replacement: resolve(__dirname, "src/static/data/data.json"),
      },
      {
        find: "@color",
        replacement: resolve(__dirname, "src/static/colors/color.json"),
      },
      {
        find: "@font",
        replacement: resolve(__dirname, "src/static/fonts/font.json"),
      },
      {
        find: "@style",
        replacement: resolve(__dirname, "src/static/styles/style.json"),
      },
      {
        find: "@icon",
        replacement: resolve(__dirname, "src/static/images/icon/"),
      },
      {
        find: "@image",
        replacement: resolve(__dirname, "src/static/images/image/"),
      },
    ],
  },
  plugins: [react(), tsconfigPaths()],
  server: {
    open: true,
  },
  build: {
    outDir: "build",
    sourcemap: true,
  },
  test: {
    globals: true,
    environment: "jsdom",
    setupFiles: "src/setupTests",
    mockReset: true,
  },
})
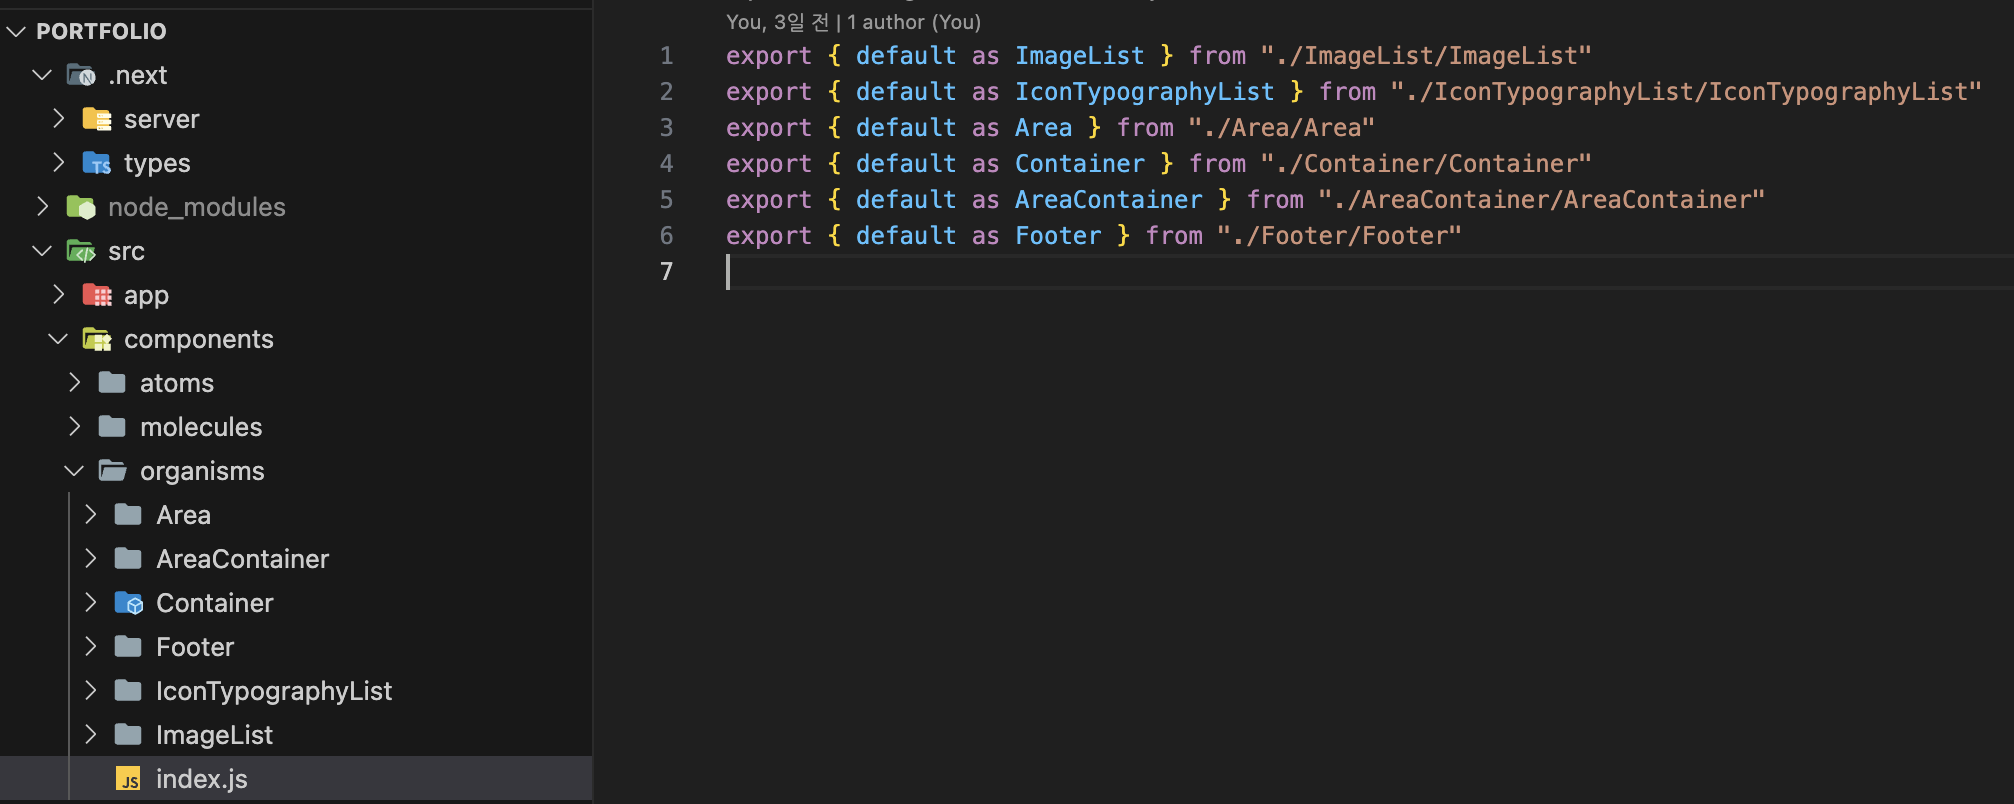
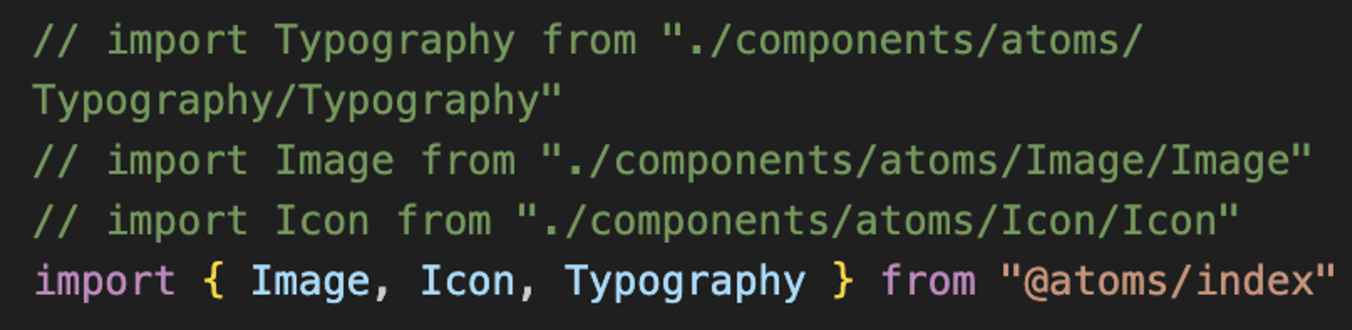
또한 각각의 컴포넌트들의 경로를 수월하게 관리하기 위해 각각의 디렉토리마다 index.js 파일을 만들어줬다. 위와 같이 별개의 파일에 export 하는 부분을 관리하도록 하면 경로가 굉장히 짧아진다.
초기 경로 상태

성공적으로 절대경로를 적용한 모습
전과 후 비교
atomic design 설정
이전포스트 에서 알아봤던 atomic design 패턴을 적용해서 컴포넌트 구조를 만들어 보고 싶었다. 이전에 react 로 웹사이트를 만들어 볼 때, 컴포넌트간 구조를 어떻게 관리해야 하는지, 어디서부터 어디까지 어떤 컴포넌트 안에 넣어야 하는지, 얼만큼 분리해야 하는지 기준을 잡기 어려워 컴포넌트를 만드는데 어려움이 있었다. 그러다 저 포스트를 작성할때 알게된 atomic desgin 패턴이 정말 유용해 보였기에 이번 프로젝트에서 바로 적용해보았다.

figma 로 구상했던 atomic desgin 이다.
Atom, Molecule, Oraganism, Page 구조로 컴포넌트를 생각했다. 이렇게 미리 사용되는 typography, color, 컴포넌트들을 만들어두고 atom 부터 page 순으로 컴포넌트들을 만들다 보니 작은 규모에서 큰 규모로 가면서 atom, molecule 들을 organism, page 에서 매우 유용하게 재사용할 수 있었다. 사실상 기본적인 HTML 태그는 Atom 과 Molecule 정도에서만 사용되고 나머지 컴포넌트들은 모두 복합 컴포넌트 구조로 컴포넌트로만 이루어졌다.
프로젝트 구조
.
├── README.md
├── craco.config.js
├── index.html
├── package-lock.json
├── package.json
├── src
│   ├── App.css
│   ├── App.test.tsx
│   ├── App.tsx
│   ├── app
│   │   ├── hooks.ts
│   │   └── store.ts
│   ├── components
│   │   ├── atoms
│   │   │   ├── Divider
│   │   │   │   ├── Divider.tsx
│   │   │   │   └── index.test.js
│   │   │   ├── Icon
│   │   │   │   ├── Icon.tsx
│   │   │   │   └── index.test.js
│   │   │   ├── Image
│   │   │   │   ├── Image.tsx
│   │   │   │   └── index.test.js
│   │   │   ├── Typography
│   │   │   │   ├── Typography.tsx
│   │   │   │   └── index.test.js
│   │   │   └── index.js
│   │   ├── molecules
│   │   │   ├── Background
│   │   │   ├── HyperLink
│   │   │   │   ├── HyperLink.tsx
│   │   │   │   └── index.test.js
│   │   │   ├── IconTypography
│   │   │   │   ├── IconTypography.tsx
│   │   │   │   └── index.test.js
│   │   │   ├── IconTypographyButton
│   │   │   │   ├── IconTypographyButton.tsx
│   │   │   │   └── index.test.js
│   │   │   ├── Label
│   │   │   │   ├── Label.tsx
│   │   │   │   └── index.test.js
│   │   │   ├── LabelButton
│   │   │   │   ├── LabelButton.tsx
│   │   │   │   └── index.test.js
│   │   │   ├── List
│   │   │   │   ├── List.tsx
│   │   │   │   └── index.test.js
│   │   │   └── index.js
│   │   ├── organisms
│   │   │   ├── Area
│   │   │   │   ├── Area.tsx
│   │   │   │   └── index.test.js
│   │   │   ├── AreaContainer
│   │   │   │   ├── AreaContainer.tsx
│   │   │   │   └── index.test.js
│   │   │   ├── Container
│   │   │   │   ├── Container.tsx
│   │   │   │   └── index.test.js
│   │   │   ├── Footer
│   │   │   │   ├── Footer.tsx
│   │   │   │   └── index.test.js
│   │   │   ├── IconTypographyList
│   │   │   │   ├── IconTypographyList.tsx
│   │   │   │   └── index.test.js
│   │   │   ├── ImageList
│   │   │   │   ├── ImageList.tsx
│   │   │   │   └── index.test.js
│   │   │   └── index.js
│   │   └── pages
│   │       ├── AboutMe
│   │       │   ├── AboutMe.tsx
│   │       │   └── index.test.js
│   │       ├── Activity
│   │       │   ├── Activity.tsx
│   │       │   └── index.test.js
│   │       ├── Career
│   │       │   ├── Career.tsx
│   │       │   └── index.test.js
│   │       ├── Intro
│   │       │   ├── Intro.tsx
│   │       │   └── index.test.js
│   │       ├── Projects
│   │       │   ├── Projects.tsx
│   │       │   └── index.test.js
│   │       ├── Skills
│   │       │   ├── Skills.tsx
│   │       │   ├── background.css
│   │       │   └── index.test.js
│   │       └── index.js
│   ├── features
│   │   └── counter
│   │       ├── Counter.module.css
│   │       ├── Counter.tsx
│   │       ├── counterAPI.ts
│   │       ├── counterSlice.spec.ts
│   │       └── counterSlice.ts
│   ├── index.css
│   ├── logo.svg
│   ├── main.tsx
│   ├── recoil.ts
│   ├── setupTests.ts
│   ├── static
│   │   ├── colors
│   │   │   └── color.json
│   │   ├── data
│   │   │   └── data.json
│   │   ├── fonts
│   │   │   ├── Bungee-Regular.ttf
│   │   │   ├── font.css
│   │   │   └── font.json
│   │   ├── images
│   │   │   ├── icon
│   │   │   │   ├── icon_check.png
│   │   │   │   ├── icon_circle.png
│   │   │   │   ├── icon_email.png
│   │   │   │   ├── icon_github.png
│   │   │   │   ├── icon_left_arrow.png
│   │   │   │   ├── icon_right_arrow.png
│   │   │   │   ├── icon_vector.png
│   │   │   │   └── icon_velog.png
│   │   │   └── image
│   │   │       ├── img_avatar.png
│   │   │       ├── img_background.png
│   │   │       ├── img_css.png
│   │   │       ├── img_docker.png
│   │   │       ├── img_ec2.png
│   │   │       ├── img_figma.png
│   │   │       ├── img_fork.png
│   │   │       ├── img_git.png
│   │   │       ├── img_github.png
│   │   │       ├── img_gitlab.png
│   │   │       ├── img_gitlab_cicd.png
│   │   │       ├── img_go.png
│   │   │       ├── img_gorm.png
│   │   │       ├── img_grpc.png
│   │   │       ├── img_html.png
│   │   │       ├── img_java.png
│   │   │       ├── img_javascript.png
│   │   │       ├── img_jira.png
│   │   │       ├── img_myImage.png
│   │   │       ├── img_mysql.png
│   │   │       ├── img_nestjs.png
│   │   │       ├── img_netlify.png
│   │   │       ├── img_notion.png
│   │   │       ├── img_pm2.png
│   │   │       ├── img_project1_screen1.png
│   │   │       ├── img_project2_screen1.png
│   │   │       ├── img_python.png
│   │   │       ├── img_react.png
│   │   │       ├── img_recoil.png
│   │   │       ├── img_redux.png
│   │   │       ├── img_sass.png
│   │   │       ├── img_sequelize.png
│   │   │       ├── img_slack.png
│   │   │       ├── img_springboot.png
│   │   │       ├── img_typeorm.png
│   │   │       └── img_typescript.png
│   │   ├── lotties
│   │   │   ├── lottie_arrow_down.json
│   │   │   ├── lottie_paperplane.json
│   │   │   ├── lottie_web.json
│   │   │   └── lottie_website.json
│   │   └── styles
│   │       ├── index.ts
│   │       └── style.json
│   └── vite-env.d.ts
├── tsconfig.json
├── tsconfig.node.json
├── tsconfig.paths.json
├── vite.config.ts
└── yarn.lock
figma 디자인
결과

공유
이번 프로젝트에서 디자인한 figma 페이지
배포 도메인
github repo
긴급수정
2023.12.12
포트폴리오를 확인하러 들어갔는데 갑자기 처음보는 오류가 뜨면서 화면이 나타나질 않았다..;;
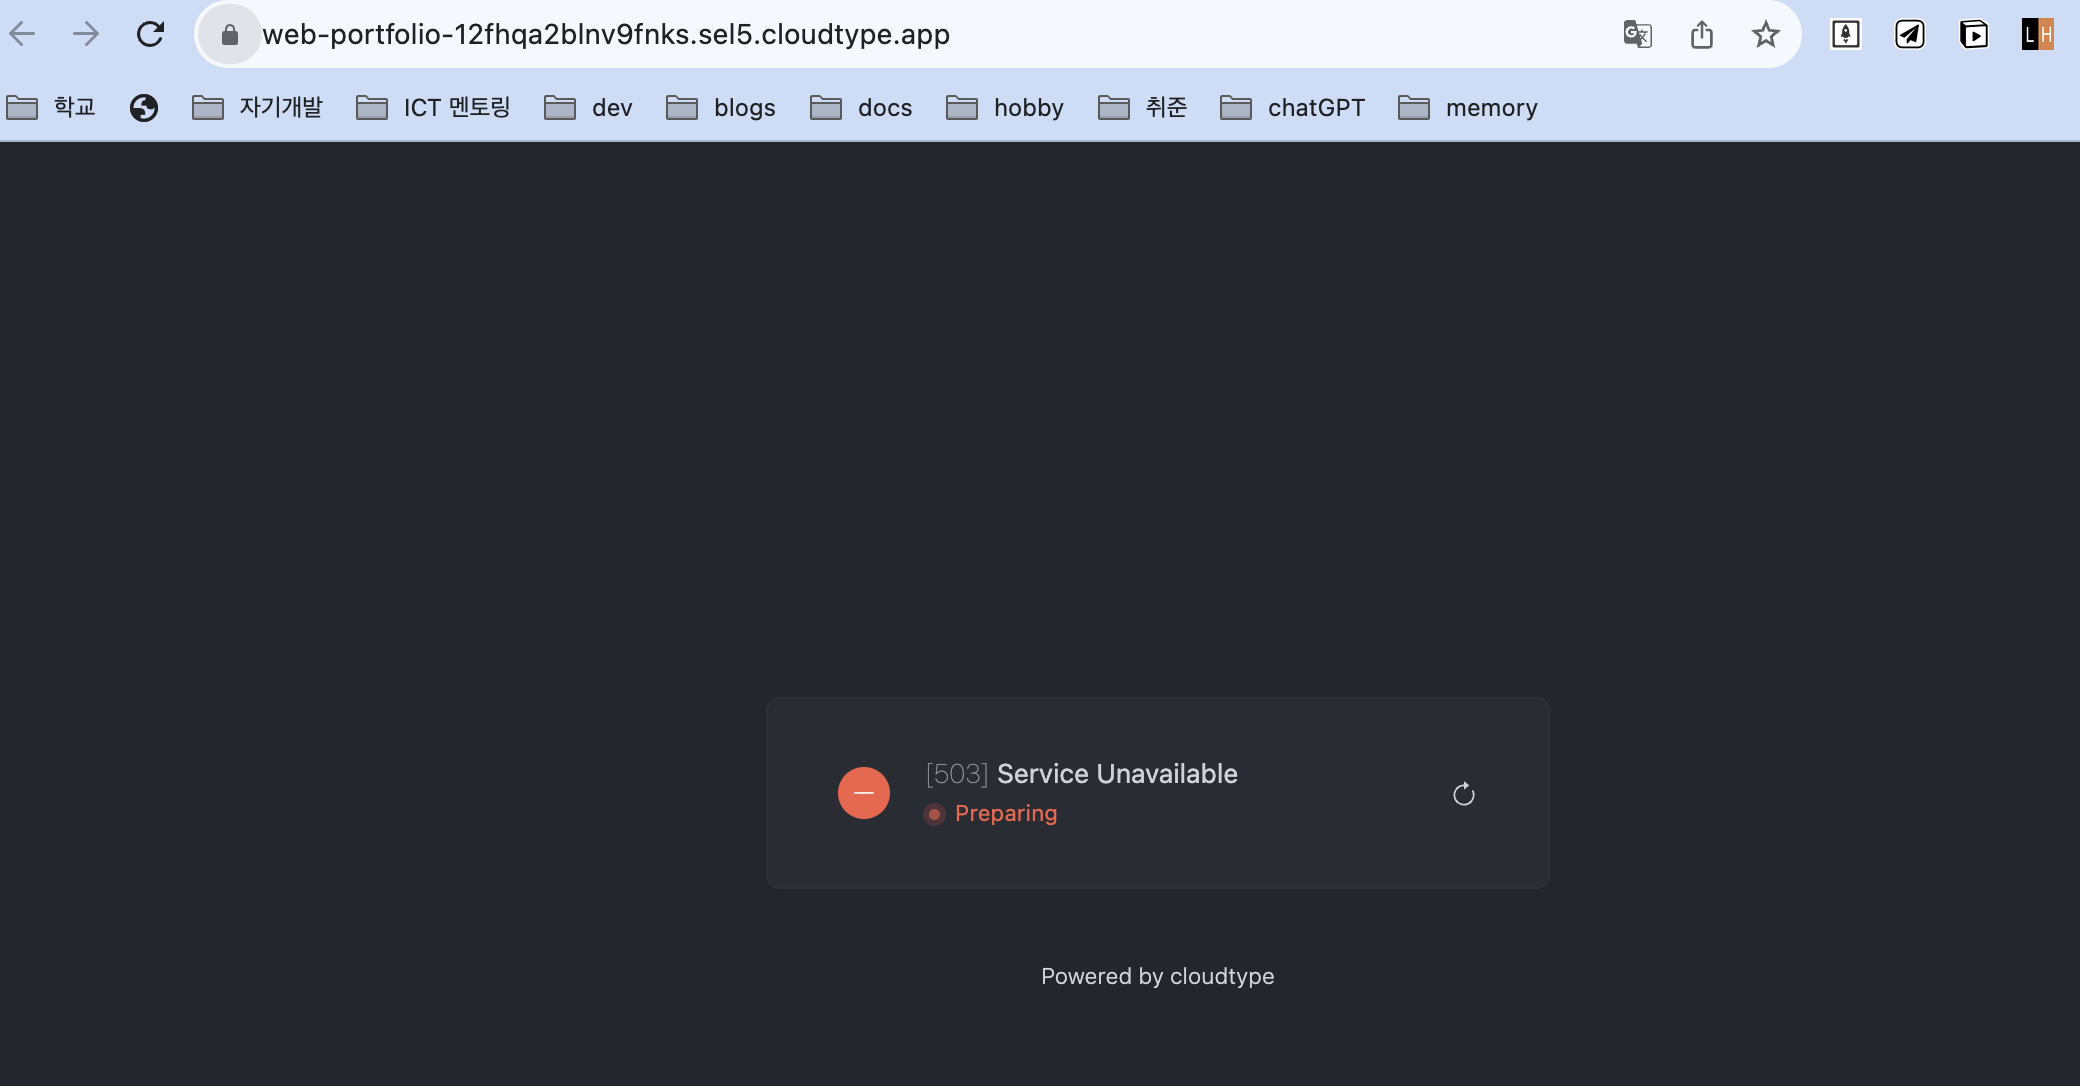
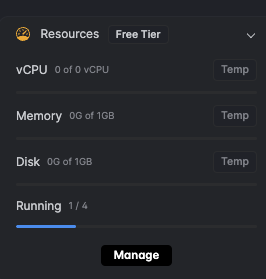
원래 주소로 접속하니 Service Unavailable 이라 떠서 CloudType 으로 접속해보니 아래와 같이 오류가 뜬다.
한도를 초과했다는 것을 보면 CloudType 에 제한량? 같은게 있었던 것 같다. 그런데 용량이 그리 크지도 않은 개인 포트폴리오 프로젝트 하나 배포되어 있고 접속도 취업 지원할때 몇번만 들어가질텐데 생각보다 클라우드타입의 용량이 작은 것 같다.
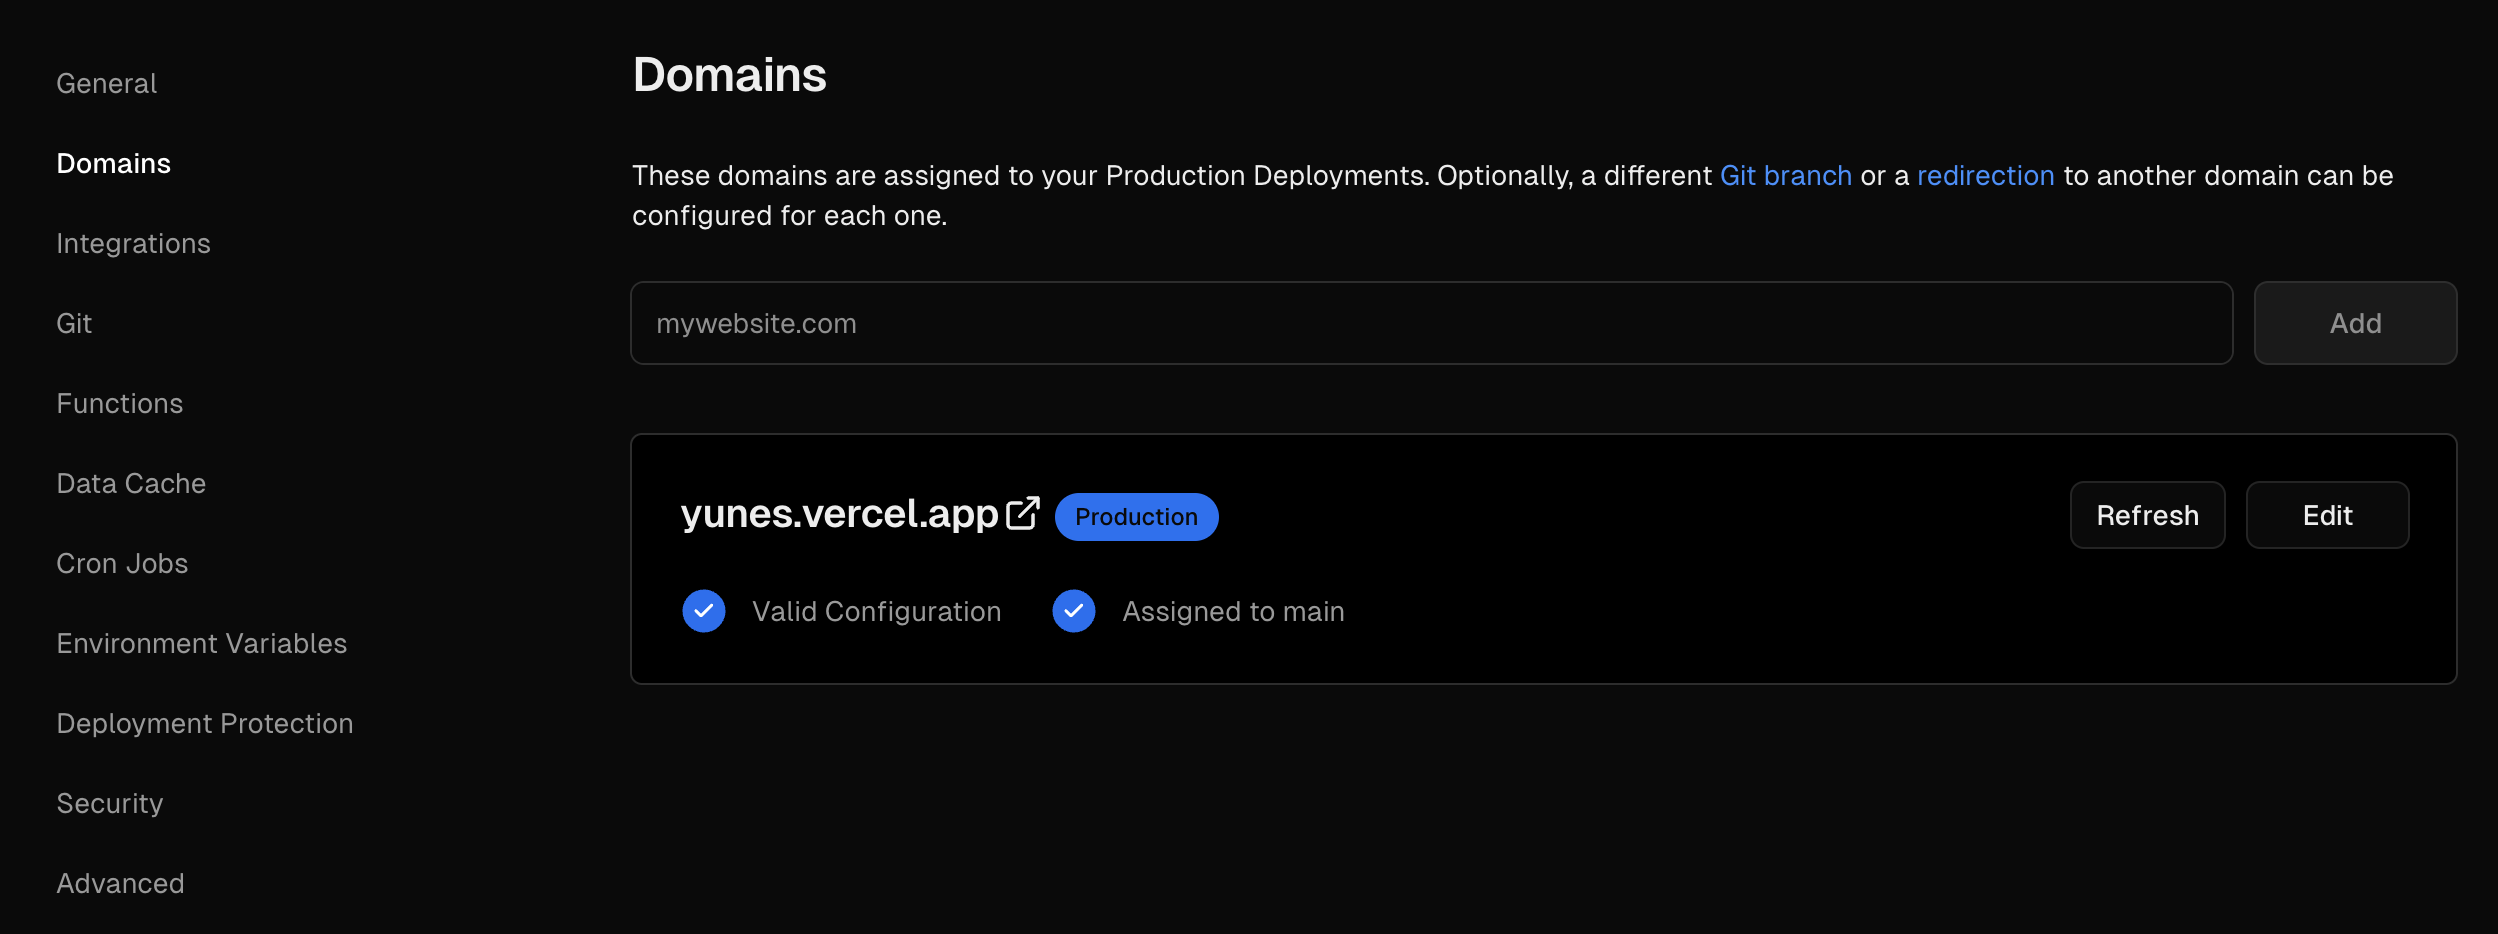
현재 취업을 준비중에 갑자기 배포가 중단되면 곤란해서 바로 vercel 를 통해 새로 배포해줬다.
정정)
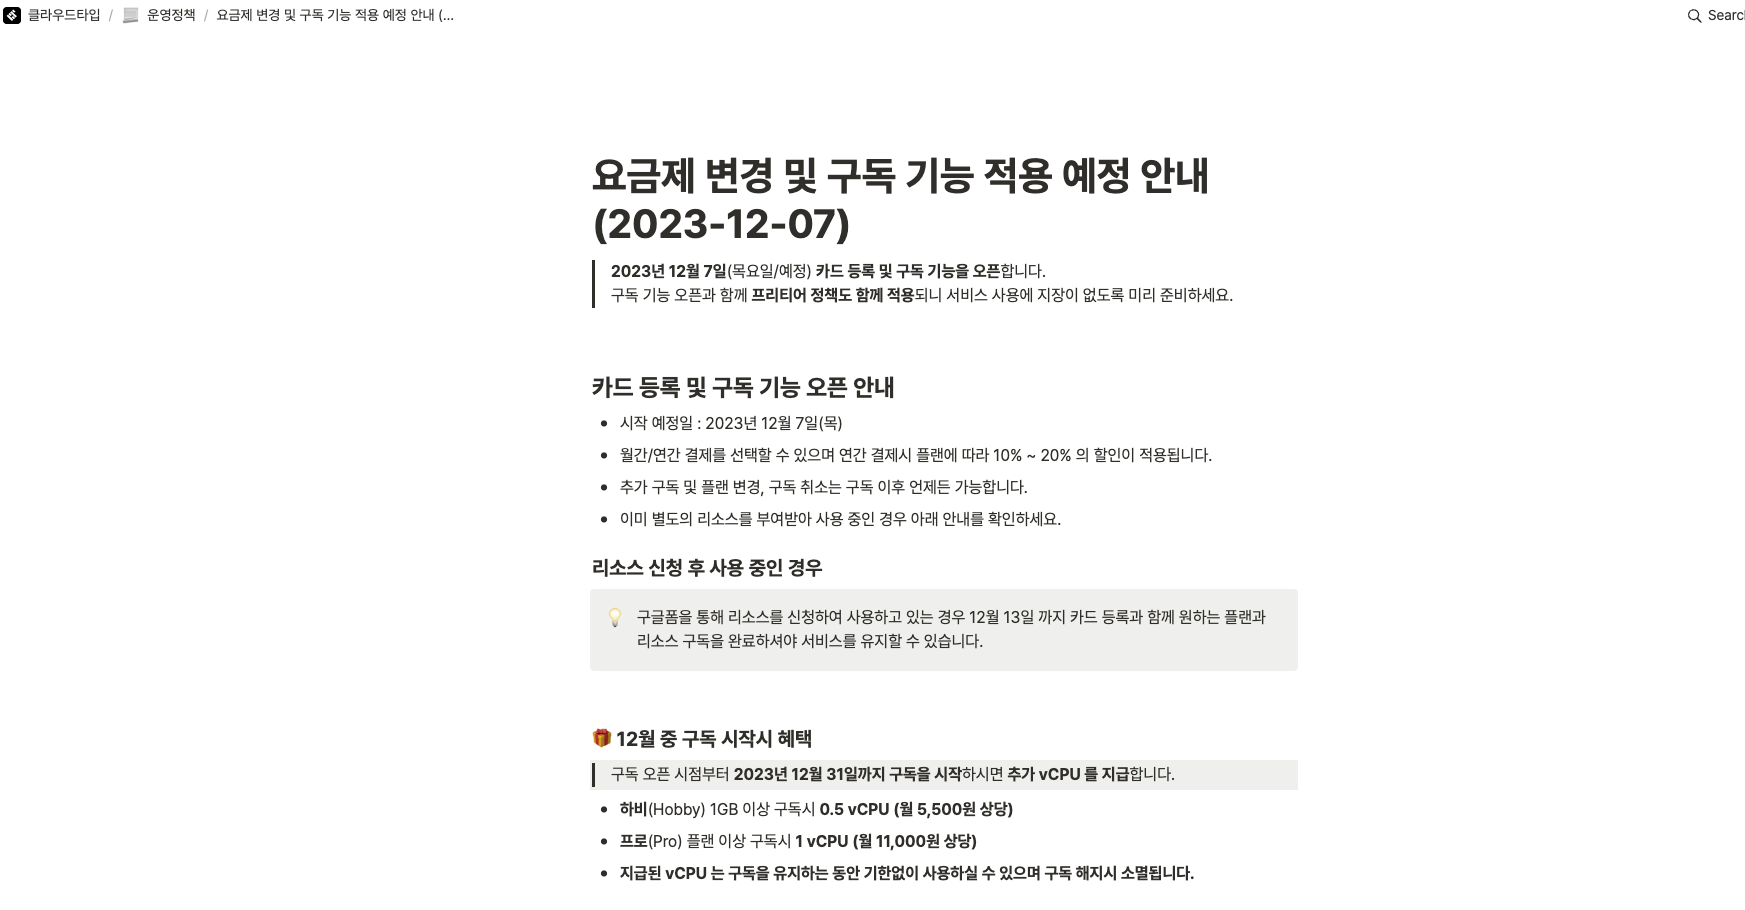
cloudtype 의 요금제 정책이 시작되어서 기존 프로젝트가 임시로 정지된 상태였다.
그래서 카드를 등록하니 아래와 같이 바뀌었고
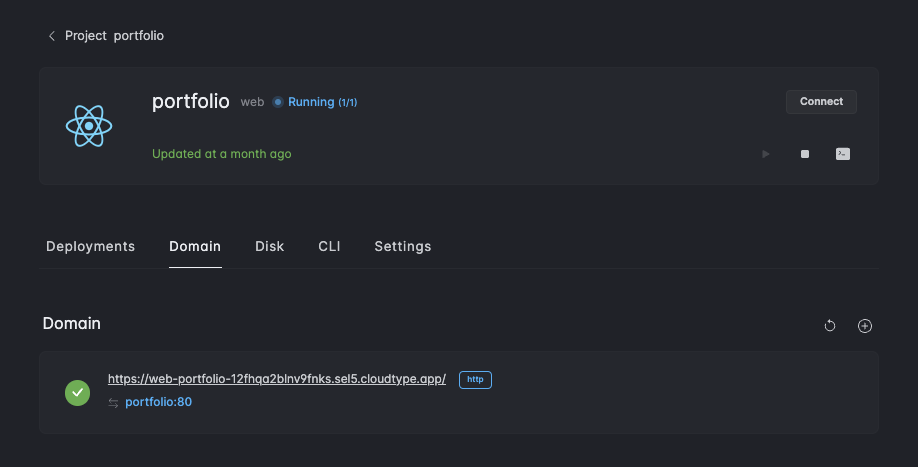
다시 정상적으로 배포되었다. 그래도 혹시 모르니 현재 진행중인 면접이 끝나면 카드도 지우고 계정을 비활성화해둬야겠다.. 필요하면 그때 다시 알아보자.
레퍼런스