Thymeleaf 시작하기
        <dependency>
            <groupId>org.springframework.boot</groupId>
            <artifactId>spring-boot-starter-thymeleaf</artifactId>
        </dependency>
스프링부트 생성 시, Thymeleaf 의존성을 추가하여 생성한다. pom.xml의 thymeleaf 관련 dependency이다.
spring.thymeleaf.cache=false
spring.thymeleaf.check-template-location=true
spring.thymeleaf.prefix=classpath:/templates/
spring.thymeleaf.suffix=.html
application.properties에 위 소스를 추가한다.
(https://i5i5.tistory.com/636)
<!DOCTYPE html>
<html xmlns:th=http://www.thymeleaf.org>
<head>
    <meta charset="UTF-8">
    <title>index.html</title>
</head>
<body>
<h1 th:text="'타임리프 페이지 - index.html'"></h1>
<p><a th:href="@{http://www.naver.com}" th:text="'네이버로 이동..'"></a></p>
</body>
</html>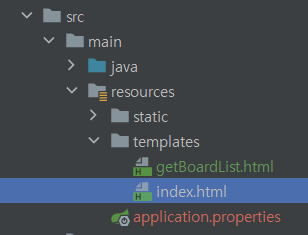
src/main/resources/templates/ 경로에 index.html을 생성하고 상단에 <html xmlns:th=http://www.thymeleaf.org> thymeleaf 관련하여 사용할 수 있도록 선언한다.
띄어쓰기, 공백 등을 추가할때는 th:text="'타임리프 페이지 - index.html'"와 같이 큰 따옴표 안에 작은 따옴표를 감싸줘야한다. 타임리프 문법이다!
(https://chinggin.tistory.com/590)
@Controller
public class IndexController {
    @GetMapping("/")
    public String index(){
        return "index";
    }
}
controller 디렉토리를 안에 IndexController.java를 생성하고 @Controller와 @GetMapping을 선언하고 src/main/resources/templates/index.html를 /에 매핑한다.
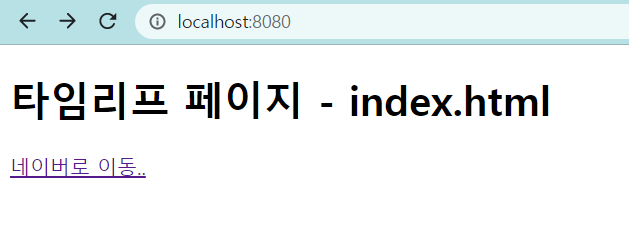
서버를 켜고 해당 URL로 접근하니 정상적으로 실행된다.
Git
https://github.com/EunbiAn/webkit-backend/tree/master/springboot_thy_day28