개발환경: centOS, tomcat 8, jdk 11, gradle 7.0.2
1. Tomcat 설정
- tomcat-users 에서 username와 password 설정
// tomcat-users 설정
# vi /usr/local/tomcat8/conf/tomcat-users.xml<tomcat-users xmlns="http://tomcat.apache.org/xml"
xmlns:xsi="http://www.w3.org/2001/XMLSchema-instance"
xsi:schemaLocation="http://tomcat.apache.org/xml tomcat-users.xsd"
version="1.0">
...
// 하단 내용 입력
<role rolename="manager"/>
<role rolename="manager-gui" />
<role rolename="manager-script" />
<role rolename="manager-jmx" />
<role rolename="manager-status" />
<role rolename="admin"/>
<user username="admin" password="1234" roles="admin,manager,manager-gui, manager-script, manager-jmx, manager-status"/>작성한 username과 password 기억
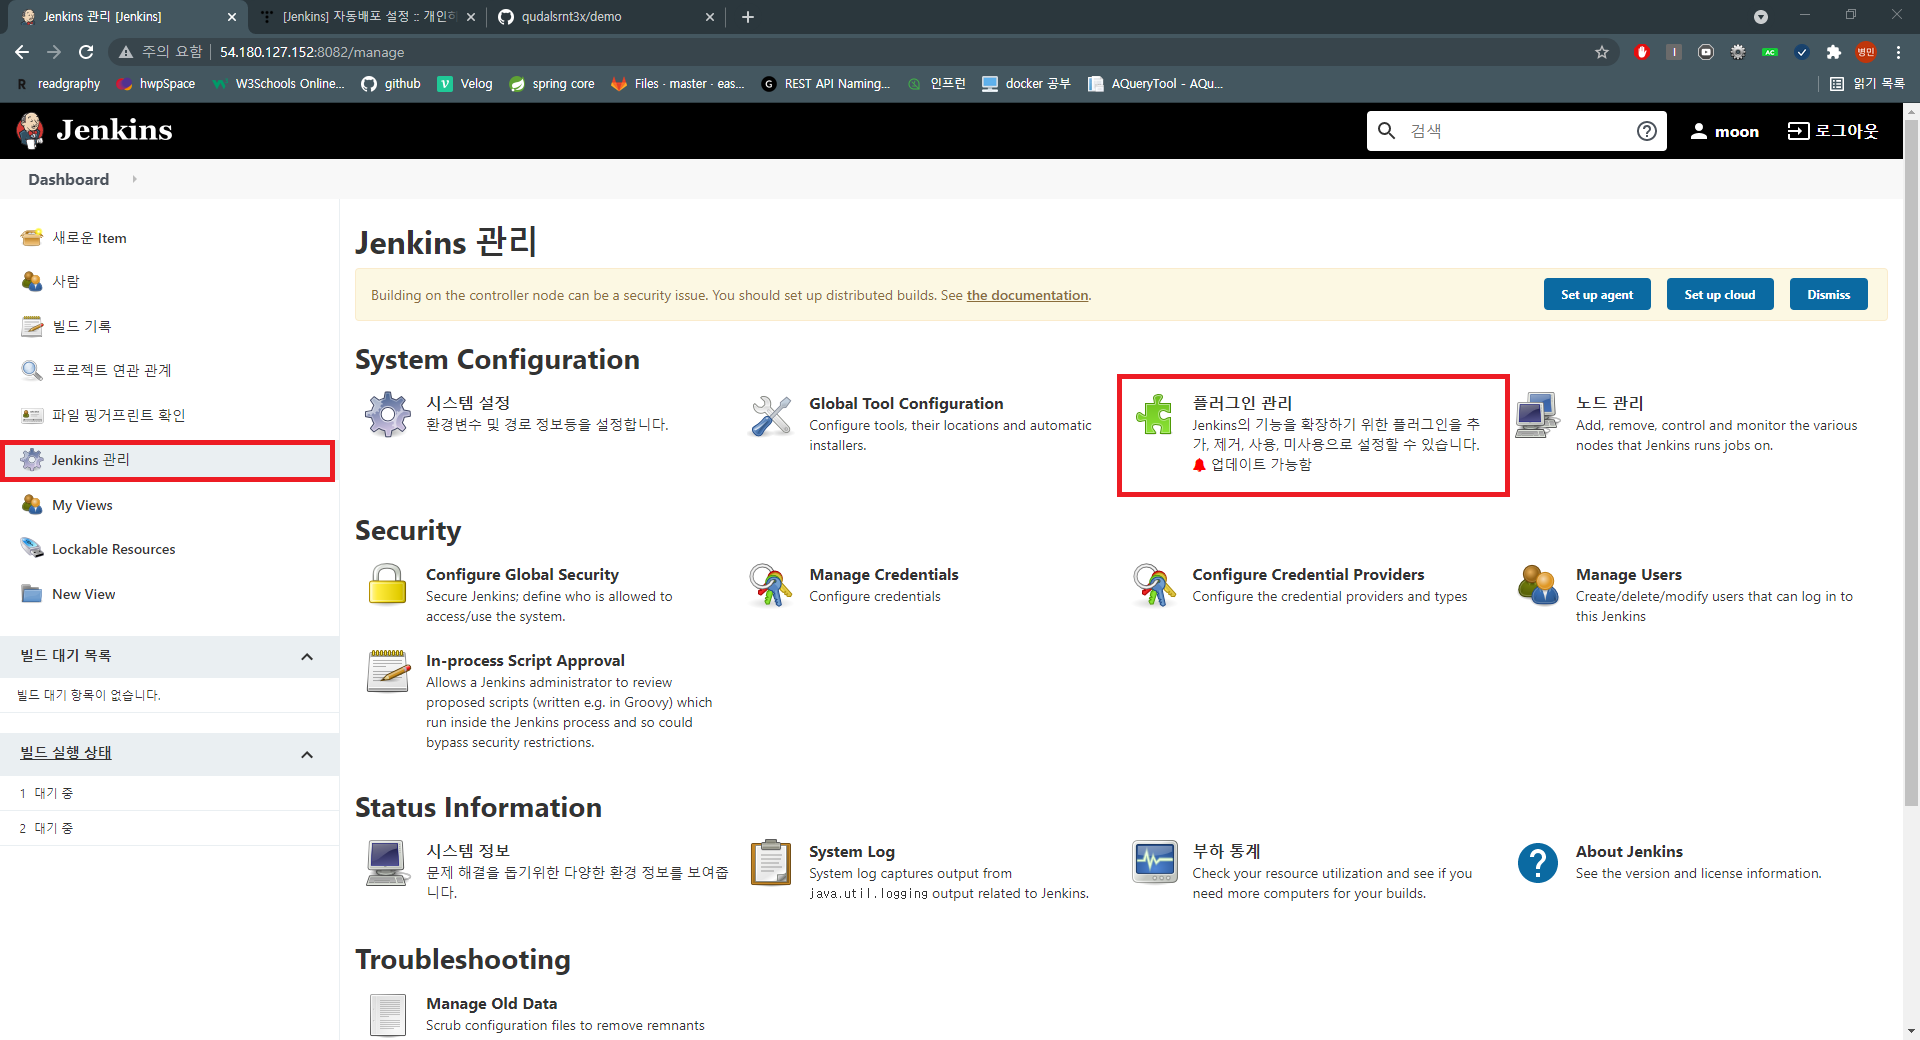
2. Jenkins Plugin 설치
-
Jenkins 관리 -> 플러그인 관리 선택
-
Deploy to container Plugin 설치
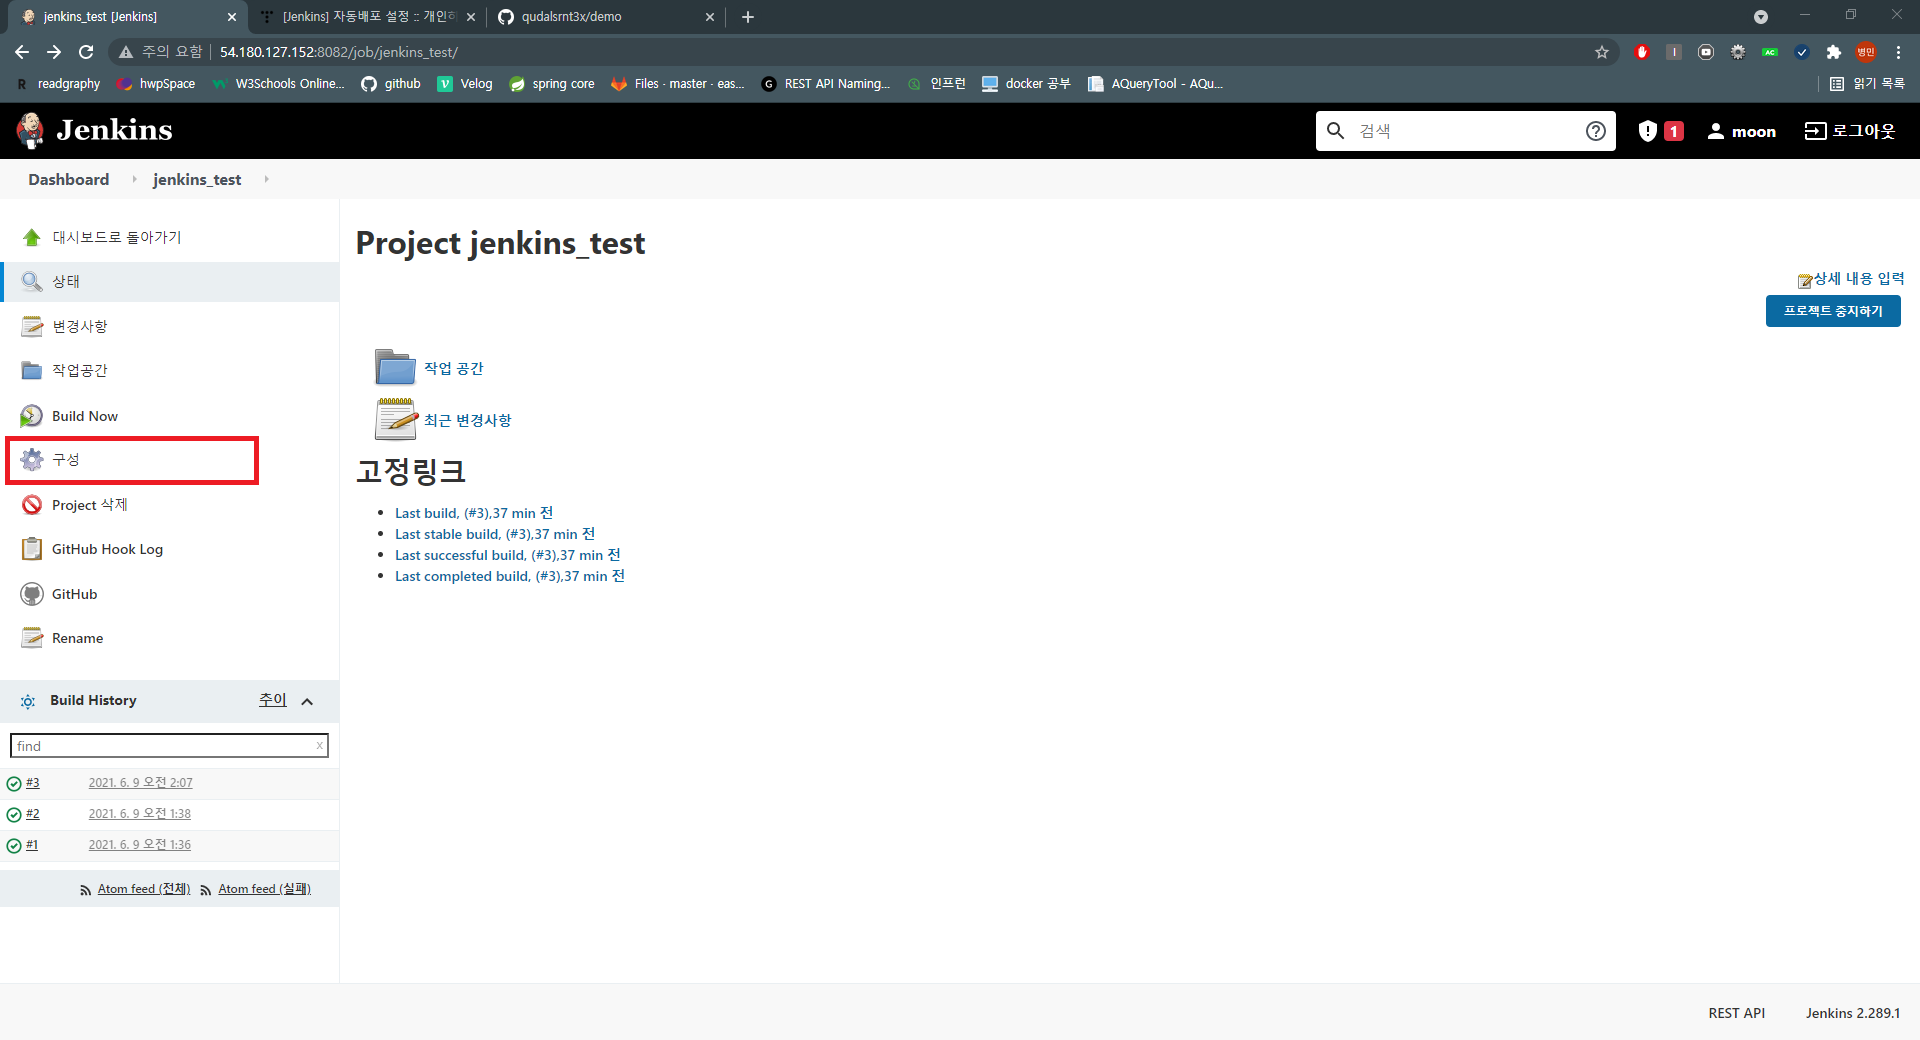
3. Jenkins 설정
-
프로젝트 -> 구성 클릭
-
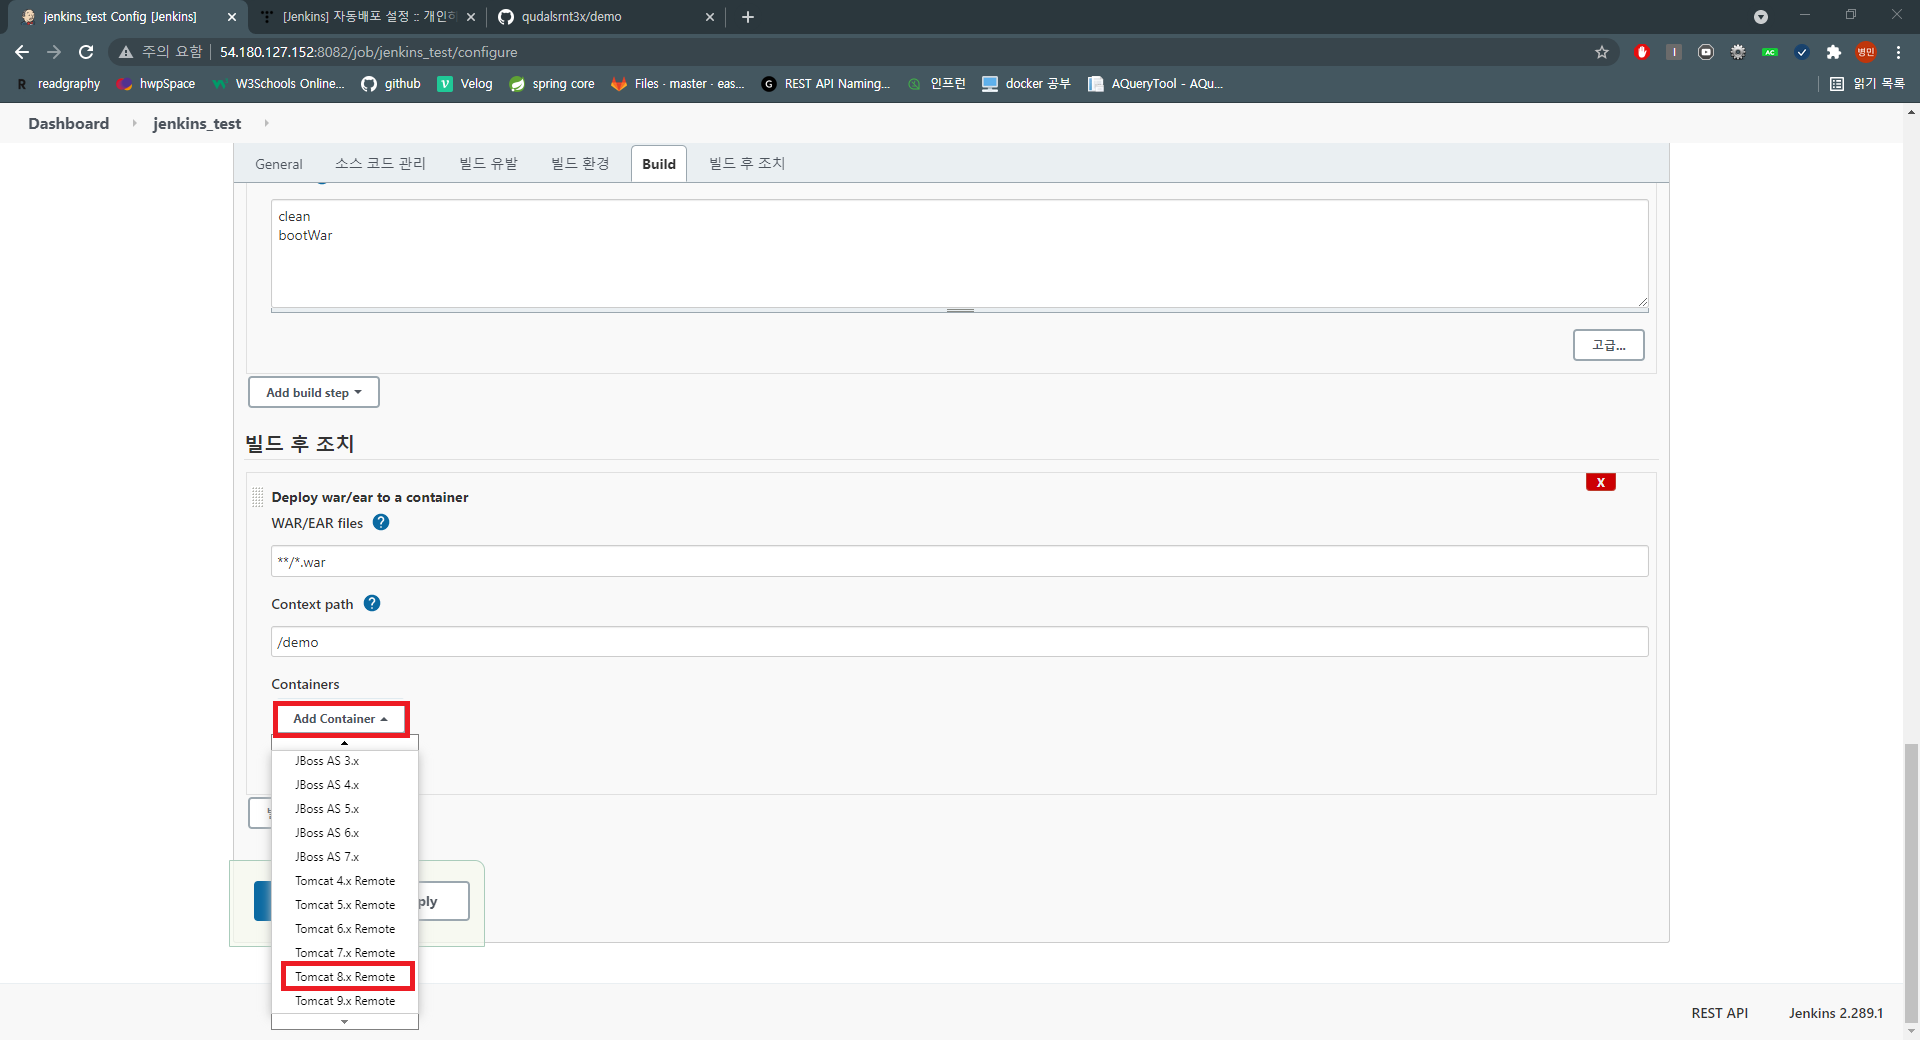
빌드 후 조치 탭에서 빌드 후 조치 추가
Deploy war/ear to a container 선택

-
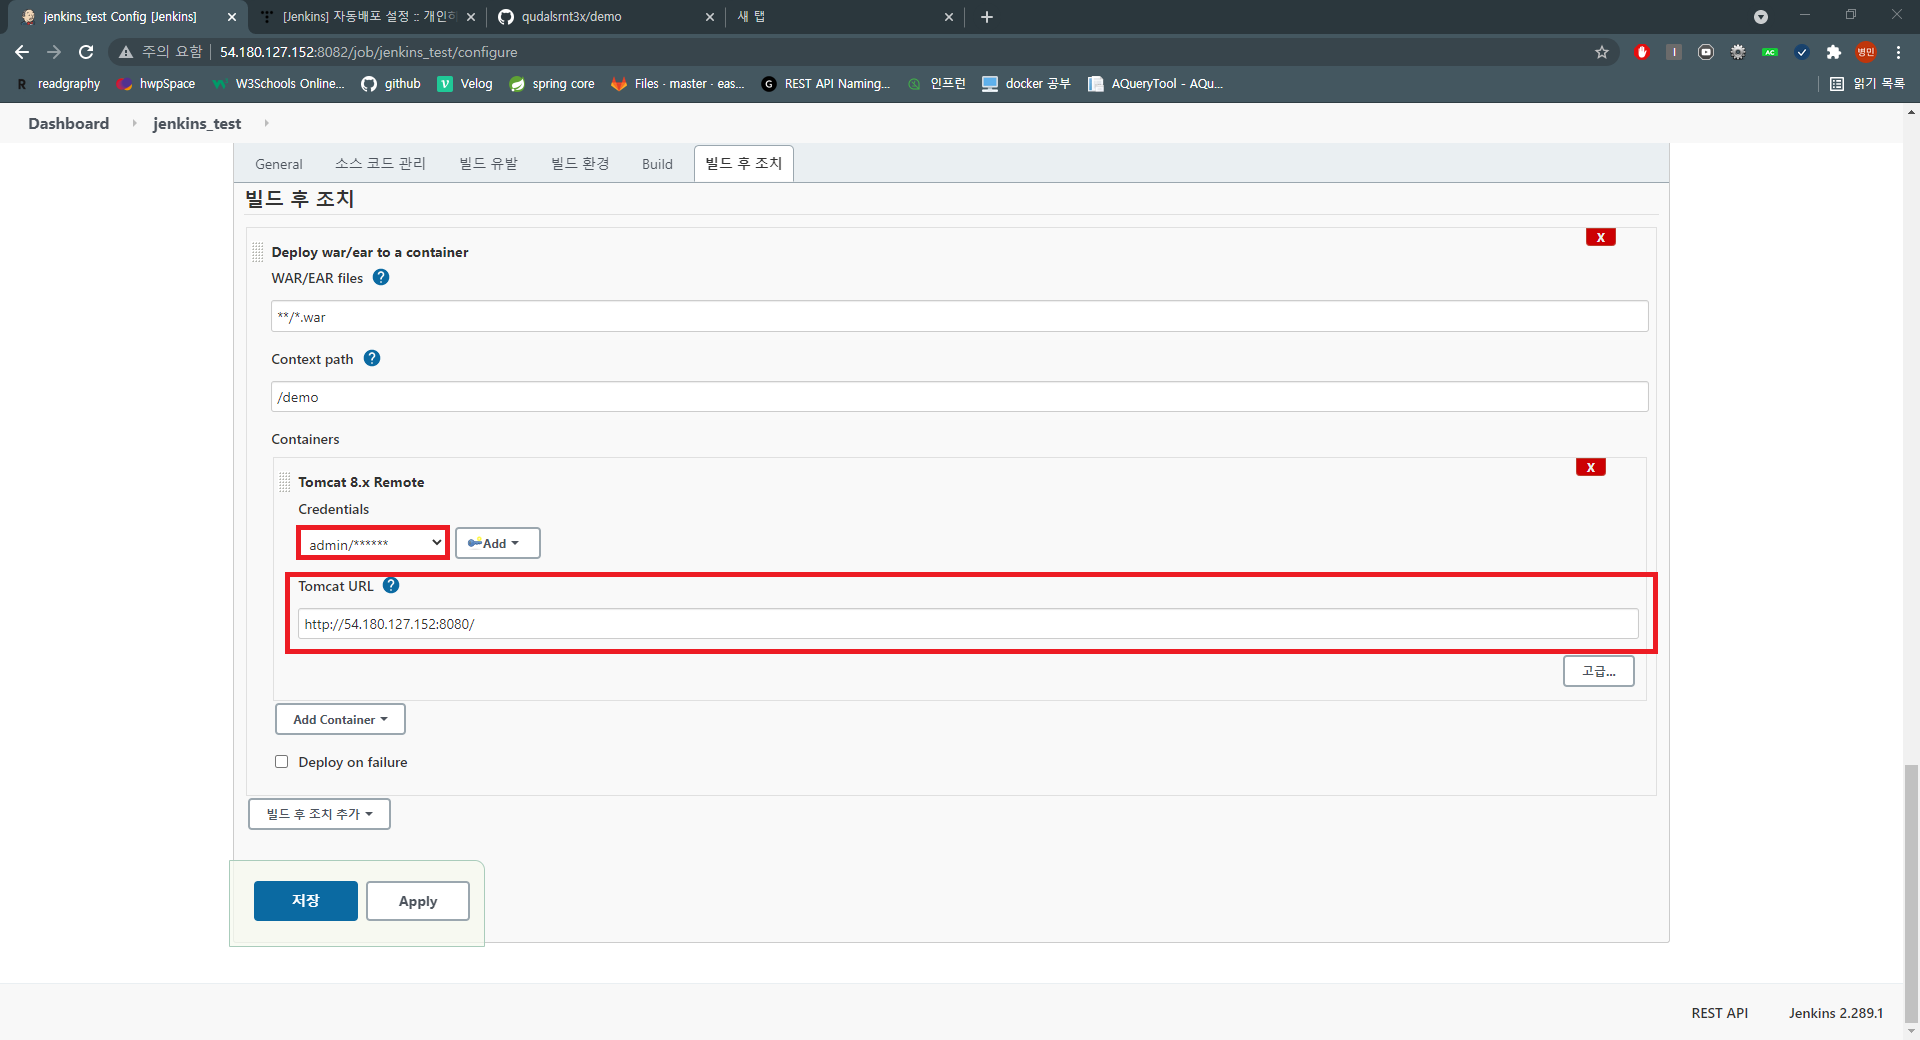
WAR/EAR files :
**/*.war
Content path :/demo

**/*.war는 젠킨스에서 빌드된 war 파일을 가지고 온다.
Content path 는 tomcat에서 올라갈 context path 명이 된다.
-
Add Container -> Tomcat 8.x 선택
-
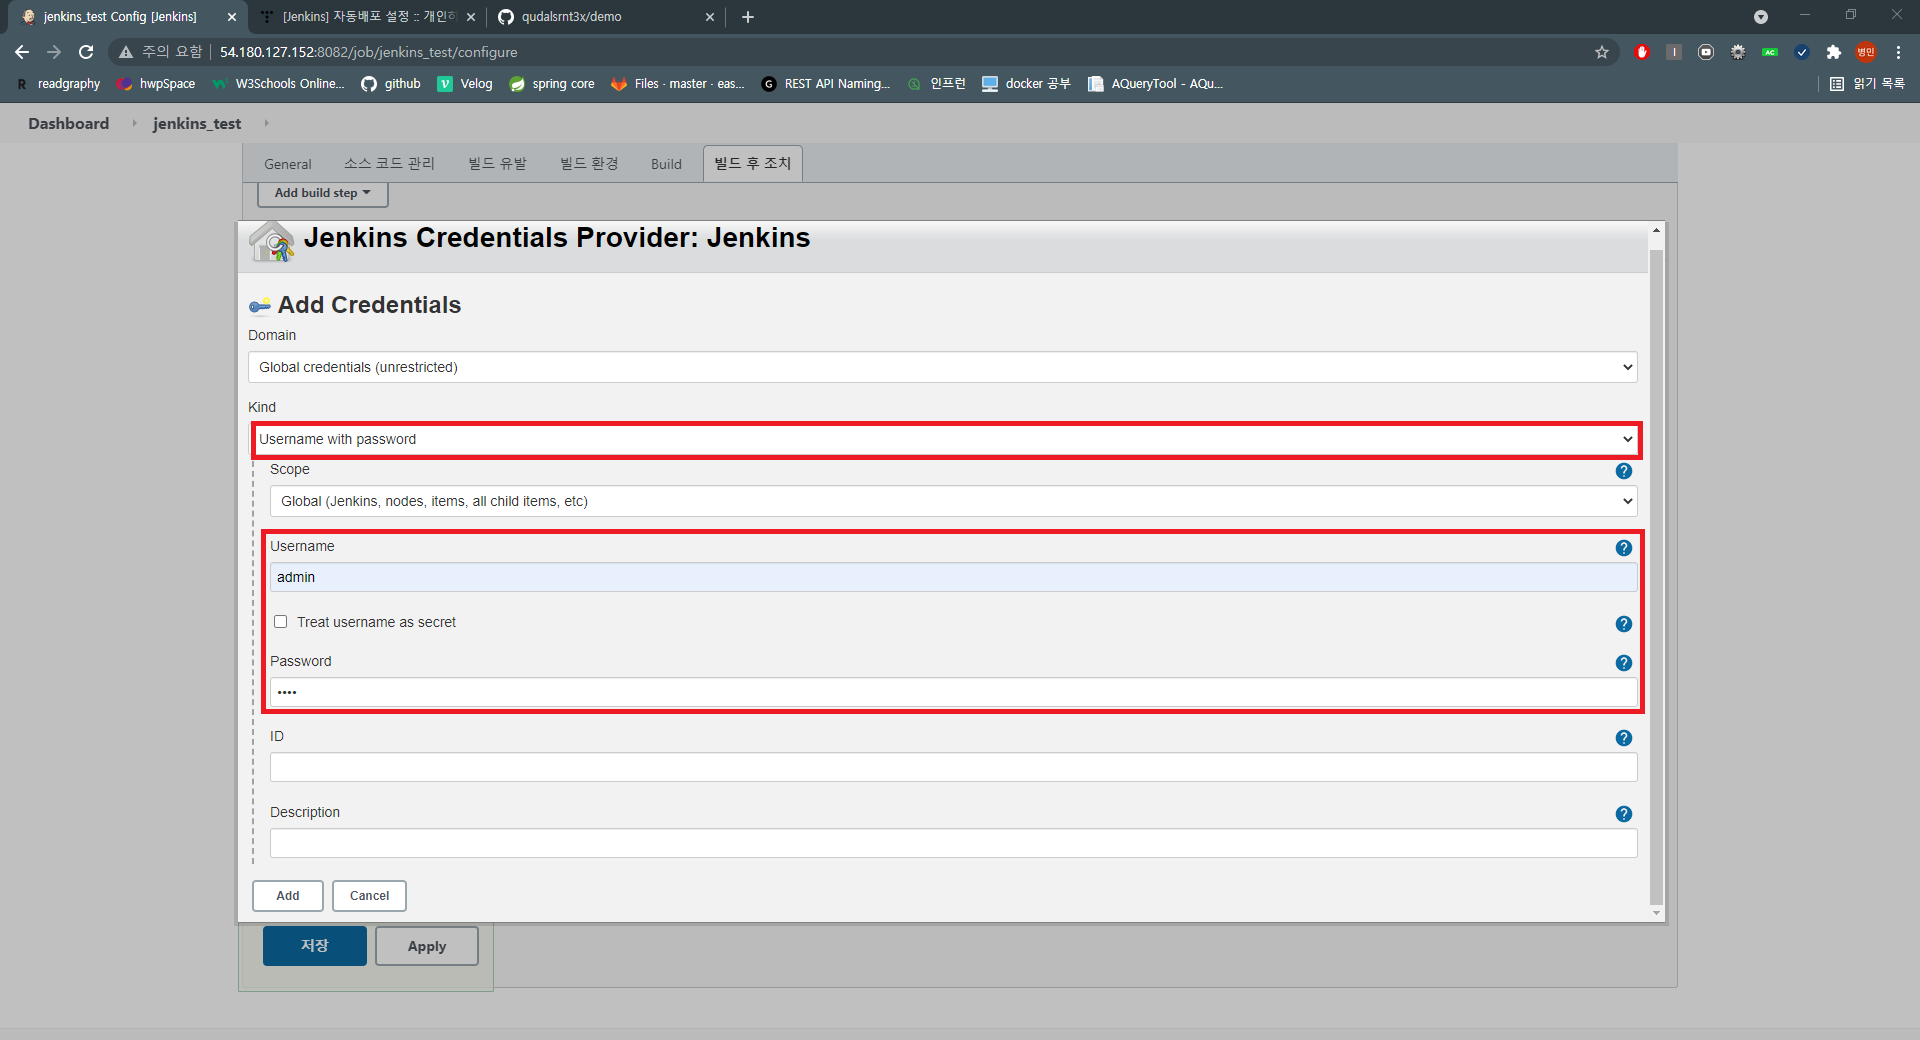
Credentials 에서 Add 클릭
Kind :Username with password
tomcat-users에서 설정한 username, password 입력
-
생성한 Credentials 선택 후 Tomcat URL 입력
-
저장
4. 배포 확인
-
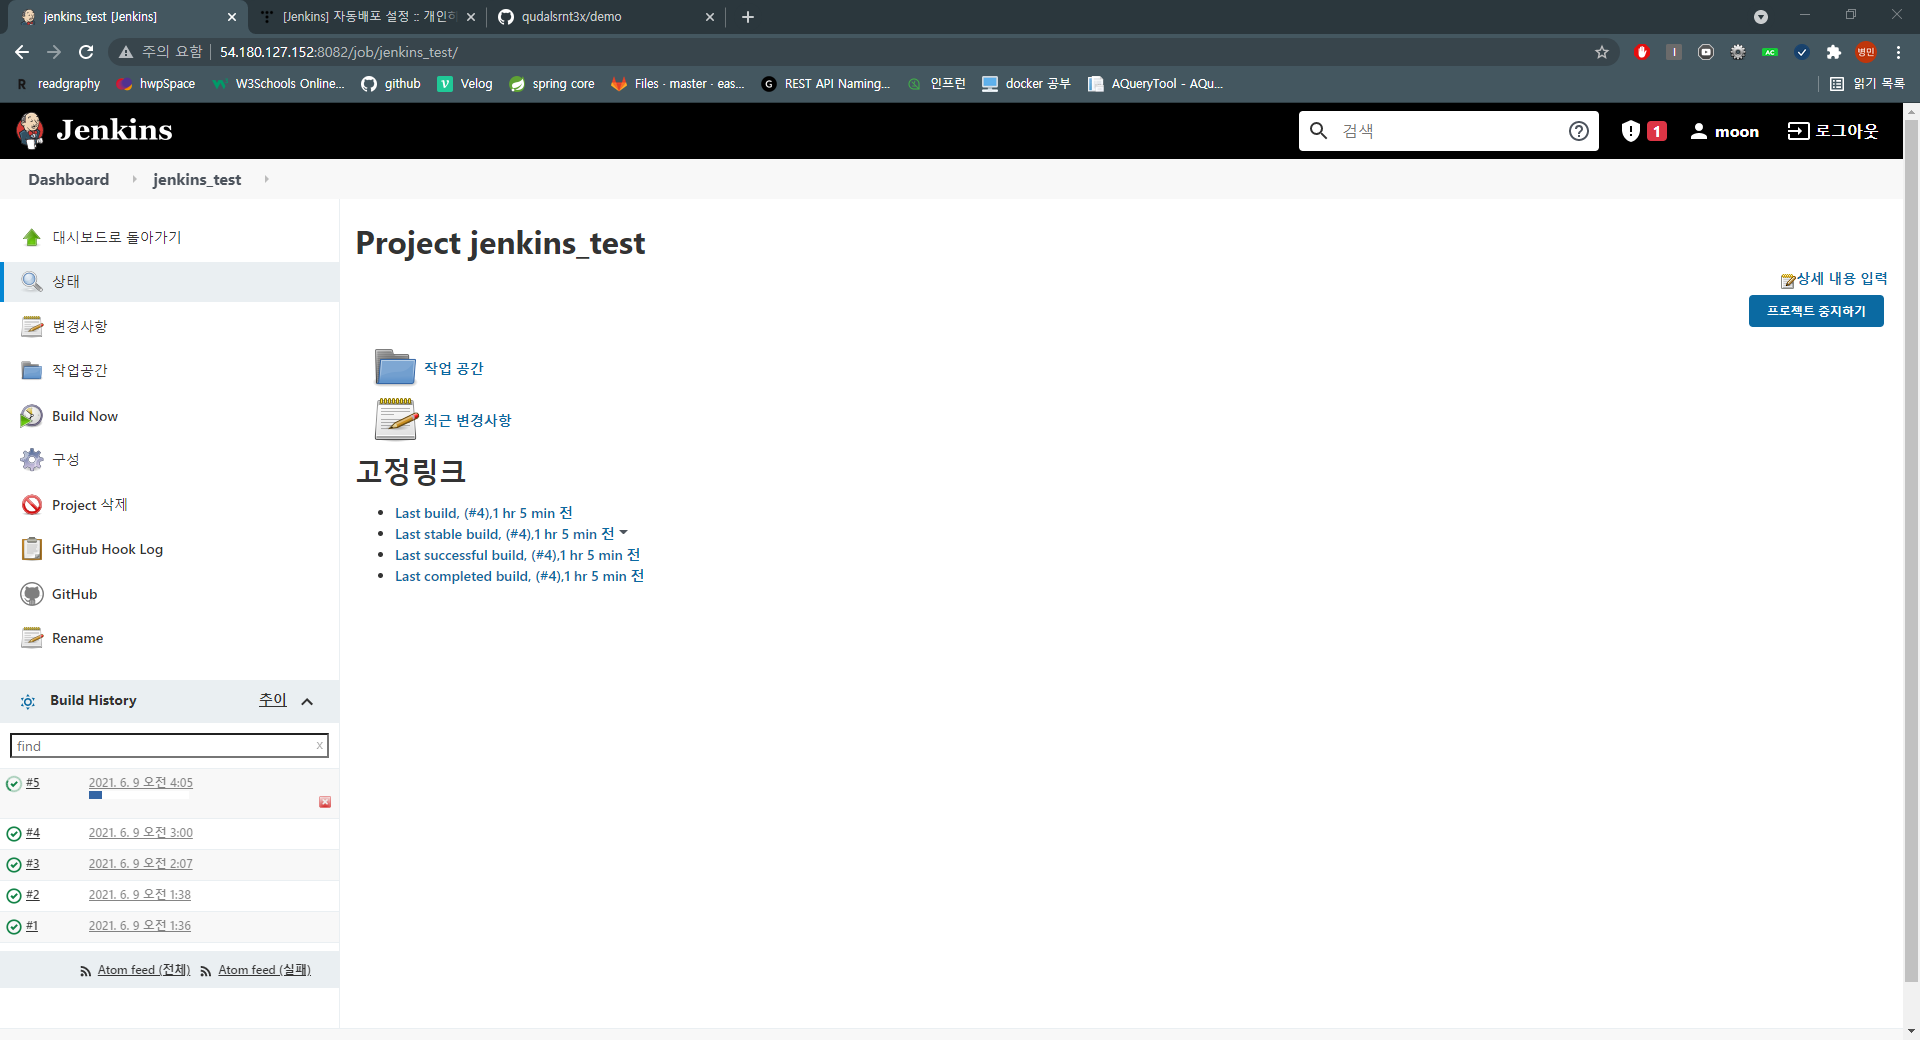
Build Now 클릭
-
Console Output에서 콘솔 확인
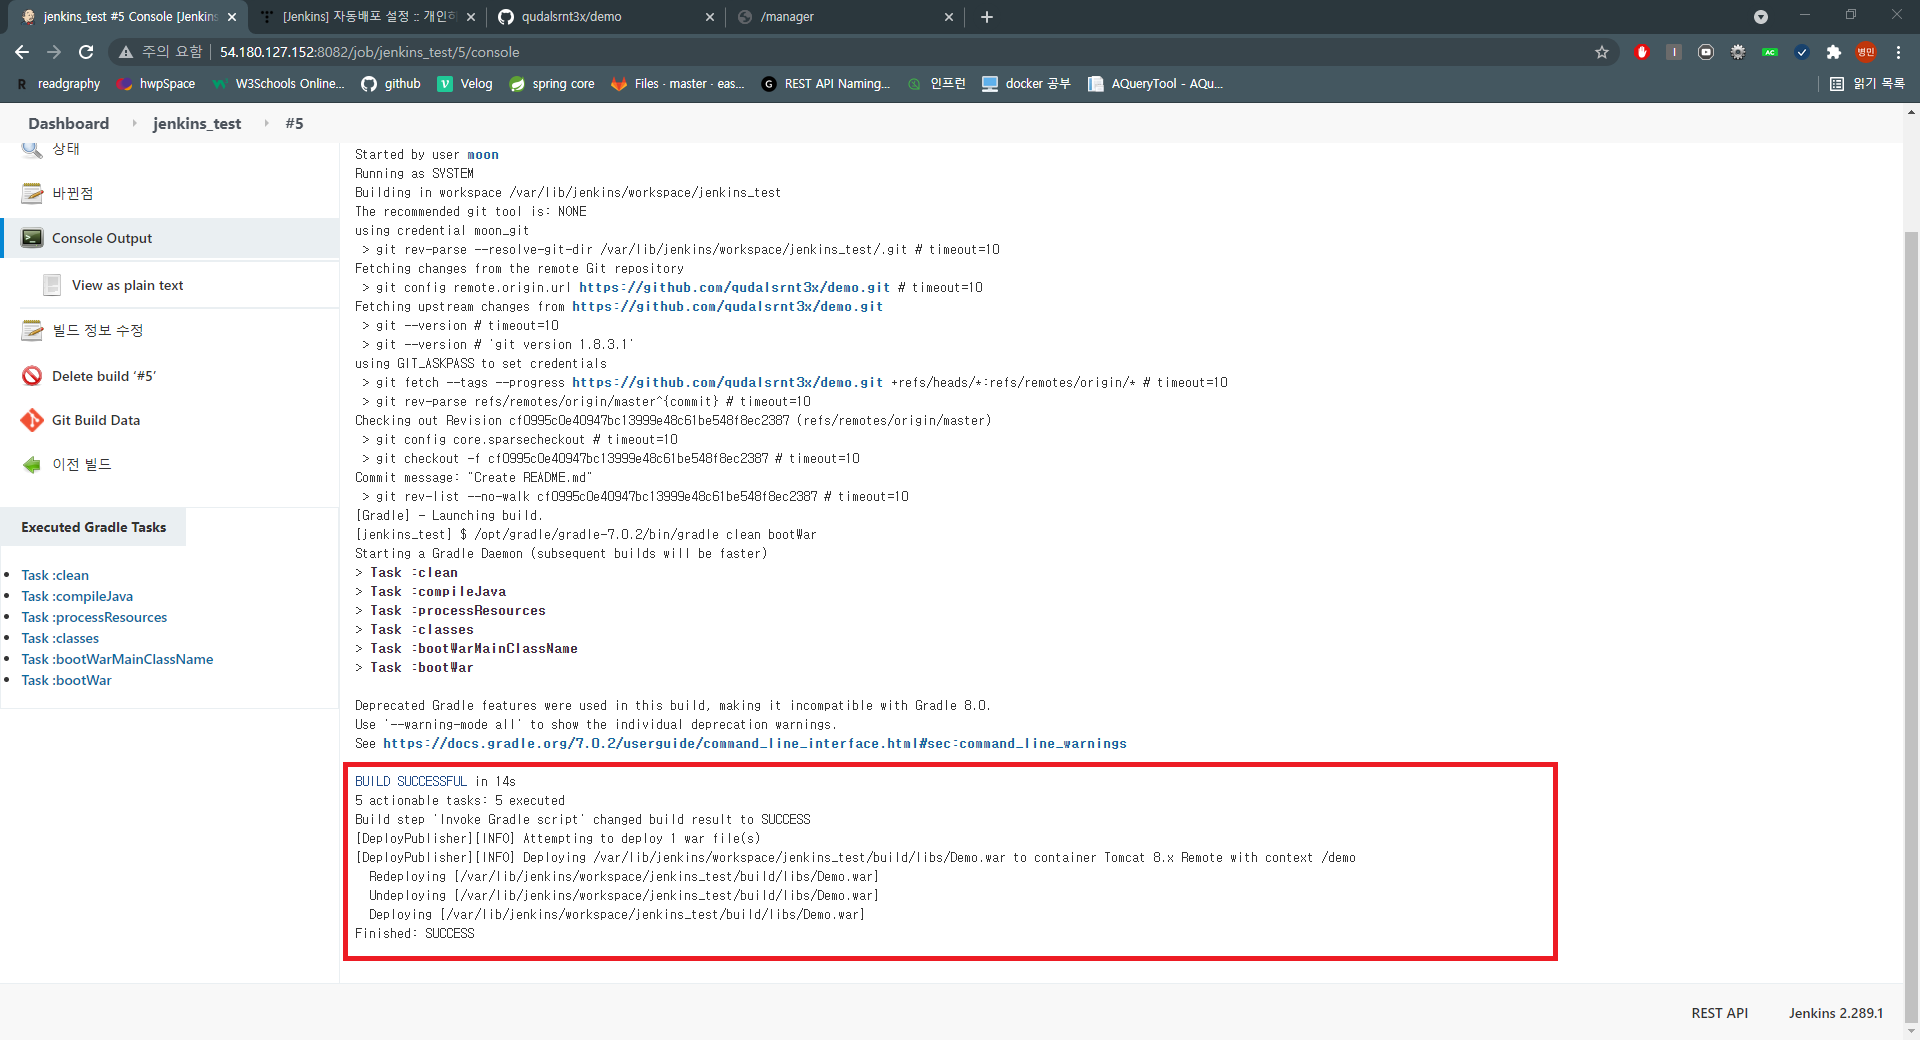
var/lib/jenkins/workspace/프로젝트(item)명/buiild/libs/xxx.war에서 tomcat의 webapps에 자동으로 배포가 된다.
이때 webapps에 배포된 war파일은 자동으로 압축이 해제된다. -
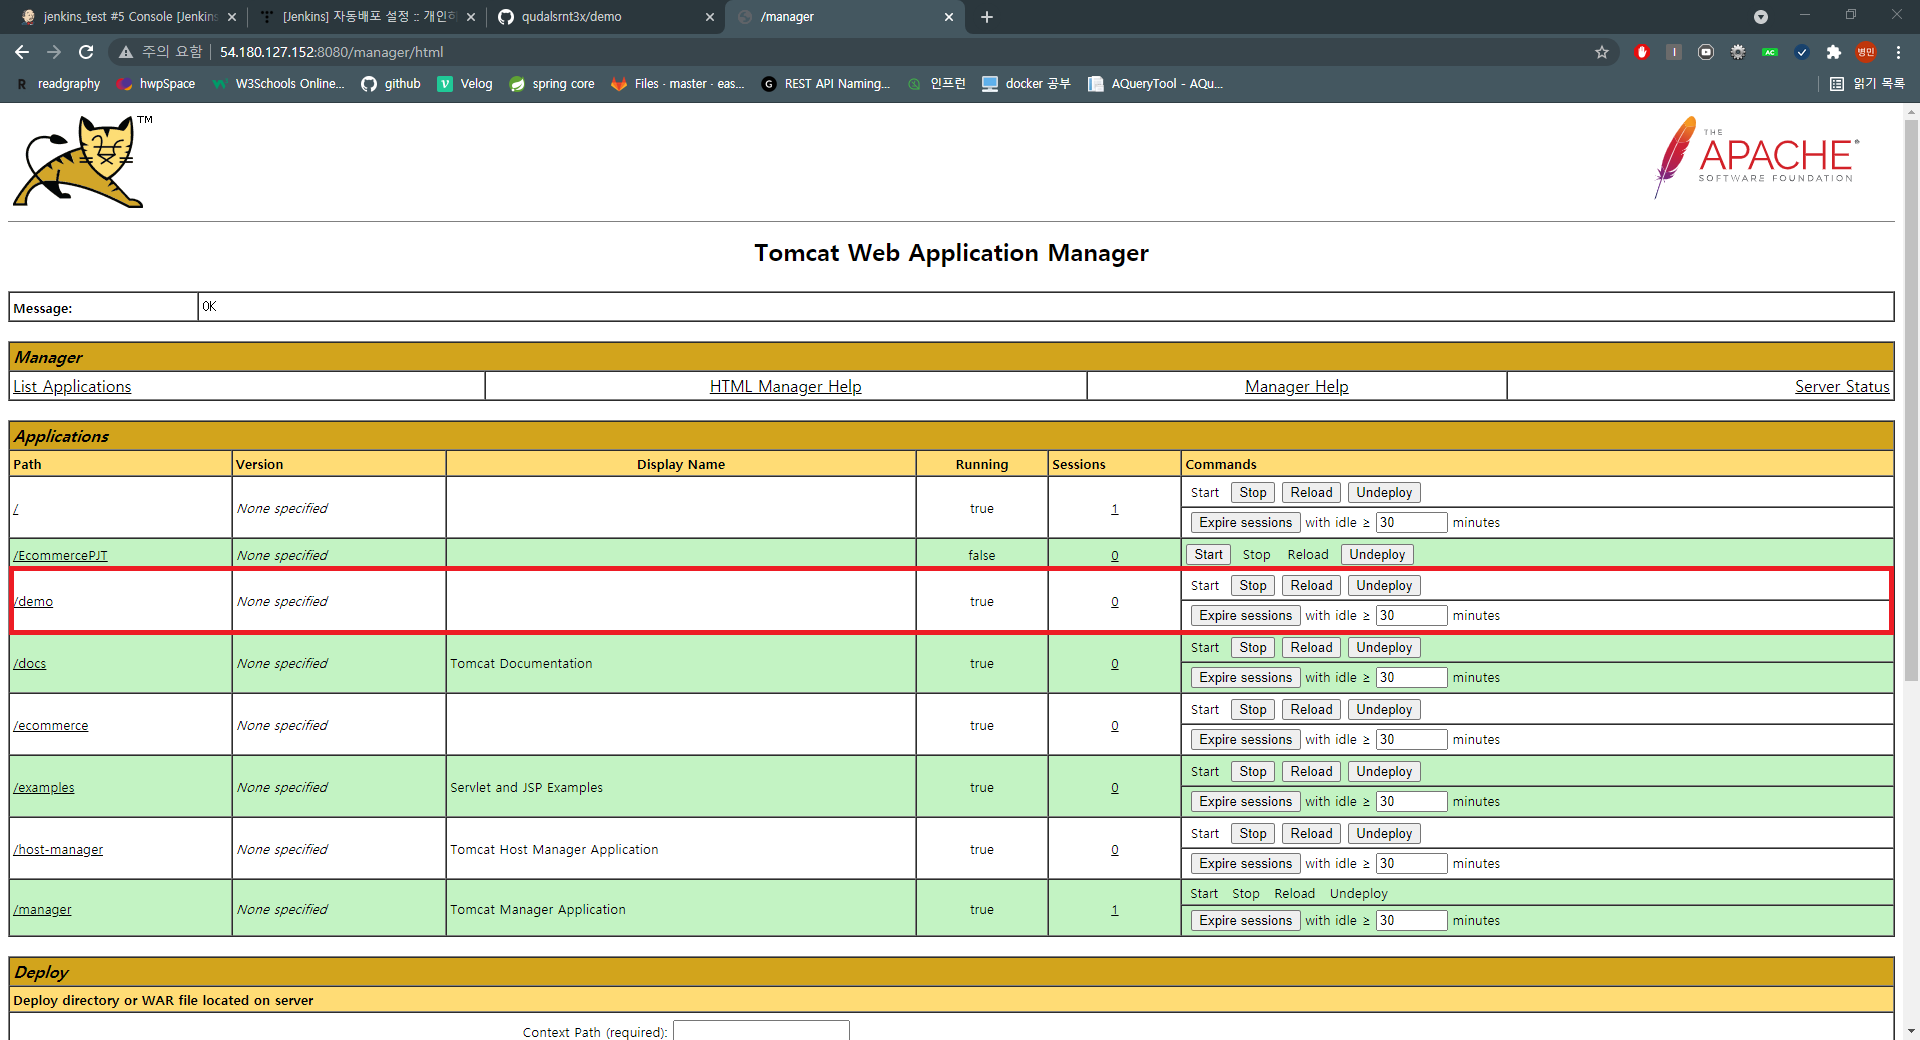
tomcat manager에서 배포한 프로젝트 확인
http://자신의 ip:톰캣포트/manager/html접속
tomcat-users.xml 에서 지정한 username, password 입력 -
/demo 로 프로젝트가 올라간 것을 확인할 수 있다.