React Native 기초 컴포넌트
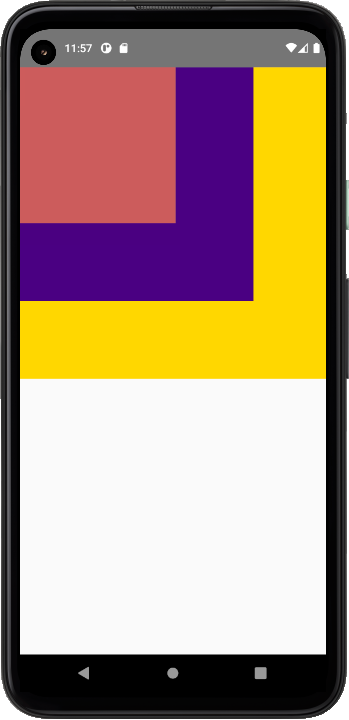
View
리액트 네이티브의 기초적인 레이아웃, HTML의 div 태그와 같은 역활을 한다고 보면 된다.
import React from 'react';
import { View } from 'react-native';
const App = () => {
  return (
    <View>
      <View style={{width: 400, height: 400, backgroundColor:"gold"}}>
        <View style={{width: 300, height: 300, backgroundColor:"indigo"}}>
          <View style={{width: 200, height: 200, backgroundColor:"indianred"}}>
          </View>
        </View>
      </View>
    </View>
  );
};
export default App;
``
text
글자를 표시하는 태그, 인라인 스타일을 통해 마진, 패딩, 글꼴, 크기 등을 지정 가능하다.
import React from 'react';
import {Text, StyleSheet} from 'react-native';

const BoldAndBeautiful = () => {
  return (
    <Text style={styles.baseText}>
      I am bold
      <Text style={styles.innerText}> and red</Text>
    </Text>
  );
};

const styles = StyleSheet.create({
  baseText: {
    fontWeight: 'bold',
  },
  innerText: {
    color: 'red',
  },
});

export default BoldAndBeautiful;
ScrollView
기본적으로 단일 개체만을 포함하는 view 태그와는 달리 여러 개체를 포함하며 세로정렬을 통해 여러 개체들을 스크롤을 통해 포함시킬 수 있다.
import React from 'react';
import {Image, ScrollView, Text} from 'react-native';

const logo = {
  uri: 'https://reactnative.dev/img/tiny_logo.png',
  width: 64,
  height: 64,
};

const App = () => (
  <ScrollView>
    <Text style={{fontSize: 96}}>Scroll me plz</Text>
    <Image source={logo} />
    <Image source={logo} />
    <Image source={logo} />
    <Image source={logo} />
    <Image source={logo} />
    <Text style={{fontSize: 96}}>If you like</Text>
    <Image source={logo} />
    <Image source={logo} />
    <Image source={logo} />
    <Image source={logo} />
    <Image source={logo} />
    <Text style={{fontSize: 96}}>Scrolling down</Text>
    <Image source={logo} />
    <Image source={logo} />
    <Image source={logo} />
    <Image source={logo} />
    <Image source={logo} />
    <Text style={{fontSize: 96}}>What's the best</Text>
    <Image source={logo} />
    <Image source={logo} />
    <Image source={logo} />
    <Image source={logo} />
    <Image source={logo} />
    <Text style={{fontSize: 96}}>Framework around?</Text>
    <Image source={logo} />
    <Image source={logo} />
    <Image source={logo} />
    <Image source={logo} />
    <Image source={logo} />
    <Text style={{fontSize: 80}}>React Native</Text>
  </ScrollView>
);

export default App;styleSheet
기존 Css처럼 컴포넌트나 객체의 스타일을 바꿔주는 기능을 한다.
import React from 'react';
import {StyleSheet, Text, View} from 'react-native';

const App = () => (
  <View style={styles.container}>
    <Text style={styles.title}>React Native</Text>
  </View>
);

const styles = StyleSheet.create({
  container: {
    flex: 1,
    padding: 24,
    backgroundColor: '#eaeaea',
  },
  title: {
    marginTop: 16,
    paddingVertical: 8,
    borderWidth: 4,
    borderColor: '#20232a',
    borderRadius: 6,
    backgroundColor: '#61dafb',
    color: '#20232a',
    textAlign: 'center',
    fontSize: 30,
    fontWeight: 'bold',
  },
});

export default App;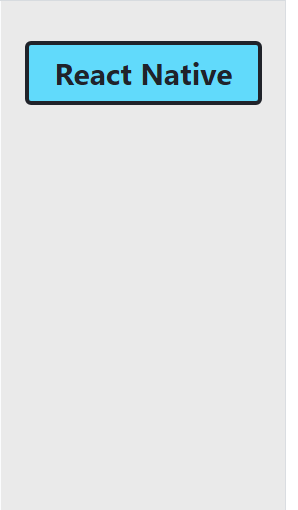
SafeAreaview
IOS 11 이상부터 지원하는 기능(Andoird는 지원 X), 해당 구역을 툴바나 헤더,푸터에 가려지지 않게 자동적으로 패딩을 잡아주는 기능을 한다.
import React from 'react';
import {StyleSheet, Text, SafeAreaView} from 'react-native';

const App = () => {
  return (
    <SafeAreaView style={styles.container}>
      <Text style={styles.text}>Page content</Text>
    </SafeAreaView>
  );
};

const styles = StyleSheet.create({
  container: {
    flex: 1,
  },
  text: {
    fontSize: 25,
    fontWeight: '500',
  },
});

export default App;
TouchableOpacity
터치 시 자동적으로 깜박이며 피드백을 주게 만드는 컴포넌트
import React, {useState} from 'react';
import {StyleSheet, Text, TouchableOpacity, View} from 'react-native';

const App = () => {
  const [count, setCount] = useState(0);
  const onPress = () => setCount(prevCount => prevCount + 1);

  return (
    <View style={styles.container}>
      <View style={styles.countContainer}>
        <Text>Count: {count}</Text>
      </View>
      <TouchableOpacity style={styles.button} onPress={onPress}>
        <Text>Press Here</Text>
      </TouchableOpacity>
    </View>
  );
};

const styles = StyleSheet.create({
  container: {
    flex: 1,
    justifyContent: 'center',
    paddingHorizontal: 10,
  },
  button: {
    alignItems: 'center',
    backgroundColor: '#DDDDDD',
    padding: 10,
  },
  countContainer: {
    alignItems: 'center',
    padding: 10,
  },
});

export default App;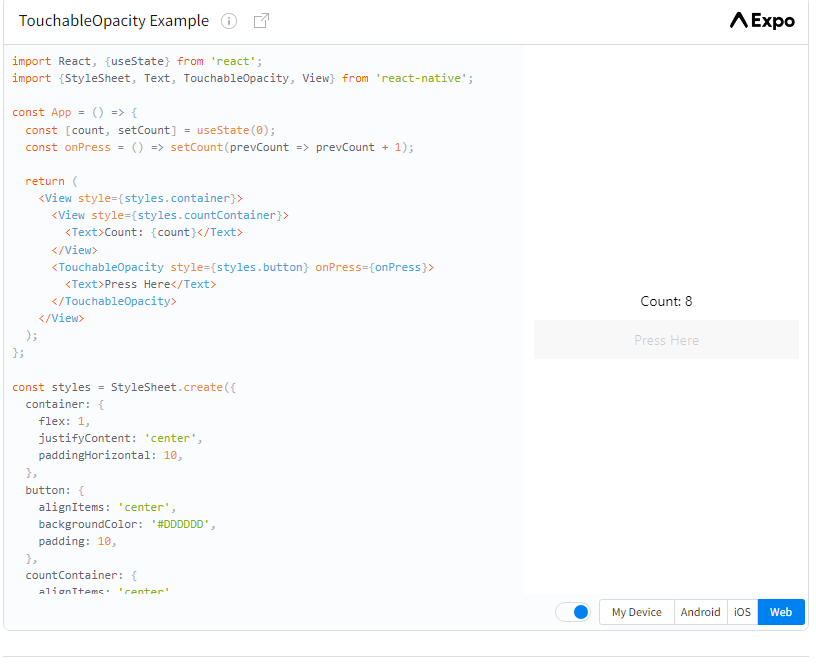
TextInput
터치 시 키보드가 나와 입력을 가능하게 하는 컴포넌트
import React from 'react';
import {SafeAreaView, StyleSheet, TextInput} from 'react-native';

const TextInputExample = () => {
  const [text, onChangeText] = React.useState('Useless Text');
  const [number, onChangeNumber] = React.useState('');

  return (
    <SafeAreaView>
      <TextInput
        style={styles.input}
        onChangeText={onChangeText}
        value={text}
      />
      <TextInput
        style={styles.input}
        onChangeText={onChangeNumber}
        value={number}
        placeholder="useless placeholder"
        keyboardType="numeric"
      />
    </SafeAreaView>
  );
};

const styles = StyleSheet.create({
  input: {
    height: 40,
    margin: 12,
    borderWidth: 1,
    padding: 10,
  },
});

export default TextInputExample;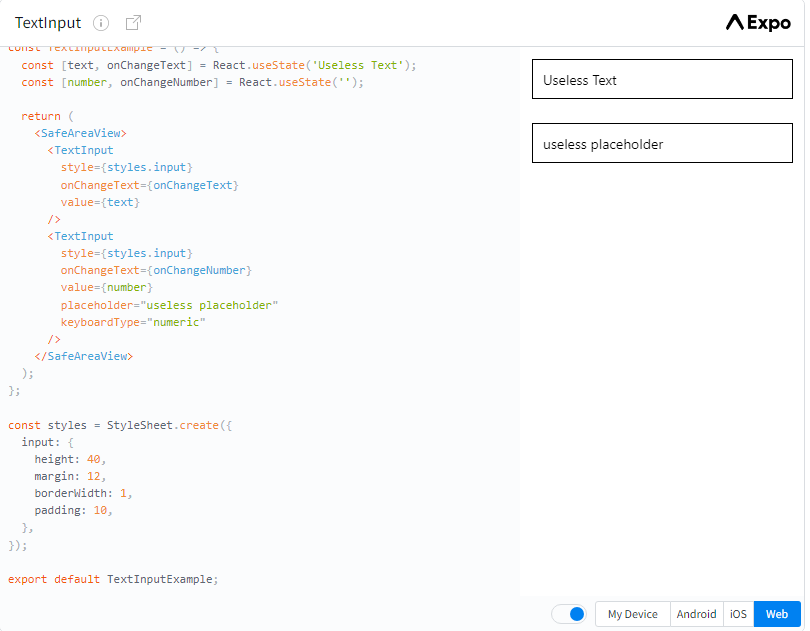
Image
이미지를 넣을 수 있는 태그(스타일시트로 이미지 변형 가능)
import React from 'react';
import {View, Image, StyleSheet} from 'react-native';

const styles = StyleSheet.create({
  container: {
    paddingTop: 50,
  },
  tinyLogo: {
    width: 50,
    height: 50,
  },
  logo: {
    width: 66,
    height: 58,
  },
});

const DisplayAnImage = () => {
  return (
    <View style={styles.container}>
      <Image
        style={styles.tinyLogo}
        source={require('@expo/snack-static/react-native-logo.png')}
      />
      <Image
        style={styles.tinyLogo}
        source={{
          uri: 'https://reactnative.dev/img/tiny_logo.png',
        }}
      />
      <Image
        style={styles.logo}
        source={{
          uri: 'data:image/png;base64,iVBORw0KGgoAAAANSUhEUgAAADMAAAAzCAYAAAA6oTAqAAAAEXRFWHRTb2Z0d2FyZQBwbmdjcnVzaEB1SfMAAABQSURBVGje7dSxCQBACARB+2/ab8BEeQNhFi6WSYzYLYudDQYGBgYGBgYGBgYGBgYGBgZmcvDqYGBgmhivGQYGBgYGBgYGBgYGBgYGBgbmQw+P/eMrC5UTVAAAAABJRU5ErkJggg==',
        }}
      />
    </View>
  );
};

export default DisplayAnImage;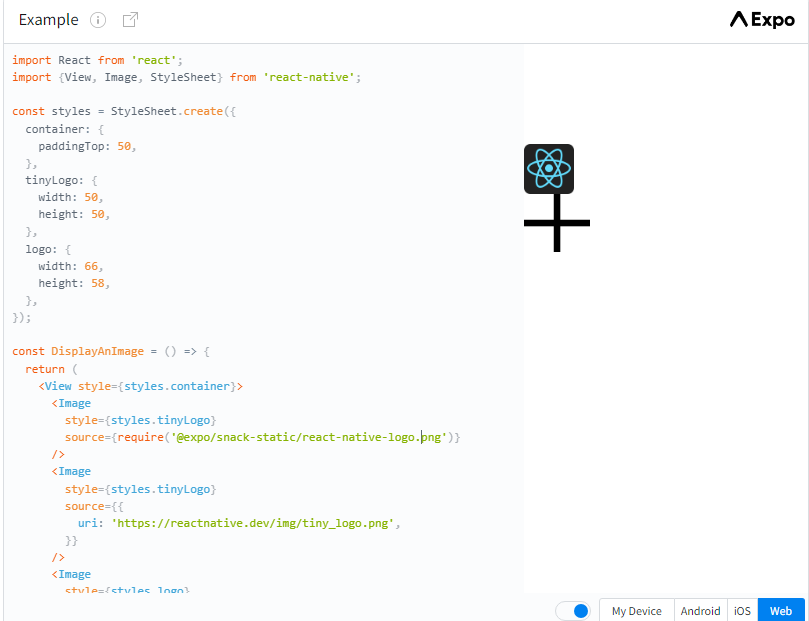

개발 초보