프로젝트 생성
rails new testapp
cd testapp
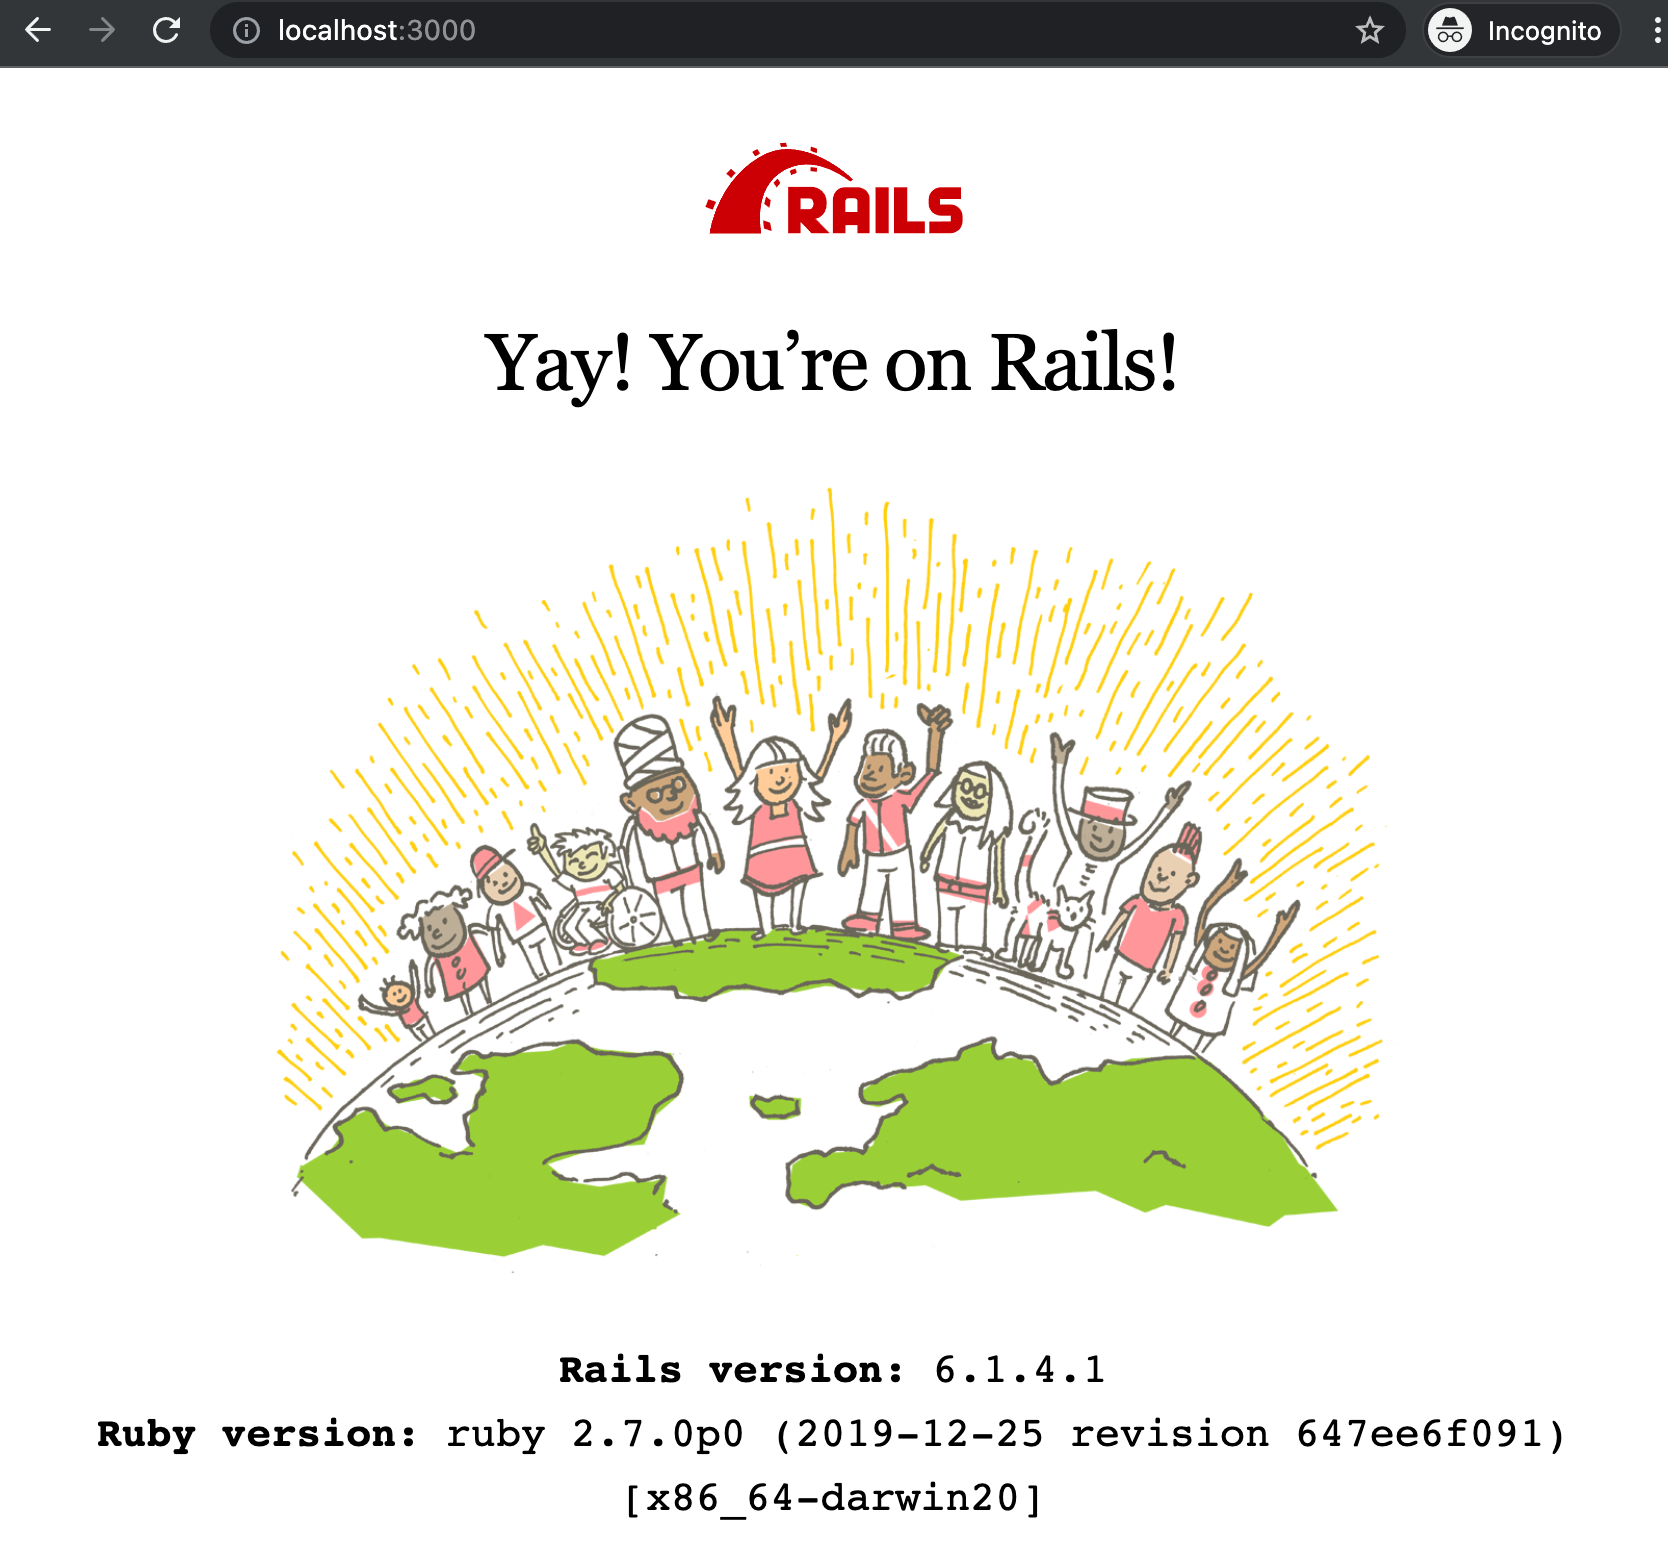
rails s브라우저로 https://localhost:3000을 열면 된다.
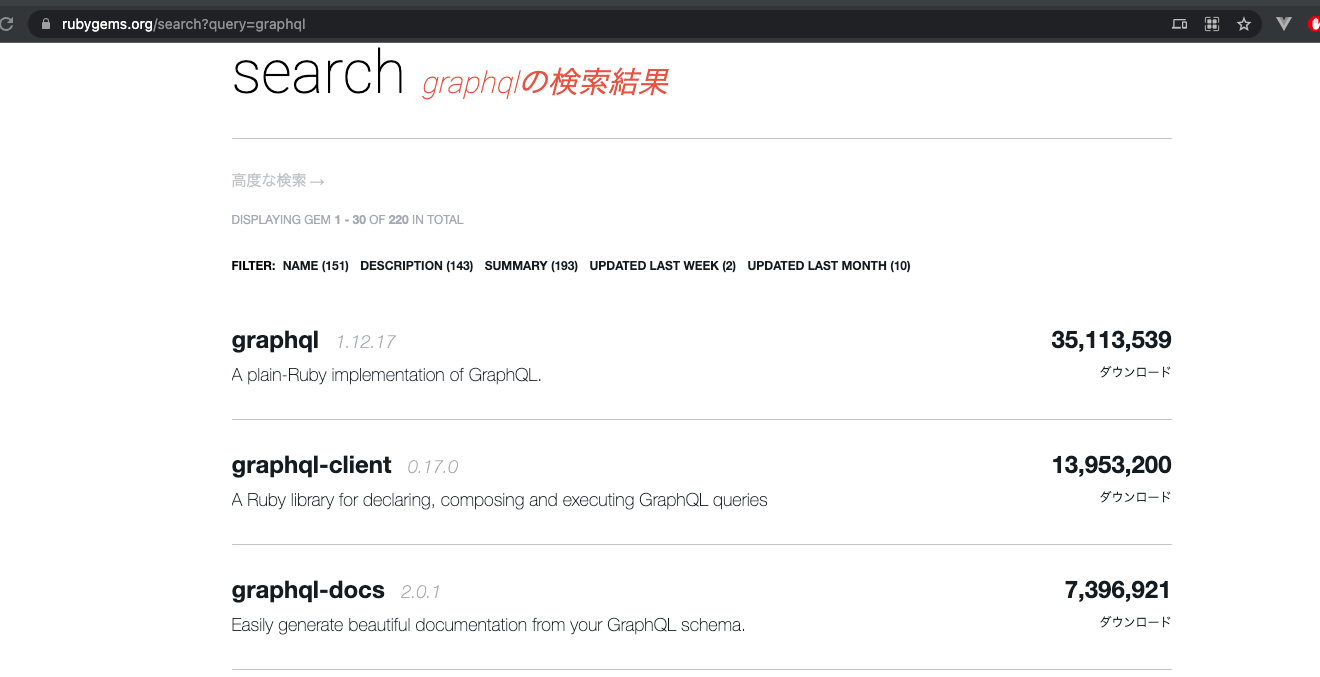
rubygems.org에서 graphql gem을 검색 한다.
https://rubygems.org/search?query=graphql
Gemfile 에 추가 해주자.

bundle install을 통해 잼을 설치 한다.
bundle exec rails generate graphql:install 를 입력한다.

테스트에 사용 할 액티브레코드 모델을 생성 하자.
bundle exec rails generate model Link url:string description:text
bundle exec rails db:migrate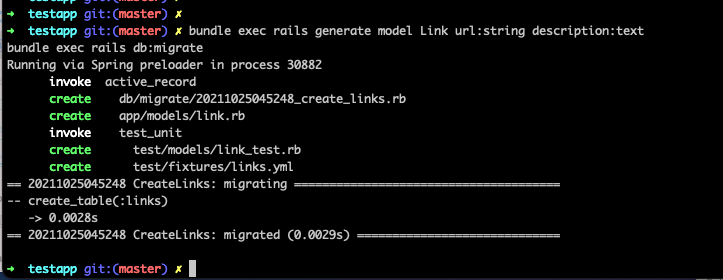
rails c로 레일즈콘솔에 진입 한 후 아래 명령어로 테스트용 데이터를 만들자.
Link.create url: 'http://graphql.org/', description: 'The Best Query Language'
Link.create url: 'http://dev.apollodata.com/', description: 'Awesome GraphQL Client'
exit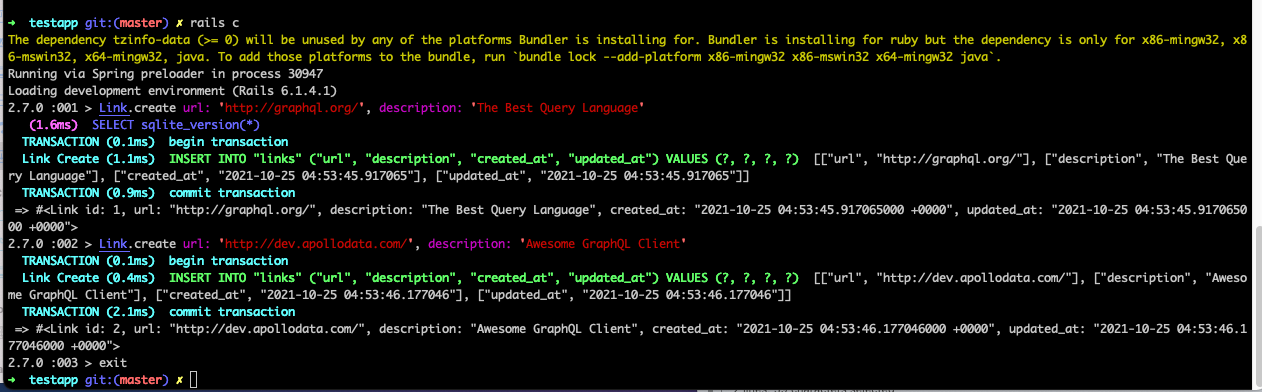
아래 명령어를 통해서 GraphQL 타입을 생성 해주자.
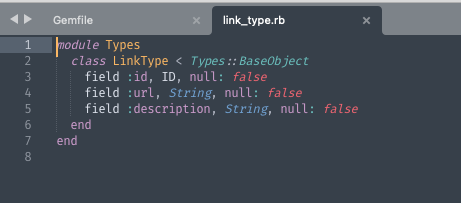
rails g graphql:object LinkType id:ID! url:String! description:String!app/graphql/types/link_type.rb 파일이 생성 되었고 내용은 아래와 같다.
query_type.rb를 열어보자. 내용이 아래와 같을 것이다.
module Types
  class QueryType < Types::BaseObject
    # Add `node(id: ID!) and `nodes(ids: [ID!]!)`
    include GraphQL::Types::Relay::HasNodeField
    include GraphQL::Types::Relay::HasNodesField

    # Add root-level fields here.
    # They will be entry points for queries on your schema.

    # TODO: remove me
    field :test_field, String, null: false,
      description: "An example field added by the generator"
    def test_field
      "Hello World!"
    end
  end
end
아래처럼 변경 해주자.
module Types
class QueryType < Types::BaseObject
field :all_links, [LinkType], null: false
def all_links
Link.all
end
end
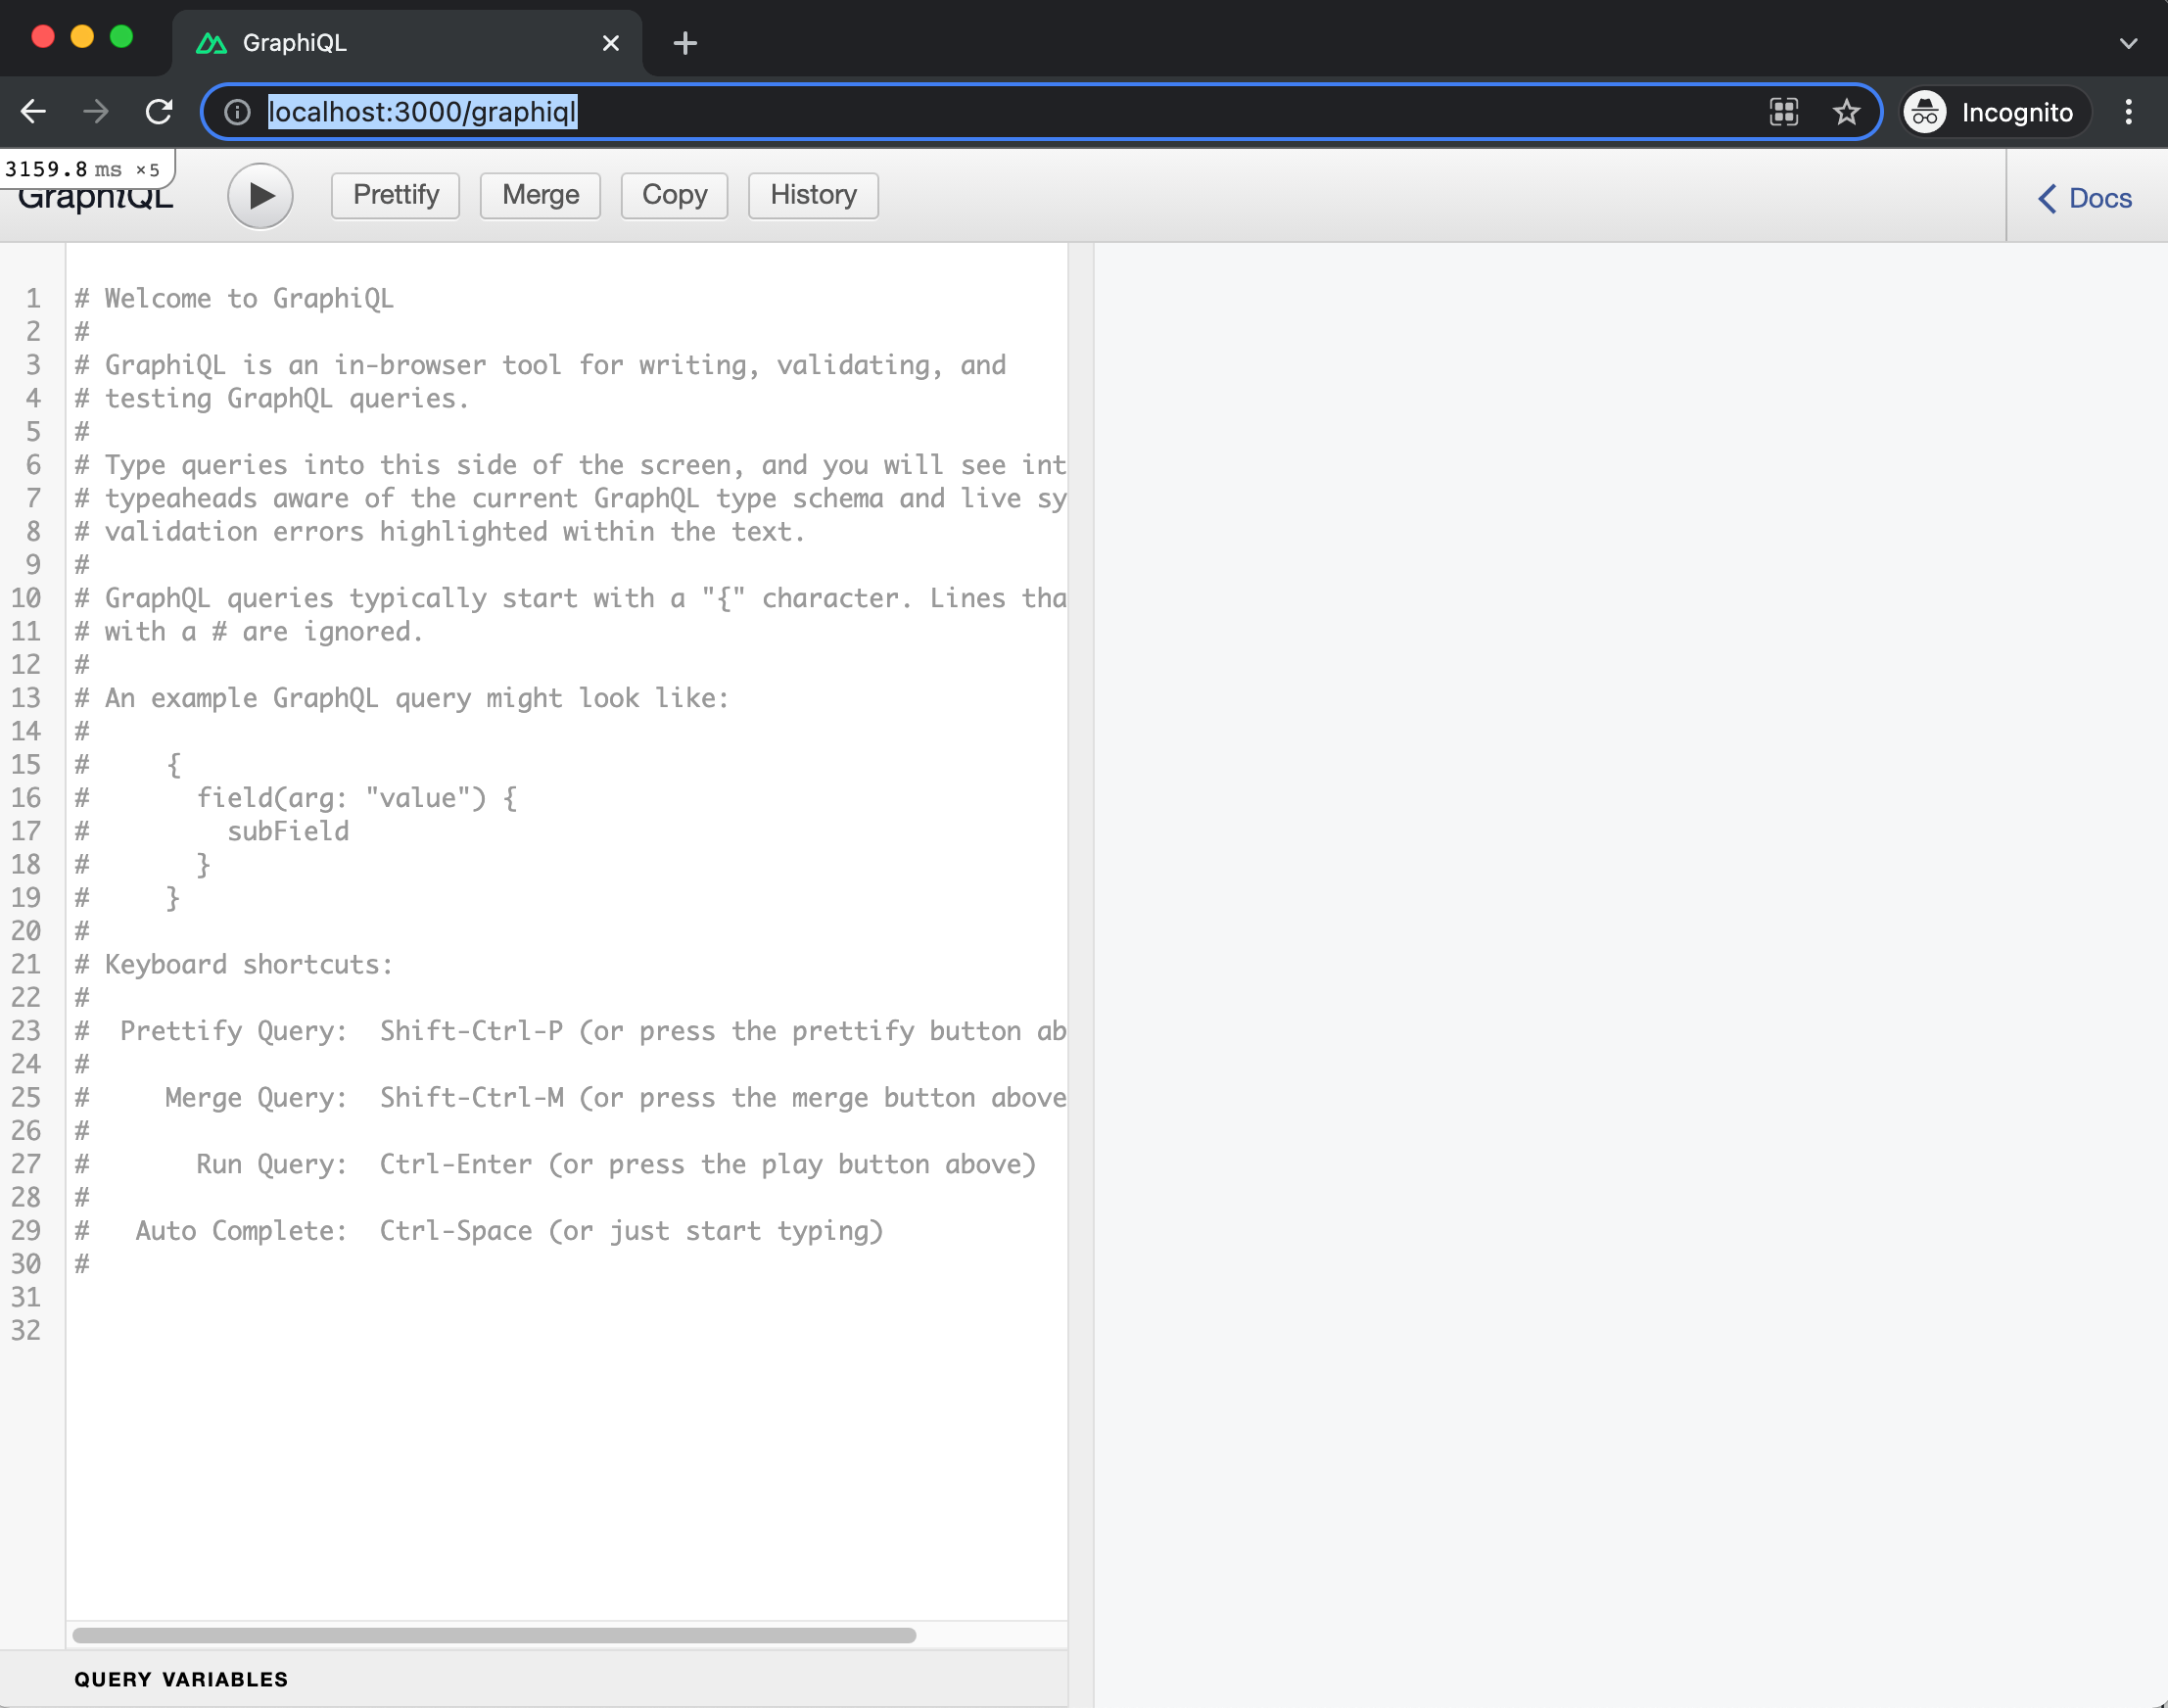
end웹브라우저로 이동하여 http://localhost:3000/graphiql을 열어보면 아래처럼 IDE가 나타난다.
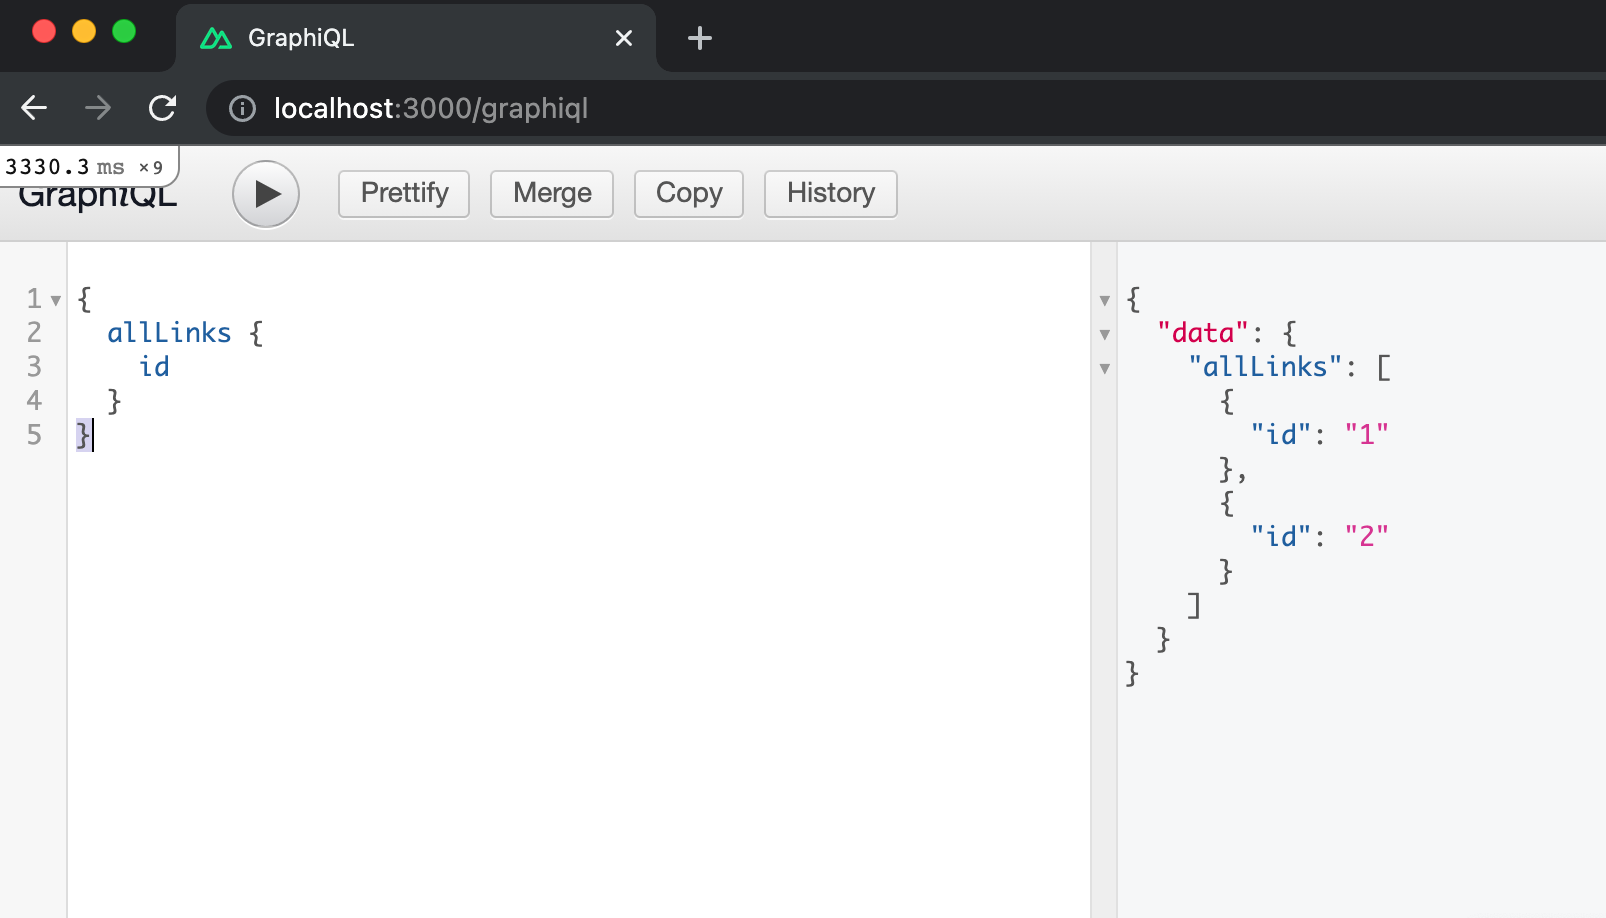
왼쪽 창에 아래를 입력 하고 삼각형 실행 버튼을 눌러보자.
{
  allLinks {
    id
  }
}
아래와 같이 오른쪽에 쿼리 결과가 잘 나타남을 알 수 있다.
다음 포스팅에서는 데이터를 변경(뮤테이션) 하는 방법을 알아보자.

rails