스프링부트에서 세션기반 스프링시큐리티를 구현해보겠습니다~!
스프링시큐리티 기본 개념
깃헙에 있는 정리본을 참고해주세요!
소스코드
작업환경
IntelliJ
Spring Boot
java 11
gradle
build.gradle
dependencies {
    implementation 'org.springframework.boot:spring-boot-starter-data-jpa'
    implementation 'org.springframework.boot:spring-boot-starter-security'
    implementation 'org.springframework.boot:spring-boot-starter-web'
    implementation 'org.springframework.boot:spring-boot-starter-thymeleaf'
    implementation 'org.thymeleaf.extras:thymeleaf-extras-springsecurity5'
    implementation 'org.springframework.boot:spring-boot-devtools'
    compileOnly 'org.projectlombok:lombok'
    runtimeOnly 'com.h2database:h2'
    runtimeOnly 'mysql:mysql-connector-java'
    annotationProcessor 'org.projectlombok:lombok'
    testImplementation 'org.springframework.boot:spring-boot-starter-test'
    testImplementation 'org.springframework.security:spring-security-test'
}
스프링시큐리티, h2 database, 타임리프 의존성을 추가해줬습니다.
application.properties
spring.h2.console.enabled=true
spring.datasource.url=jdbc:h2:mem:springminiprojectdb
spring.datasource.username=sa
spring.datasource.password=
회원 정보를 저장할 DB로 간단한 h2를 사용해줍니다.
(대신 서버가 종료되면 DB도 날라감!)
WebSecurityConfig
스프링 시큐리티 의존성을 추가하면, WebSecurityConfigurerAdapter 클래스가 실행됨.
여기서는 시큐리티의 초기화 및 설정들을 담당하고 있음.
개인 프로젝트에 맞춰서 WebSecurityConfigurerAdapter를 상속한 커스텀 Config를 만들어주면 됨.
@EnableWebSecurity
@EnableGlobalMethodSecurity(securedEnabled = true)
@RequiredArgsConstructor
public class WebSecurityConfig extends WebSecurityConfigurerAdapter {
private final UserDetailsServiceImpl userDetailsServiceImpl;
@Bean
public BCryptPasswordEncoder encoderPassword() {
return new BCryptPasswordEncoder();
}
@Override
public void configure(WebSecurity web) throws Exception {
web.ignoring().antMatchers("/h2-console/**");
}
@Override
protected void configure(HttpSecurity http) throws Exception {
//csfr 사용안함
http.csrf().disable();
//URL 인증여부 설정.
http.authorizeRequests()
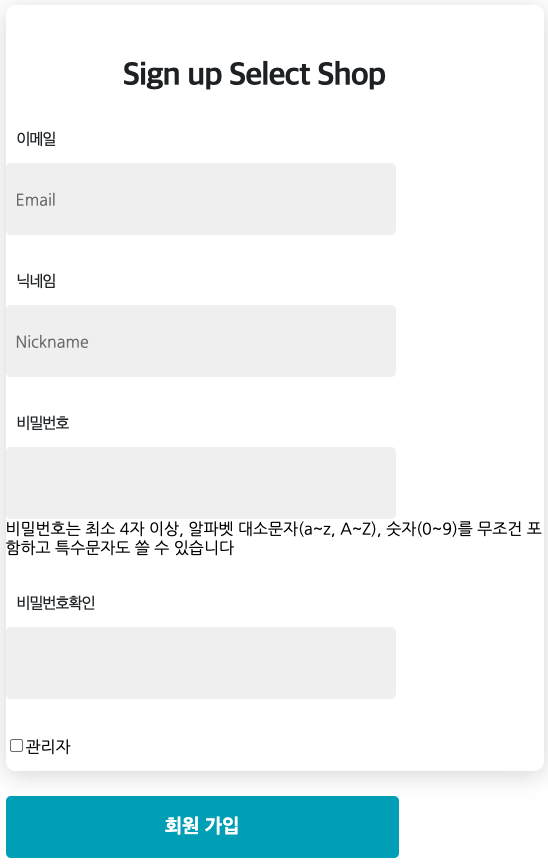
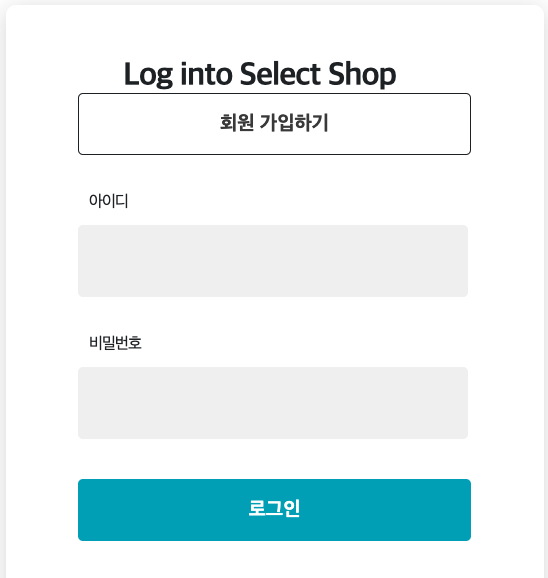
.antMatchers( "/user/signup", "/", "/user/login", "/css/**").permitAll()
//@Secured("ROLE_ADMIN")으로 대체 .antMatchers("/api/admin").hasRole("ADMIN")
.anyRequest().authenticated();
//로그인 관련 설정.
http.formLogin()
.loginPage("/user/login")
.loginProcessingUrl("/user/login") //Post 요청
.defaultSuccessUrl("/")
.failureUrl("/user/login?error")
.permitAll();
//로그아웃 설정
http.logout()
.logoutUrl("/user/logout")
.logoutSuccessUrl("/");
//비인가자 요청시 보낼 Api URI
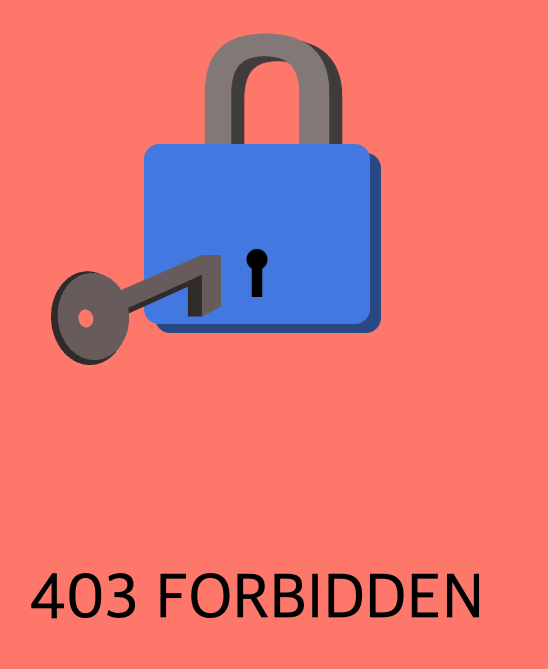
http.exceptionHandling().accessDeniedPage("/forbidden");
}
}
Annotation
@EnableWebSecurity
Security 활성화 Annotation.

클릭해보면 @Import({ WebSecurityConfiguration.class, SpringWebMvcImportSelector.class,
OAuth2ImportSelector.class,HttpSecurityConfiguration.class })이 달려서
해당 Class들을 실행시켜줌.

또한, @AuthenticationPrincipal을 통해 Authentication 객체 속에 있는 principal 필드 가져올 수 있음.
@EnableGlobalMethodSecurity(securedEnabled=true)
Controller에 직접 @Secured("ROLE_ADMIN")을 쓸 수 있게 됨.여기서 잠깐! HttpSecurity permitAll()과 WebSecurity ingnoring() 차이는??
WebSecurity는 Spring Security Filter Chain을 아예 거치지 않기에

"인증", "인가" 모두 적용되지 않음. 또한, XSS에 대한 보호가 제공안됨.

HttpSecurity보다 우선 적용되기 때문에 두곳에 모두 설정해도 WebSecurity만 적용됨.


HttpSecurity는 "인증"을 무시함. Security Filter Chain을 거쳐서 요청이 들어옴.
WebSecurity
h2-console 페이지를 인증없이 사용하기위해 추가해줍니다.
HttpSecurity
!!중요한 점은, HttpSecurity 객체를 통해 스프링시큐리티의 각종 설정을 해준다는 점!!
URL 접근권한 설정
http.authorizeRequests()
	.antMatchers( "/user/signup", "/", "/user/login", "/css/**").permitAll()
    해당 URL에는 인증절차(로그인) 없이 접근허용

    .antMathcers("/admin/**").hasAnyRole("ADMIN")
	해당 URL에는 ADMIN레벨 권한을 가진 사용자만 접근허용
    @Secured() 어노테이션으로 대체해주었음.

    .anyRequest().authenticated();
    나머지 URL은 모두 스프링시큐리티 인증을 거쳐야됨을 설정.
로그인 관련 설정
http.formLogin()
일반적인 로그인 방식, 로그인 Form페이지와 로그인 성공/실패 처리 등을 사용하겠다는 의미.

    .loginPage("/user/login")
    로그인 페이지로 넘어가는 Get 방식 Controller URI.
    따로 설정해주지않으면 Default값인 "/login"로 설정되어있는 기본로그인페이지 제공됨.

    .loginProcessUrl("/user/login") Post방식.
    해당 Controller URI로 요청을 할 경우 자동으로 스프링시큐리티 로그인 인증과정이 시작되도록 설정.

    .defaultSuccessUrl("/") Get방식
    로그인 성공시 요청하는 Controller URI
    설정하지 않는경우 "/"값이 defaultf로 설정됨.

    .failureUrl("/user/login?error")
    로그인 실패했을 때 요청하는 Controller URI

    .permitAll()
    로그인 과정은 당연히 로그인하기 전이므로 인증이 없이 진행허가.
로그아웃 관련 설정
http.logout()
	.logoutURL("/user/logout")
    시큐리티에서 미리 만들어둔 로그아웃로직을 사용하기 위해 URI를 정해줌.

    .logoutSuccessUrl("/")
    로그아웃 성공시 요청할 URI
인가 관련 설정
http.exceptionHandling().accessDeniedPage("/forbidden");
권한이 없는 사용자가 특정페이지를 접근하려 할때 접근금지 페이지로 보내주기 위해.
UserDetailsImpl
public class UserDetailsImpl implements UserDetails {

    //직접 정의한 User 클래스를 필도로 가지게 함.
    private final User user;

    //생성자를 통해 유지
    public UserDetailsImpl(User user) {
        this.user = user;
    }

    public User getUser() {
        return user;
    }

    @Override
    public String getPassword() {
        return user.getPassword();
    }

    @Override
    public String getUsername() {
        return user.getEmail();
    }

    @Override
    public boolean isAccountNonExpired() {
        return true;
    }

    @Override
    public boolean isAccountNonLocked() {
        return true;
    }

    @Override
    public boolean isCredentialsNonExpired() {
        return true;
    }

    @Override
    public boolean isEnabled() {
        return true;
    }

    @Override
    public Collection<? extends GrantedAuthority> getAuthorities() {
        List<GrantedAuthority> authorityList = AuthorityUtils.createAuthorityList(user.getRole().toString());
        return authorityList;
    }
}
UserDeatils 클래스를 구현한 UserDetailsImpl.
프로젝트의 User 클래스(회원정보)를 필드로 가지게 함.
UserDetailsServiceImpl
@Service
@RequiredArgsConstructor
public class UserDetailsServiceImpl implements UserDetailsService {

    private final UserRepository userRepository;

    //로그인할 때 들어온 username으로 DB에서 정보 찾기
    public UserDetails loadUserByUsername(String email) throws UsernameNotFoundException {
        User user = userRepository.findByEmail(email)
                .orElseThrow(() -> new CustomException(ErrorCode.NO_USER));

        //UserDetailsImpl에서 정의한 생성자
        return new UserDetailsImpl(user);
    }
}
UserDetailsService를 구현한 서비스클래스.
각자의 프로젝트에 맞게 DB에서 회원정보를 찾는 부분을 커스텀해줘야함.
위에서 만들어준 UserDetailsImpl을 반환해줌.
UserRoleEnum
@Getter
public enum UserRoleEnum {

    //spring security가 제공하는 ROLE 네이밍 정책이 <ROLE_권한>이므로 맞춰서 작성해준다.
    ROLE_ADMIN("관리자"), ROLE_MEMBER("일반사용자");

    private String description;

    UserRoleEnum(String description) {
        this.description = description;
    }
}
회원의 권한을 위한 Enum 클래스.
시큐리티에서 ROLE_의 형태로 인식하기 때문에 애초에 이런 형식으로 만들어주는것이 좋다.
AdminPageController
@Controller
public class AdminPageController {

    @GetMapping("/api/admin")
    @Secured("ROLE_ADMIN")
    public String adminPage(@AuthenticationPrincipal UserDetailsImpl userDetails) {
        return "admin";
    }
}
관리자만 접속 가능한 관리자페이지로 이동하는 Controller
여기서 주의깊게 봐야할 부분은 메서드 위해 @Secured("ROLE_ADMIN")을 붙여서 해당 권한을 가진 이용자만 접근할 수 있도록 제한해주었습니다.
참고로 관리자로 회원가입시 필요한 비밀번호는 UserService 26번째 줄에 있습니다.
MainPageController
@Controller
public class MainPageController {

    @GetMapping("/")
    public String mainPage(@AuthenticationPrincipal UserDetailsImpl userDetails, Model model) {
        if (userDetails != null) {
            User user = userDetails.getUser();
            System.out.println(user.getRole().getDescription());
            model.addAttribute("user", user);
        } else {
            model.addAttribute("user", "");
        }
        return "index";
    }
}
메인페이지로 이동하는 Controller.
메서드의 인자를 보면 @AuthenticationPrincipal이 있는데
이것은 위에서 설명했듯이 @EnableWebSecurity 어노테이션 덕분에 사용이 가능.
현재 세션에 로그인 되어있는 사용자의 UserDetailsImpl을 불러올 수 있다.
ForbiddenPageController
@Controller
public class ForbiddenPageController {

    @GetMapping("/forbidden")
    public String forbiddenPage() {
        return "forbidden";
    }
}
권한이 없는 페이지에 접근할 때 보내줄 Controller.
"/frobidden" URI는
http.exceptionHandling().accessDeniedPage("/forbidden"); 와 동일해야 한다.
나머지
이외에 html과 예외처리 부분은 상단에 있는 깃허브 링크에서 참고해주시면 감사하겠습니다.
실행결과
접근금지페이지
참고
https://kimchanjung.github.io/programming/2020/07/02/spring-security-02/
