설명 아이콘
⬜️ : 웹페이지
⬛️ : VS code
코드 : VS code 터미널 (기본경로 : 프로젝트의 root 폴더)
✅ 선택
🟥 Error
⌨️ 입력
2. TypeScript 기반 React 프로젝트 생성
npx create-react-app [프로젝트 명] --template typescriptjs, jsx 파일이 아닌 ts, tsx 파일들이 설치되었으면 성공
cd [프로젝트 명]
npm run start
→ 다음 화면이 정상적으로 나와야 한다.
3. Firebase initialization
3-1. Project 시작
⬜️ https://firebase.google.com/?hl=ko 접속
⬜️ 시작하기 - 프로젝트 추가 -
✅ Google 애널리스틱 구성 : Default account for firebase
3-2. Cloud Firestore 추가
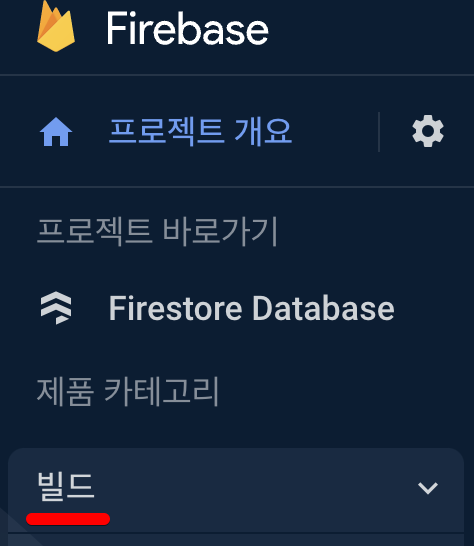
⬜️ 해당 프로젝트 이름 클릭
- 빌드 - Firestore Database - 데이터베이스 만들기 -
✅ Cloud Firestore 보안 규칙 : 테스트 모드에서 시작 -
✅ Cloud Firestore 위치 설정 : asia-northeast3 (seoul)
3-3. Firestore
⬜️ (firebase - 프로젝트 - Firestore Database - Cloud Firestore)
⬜️ +컬렉션 시작
⬜️ 컬렉션 ID 지정, 문서 ID, 필드 지정 : test - first - field
(넣을 컬렉션, 문서, 필드가 확실하다면 그걸 넣어주도록 한다. 아직 구체적이지 않으면 다음과 같이 임의로 입력)
- 결과

3-4. Firebase 연동
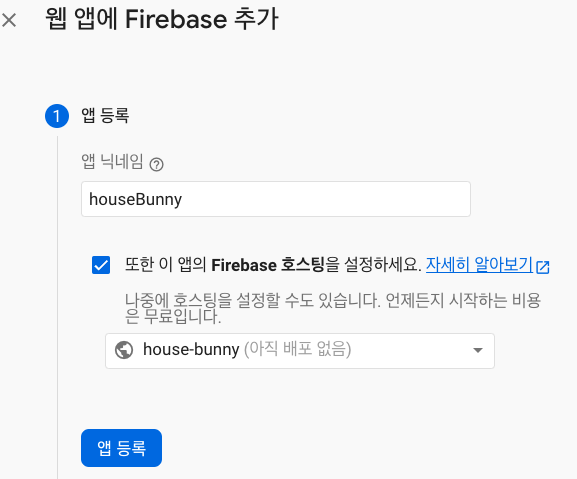
⬜️ 해당 프로젝트 이름 클릭 - 앱에 Firebase를 추가하여 시작하기 - </> (웹) 클릭

⬜️ 앱 닉네임, 호스팅 체크, 호스팅 선택 - 앱 등록
⬛️ src 폴더 - firebase.tsx 생성
npm i firebase 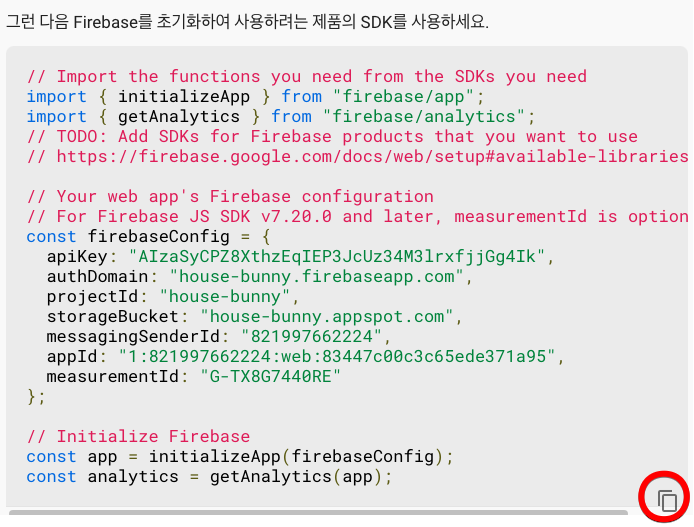 ⬜️ 위 코드를 복사 후
⬛️ firebase.tsx 에 붙여넣는다
⬜️ 위 코드를 복사 후
⬛️ firebase.tsx 에 붙여넣는다
npm i -g firebase-tools (🟥Error: EACCES: permission denied 발생시 관리자 권한으로 실행한다.
Mac/Linux : sudo npm i -g firebase-tools 입력
Windows : prompt를 administrator 권한으로 실행 )
firebase loginfirebase init
firebase init 후 VS Code 터미널에서 다음과 같이 선택해준다.
❓Which Firebase features do you want to set up for this directory? Press Space to select features, then Enter to confirm your choices.
✅ Firestore, Hostring, Storage 선택 (Space) - 확인 (Enter)

=== Project Setup
❓ Please select an option:
✅ Use an existing project (Enter)
(🟥Error: It look like you haven't used Cloud Firestore in this project before 발생시 firebase 페이지에서)


✅ 기본 GCP 리소스 위치: asia-northeast3 선택 - 완료
❓ Select a default Firebase project for this directory
✅ 프로젝트 이름 선택
=== Firestore Setup
❓ What file should be used for Firestore Rules? ⌨️firestore.rules
❓ What file should be used for Firestore indexes? ⌨️firestore.indexes.json
=== Hosting Setup
❓ What do you want to use as your public directory? ⌨️public
❓ Configure as a single-page app (rewrite all urls to /index.html)? ⌨️y
❓ Set up automatic builds and deploys with GitHub? ⌨️y
❓ File public/index.html already exists. Overwrite? ⌨️N
(❗️ 만약 y: overwrite한다고 하면 배포 후 다음과 같은 화면을 보게 된다)

여기까지 진행했을 때, 다음과 같은 화면과 메시지(VS Code)가 나옴을 확인해야 한다.
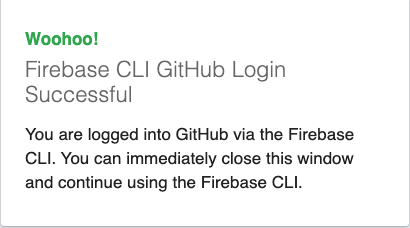
✔ Success! Logged into GitHub as [GitHub ID]
다음에 입력할 항목은 repository가 생성되어 있어야 입력이 가능하므로, 지금 생성해준다.
⬜️ GitHub - 내 아이콘 - Your reposigories - New

✅ 노란 체크표시를 입력 혹은 선택 후 repository를 생성한다.
생성된 repository의 좌측 상단에 있는 것을 다음 항목에 입력한다.
❓ For which GitHub repository would you like to set up a GitHub workflow? (format: user/repository)
⌨️ {GitHub ID}/{repository 이름}
❓ Set up the workflow to run a build script before every deploy? ⌨️y
❓ What script should be run before every deploy? ⌨️npm ci && npm run build
❓ Set up automatic deployment to your site's live channel when a PR is merged? ⌨️y
❓ What is the name of the GitHub branch associated with your site's live channel? ⌨️main
=== Storage Setup
❓ What file should be used for Storage Rules? ⌨️storage.rules
다음의 초기화 완료 메시지를 확인 후,
✔ Firebase initialization complete!
⬛️ App.tsx 에 입력 : import { } from 'firebase/firestore';
4. Firebase 배포
npm run build
npm i -g serve (❗️Permission denied되면 역시 관리자 권한으로 실행한다)
serve -s build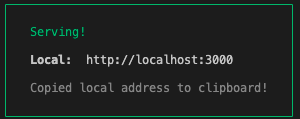
서버를 열어주고
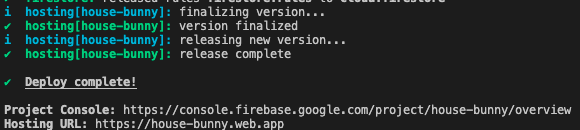
firebase deploy많은 메세지들과 함께 배포 주소가 뜬다 : Hosting URL
클릭해서 화면이 하얗게만 나온다면 브라우저 콘솔창이 이렇게 되어 있음을 확인할 수 있다.

⬛️ src - firebase.json의 "public" : "public" → "public" : "build"로 변경해주고,
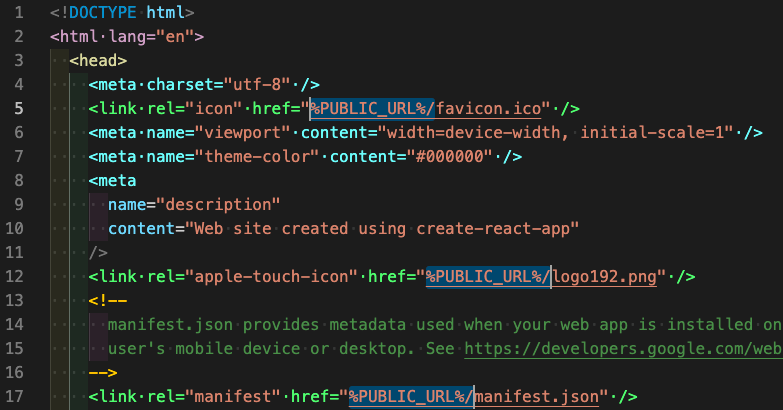
⬛️ public - index.html의 %PUBLIC_URL%/ 을 모두 (⌘ + D) 삭제해준다.
firebase deploy한 후 다시 Hosting URL에 접근하면 처음에는 같은 Error가 뜰 수 있지만 몇 분 기다리면

→ 정상적 화면 출력(배포 성공)을 확인할 수 있다.
Firebase 연동 + 배포 완료