이번 과제는 페어분과 함께 이번 유닛에서 배운 React Hooks를 적용해보고, Custom Hook과 React.lazy()와 Suspense를 이용하여 React 앱을 직접 리팩토링해보는 시간을 가졌다.
먼저 터미널을 열어 npm을 이용해 전역 설치를 해주자.
npm i -g json-server
그 다음에 sprint의 data에 들어가서 다음 명령어를 입력하자.
json-server --watch data.json --port 3001
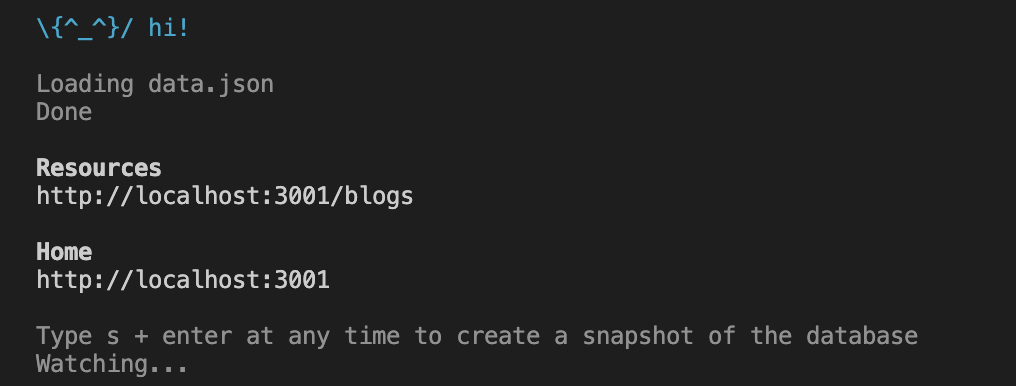
그러면 json-server를 통해 3001 포트로 서버가 실행되었음을 알 수 있고, server가 잘 열렸는지, home의 API를 브라우저 주소창에 입력하여 확인을 해보자.
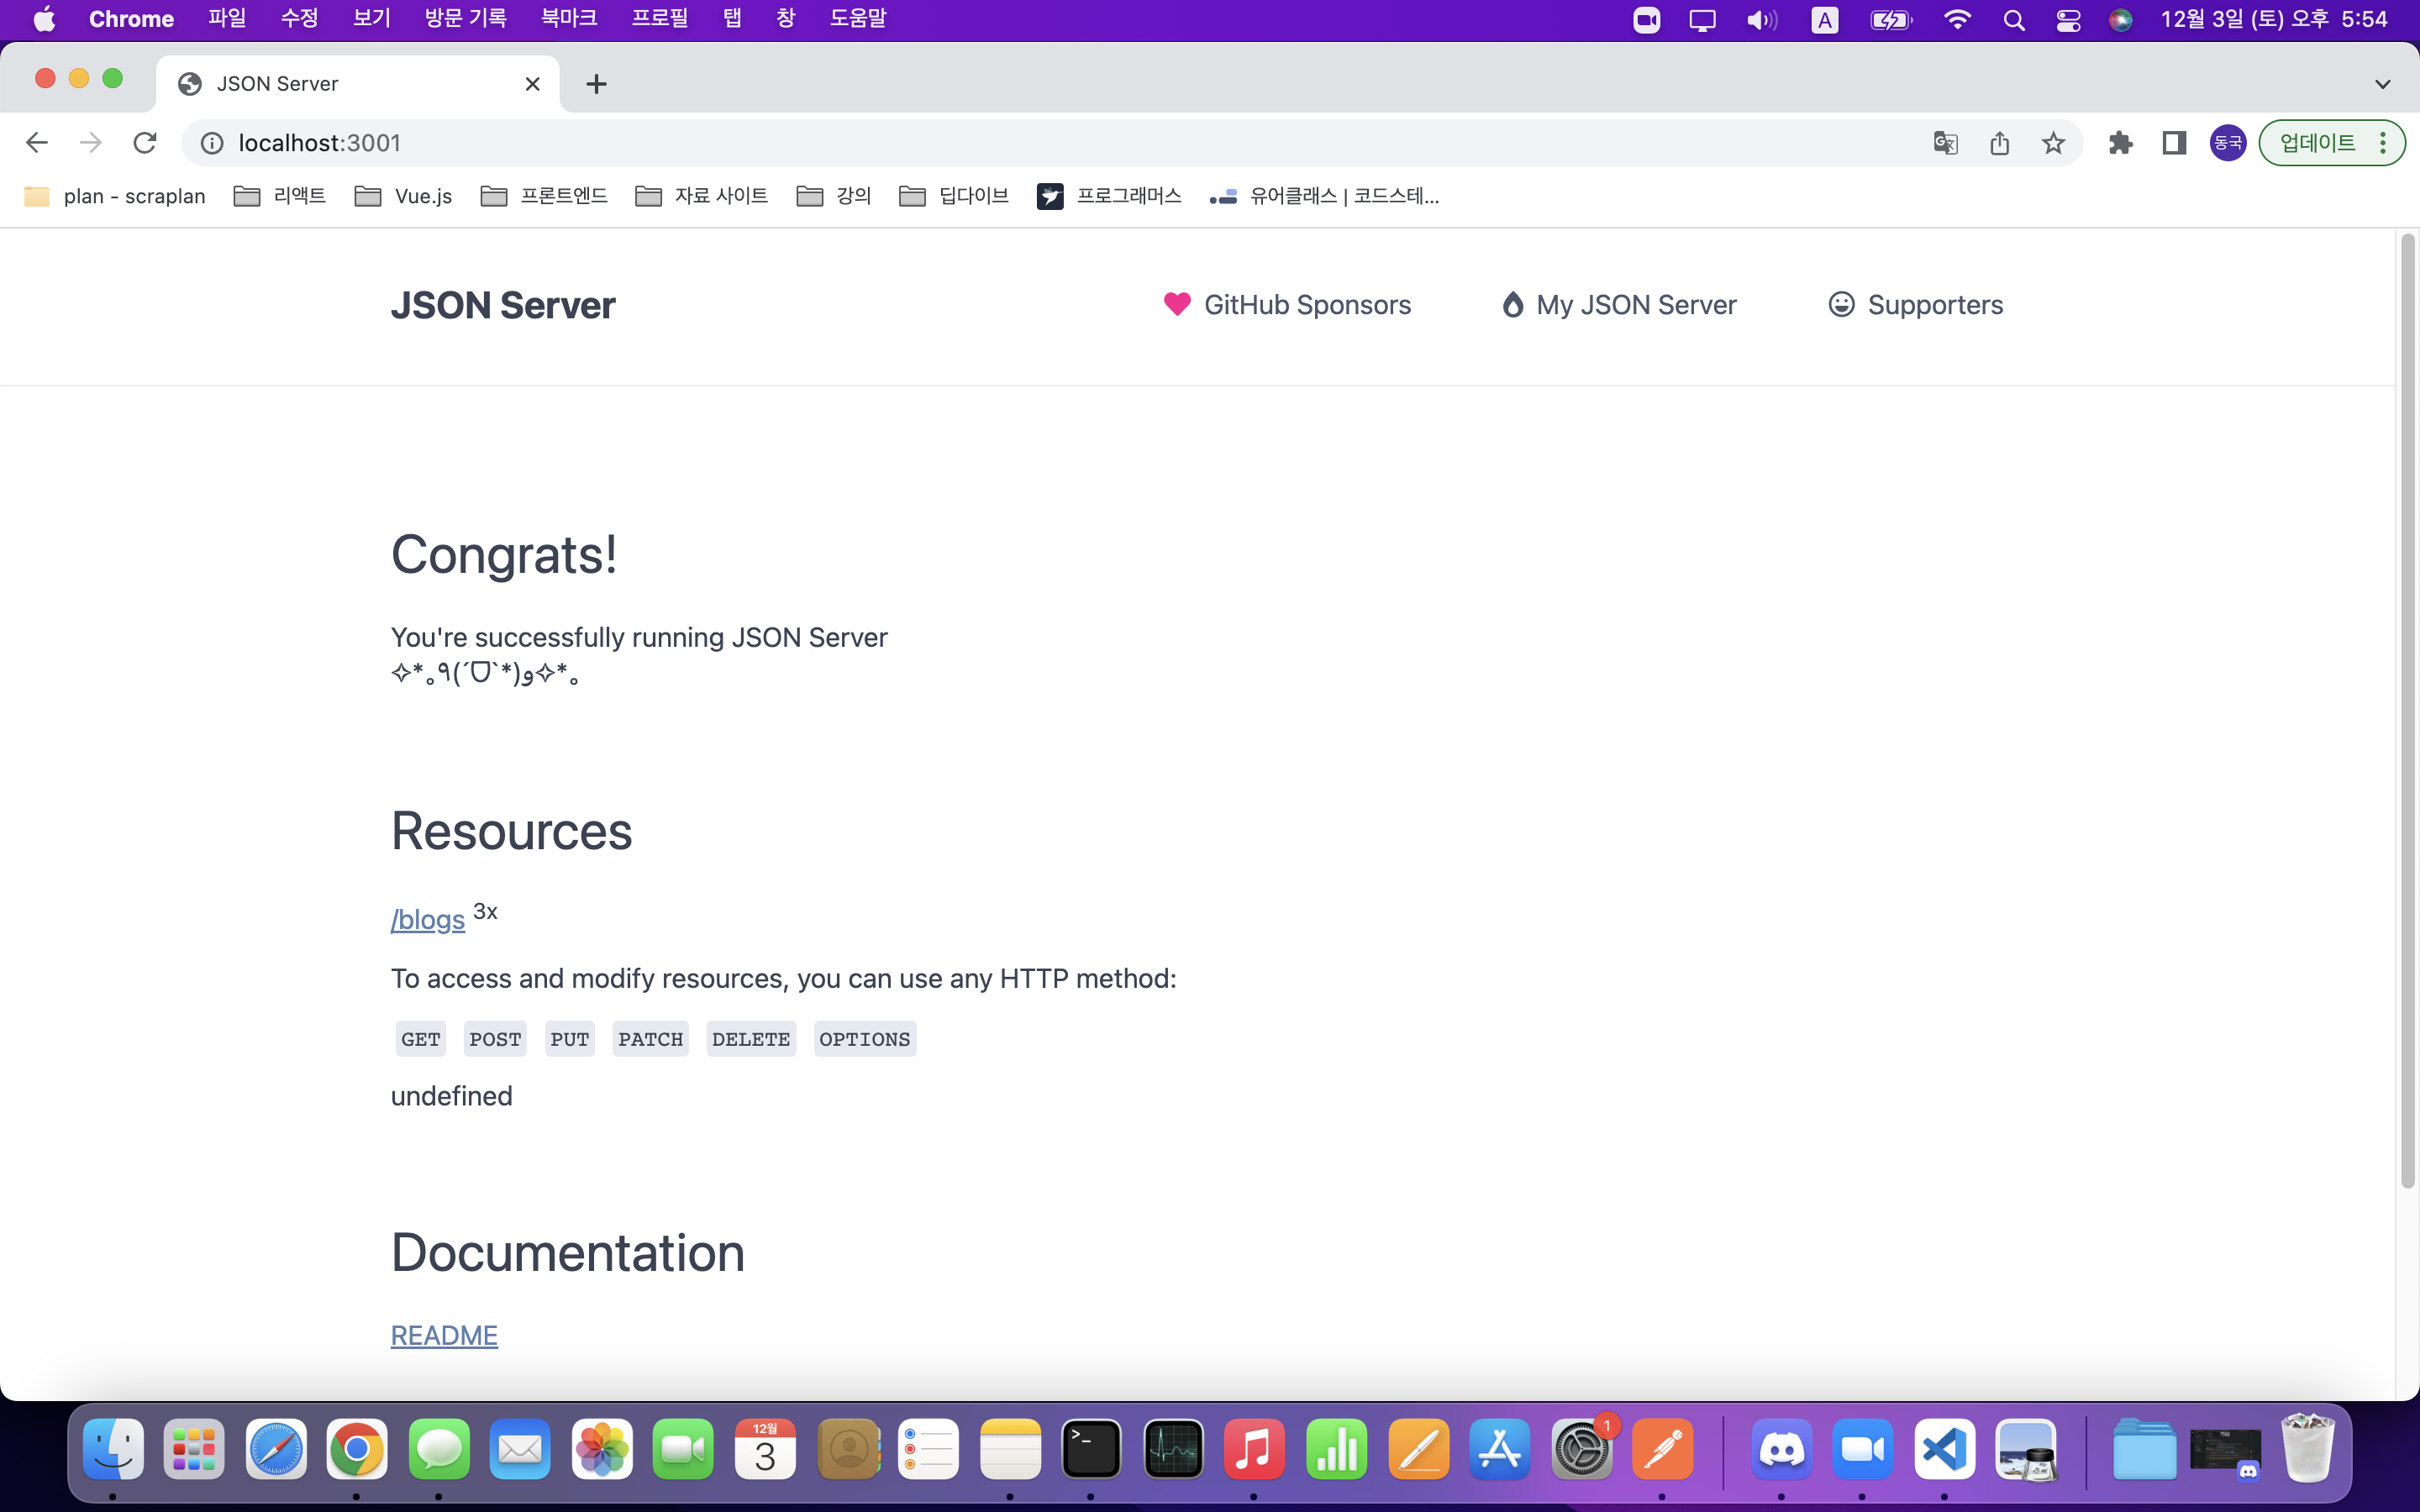
localhost:3001 로 진입하자 server가 잘 열린 것을 확인할 수 있다.
그리고 그러면 포스트맨을 이용해 GET 요청을 보내보자.
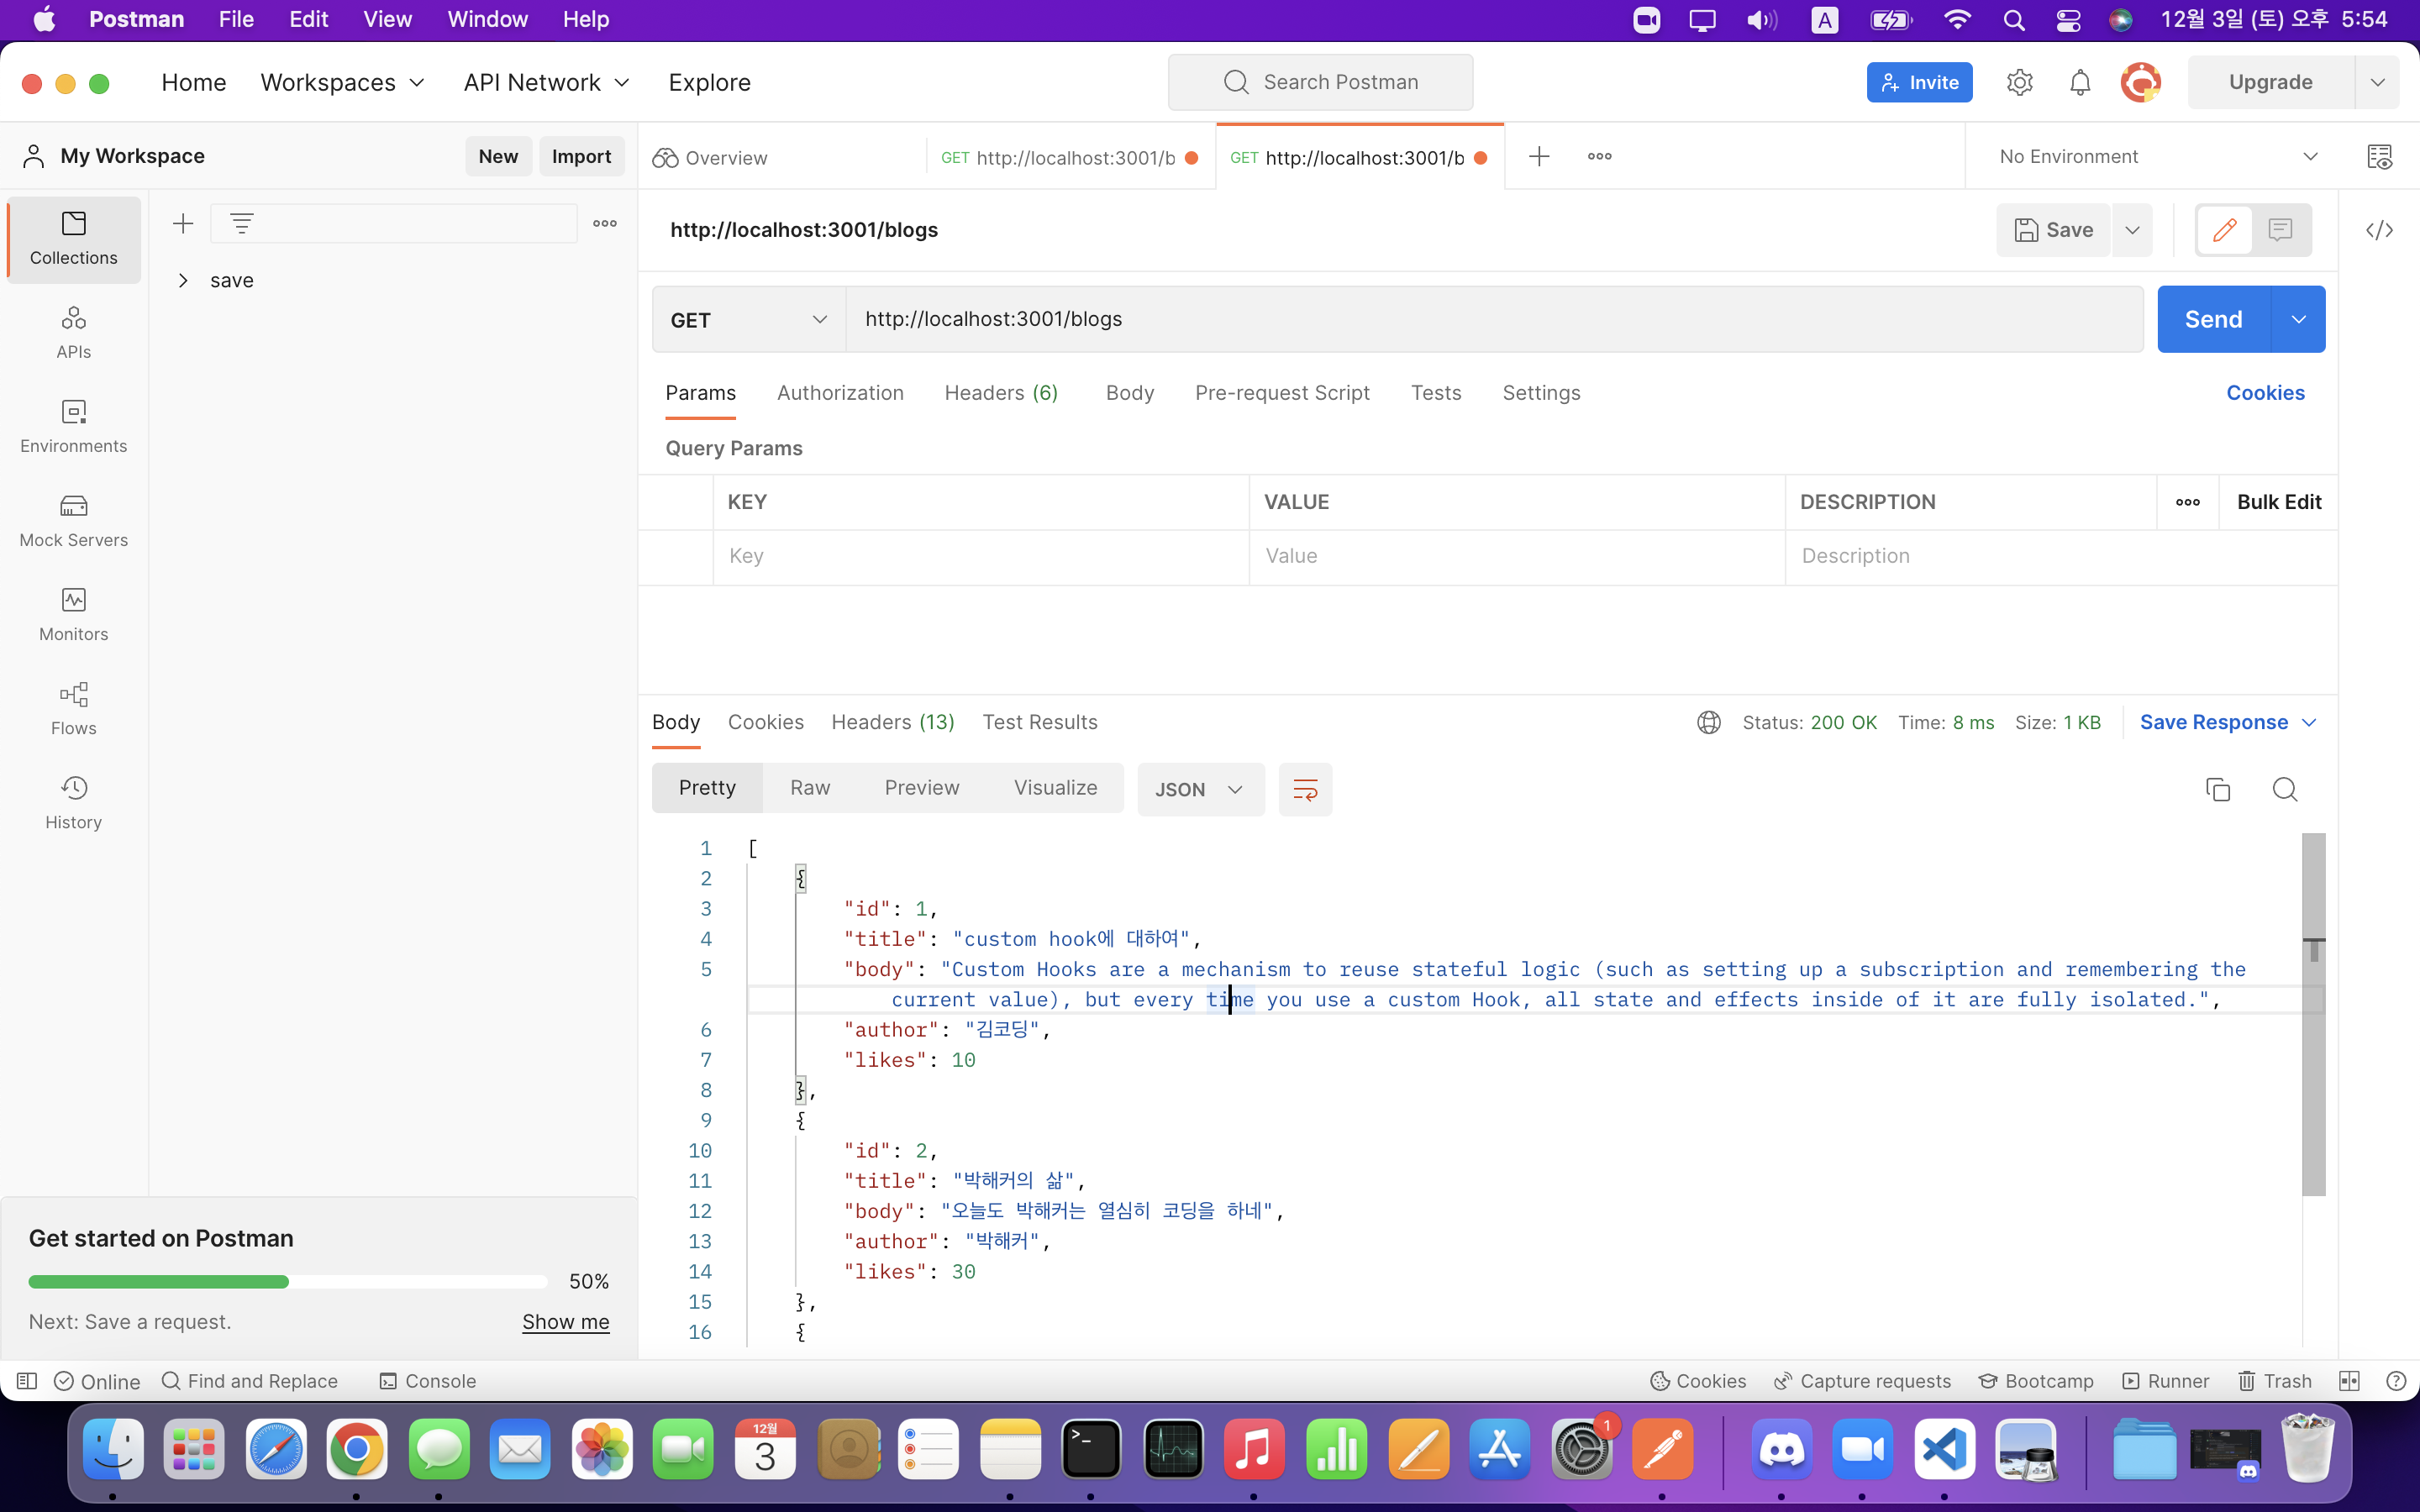
포스트맨을 통해 GET 요청을 보내보면 정상적으로 응답하고 있는것을 볼 수 있다.
그럼 본격적으로 과제를 해보자
App.js
App.js에서는 react.lazy()와 suspense를 사용하여 컴포넌트를 리팩토링하였다.
Suspense, lazy를 import해주는 것을 잊지말자.
import { BrowserRouter, Routes, Route } from 'react-router-dom';
import { Suspense, lazy } from 'react';
import useFetch from './util/useFetch';

const Home = lazy(() => import('./Home'))
const CreateBlog = lazy(() => import('./blogComponent/CreateBlog'))
const BlogDetails = lazy(() => import('./blogComponent/BlogDetail'))
const NotFound = lazy(() => import('./component/NotFound'))
const Navbar = lazy(() => import('./component/Navbar'))
const Footer = lazy(() => import('./component/Footer'))
const Loading = lazy(() => import('./component/Loading'))


function App() {

// ~생략


  return (
    <BrowserRouter>
    { error && <div>{ error }</div> }
    <Suspense fallback={<Loading/>}>
        <div className="app">
          <Navbar />
          <div className="content">
            <Routes>
              <Route exact path="/" element={<Home blogs={blogs} isPending={isPending} />} />
              <Route path="/create" element={<CreateBlog />} />
              <Route path="/blogs/:id" element={<BlogDetails />} />
              <Route path="/blogs/:id" element={<NotFound />} />
            </Routes>
          </div>
          <Footer/>
        </div>
        </Suspense>
    </BrowserRouter>
  );
}
export default App;
BlogDetail.js
현재는 개별 블로그 내용으로 진입해도 내용이 보이지 않기 때문에 useParams을 이용하여 개별 id를 받아와 개별 블로그의 내용이 보일 수 있도록 해보았다.
// ~ 생략

import{ useNavigate, useParams } from "react-router-dom";
// ~ 생략
const { id } = useParams();

// ~ 생략
그리고 나서 delete 버튼을 누르면 다시 home으로 리다이렉트되도록 useNavigate()를 이용하여 로직을 작성하였고,
하트를 누르면 home에서 새로고침을 했을 때 숫자가 올라가도록 만들어 주었다.
import{ useNavigate, useParams } from "react-router-dom";

const navigate = useNavigate();
// ~ 생략
 const handleDeleteClick = () => {
    setTimeout(() => {
    fetch(`http://localhost:3001/blogs/${id}`,{
      method : "DELETE"
    } )
      .then(res => {
        if (!res.ok) {
          throw Error('could not fetch the data for that resource');
        }
        return res.json();
      })
      .then(() => {
        navigate('/')
        window.location.reload();
      })
      .catch(err => {
        console.error("Error", err);
      })
    }, 1000);
  }

  const handleLikeClick = () => {
    setIsLike(!isLike);
    let patchDtata = {'likes' : blog.likes +1 }

    setTimeout(() => {
      fetch(`http://localhost:3001/blogs/${id}`, {
        method : "PATCH",
        headers : {"Content-type" : "Application/json"},
        body : JSON.stringify(patchDtata)
      })
      .then(res => {
        if (!res.ok) {
          throw Error('could not fetch the data for that resource');
        }
        return res.json();
      })
      .then(() => {
        window.location.reload();

      })
      .catch(err => {
        console.error("Error", err);
      })
    }, 1000);
  }

return (
    <div className="blog-details">
        { isPending && <Loading/> }
        { error && <div>{ error }</div> }
        { blog && (
            <article>
                <h2>{ blog.title }</h2>
                <p>Written by { blog.author }</p>
                <div>{ blog.body }</div>
                <button onClick={handleLikeClick}>
                  {isLike === false ? '🤍'  : '❤️' } (blog.likes)
                  </button>
                <button onClick={handleDeleteClick}>delete</button>
            </article>
        )}
    </div>
  );
}

export default BlogDetails;
CreateBlog.js
CreateBlog.js에서는 앞에서와 같이 등록 버튼을 누르면 게시물이 등록이 되며 home으로 리다이렉트 되도록 useNavigate()를 이용하여 작성 하였다.
import { useState } from "react";
import { useNavigate } from "react-router-dom";
import useInput from "../util/useInput";
import Input from "../component/Input";
import Select from "../component/Select";

const CreateBlog = () => {
    const [title, titleBind] = useInput('');
    const [body, bodyBind] = useInput('');
    const [author, authorBind] = useInput('김코딩');
    const navigate = useNavigate();

    const handleSubmit = (e) => {
        e.preventDefault();

        const data = {title, body, author, likes: 0}


        setTimeout(() => {
          fetch('http://localhost:3001/blogs/', {
            method : "POST",
            headers : {"Content-type" : "Application/json"},
            body : JSON.stringify(data)
          })
            .then(res => {
              if (!res.ok) {
                throw Error('could not fetch the data for that resource',{
                  method : "DELETE"
                } );
              }
              return res.json();
            })
            .then(() => {
              navigate('/')
              window.location.reload();
            })
            .catch(err => {
              console.error("Error", err);
            })
          }, 1000);
    }

    return (
      <div className="create">
        <h2>Add a New Blog</h2>
        <form onSubmit={handleSubmit}>
          <Input label={"제목"} value={titleBind} placeholder={"제목을 입력해주세요."}/>
            <label>내용</label>
            <textarea
            required
            {...bodyBind}
            placeholder="내용을 입력해주세요."
            ></textarea>
            <Select label={"작성자"} value={authorBind} />
            <button>등록</button>
        </form>
      </div>
    );
  }

  export default CreateBlog;
UseFetch.js
GET 메소드를 통해 데이터를 받아오는 useEffect hook은 컴포넌트 내 여기저기 존재하고 있었지 때문에 UseFetch를 이용해 간단하게 작성해 주었다.
import { useState, useEffect } from 'react';

const useFetch = (url) => {

  const [data, setData] = useState(null);
  const [isPending, setIsPending] = useState(true);
  const [error, setError] = useState(null);


  useEffect(() => {
    setTimeout(() => {
      fetch(url)
      .then(res => {
        if (!res.ok) {
          throw Error('could not fetch the data for that resource');
        }
        return res.json();
      })
      .then(data => {
        setIsPending(false);
        setData(data);
        setError(null);
      })
      .catch(err => {
        setIsPending(false);
        setError(err.message);
      })
    }, 1000);
  }, [])


  return [data, isPending, error];
}


export default useFetch;
BlogDetail.js
UseFetch를 이용해 리펙토링 하였다.
const [blog, isPending, error] = useFetch(`http://localhost:3001/blogs/${id}`)App.js
UseFetch를 이용해 리펙토링 하였다.
const [blogs, isPending, error] = useFetch("http://localhost:3001/blogs/")결과물