
남들은 쉽게 하는데 왜 나만 어려울까?
페이징과 검색이 그렇다.

쉽지만 어려운문제
일전에 JPA를 알아보면서 QueryDSL이 복잡한 쿼리를 구성하기에 좋은 라이브러리 란 것을 보았다.
다음 링크들을 참조해서 본 프로젝트에 적용 해보았다.
참고링크
-maven 프로젝트 querydsl 적용
https://engkimbs.tistory.com/828
-Query Dsl이용한 페이징 API 만들기
http://bitly.kr/SYuvO5n48
-이동욱님 , Spring Boot Data Jpa 프로젝트에 Querydsl 적용하기
https://jojoldu.tistory.com/372
-Spring Data JPA와 QueryDSL 이해, 실무 경험 공유
(개인적으로 많은 도움이 된 글입니다.)
https://ict-nroo.tistory.com/117
1. Querydsl 의존성 추가
pom.xml 에 디펜던시와 플러그인을 추가하자
<dependency>
    <groupId>com.querydsl</groupId>
    <artifactId>querydsl-apt</artifactId>
</dependency>
<dependency>
    <groupId>com.querydsl</groupId>
    <artifactId>querydsl-jpa</artifactId>
</dependency>
<build>
<plugins>
    <plugin>
	<groupId>org.springframework.boot</groupId>
	<artifactId>spring-boot-maven-plugin</artifactId>
    </plugin>
    <plugin>
	<groupId>com.mysema.maven</groupId>
	<artifactId>apt-maven-plugin</artifactId>
	<version>1.1.3</version>
	<executions>
	    <execution>
	    <goals>
		<goal>process</goal>
	    </goals>
	    <configuration>
		<outputDirectory>target/generated-sources/java</outputDirectory>
		<processor>com.querydsl.apt.jpa.JPAAnnotationProcessor</processor>
	    </configuration>
	</execution>
	</executions>
    </plugin>
</plugins>
</build>
참조링크에서 다음과 같이 이야기해줍니다.
위 maven 설정에서 부분은 Qdomain 이라고 부르는 자바 코드를 생성하는 플러그인입니다. QueryDsl을 통해 쿼리를 생성할 때 이 Qdomain 객체를 사용합니다. 생성된 QDomain 객체를 보면 실제 도메인 객체의 모든 필드에 대해 사용가능한 모든 operation을 호출하는 메서드들이 정의되어 있습니다.
그렇다. 그리고 이 Qdomain을 사용하기 위해서 maven에서 한가지 더 필요하다.
complie.
엔티티가 수정될 때도 complie을 해주어야 Qdomain이 수정사항을 반영하여 컴파일 된다.
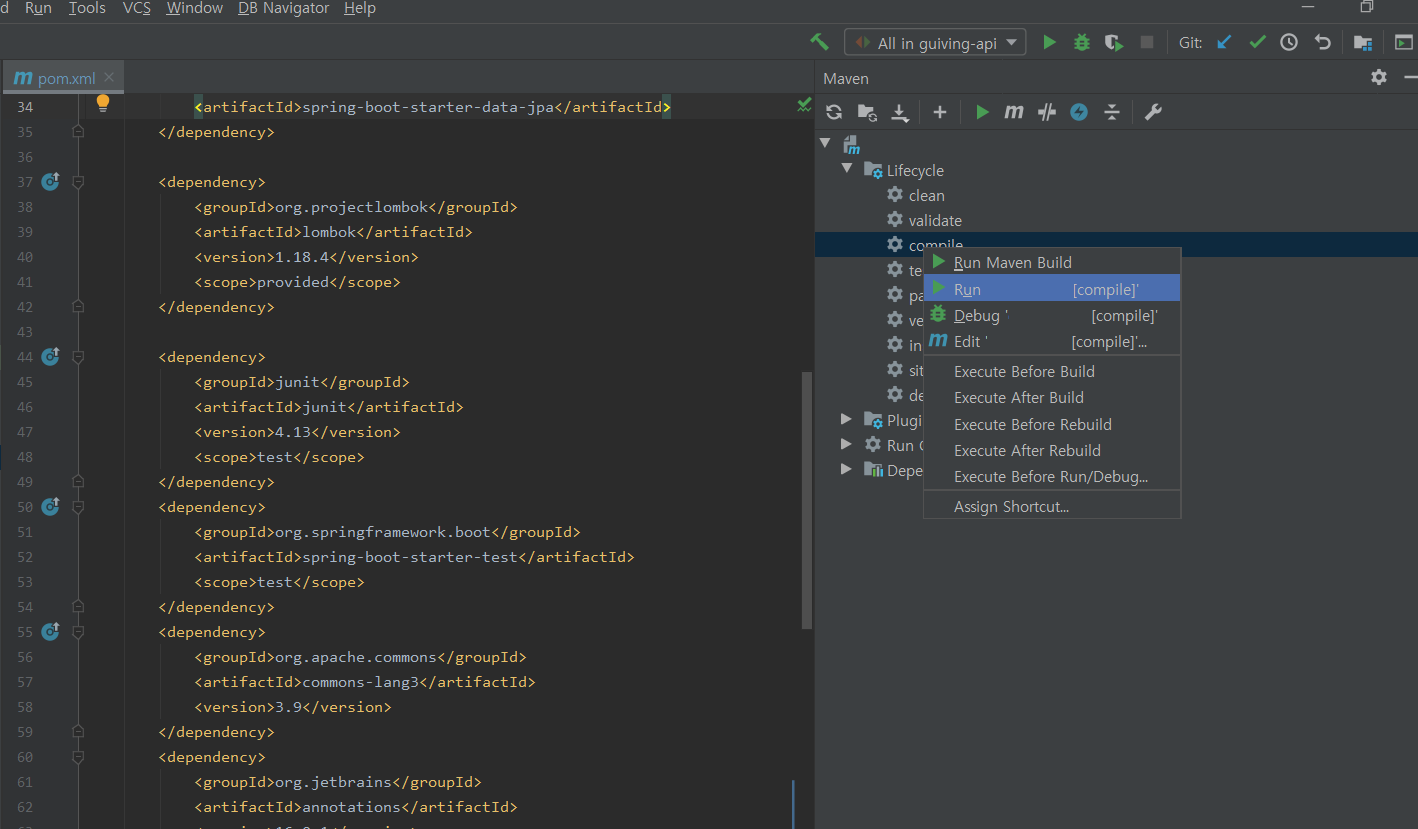
intellij에서 컴파일은 이렇게 하면 된다.
후에 target/generated-sources/java 를 따라 들어가보면 패키지에 Qdomain이 생성되있는 것을 볼 수 있다.
2. 페이징 객체 만들기
참조링크를 통해 페이징 객체를 만들어 주기
페이징 API 만들기 中
http://bitly.kr/XGannBRj7
위의 Pageable의 개선할 점이 있습니다. 우선 size에 대한 limit이 없습니다. 위의 API에서 size값을 200000을 넘기면 실제 데이터베이스 쿼리문이 200000의 조회할 수 있습니다. 그 밖에 page가 0 부터 시작하는 것들도 개선하는 것이 필요해 보입니다.
아래와 같은 PageRequest를 정의 한다.
 public final class PageRequest {

   private int page;
   private int size;
   private Sort.Direction direction;

   public void setPage(int page) {
       this.page = page <= 0 ? 1 : page;
   }

   public void setSize(int size) {
       int DEFAULT_SIZE = 10;
       int MAX_SIZE = 50;
       this.size = size > MAX_SIZE ? DEFAULT_SIZE : size;
   }

   public void setDirection(Sort.Direction direction) {
       this.direction = direction;
   }
   // getter

   public org.springframework.data.domain.PageRequest of() {
       return org.springframework.data.domain.PageRequest.of(page -1, size, direction, "createdAt");
   }
3. QuerydslConfiguration 등록하기
간단하다! Querydsl을 사용할 수 있는 EntityManager를 Bean으로 등록한다.
@Configuration
public class QuerydslConfiguration {
  @PersistenceContext
  private EntityManager entityManager;

  @Bean
  public JPAQueryFactory jpaQueryFactory(){return new JPAQueryFactory(entityManager);}
}
4. 구현하기
우선 queryDSL을 사용할 인터페이스와 구현 클래스를 만들어 준다. 이동욱님의 설명에 따르면 xxxRespositoryCustom - xxxRepositoryImp 로 짝을 이룬다고 한다.
4.1 인터페이스 연결
public interface DriverRepositoryCustom {
  Page<Driver> searchAll(DriverSearchDto search, Pageable pageable);
}

public interface DriverRepository extends JpaRepository<Driver,Long>, DriverRepositoryCustom {
}
기존의 JPA에서 사용하는 repository와 함께 CutomRepository를 사용할 수 있도록 extends에 추가
4.2 CutomRepositoryImpl 구현하기
import static com.project.domain.Driver.QDriver.driver;

@RequiredArgsConstructor
public class DriverRepositoryImpl implements DriverRepositoryCustom {
  private final JPAQueryFactory queryFactory;

  @Override
  public Page<Driver> searchAll(DriverSearchDto search, Pageable pageable){
      QueryResults<Driver> result = queryFactory
              .selectFrom(driver)
              .where(eqCity(search.getCityCode()),
                      eqStatus(search.getStatus())
              )
              .offset(pageable.getOffset())
              .limit(pageable.getPageSize())
              .fetchResults();
      return new PageImpl<>(result.getResults(),pageable,result.getTotal());
  }
  private BooleanExpression eqCity(CityCode cityCode) {
      if (ObjectUtils.isEmpty(cityCode)) {
          return null;
      }
      return driver.city.code.eq(cityCode);
  }
  private BooleanExpression eqStatus(DriverStatus status) {
      if (ObjectUtils.isEmpty(status)) {
          return null;
      }
      return driver.status.eq(status);
  }

}

@Getter
@ToString
public class DriverSearchDto {
  private CityCode cityCode;
  private DriverStatus status;

  @Builder
  public DriverSearchDto(CityCode cityCode, DriverStatus status) {
      this.cityCode = cityCode;
      this.status = status;
  }
}
Qdomain으로 쓰일 객체를 import static 으로 불러오기 (일일히 패키지를 입력하지 않도록)
selectFrom에 Qdomain으로 로드 할 엔티티를 지정 한 후 where 조건문을 입력한다.
Querydsl의 offset과 limit / Pageable의 offset과 pagesize를 사용하여 페이징 구현.
위와 같이 BooleanExpression을 사용한 메소드는 가독성 좋은 where 절을 사용할 수 있다.
(dto는 당연히 검색할 조건을 필드로 정의해주면 되겠다..)
4.3 컨트롤러와 서비스 구현
@RequiredArgsConstructor
@RestController
public class DriverController {
  Logger logger = LoggerFactory.getLogger(this.getClass());

  private final DriverService driverService;

  @GetMapping("/api/v1/drivers/search")
  public ResponseEntity<?> searchAll(DriverSearchDto search, PageRequest pageRequest) throws Exception {
      ResponseEntity<?> result;
      try {
          result = new ResponseEntity<>(driverService.searchAll(search,pageRequest.of()),HttpStatus.OK) ;
      }
      catch(Exception e) {
          logger.debug(e.getMessage());
          result = new ResponseEntity<>(e.getMessage(), HttpStatus.BAD_REQUEST) ;
      }
      return result;
  }
}
@RequiredArgsConstructor
@Service
public class DriverService {
  private final DriverRepository driverRepository;

  @Transactional(readOnly = true)
  public Page<DriverResponseDto> searchAll(DriverSearchDto search,Pageable pageable){
      return driverRepository.searchAll(search,pageable)
              .map(DriverResponseDto::new);
  }

}
컨트롤러에서 매핑된 PageRequest객체는 of메소드를 통해 pageable로 전달할 수 있도록 한다.
Page<Entity>를 Page<Dto>로 변환은 간단하게 .map()을 활용할 수 있다.
4.4 테스트
@RunWith(SpringRunner.class)
@SpringBootTest
public class DriverServiceTest {
  @Autowired
  DriverService driverService;


  @Test
  public void searchAll() {
      DriverSearchDto dto = DriverSearchDto
              .builder()
              .status(DriverStatus.STANDBY)
              .cityCode(CityCode.MNL)
              .build();

      PageRequest pageRequest = new PageRequest();
      pageRequest.setDirection(Sort.Direction.ASC);
      pageRequest.setSize(10);
      pageRequest.setPage(0);
      Page<DriverResponseDto> result = driverService.searchAll(dto,pageRequest.of());

      result.forEach(
              x -> System.out.println("element : " + x)
      );
  }
}
PageRequest 객체는 따로 생성자로 초기화하지 않고 setter를 사용한다.
컨트롤러에서 json을 dto로 파싱하는 부분이 좀 걸린다. converter를 사용했던 걸로 기억하는데 시도 해보아야할 부분
역시 쉽지만 어렵다.


현업을 겪다보니 PageRequest 객체를 Controller 에서 직접 매핑하여 사용하는데에는 좀 무리가 있었습니다.
첫째로 default 값에 대한 부제.
페이지 번호 및 페이지 사이즈에 대한 default 값을 받을 수 없으니 PageRequest 클래스 내의 of 메소드에서 강제로 default 값을 맞춰저야하는 추가 사안이 발생하였습니다.
둘째로 swagger 문서 노출
컨트롤러가 검색 객체와 페이징(PageReuqest) 객체 두 가지를 파라미터로 받는 상황이고 이를 Swagger에서 두 가지로 보여주지 못하는 상황이 발생하였습니다.
위의 두가지 사항을 타파하기 위해 어쩔 수 없이 Controller 에서 페이지 번호와 페이지 사이즈를 별개의 파라미터로 받아서 PageRequest 객체를 초기화 하였습니다.
컨트롤러마다 PageRequest를 초기화 해야하는 불편한 점이 발생하지만 Default값에 대한 보장과 Swagger API 문서등이 용이하여 위처럼 구현하였습니다.
PageRequest 객체를 초기화 하는 보일러 플레이트 코드는 Spring 의 AOP를 사용하여 극복할 수 있어보입니다.