Introduction
OAK는 deno 환경에서 web application을 만들 수 있는 framework로 express와 유사하다.
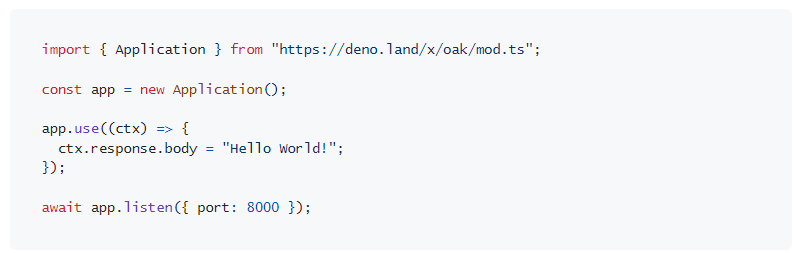
소개 페이지의 예제를 보면 express와 매우 유사한 방식으로 이루어지는 것을 볼 수 있다.
Routing Server
라우팅을 위해서는 Router 미들웨어를 사용해야한다. application을 생성하고 router를 등록한다.
import {Application, Router} from "https://deno.land/x/oak/mod.ts"

// Application
const app = new Application()
const router = new Router()

const port = 5000
await app.listen({port})
console.log(`Server is listening on port: ${port}`);

// Middlewares
app.use(router.routes())
app.use(router.allowedMethods())
allowedMethods 함수는 GET, POST 등의 메소드를 허락하는데 사용한다. 이제 routing을 해보자. 루트 경로의 get 메서드를 지정한다. Express와 거의 같지만 다른 점이 있다면, 매게 변수가 context 하나로 여기에 request와 response가 담겨져 전달된다.
router.get('/',(context) => {
    context.response.body = "Hello, Deno"
})
간단하게 문자열을 반환하도록 작성한 후 서버를 실행한다. 웹서버이니 allow-net 플래그를 주어 실행해야 한다.
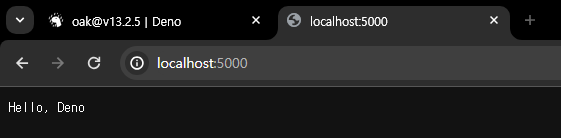
지정한 포트의 루트 경로에서 작성한 문자열이 제대로 반환되었다. 이제 GET으로 데이터를 받고, POST로 데이터를 전송하는 api를 만들어보자.
예제에서는 Book으로 하지만 Artist로 더미 데이터를 만들었다. typescript를 사용하고 있으니 interface도 만들어준다.
interface Artist {
    id:string
    name:string
    group:string
}

// Dummy Data
let artists : Artist[] = [
    {
        id: "1",
        name: "LSY",
        group: "Dreamcatcher"
    },
    {
        id: "2",
        name: "KMJ",
        group: "Dreamcatcher"
    },
    {
        id: "3",
        name: "KBR",
        group: "Dreamcatcher"
    }
]
router를 작성할 때 한 가지 편한 점이 매번 router.get() 이런 식으로 작성하는 대신 밑에 계속 이어서 붙일 수 있다.
router
    .get('/',(context) => {
    context.response.body = "Hello, Deno"
    })
    .get('/artists',(context) => {
        context.response.body = artists
    })
이제 artists 경로에서 확인해보면 생성한 더미 데이터가 잘 표시된다.

post도 만들어보자. 새로운 artist를 생성한다고 생각한다. request의 body에 생성하려는 artist의 name과 group이 전달될 것이다.
    .post('/artist',async (context) => {
        if(context.request.hasBody){
            const body = await context.request.body
            const newId = (artists.length +1).toString()

            const newArtist :Artist = await body.json()
            newArtist.id = newId
            artists.push(newArtist)

            context.response.status = 201
            context.response.body = newArtist

        } else {
            context.response.status = 400
            context.response.body = "Data Not Found"
        }
    })
body의 json 메서드를 사용하여 json으로 body를 파싱한다. 새로 Artist 인스턴스를 생성해서 넣어주고, id도 부여해준다음 artists 배열에 넣는다. 잘 생성되면 201 코드와 함께 새로 생성된 Artist 객체를 반환한다. Post 요청이므로 postman으로 확인한다.

반환이 잘 되었다. 그 상태에서 브라우저로 artists 경로에 접속하면 이제 4번 항목까지보인다.

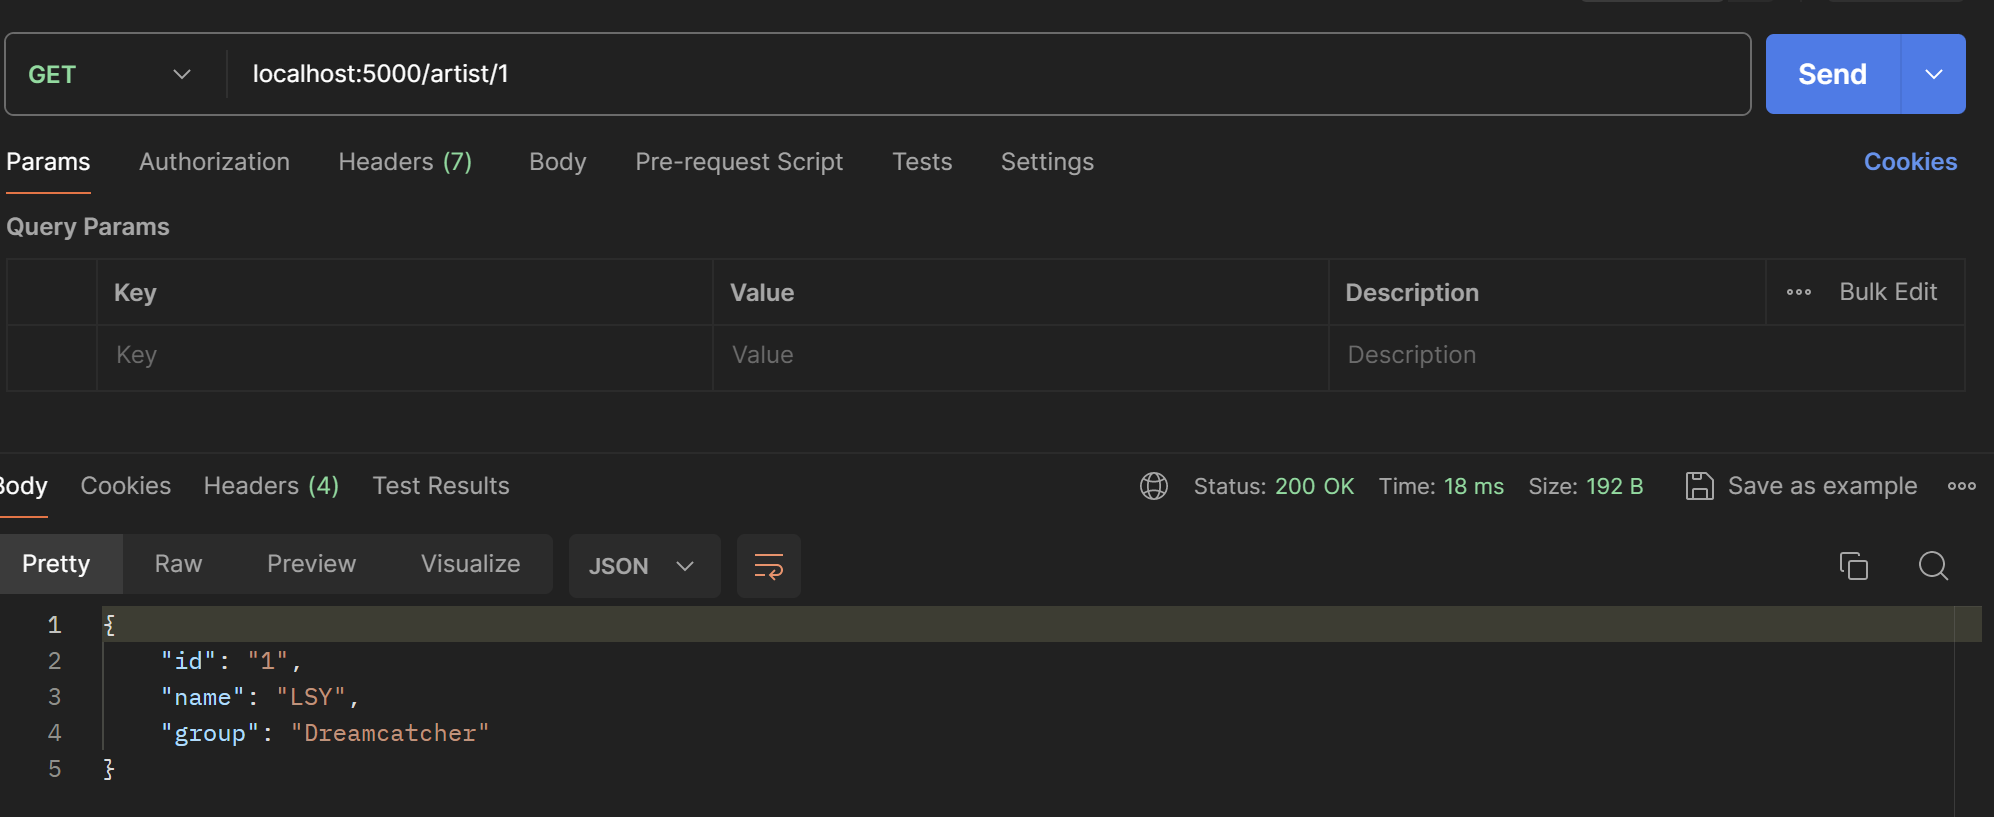
이제 id를 파라미터로 artist 하나씩 요청해보자.
.get('/artist/:id',(context) => {
const id = context.params.id
const artist : Artist | undefined = artists.find((a)=> a.id == id)
if(artist){
context.response.status = 200
context.response.body = artist
}else {
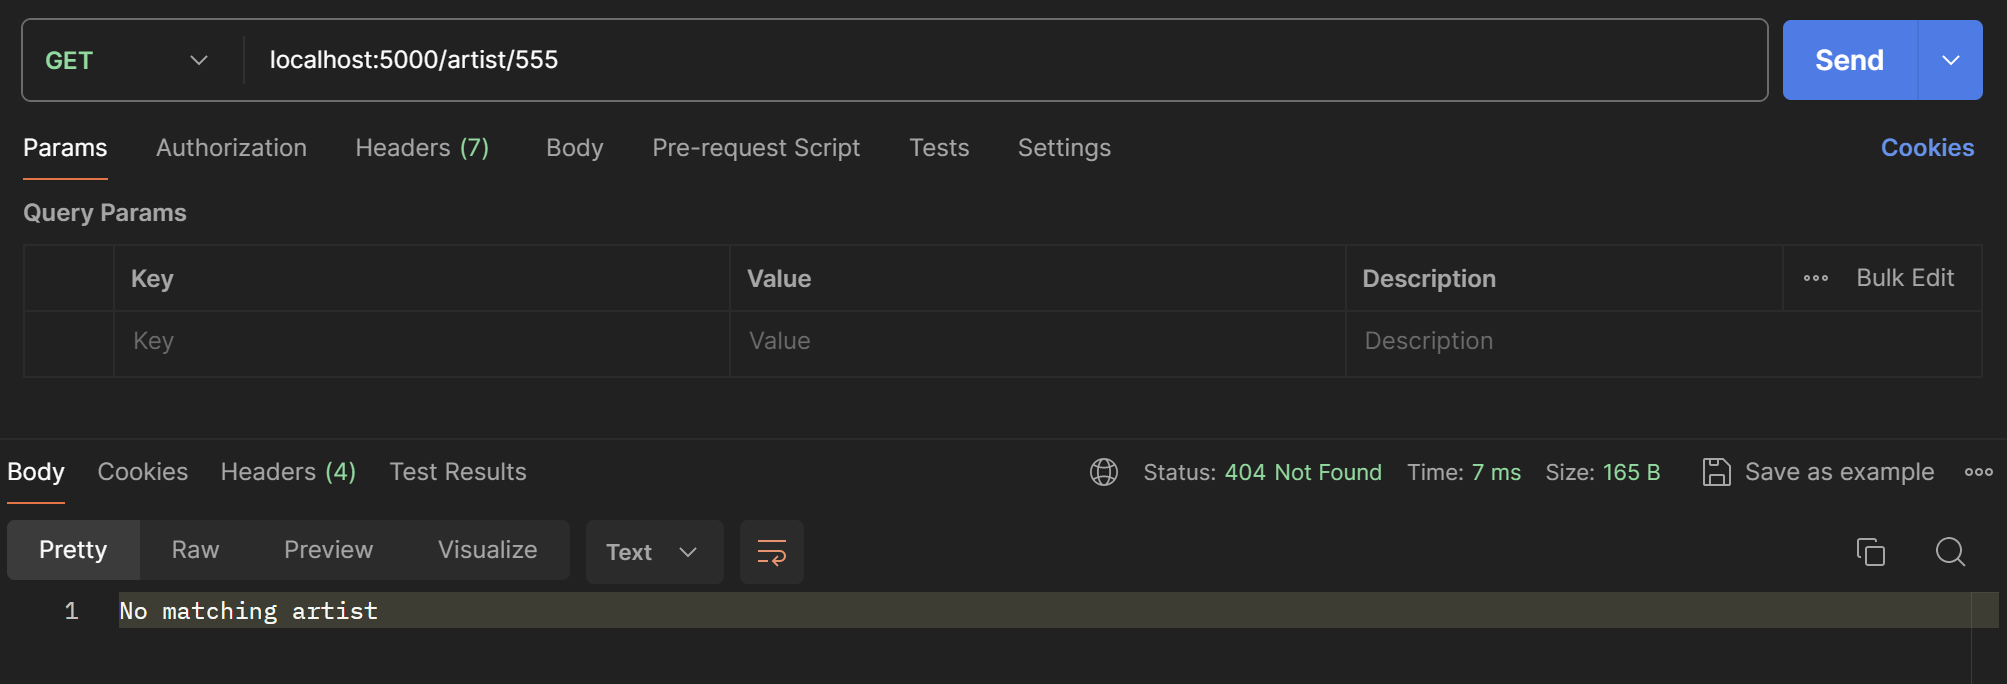
context.response.status = 404
context.response.body = "No matching artist"
}
})파라미터는 context.params로 접근할 수 있다. 찾으려는 id를 받아와준 후 artists 배열에서 동일한 id를 가진 객체를 찾아준다. 존재하면 상태코드 200과 해당하는 객체를, 없으면 404와 함께 오류 메시지를 반환한다.
만약 없는 id 값을 입력하면 아래와 같이 오류 메시지가 반환된다.
Outro
Deno에 이어 OAK 프레임워크까지 사용해보았다. Node와 다른듯 같은 것들이 많다. 그 점들이 모두 편하냐 하면 아직까지는 잘 모르겠다. node를 사용하며 불필요하다고 느껴졌거나 불편했던 부분을 신경쓴 것이 보이지만 약간의 로직 변화나 형식 변화가 node에서 deno로 넘어가는데 큰 역할을 할지는 모르겠다. 다만 보안 전공의 입장에서 Deno의 권한 관리가 매우 마음에 든다. 아직 documentation과 예제가 부족하고, 버전이 상승하면서 크게 바뀌고 있는 만큼 안정적인 환경이 아님은 분명하다. 하지만 사장될 것 같으냐 하면 아니다. Node를 공부하다보면 배워볼만 한 것 같다.