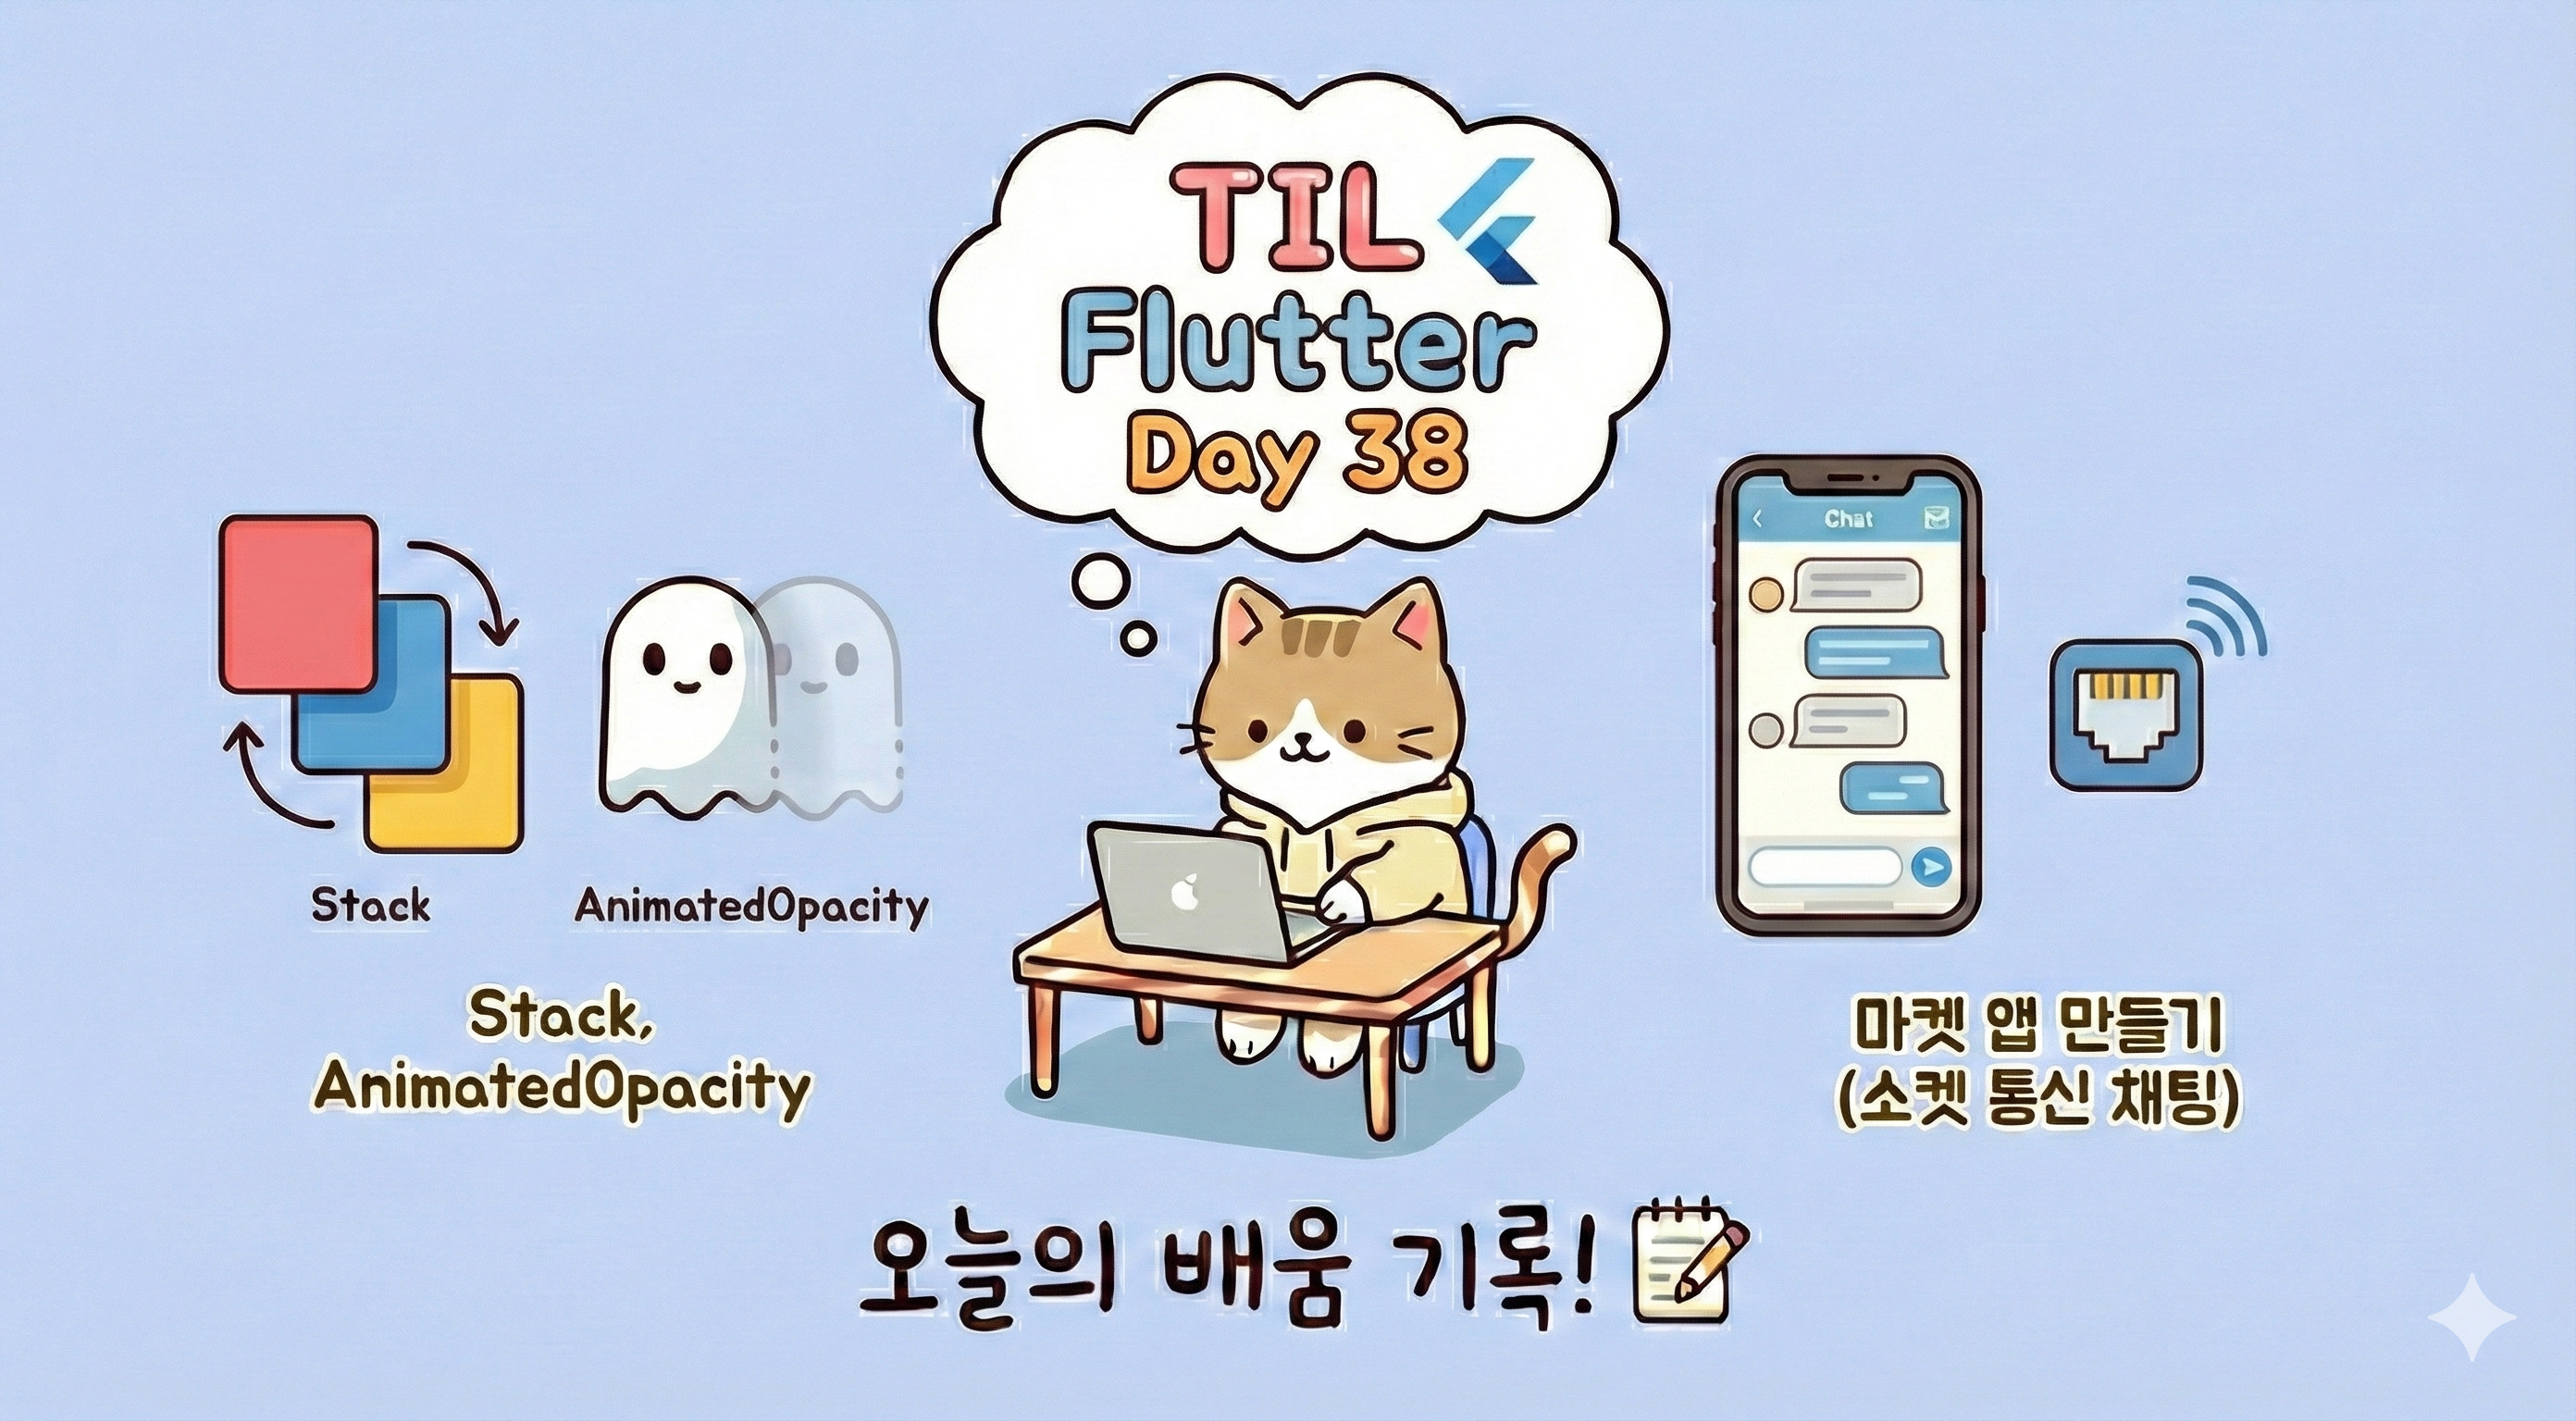
📍 튜터님과 Widget 공부
✏️ Stack
Stack의 개념
Stack은 여러 위젯을 겹쳐서 배치할 수 있는 레이아웃 위젯
디자인 툴의 레이어(Layer) 개념과 비슷
기본적으로 자식 위젯들이 겹쳐짐
나중에 선언된 위젯이 위에 표시됨
위치를 지정하지 않으면 왼쪽 상단부터 쌓임
Stack의 기본 구조
Stack(
  children: [
    WidgetA(), // 가장 아래
    WidgetB(),
    WidgetC(), // 가장 위
  ],
)
렌더링 순서
children[0] → 맨 아래
children[last] → 맨 위
Stack의 주요 특징
겹침 구조
모든 자식은 같은 Stack 영역 안에서 겹쳐짐
크기는 부모 위젯의 제약(constraints) 을 따른다
Container(
  width: 200,
  height: 200,
  child: Stack(...)
)
→ Stack 전체 크기는 200×200
위치 지정 방식
Positioned 위젯
명시적으로 위치 지정
top / left / right / bottom 사용
Positioned(
  top: 10,
  right: 10,
  child: Icon(Icons.close),
)
Positioned가 아닌 위젯
Stack의 alignment 기준으로 배치됨
Stack(
  alignment: Alignment.center,
  children: [
    Container(width: 100, height: 100),
  ],
)
✏️ AnimatedOpacity
AnimatedOpacity란?
AnimatedOpacity는 위젯의 투명도(opacity)를 부드럽게 애니메이션으로 변경해주는 위젯
opacity 값이 바뀌면 지정한 duration 동안
자동으로 페이드 인 / 페이드 아웃 애니메이션 수행
기본 구조
AnimatedOpacity(
  opacity: 1.0,
  duration: Duration(milliseconds: 300),
  child: Widget,
)
📝 마켓 앱 만들기
✏️ 채팅 리스트 & 채팅 상세 (HTTP 기반)
ChatRepository (HTTP 통신)
📁lib/data/repository/chat_repository.dart
import 'dart:async';

import 'package:flutter_market_app/data/model/chat_room.dart';
import 'package:flutter_market_app/data/repository/base_remote_repository.dart';

class ChatRepository extends BaseRemoteRepository {
  ChatRepository();

  Future<List<ChatRoom>?> list() async {
    final response = await client.get('/api/chat/room/list');
    print(response.data);
    if (response.statusCode == 200) {
      return List.of(
        response.data['content'],
      ).map((e) => ChatRoom.fromJson(e)).toList();
    }
    return null;
  }

  Future<ChatRoom?> detail(int roomId) async {
    final response = await client.get('/api/chat/room/$roomId');
    if (response.statusCode == 200) {
      return ChatRoom.fromJson(response.data['content']);
    }
    return null;
  }

  Future<ChatRoom?> create(int productId) async {
    final response = await client.post('/api/chat/room/make/$productId');
    if (response.statusCode == 201) {
      return ChatRoom.fromJson(response.data['content']);
    }
    return null;
  }
}
역할
서버와 채팅 관련 API 통신 전담
채팅방 목록
GET /api/chat/room/list→ ChatRoom 리스트 반환
→ ChatTab에서 사용
채팅방 상세
GET /api/chat/room/{roomId}→ 특정 채팅방 메시지 전체 조회
→ ChatDetailPage에서 사용
채팅방 생성
POST /api/chat/room/make/{productId}✔ 상품당 채팅방 1개
✔ 이미 있으면 생성 불가
테스트 코드
📁 test/chat_repository_test.dart
import 'package:flutter_market_app/data/repository/chat_repository.dart';
import 'package:flutter_market_app/data/repository/user_repository.dart';
import 'package:flutter_test/flutter_test.dart';

void main() {
  final userRepository = UserRepository();
  final chatRepository = ChatRepository();

  test(
    'ChatRepository : list test',
    () async {
      await userRepository.login(username: 'tester', password: '1111');
      final chatList = await chatRepository.list();
      expect(chatList != null, true);
    },
  );

  test(
    'ChatRepository : detail test',
    () async {
      await userRepository.login(username: 'tester', password: '1111');
      final chatList = await chatRepository.list();
      final chatDetail = await chatRepository.detail(chatList!.first.roomId);
      expect(chatDetail != null, true);
    },
  );


  // 한 상품당 하나의 채팅방 개설만 가능해서 create는 테스트 제약이 있어서 테스팅 X
}
ChatGlobalViewModel
왜 전역인가?
채팅 목록
채팅 상세
상품 상세 → 채팅 생성
➡️ 여러 화면에서 동시에 접근
📁lib/ui/chat_global_view_model.dart
// 1. 상태 클래스
import 'package:flutter_market_app/data/model/chat_room.dart';
import 'package:flutter_market_app/data/repository/chat_repository.dart';
import 'package:flutter_riverpod/flutter_riverpod.dart';
class ChatGlobalState {
List<ChatRoom> chatRooms;
ChatRoom? chatRoom;
ChatGlobalState({
required this.chatRooms,
required this.chatRoom,
});
ChatGlobalState copyWith({
List<ChatRoom>? chatRooms,
ChatRoom? chatRoom,
}) {
return ChatGlobalState(
chatRooms: chatRooms ?? this.chatRooms,
chatRoom: chatRoom ?? this.chatRoom,
);
}
}
// 2. 뷰모델
class ChatGlobalViewModel extends Notifier<ChatGlobalState> {
ChatGlobalState build() {
fetchList();
return ChatGlobalState(
chatRooms: [],
chatRoom: null,
);
}
final chatRepository = ChatRepository();
// 리스트 가지고오기
Future<void> fetchList() async {
final result = await chatRepository.list();
if (result != null) {
state = state.copyWith(
chatRooms: result,
);
}
}
// 디테일 가지고오기
Future<void> fetchChatDetail(int roomId) async {
final result = await chatRepository.detail(roomId);
if (result != null) {
state = state.copyWith(
chatRoom: result,
);
}
}
// 채팅방 만들기
Future<int?> createChat(int productId) async {
final result = await chatRepository.create(productId);
if (result != null) {
state = state.copyWith(
chatRooms: [result, ...state.chatRooms],
);
return result.roomId;
}
return null;
}
int? findChatRoomByProductId(int productId) {
final target =
state.chatRooms.where((e) => e.product.id == productId).toList();
if (target.isNotEmpty) {
return target.first.roomId;
}
return null;
}
}
// 3. 뷰모델 관리자
final chatGlobalViewModel =
NotifierProvider<ChatGlobalViewModel, ChatGlobalState>(() {
return ChatGlobalViewModel();
});ChatGlobalState
class ChatGlobalState {
  List<ChatRoom> chatRooms; // 채팅 목록
  ChatRoom? chatRoom;       // 현재 보고 있는 채팅방
}
✔ 채팅 관련 데이터 한 곳에서 관리
build()
ChatGlobalState build() {
  fetchList();
  return ChatGlobalState(
    chatRooms: [],
    chatRoom: null,
  );
}
앱 진입 시 채팅 목록 자동 로딩
주요 메서드
채팅 목록 조회
fetchList()ChatTab에서 사용
채팅 상세 조회
fetchChatDetail(roomId)ChatDetailPage 진입 전 호출
채팅방 생성
createChat(productId)생성 성공 시
채팅 목록에 추가
roomId 반환
상품 ID로 채팅방 찾기
findChatRoomByProductId(productId)✔ 이미 채팅방 있으면 재사용
✔ 없으면 새로 생성
ChatTab (채팅 목록 UI)
ChatListView
📁lib/ui/pages/home/_tab/chat_tab/widgets/chat_list_view.dart
class ChatListView extends StatelessWidget {
const ChatListView({super.key});
Widget build(BuildContext context) {
return Consumer(
builder: (context, ref, child) {
final chatRoomList = ref.watch(chatGlobalViewModel).chatRooms;
// display user 확인용
final user = ref.watch(userGlobalViewModel);
if (user == null) {
return SizedBox();
}
return Expanded(
child: ListView.separated(
itemCount: chatRoomList.length,
separatorBuilder: (context, index) => const Divider(height: 1),
padding: const EdgeInsets.symmetric(horizontal: 20),
itemBuilder: (context, index) {
return item(chatRoomList[index], user, ref);
},
),
);
},
);
}
Widget item(ChatRoom chatRoom, User user, WidgetRef ref) {
// 항상 내가 아닌 상대방 닉네임 보여줘야하니!
final displayUser = chatRoom.product.user.id == user.id
? chatRoom.sender
: chatRoom.product.user;
final displayDateTime = chatRoom.messages.isEmpty
? ''
: DateTimeUtils.formatString(chatRoom.messages.last.createdAt);
final message = chatRoom.messages.isEmpty
? ''
: chatRoom.messages.last.content;
return Consumer(
builder: (context, ref, child) {
return GestureDetector(
onTap: () {
ref
.read(chatGlobalViewModel.notifier)
.fetchChatDetail(chatRoom.roomId);
Navigator.push(
context,
MaterialPageRoute(
builder: (context) {
return ChatDetailPage();
},
),
);
},
child: Container(
height: 80,
padding: EdgeInsets.symmetric(vertical: 10),
child: Row(
children: [
// 이건 마이탭에서도 쓰이니 글로벌 위젯!
UserProfileImage(
dimension: 50,
imgSrc: displayUser.profileImage.url,
),
const SizedBox(width: 16),
Expanded(
child: Column(
mainAxisAlignment: MainAxisAlignment.center,
crossAxisAlignment: CrossAxisAlignment.start,
children: [
Row(
children: [
Text(
'${displayUser.nickname}님',
style: TextStyle(
fontSize: 16,
fontWeight: FontWeight.bold,
),
),
SizedBox(width: 4),
Text(
displayDateTime,
style: TextStyle(fontSize: 12, color: Colors.grey),
),
],
),
Text(message),
],
),
),
],
),
),
);
},
);
}
}상대방 닉네임 표시
final displayUser = chatRoom.product.user.id == user.id
        ? chatRoom.sender
        : chatRoom.product.user;

displayUser =
  내가 상품 주인 ? sender : product.user
✔ 항상 "나 아닌 사람" 보여주기
마지막 메시지 표시
final message = chatRoom.messages.isEmpty
        ? ''
        : chatRoom.messages.last.content;
✔ 없으면 빈 문자열
채팅방 클릭 시
ref.read(chatGlobalViewModel.notifier).fetchChatDetail(chatRoom.roomId);상세 데이터 먼저 로드 후 이동
ChatDetailPage (채팅 상세)
📁lib/ui/pages/chat_detail/widgets/chat_detail_list_view.dart
class ChatDetailListView extends StatelessWidget {
const ChatDetailListView({super.key});
Widget build(BuildContext context) {
return Consumer(
builder: (context, ref, child) {
final chatRoom = ref.watch(chatGlobalViewModel).chatRoom;
if (chatRoom == null) {
return SizedBox();
}
// 내 메시지인지 아닌지 판별하기 위해서!
final user = ref.watch(userGlobalViewModel)!;
return Expanded(
child: ListView.separated(
itemCount: chatRoom.messages.length,
padding: EdgeInsets.symmetric(horizontal: 20, vertical: 10),
separatorBuilder: (context, index) => SizedBox(height: 4),
itemBuilder: (context, index) {
final message = chatRoom.messages[index];
final msgSender = message.messageType == "SENDER_TO_PRODUCT_OWNER"
? chatRoom.sender
: chatRoom.product.user;
if (msgSender.id == user.id) {
return ChatListSendItem(
content: message.content,
dateTime: message.createdAt,
);
}
// index => 0 => 이전 메세지가 없음 => rue
// 이전 메세지의 messageType이 같으면 false 틀리면 true
bool showProfile = true;
if (index > 0) {
final previousMessage = chatRoom.messages[index - 1];
showProfile =
previousMessage.messageType != message.messageType;
}
return ChatListReceiveItem(
imgUrl: msgSender.profileImage.url,
showProfile: showProfile,
content: message.content,
dateTime: message.createdAt,
);
},
),
);
},
);
}
}메시지 UI 분기
if (msgSender.id == user.id) {
                return ChatListSendItem(
                  content: message.content,
                  dateTime: message.createdAt,
                );
              }

if (msgSender.id == user.id)
  → 내가 보낸 메시지
else
  → 받은 메시지
✔ messageType 기반 판별
프로필 이미지 표시 조건
// index => 0 => 이전 메세지가 없음 => rue
              // 이전 메세지의 messageType이 같으면 false 틀리면 true

              bool showProfile = true;
              if (index > 0) {
                final previousMessage = chatRoom.messages[index - 1];
                showProfile =
                    previousMessage.messageType != message.messageType;
              }
이전 메시지와 messageType 다를 때만 표시
➡️ 연속 메시지 UX 개선
ProductDetail
→ 채팅하기 버튼 흐름
전체 흐름
채팅 버튼 클릭
 ↓
기존 채팅방 존재?
 ├─ YES → 해당 roomId 사용
 └─ NO  → 채팅방 생성
 ↓
채팅 상세 조회
 ↓
ChatDetailPage 이동
핵심 코드 흐름
📁lib/ui/chat_global_view_model.dart
int? findChatRoomByProductId(int productId) {
    final target = state.chatRooms
        .where((e) => e.product.id == productId)
        .toList();
    if (target.isNotEmpty) {
      return target.first.roomId;
    }

    return null;
}📁lib/ui/pages/product/widgets/product_detail_bottom_sheet.dart
onPressed: () async {
                          final chatVm = ref.read(chatGlobalViewModel.notifier);

                          var roomId = chatVm.findChatRoomByProductId(
                            productId,
                          );

                          if (roomId == null) {
                            final result = await chatVm.createChat(productId);
                            if (result != null) {
                              roomId = result;
                            }
                          }

                          if (roomId == null) {
                            return;
                          }

                          chatVm.fetchChatDetail(roomId);
                          Navigator.push(
                            context,
                            MaterialPageRoute(
                              builder: (context) {
                                return ChatDetailPage();
                              },
                            ),
                          );
                        },
자세히 보기
  if (roomId == null) {
    final result = await chatVm.createChat(productId);
    if (result != null) {
      roomId = result;
    }
  }
채팅방이 없으면 새로 생성
createChat(productId)
생성된 채팅방의 roomId 반환
성공 시 roomId 재할당
👉 핵심 포인트
“없으면 만들고, 있으면 그대로 쓴다”
findChatRoomByProductId
int? findChatRoomByProductId(int productId) {int?
채팅방이 있으면 → roomId
없으면 → null
final target = state.chatRooms
  .where((e) => e.product.id == productId)
  .toList();
채팅방 목록에서 필터링
state.chatRooms : 현재 가지고 있는 채팅방 리스트
조건: e.product.id == productId
결과: 해당 상품과 연결된 채팅방만 남김
if (target.isNotEmpty) {
  return target.first.roomId;
}
🔹 채팅방이 있으면
첫 번째 채팅방의 roomId 반환
(상품당 채팅방 1개라는 전제)
✔ 중복 채팅방 방지
✔ UX 자연스러움
✏️ 소켓 통신(Socket Communication)
기존 HTTP 통신의 한계
HTTP 통신 특징
요청 → 응답 → 연결 종료
클라이언트가 요청해야만 서버가 응답 가능
클라이언트 요청
   ↓
서버 응답
   ↓
연결 종료
실시간 기능의 문제점
채팅처럼 즉시 반응해야 하는 기능은?
폴링(Polling) 방식 사용
일정 시간마다
요청 → 응답 → 종료 반복
문제점
네트워크 낭비
지연 발생
서버 부하 증가
소켓 통신이란?
개념
한 번 연결하면, 끊기기 전까지 계속 연결 유지
연결
 ↓
실시간 데이터 송수신
 ↓
연결 종료
장점
서버 → 클라이언트 즉시 전송 가능
실시간 채팅, 알림, 게임 등에 적합
불필요한 요청 반복 없음
웹소켓(WebSocket)
웹소켓이란?
HTTP 기반으로 시작
이후 양방향 통신으로 업그레이드
웹소켓 연결 방식 종류
Socket.io
ws://주소바로 웹소켓 연결
비교적 단순
서버/클라이언트 의존성 큼
SocketJS
http://주소 → WebSocket 업그레이드WebSocket 미지원 환경 대비 폴백 지원
브라우저 호환성 높음
실무에서 많이 사용
→ 웹의 역사적 이유로 웹 중심 설계
STOMP
STOMP 개념
Simple Text Oriented Messaging Protocol
웹소켓 위에서 동작하는 메시징 프로토콜
왜 STOMP를 쓰는가?
-
웹소켓만 쓰면:
메시지 포맷 직접 정의
관리 복잡 -
STOMP 사용 시:
규칙 있는 메시지 구조
구독 / 발행(Pub/Sub) 패턴 제공
STOMP 핵심 개념
| 개념 | 설명 |
|---|---|
| Subscribe | 특정 주제 구독 |
| Publish | 구독된 주제로 메시지 발행 |
| Destination | 메시지 주소 (채팅방 등) |
채팅 예시
/room/1 구독
 ↓
서버가 메시지 발행
 ↓
구독 중인 클라이언트 전부 수신
STOMP + Flutter (stomp_dart_client)
사용 라이브러리
stomp_dart_client
중요 포인트
    // onConnect 속성의 함수 내에서 stompClient 사용하기 위해선
    // 반드시 널로 변수 할당한 후 이후에 할당.
    // StompClient stompClient = StompClient
    // 이렇게 객체 할당하면 onConnect에서 해당 변수에 접근 못함
    StompClient? stompClient;
    stompClient = StompClient(
	    // SocketJS 사용할 땐 StompConfig의 sockJS 생성자 사용
      config: StompConfig.sockJS(
        // 요청 URL : sockJS 는 http로!
        // 요청 후 ws로 업그레이드됨!
        url: 'http://localhost:8080/ws',
        // 헤더 정보
        webSocketConnectHeaders: {
          "transports": ["websocket"],
          'content-type': 'application/octet-stream',
          'Authorization': 'token',
        },
        // 웹소켓 연결이 되면 실행되는 함수
        onConnect: (StompFrame frame) {
          // 웹소켓 연결 되면 구독하기!
          stompClient?.subscribe(
            destination: '/user/queue/pub',
            // 구독하고 있는 주소에서 메시지가 발행되면 실행되는 함수
            callback: (frame) {
              // frame의 body에 데이터 들어있음!
            },
          );
        },
      ),
    );
    stompClient.activate();
✔ 반드시 null로 먼저 선언
✔ 생성자에서 바로 할당 ❌
onConnect 안에서 접근 가능하게 하기 위함
연결 흐름 요약
StompClient 생성
 ↓
activate()
 ↓
웹소켓 연결
 ↓
onConnect 실행
 ↓
subscribe()
 ↓
메시지 수신