
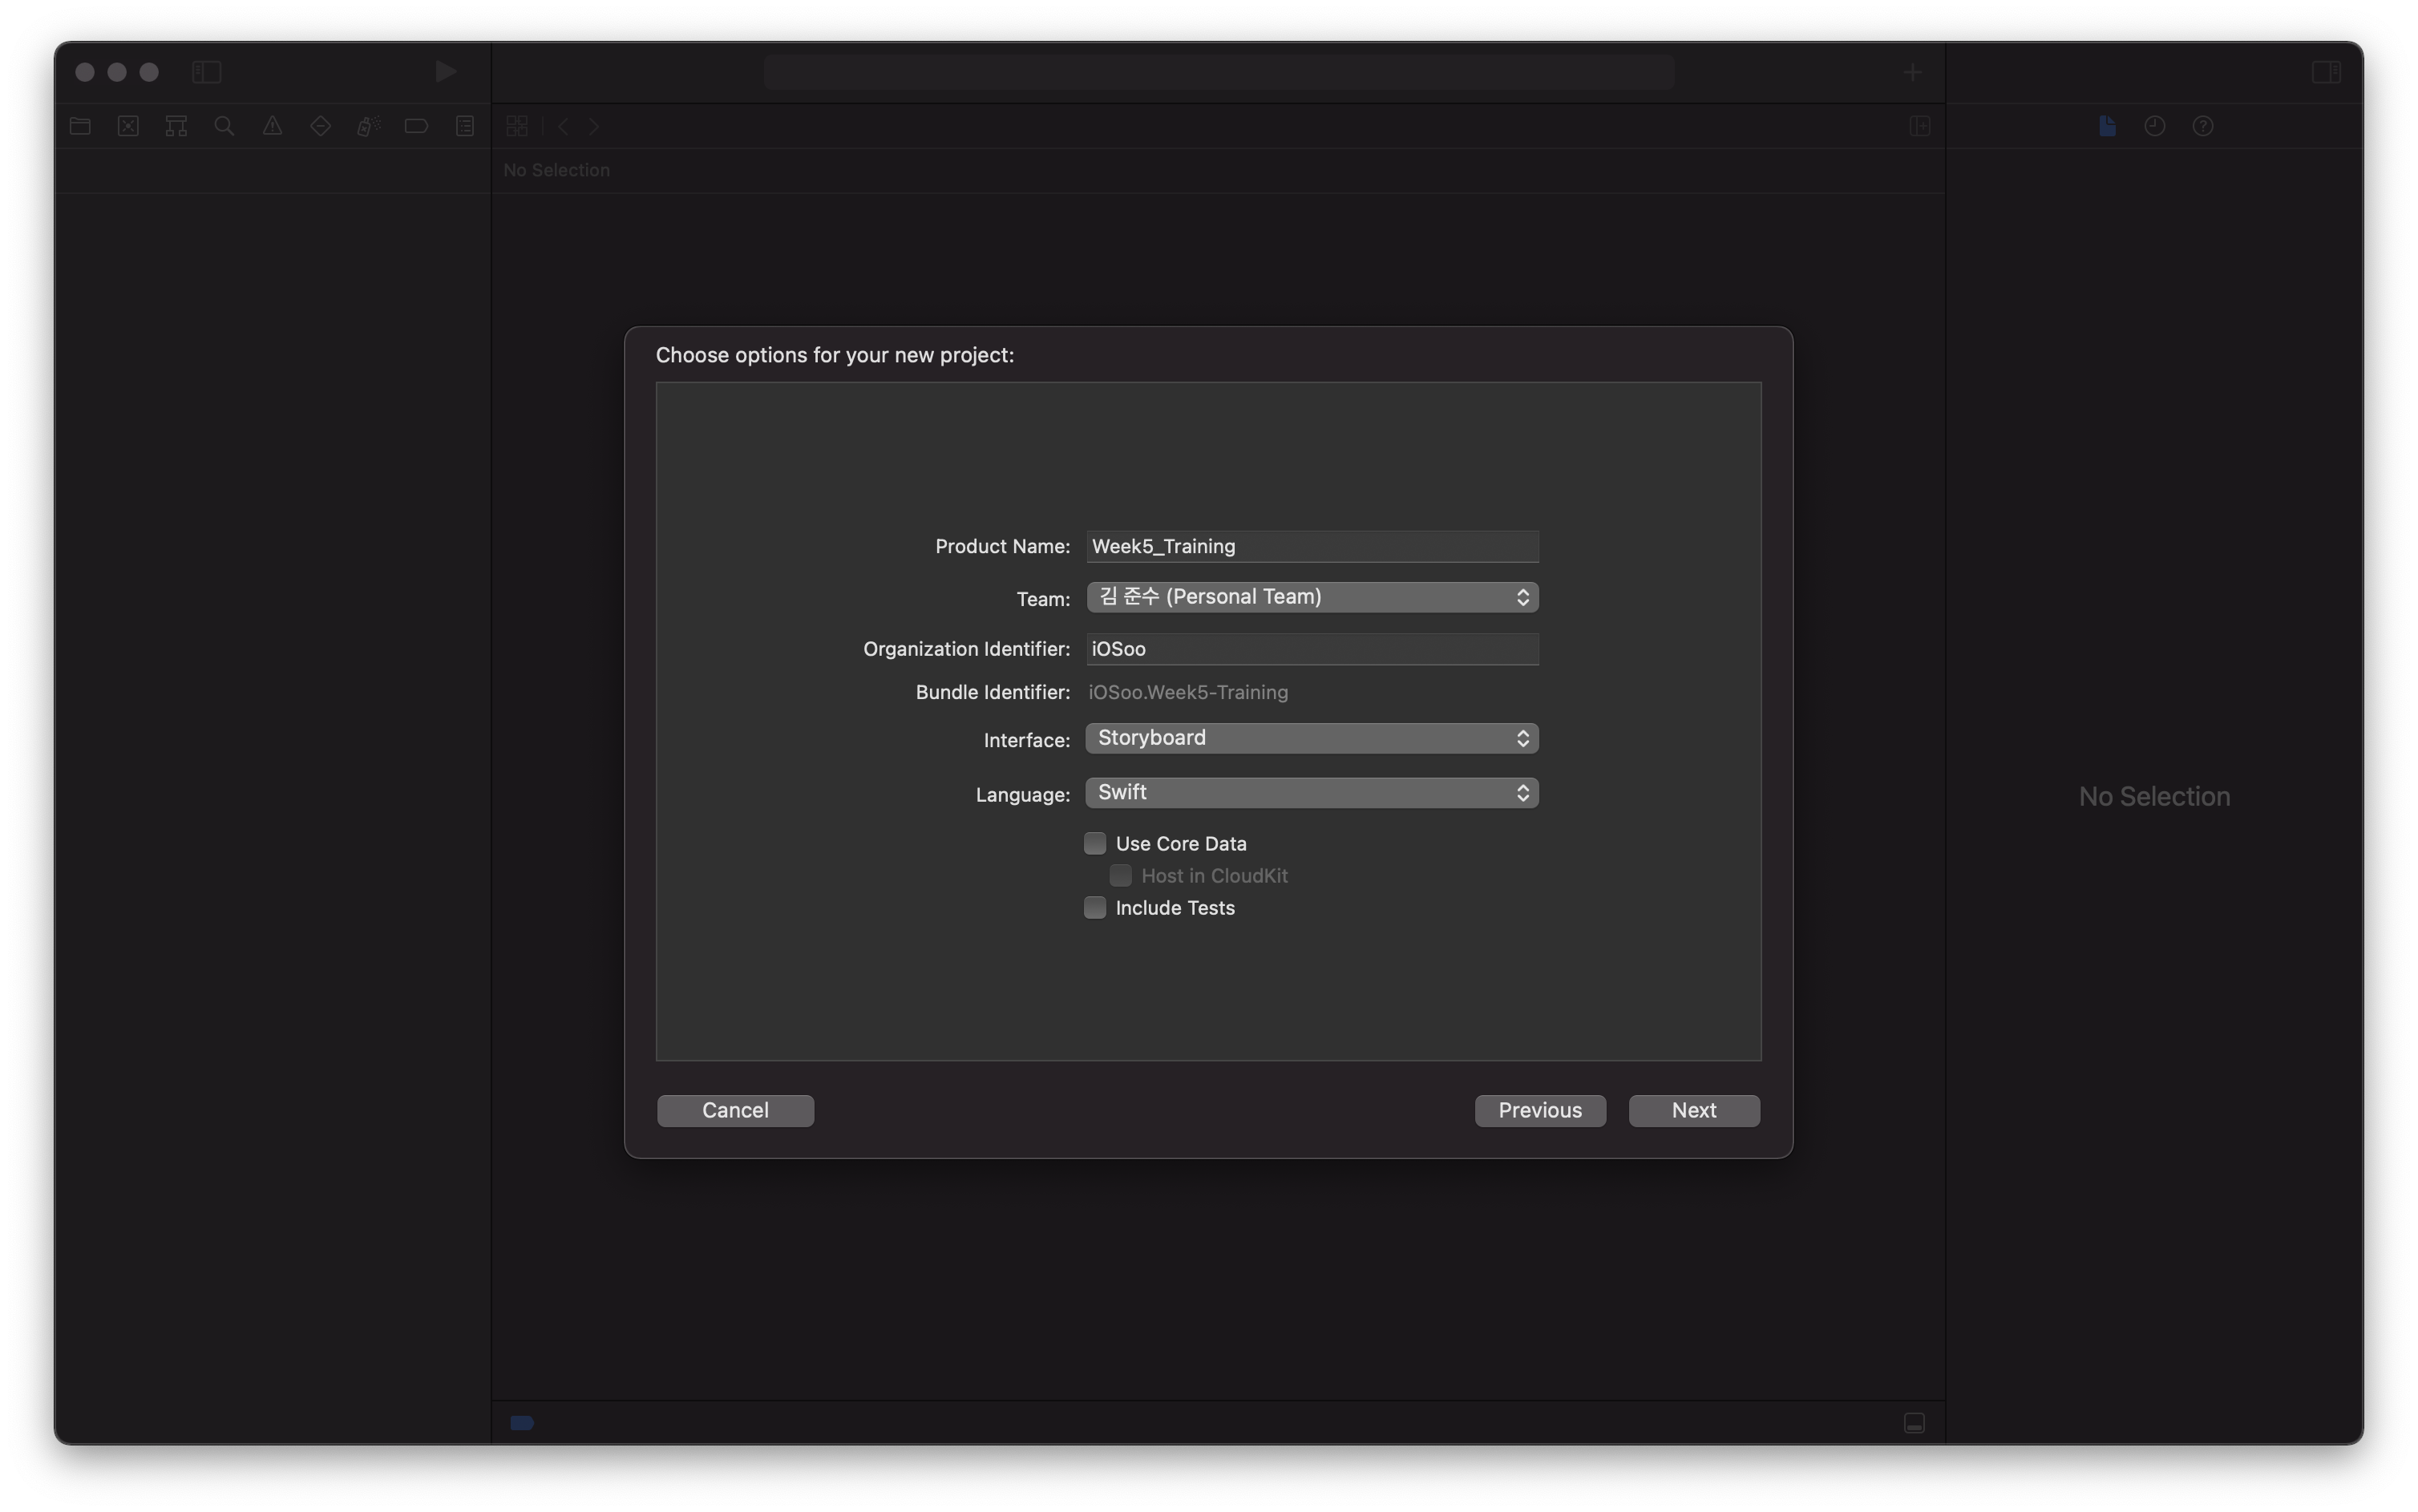
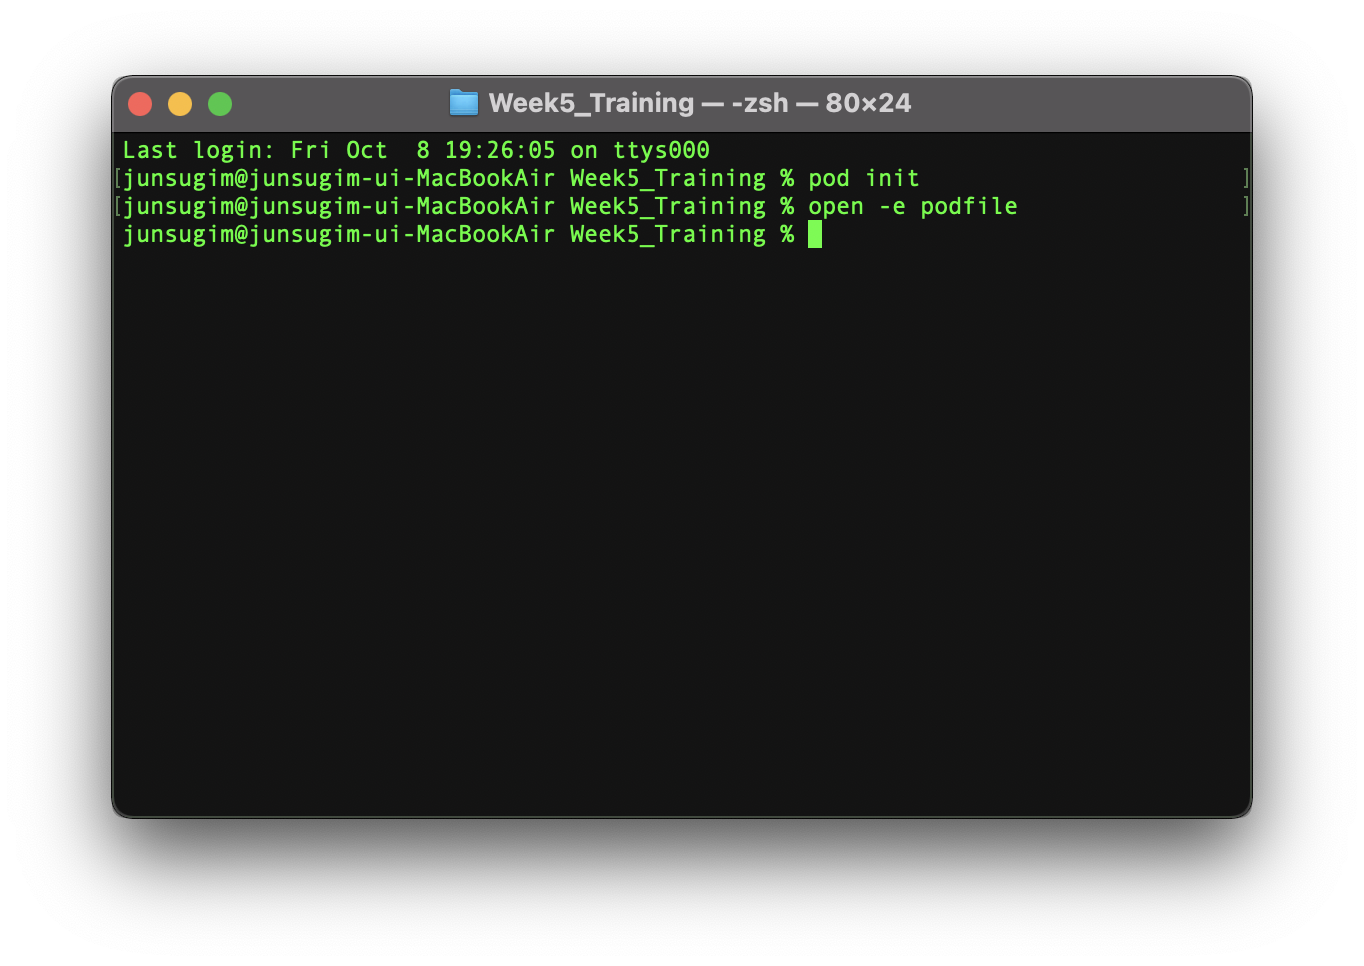
1. 우선 프로젝트를 하나 생성해준다.
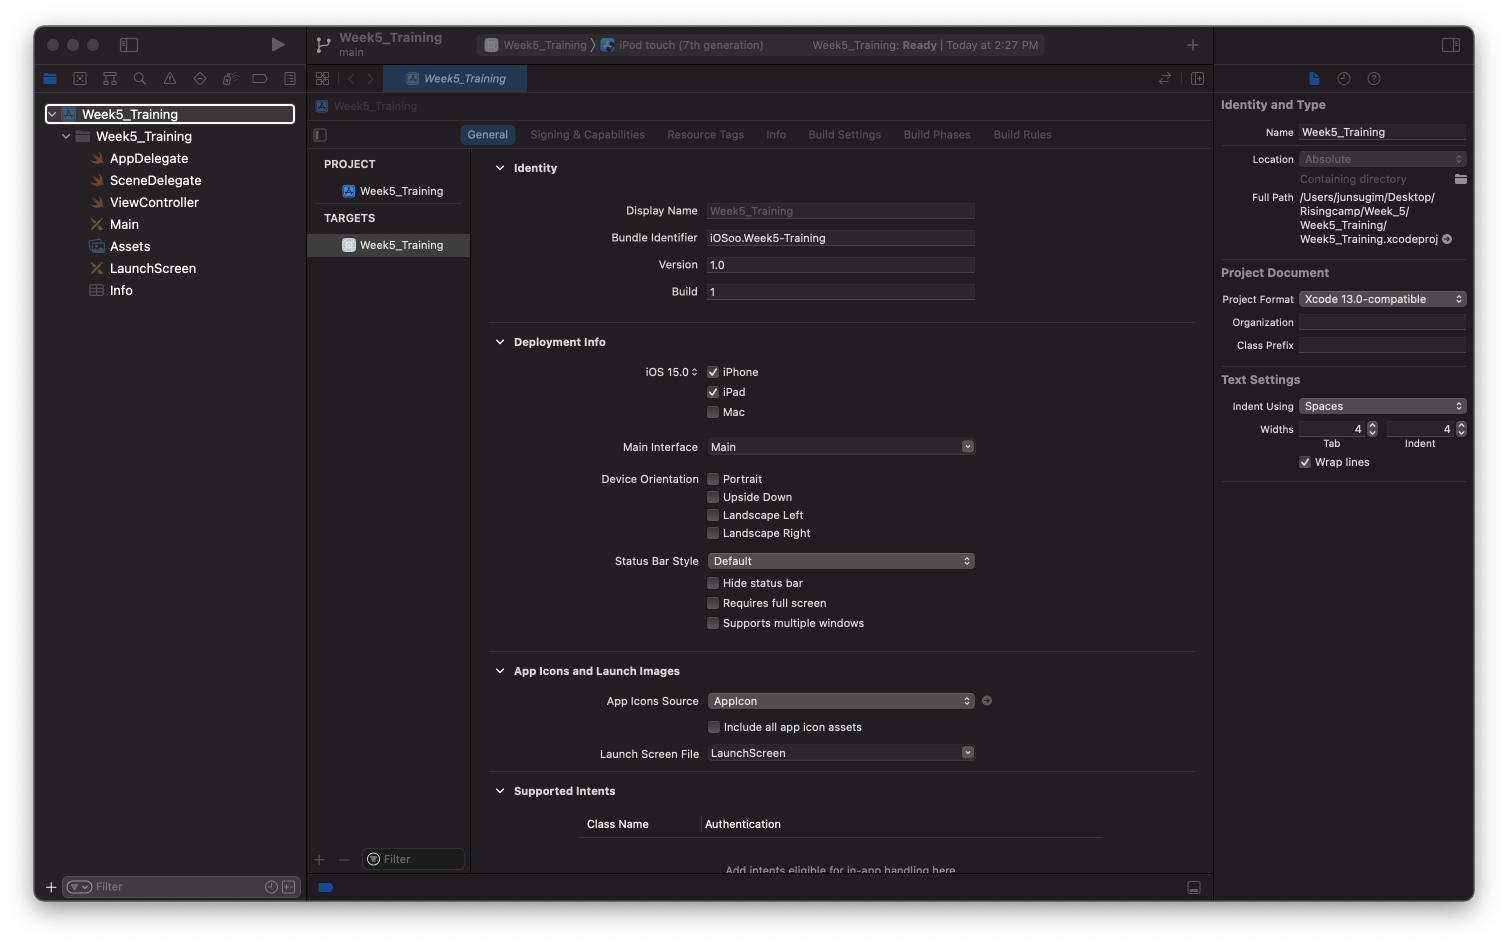
2. 프로젝트의 폴더를 찾아준다.
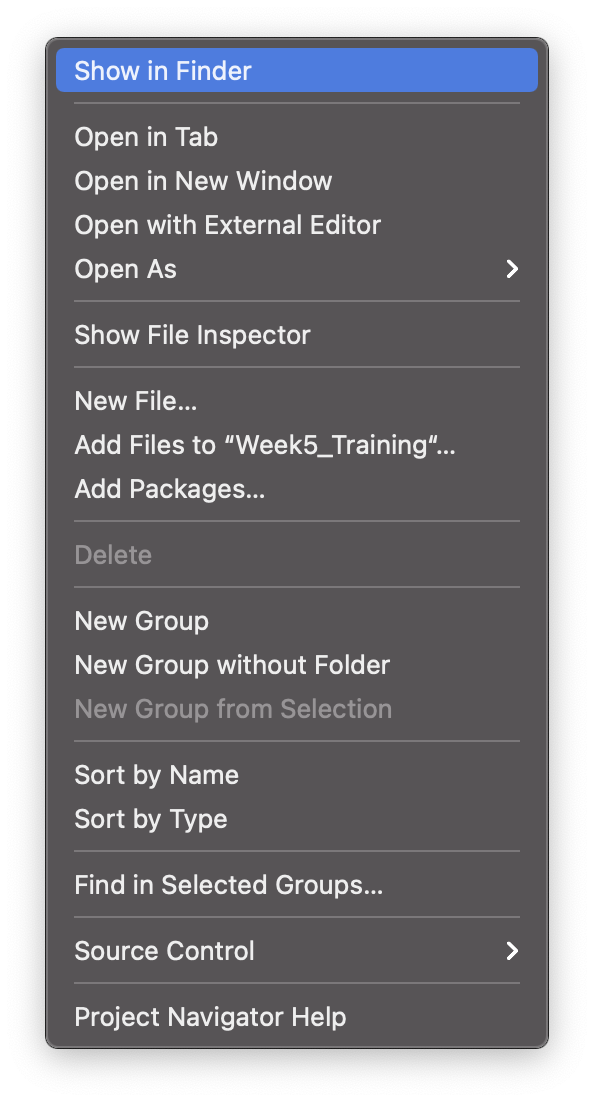
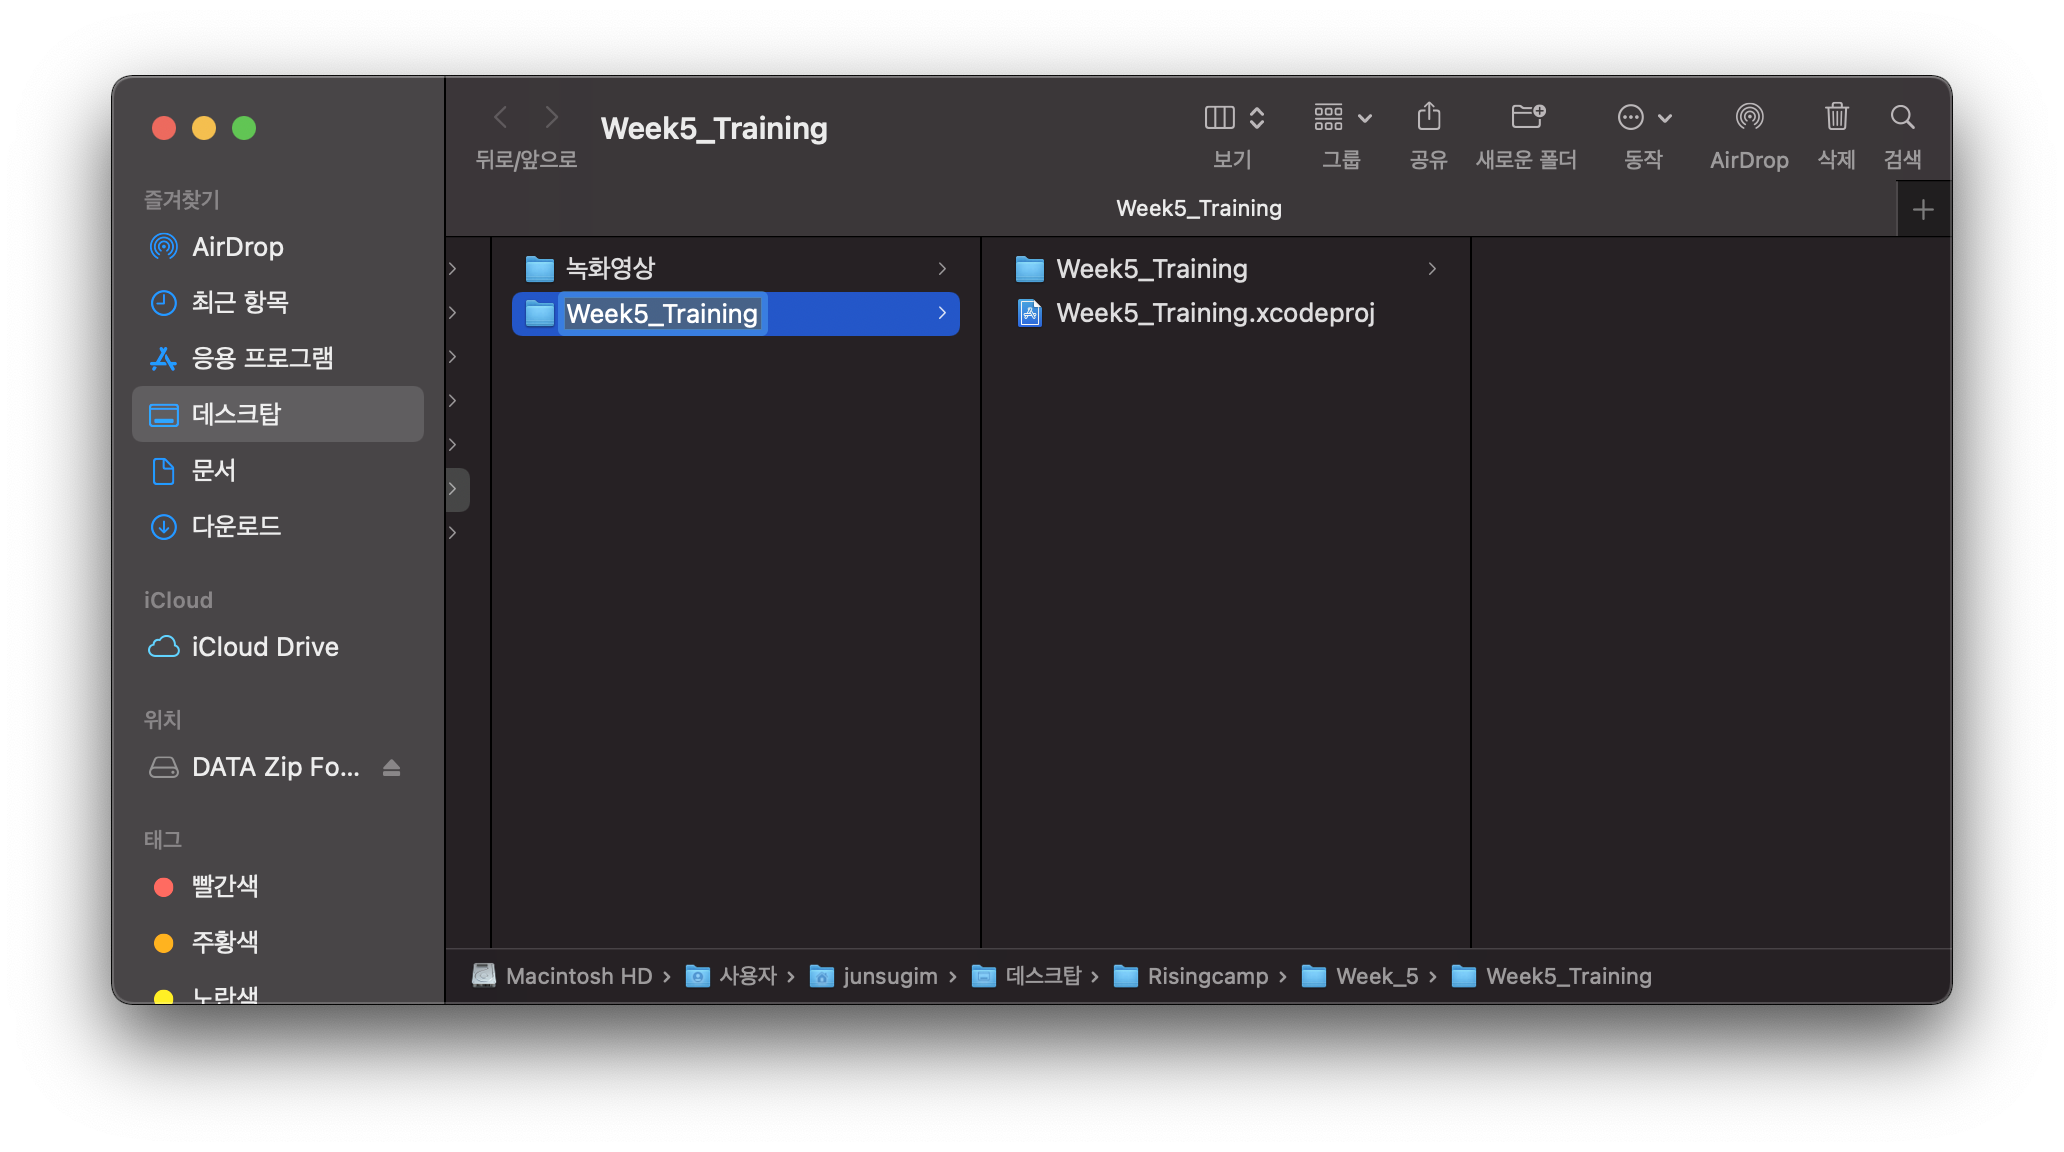
3. 프로젝트를 우클릭하고 폴더에서 새로운 터미널 열기를 선택해준다.

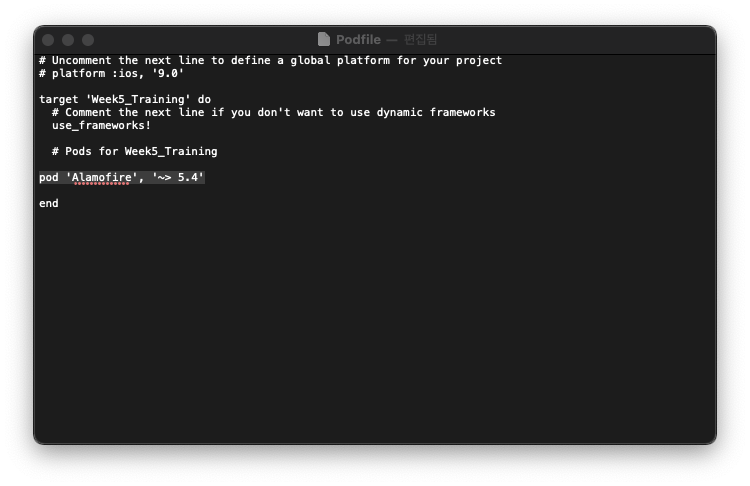
4. 아래의 명령어를 작성하고 Podfile에 https://github.com/Alamofire/Alamofire 에 있는 명령어를 작성해주고 저장해준다.
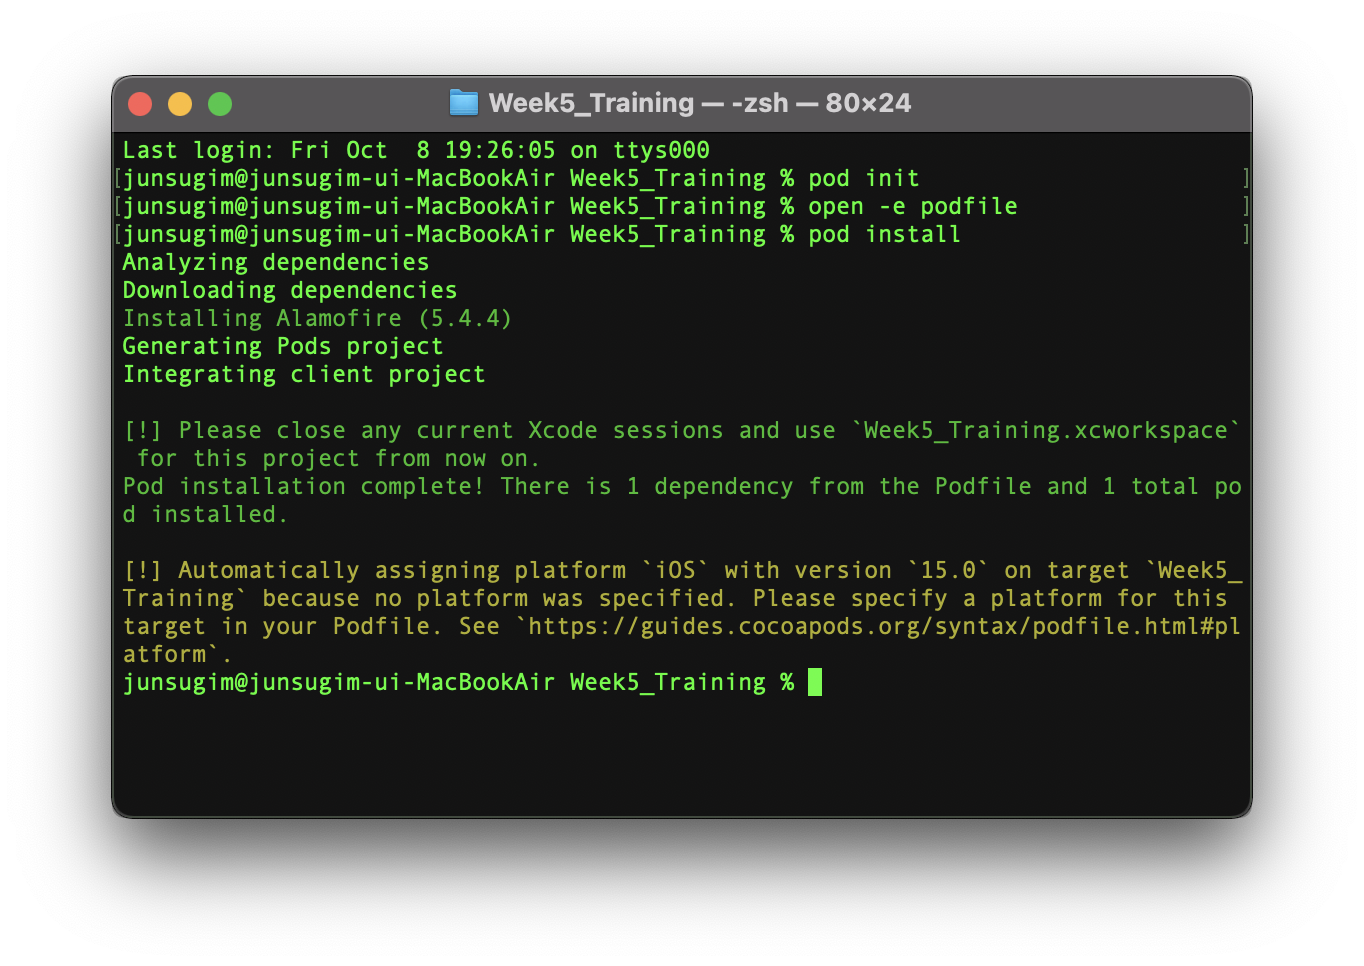
5. pod install 명령어를 입력해서 pod을 설치해준다.
6. 프로젝트를 종료하고 xcworkspace파일을 열어준다.
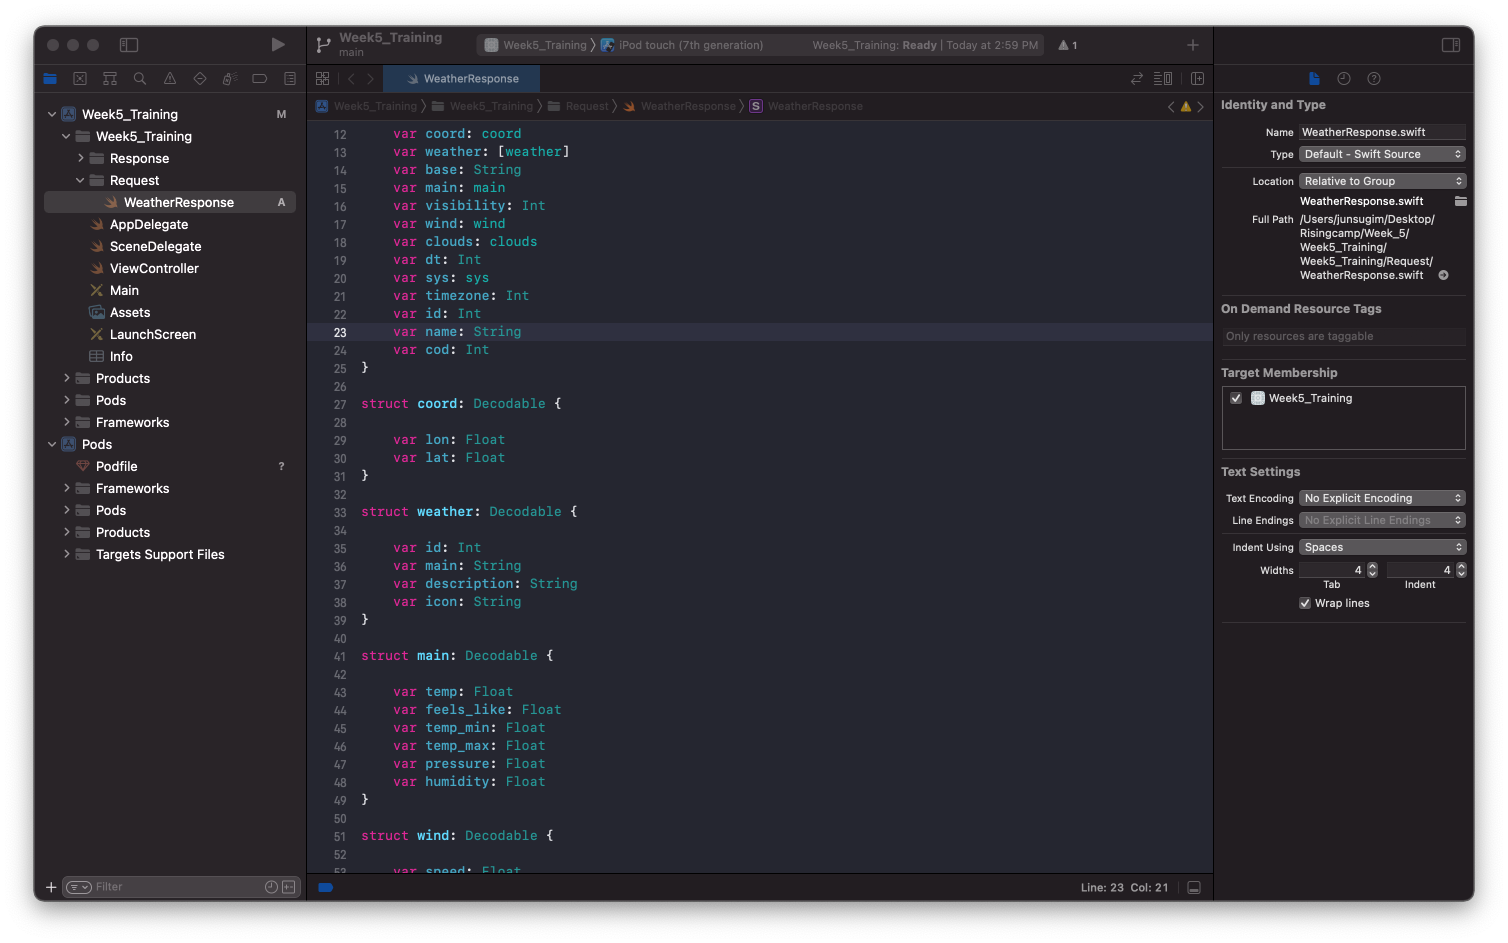
7. openweathermap을 이용해서 도시별 날씨 API를 이용해 코드를 작성해준다.
{
  "coord": {
    "lon": 126.9778,
    "lat": 37.5683
  },
  "weather": [
    {
      "id": 500,
      "main": "Rain",
      "description": "light rain",
      "icon": "10d"
    }
  ],
  "base": "stations",
  "main": {
    "temp": 294.64,
    "feels_like": 295.22,
    "temp_min": 292.84,
    "temp_max": 297.88,
    "pressure": 1016,
    "humidity": 91
  },
  "visibility": 6000,
  "wind": {
    "speed": 2.06,
    "deg": 270
  },
  "rain": {
    "1h": 0.15
  },
  "clouds": {
    "all": 90
  },
  "dt": 1633844691,
  "sys": {
    "type": 1,
    "id": 8105,
    "country": "KR",
    "sunrise": 1633815309,
    "sunset": 1633856572
  },
  "timezone": 32400,
  "id": 1835848,
  "name": "Seoul",
  "cod": 200
}
해당 JSON 파일을 보며 구조체를 만들어준다.
struct WeatherResponse: Decodable {

    var coord: coord
    var weather: [weather]
    var base: String
    var main: main
    var visibility: Int
    var wind: wind
    var clouds: clouds
    var dt: Int
    var sys: sys
    var timezone: Int
    var id: Int
    var name: String
    var cod: Int
}

struct coord: Decodable {

    var lon: Float
    var lat: Float
}

struct weather: Decodable {

    var id: Int
    var main: String
    var description: String
    var icon: String
}

struct main: Decodable {

    var temp: Float
    var feels_like: Float
    var temp_min: Float
    var temp_max: Float
    var pressure: Float
    var humidity: Float
}

struct wind: Decodable {

    var speed: Float
    var deg: Int
}

struct clouds: Decodable {
    var all: Int
}

struct sys: Decodable {

    var type: Int
    var id: Int
    var country: String
    var sunrise: Int
    var sunset: Int
}
8. API호출을 위한 클래스와 메서드 호출을 해준다.
import UIKit
import Alamofire

class WeatherRequest {

    func getWeatherData(_ viewController: ViewController) {

        let url = "https://api.openweathermap.org/data/2.5/weather?q=seoul&appid=70712209ed38b3c9995cdcdd87bda250"
        //URL은 openweather에서 요구하는 타입으로 URL 선언

        let params: Parameters = [
            "q" : "seoul",
            "appid" : "70712209ed38b3c9995cdcdd87bda250"
        ]

        // HTTP Method: GET
        AF.request(url, //어떤 URL을 사용할 것인가?
                   method: .get, //어떤 메서드를 사용할 것인가?
                   parameters: params, //어떤 parameter를 사용할 것인가?
                   headers: nil)
            .responseDecodable(of: WeatherResponse.self) { response in //responseDecodable은 원하느 타입으로 Response받기 위해서 필요함.

                switch response.result { //성공, 실패여부에 따라 분기문 설정

                case .success(let response):
                    print("DEBUG>> OpenWeather Response \(response) ")
                    //viewController.didSuccess(response)

                case .failure(let error):
                    print("DEBUG>> OpenWeather Get Error : \(error.localizedDescription)")

                }
            }
    }

}
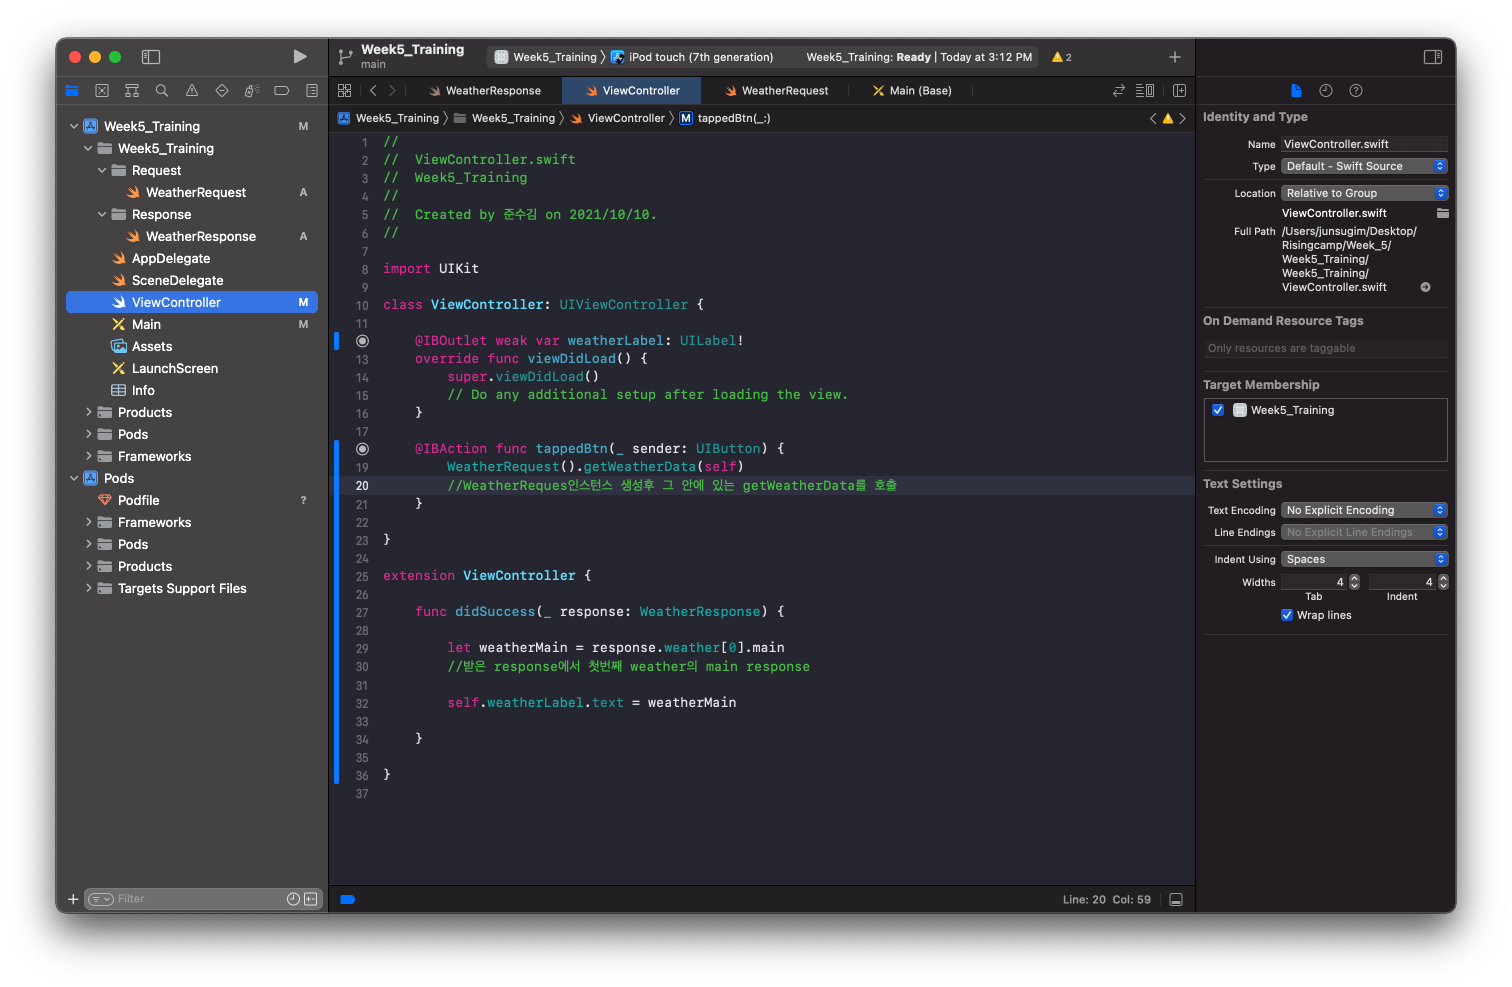
9. Response 활용하기 - 날씨 Label로 출력
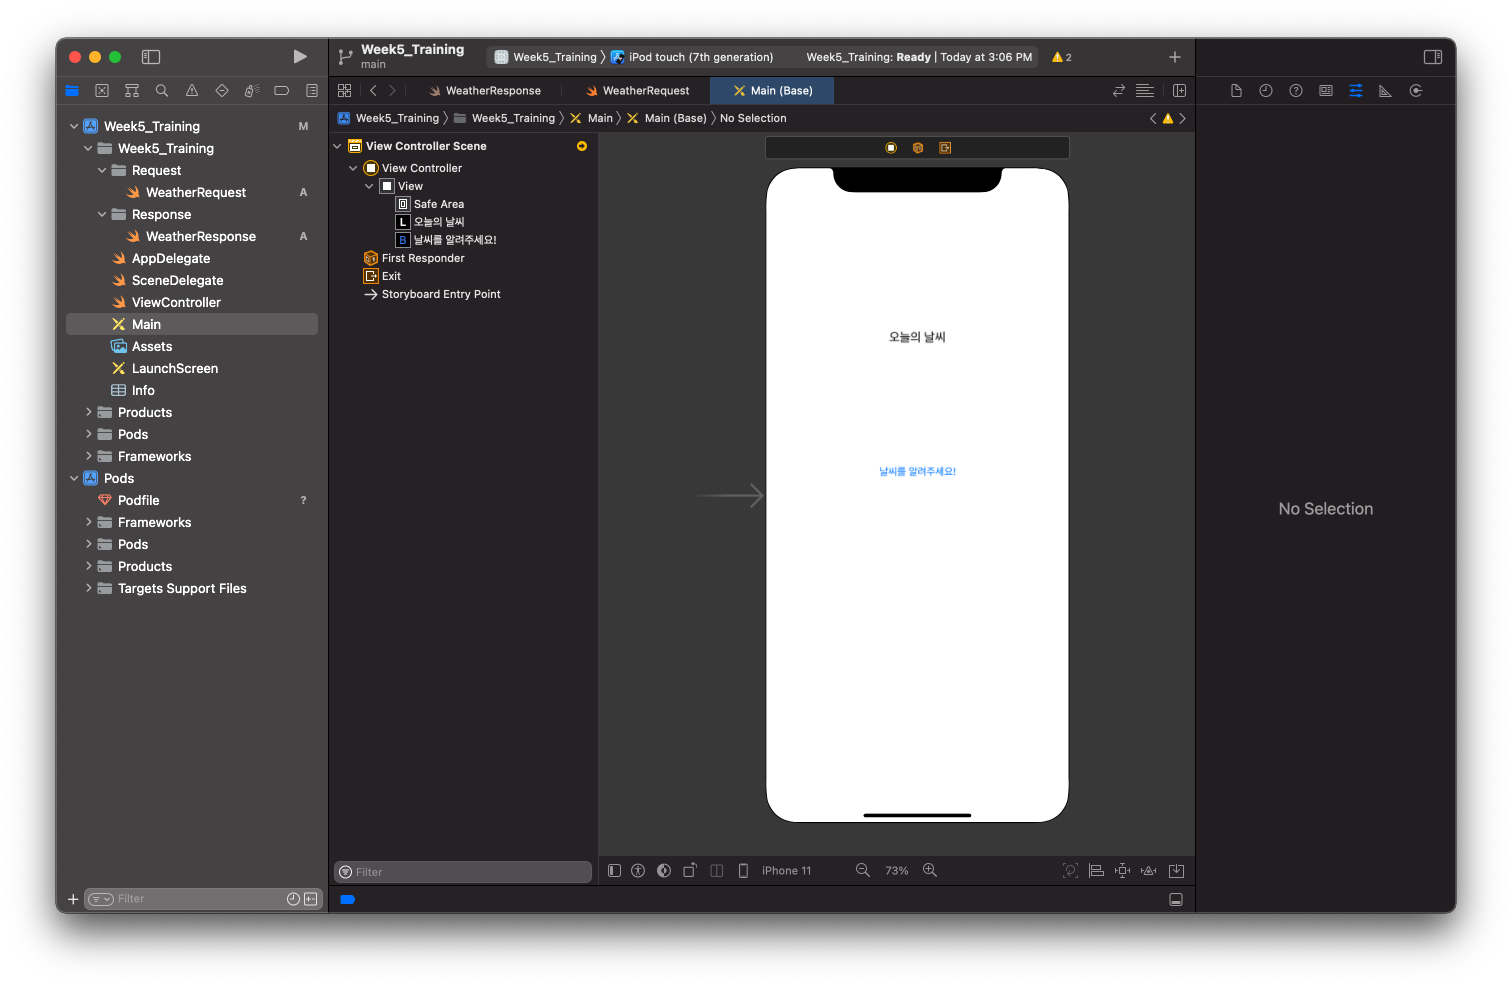
import UIKit

class ViewController: UIViewController {

    @IBOutlet weak var weatherLabel: UILabel!
    override func viewDidLoad() {
        super.viewDidLoad()
        // Do any additional setup after loading the view.
    }

    @IBAction func tappedBtn(_ sender: UIButton) {
        WeatherRequest().getWeatherData(self)
        //WeatherReques인스턴스 생성후 그 안에 있는 getWeatherData를 호출
    }

}

extension ViewController {

    func didSuccess(_ response: WeatherResponse) {

        let weatherMain = response.weather[0].main
        //받은 response에서 첫번째 weather의 main response

        self.weatherLabel.text = weatherMain

    }

}
실행 결과
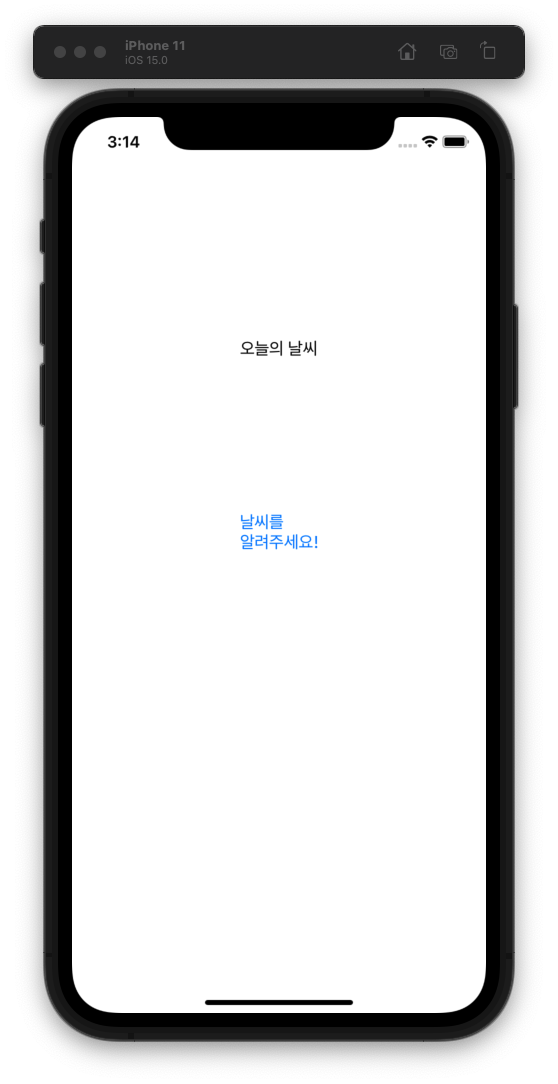
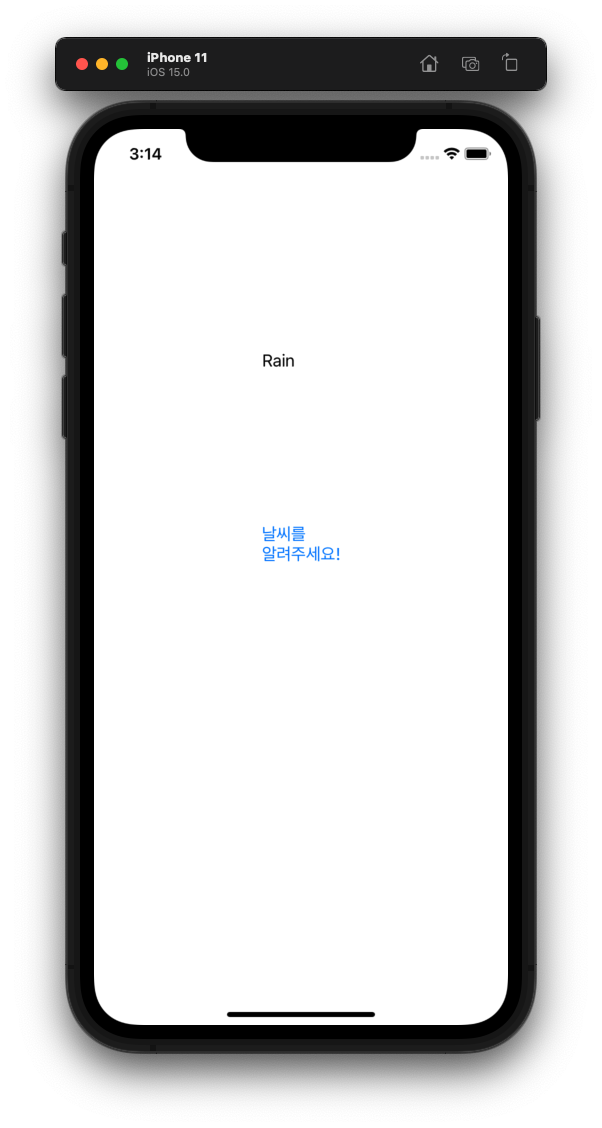

애플을 좋아하는 비전공생