
오늘은 스크롤 되는 화면을 구성할 때 사용한 방법을 설명해보겠다.
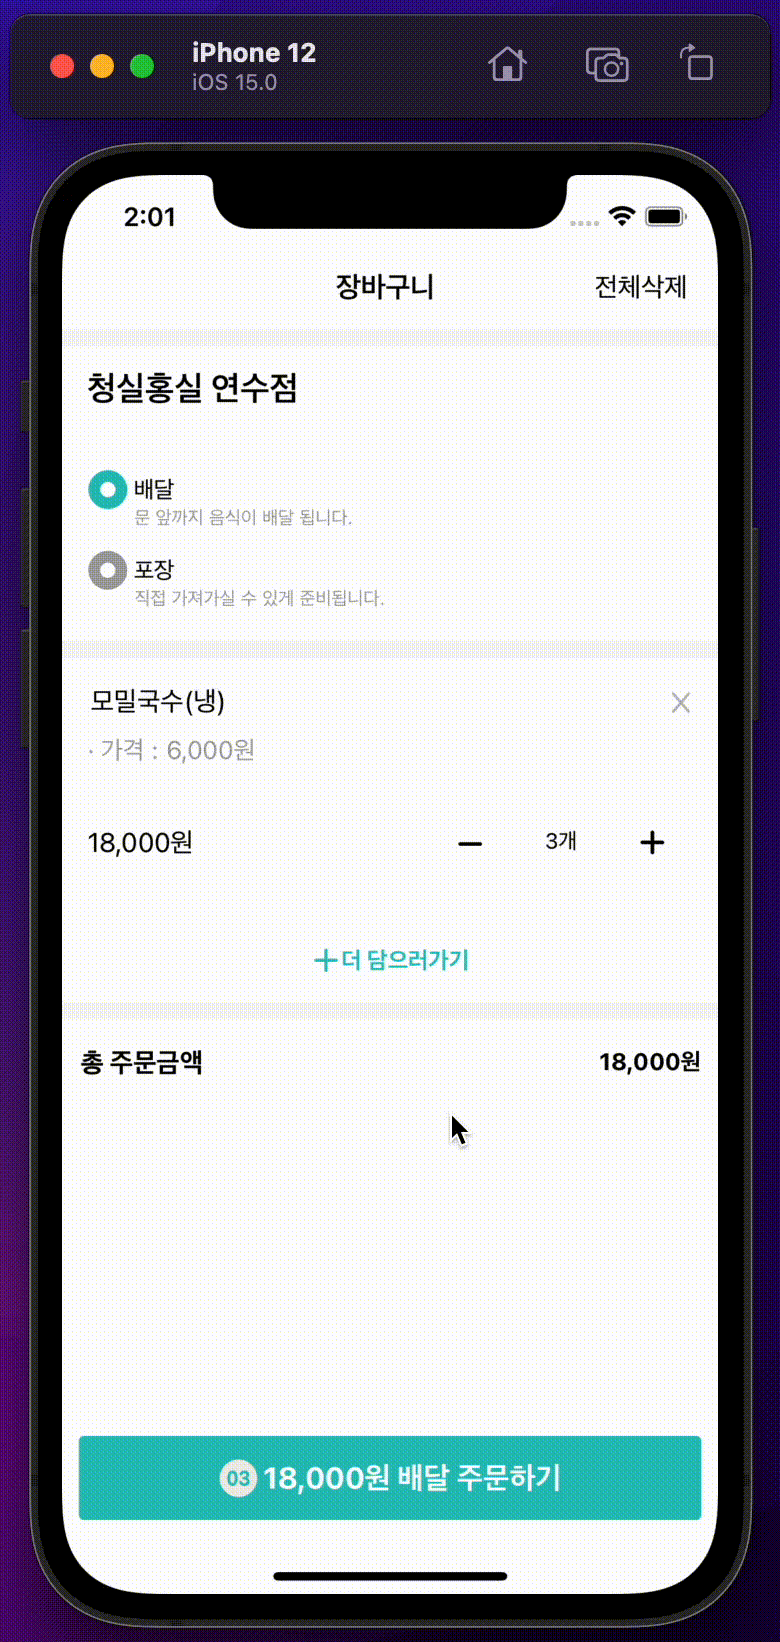
만들어볼 화면은 배달의 민족앱에서 장바구니 화면을 구현해볼 것이다.

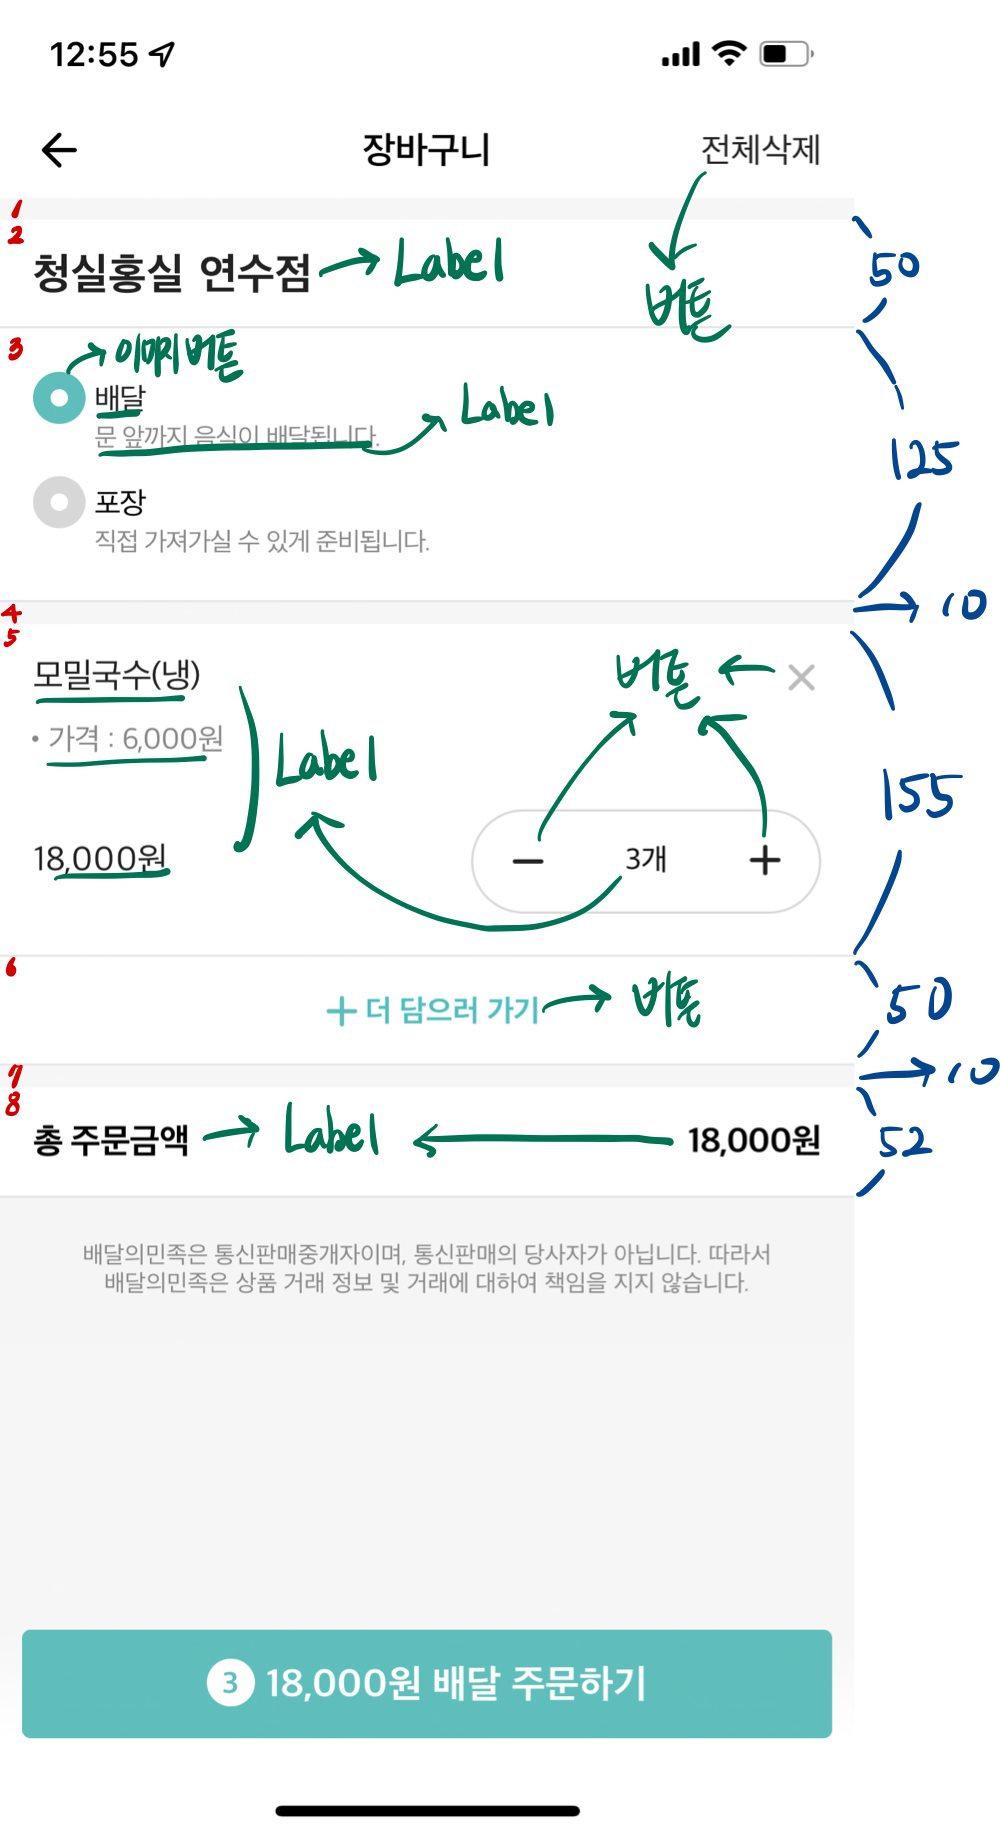
0. 앱을 만들기전 기획
기획단계에서는 아래의 항목이 들어가면 좋다.
-
몇개의 Cell을 사용할 것인지?
-
각 Cell의 Height
-
Cell 내부의 Label, Button의 여부
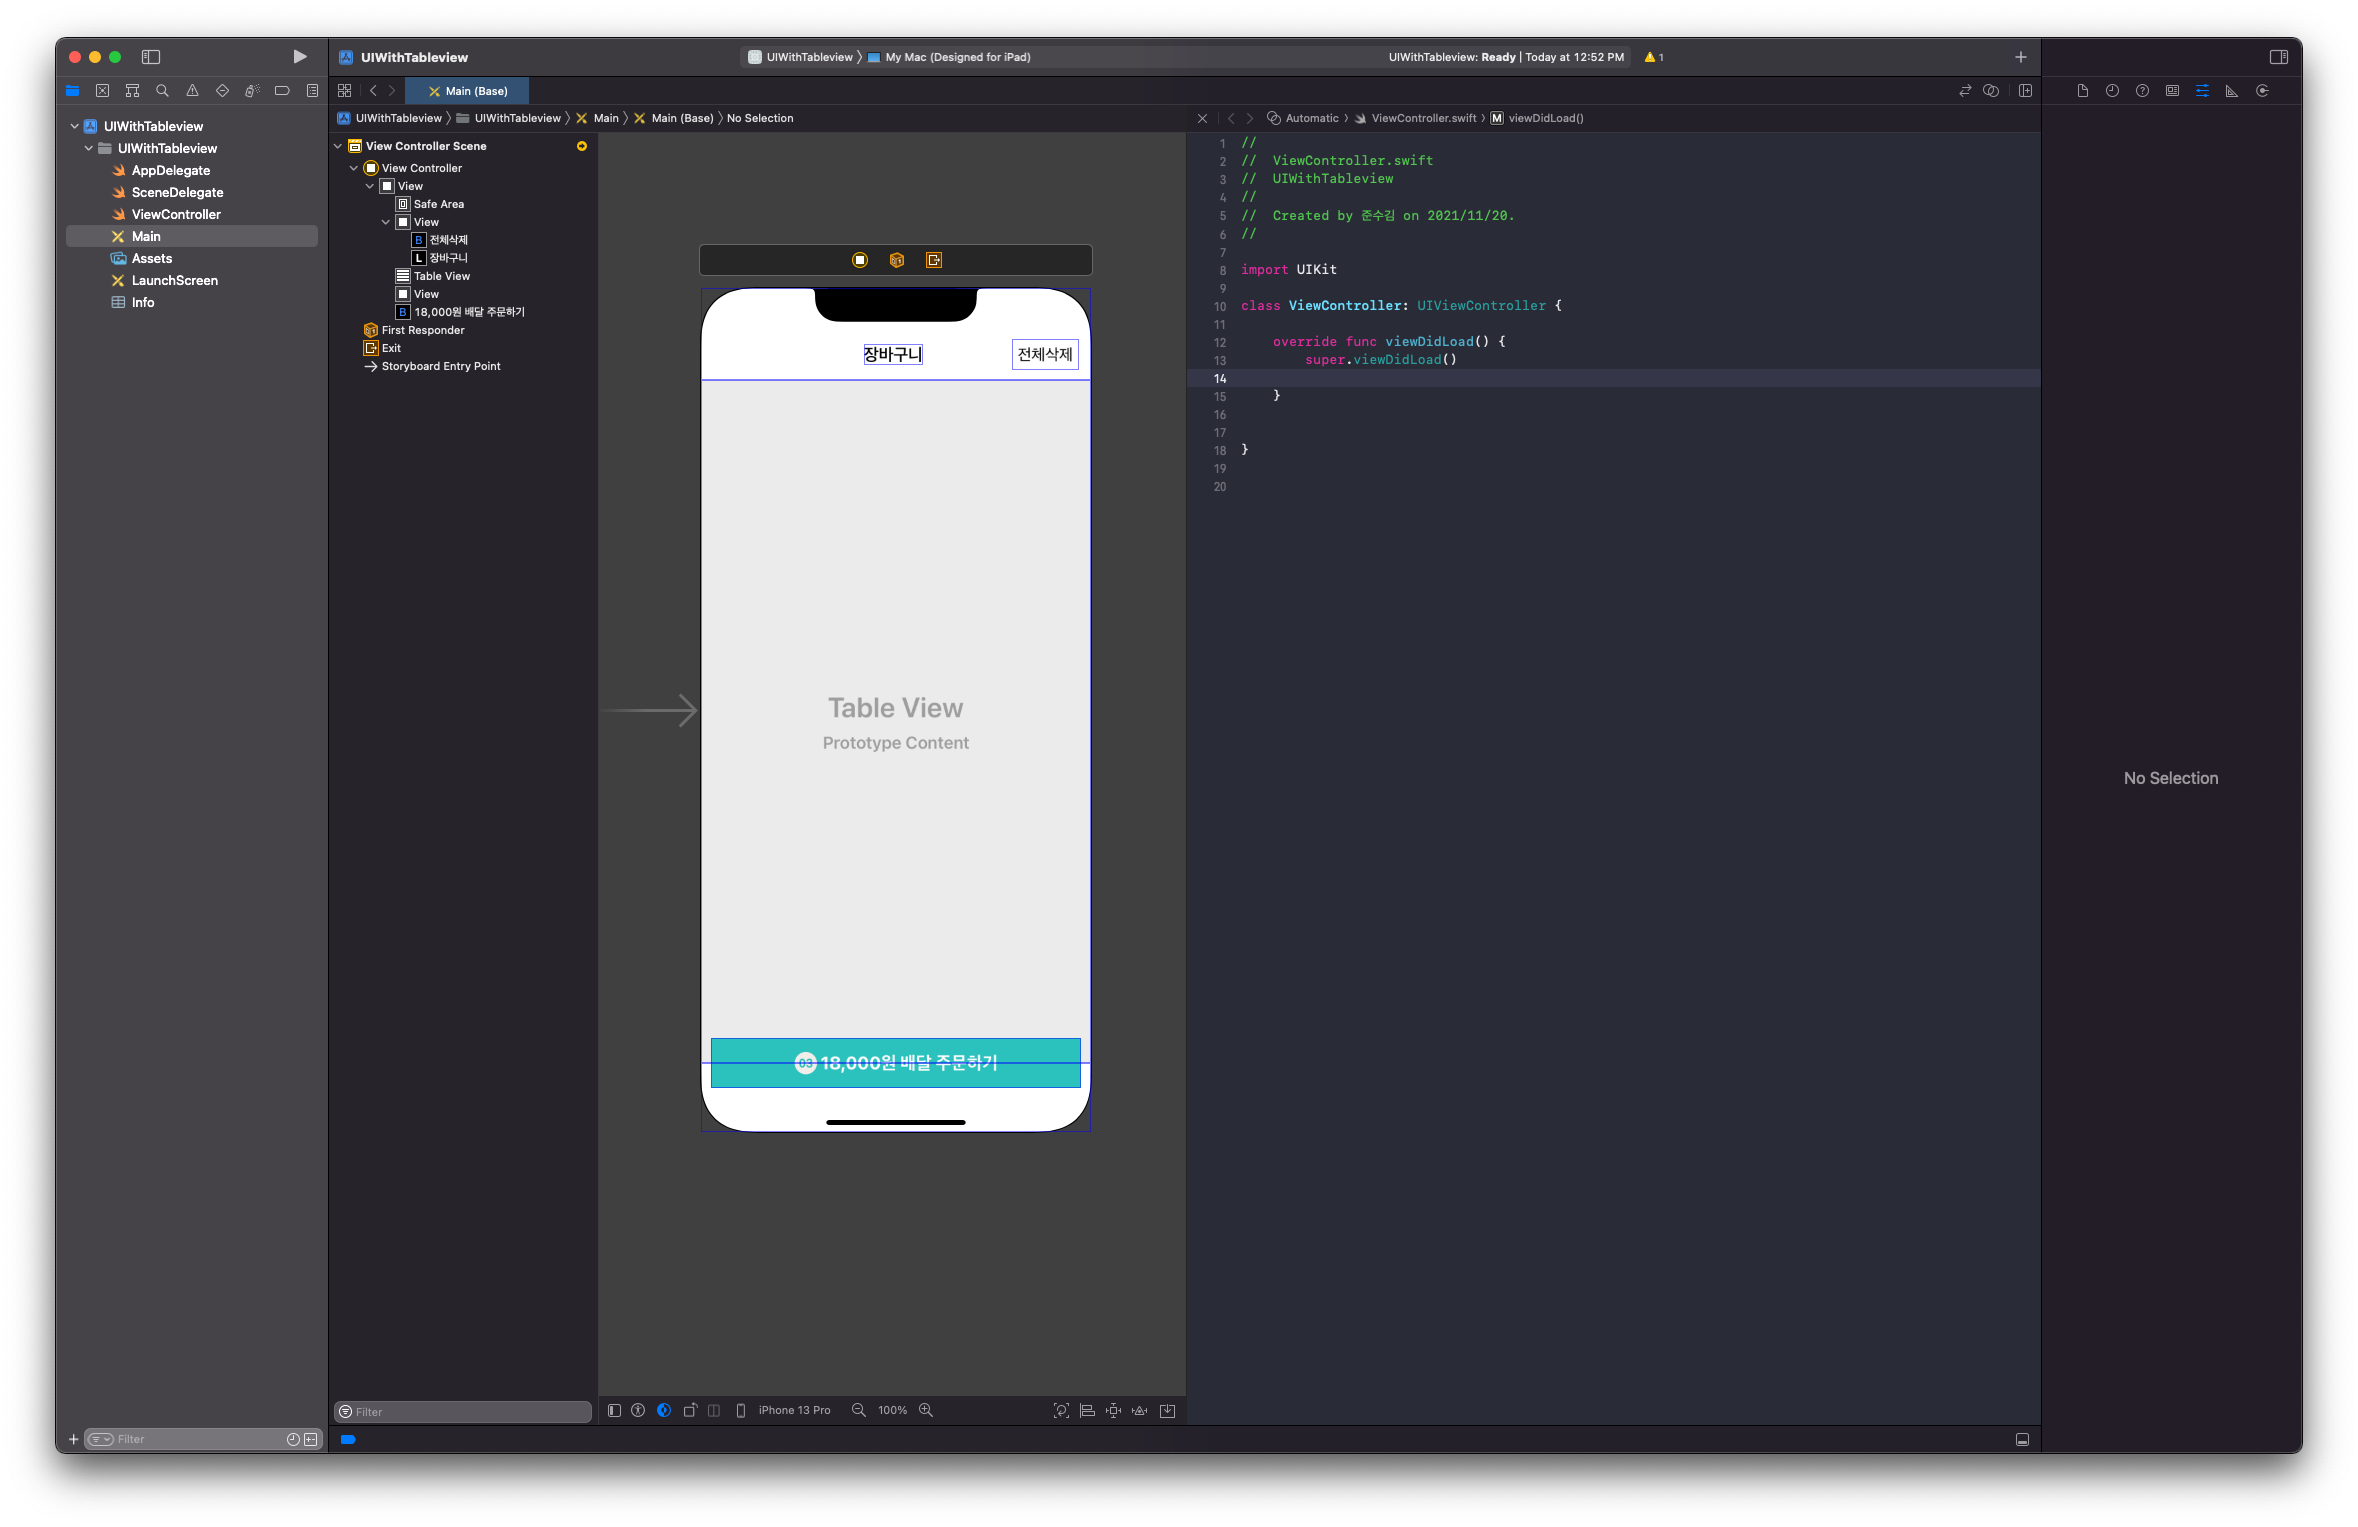
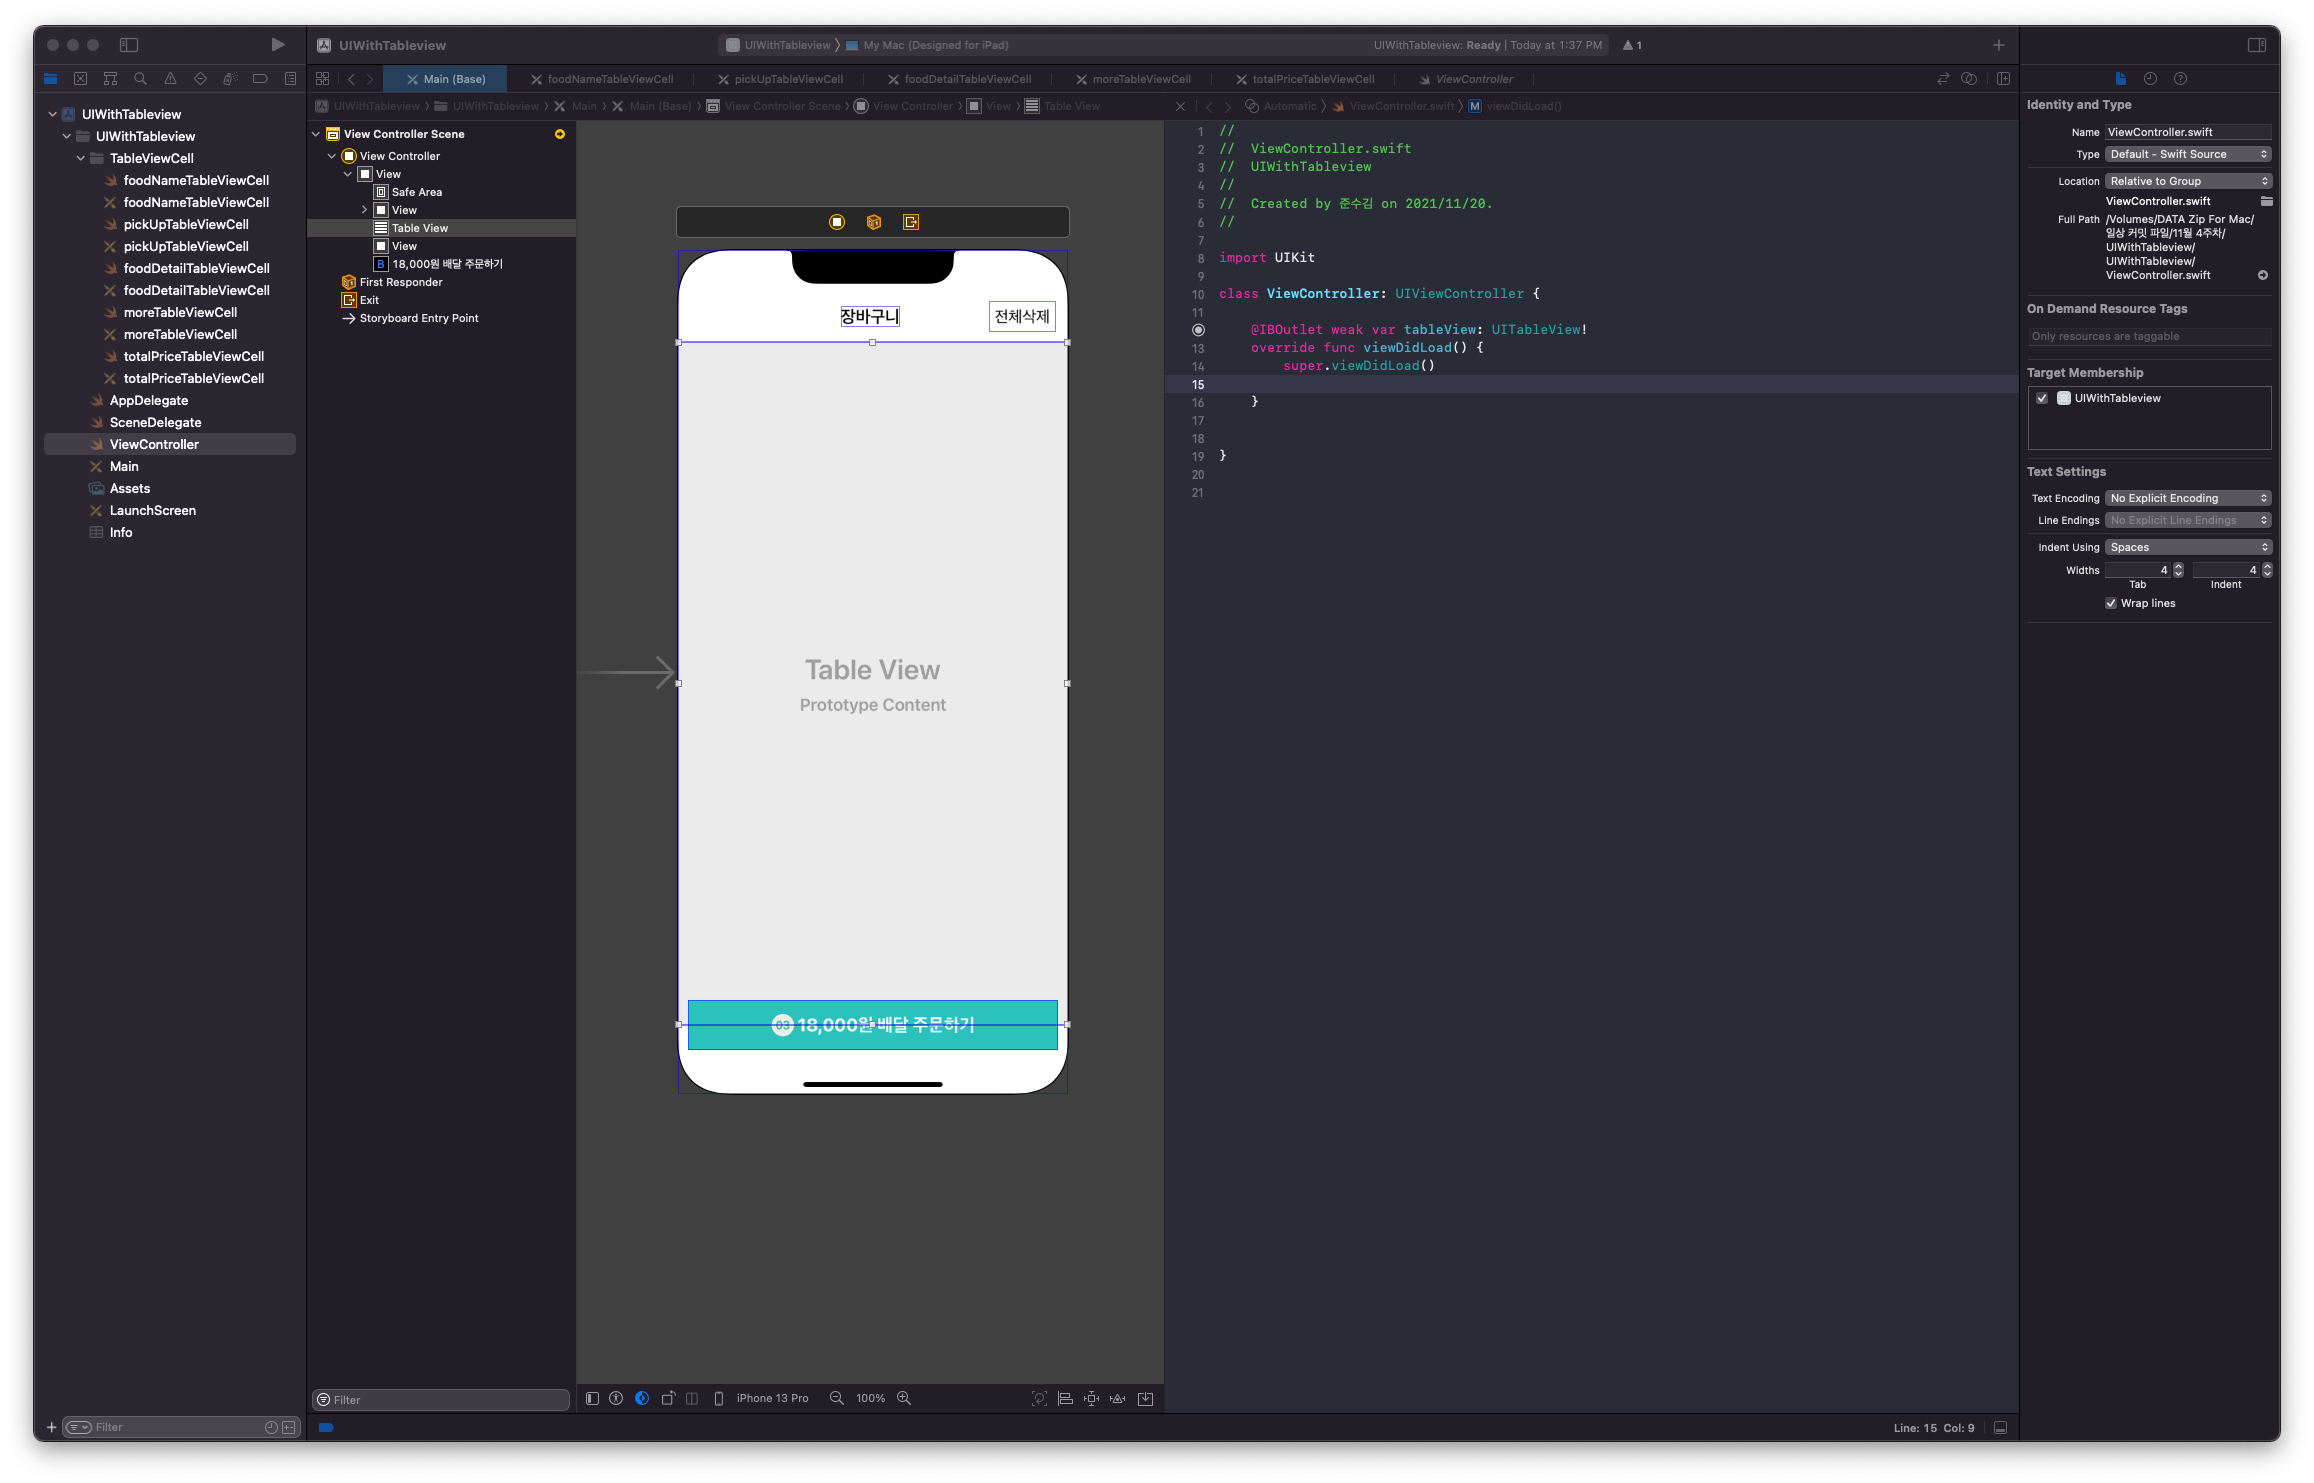
1. TableView와 UIView를 사용해서 스크롤이 되지 않는 고정적인 UI만 구성해준다.
상단: UIView 위에 장바구니 Label과 전체삭제 Button
하단: 주문하기 Button과 그 아래의 UIView
2. UI구성을 완료했다면 각 Cell을 만들어보자.
cell을 구성하기전 TableViewCell을 아래와 같이 만들어야함.
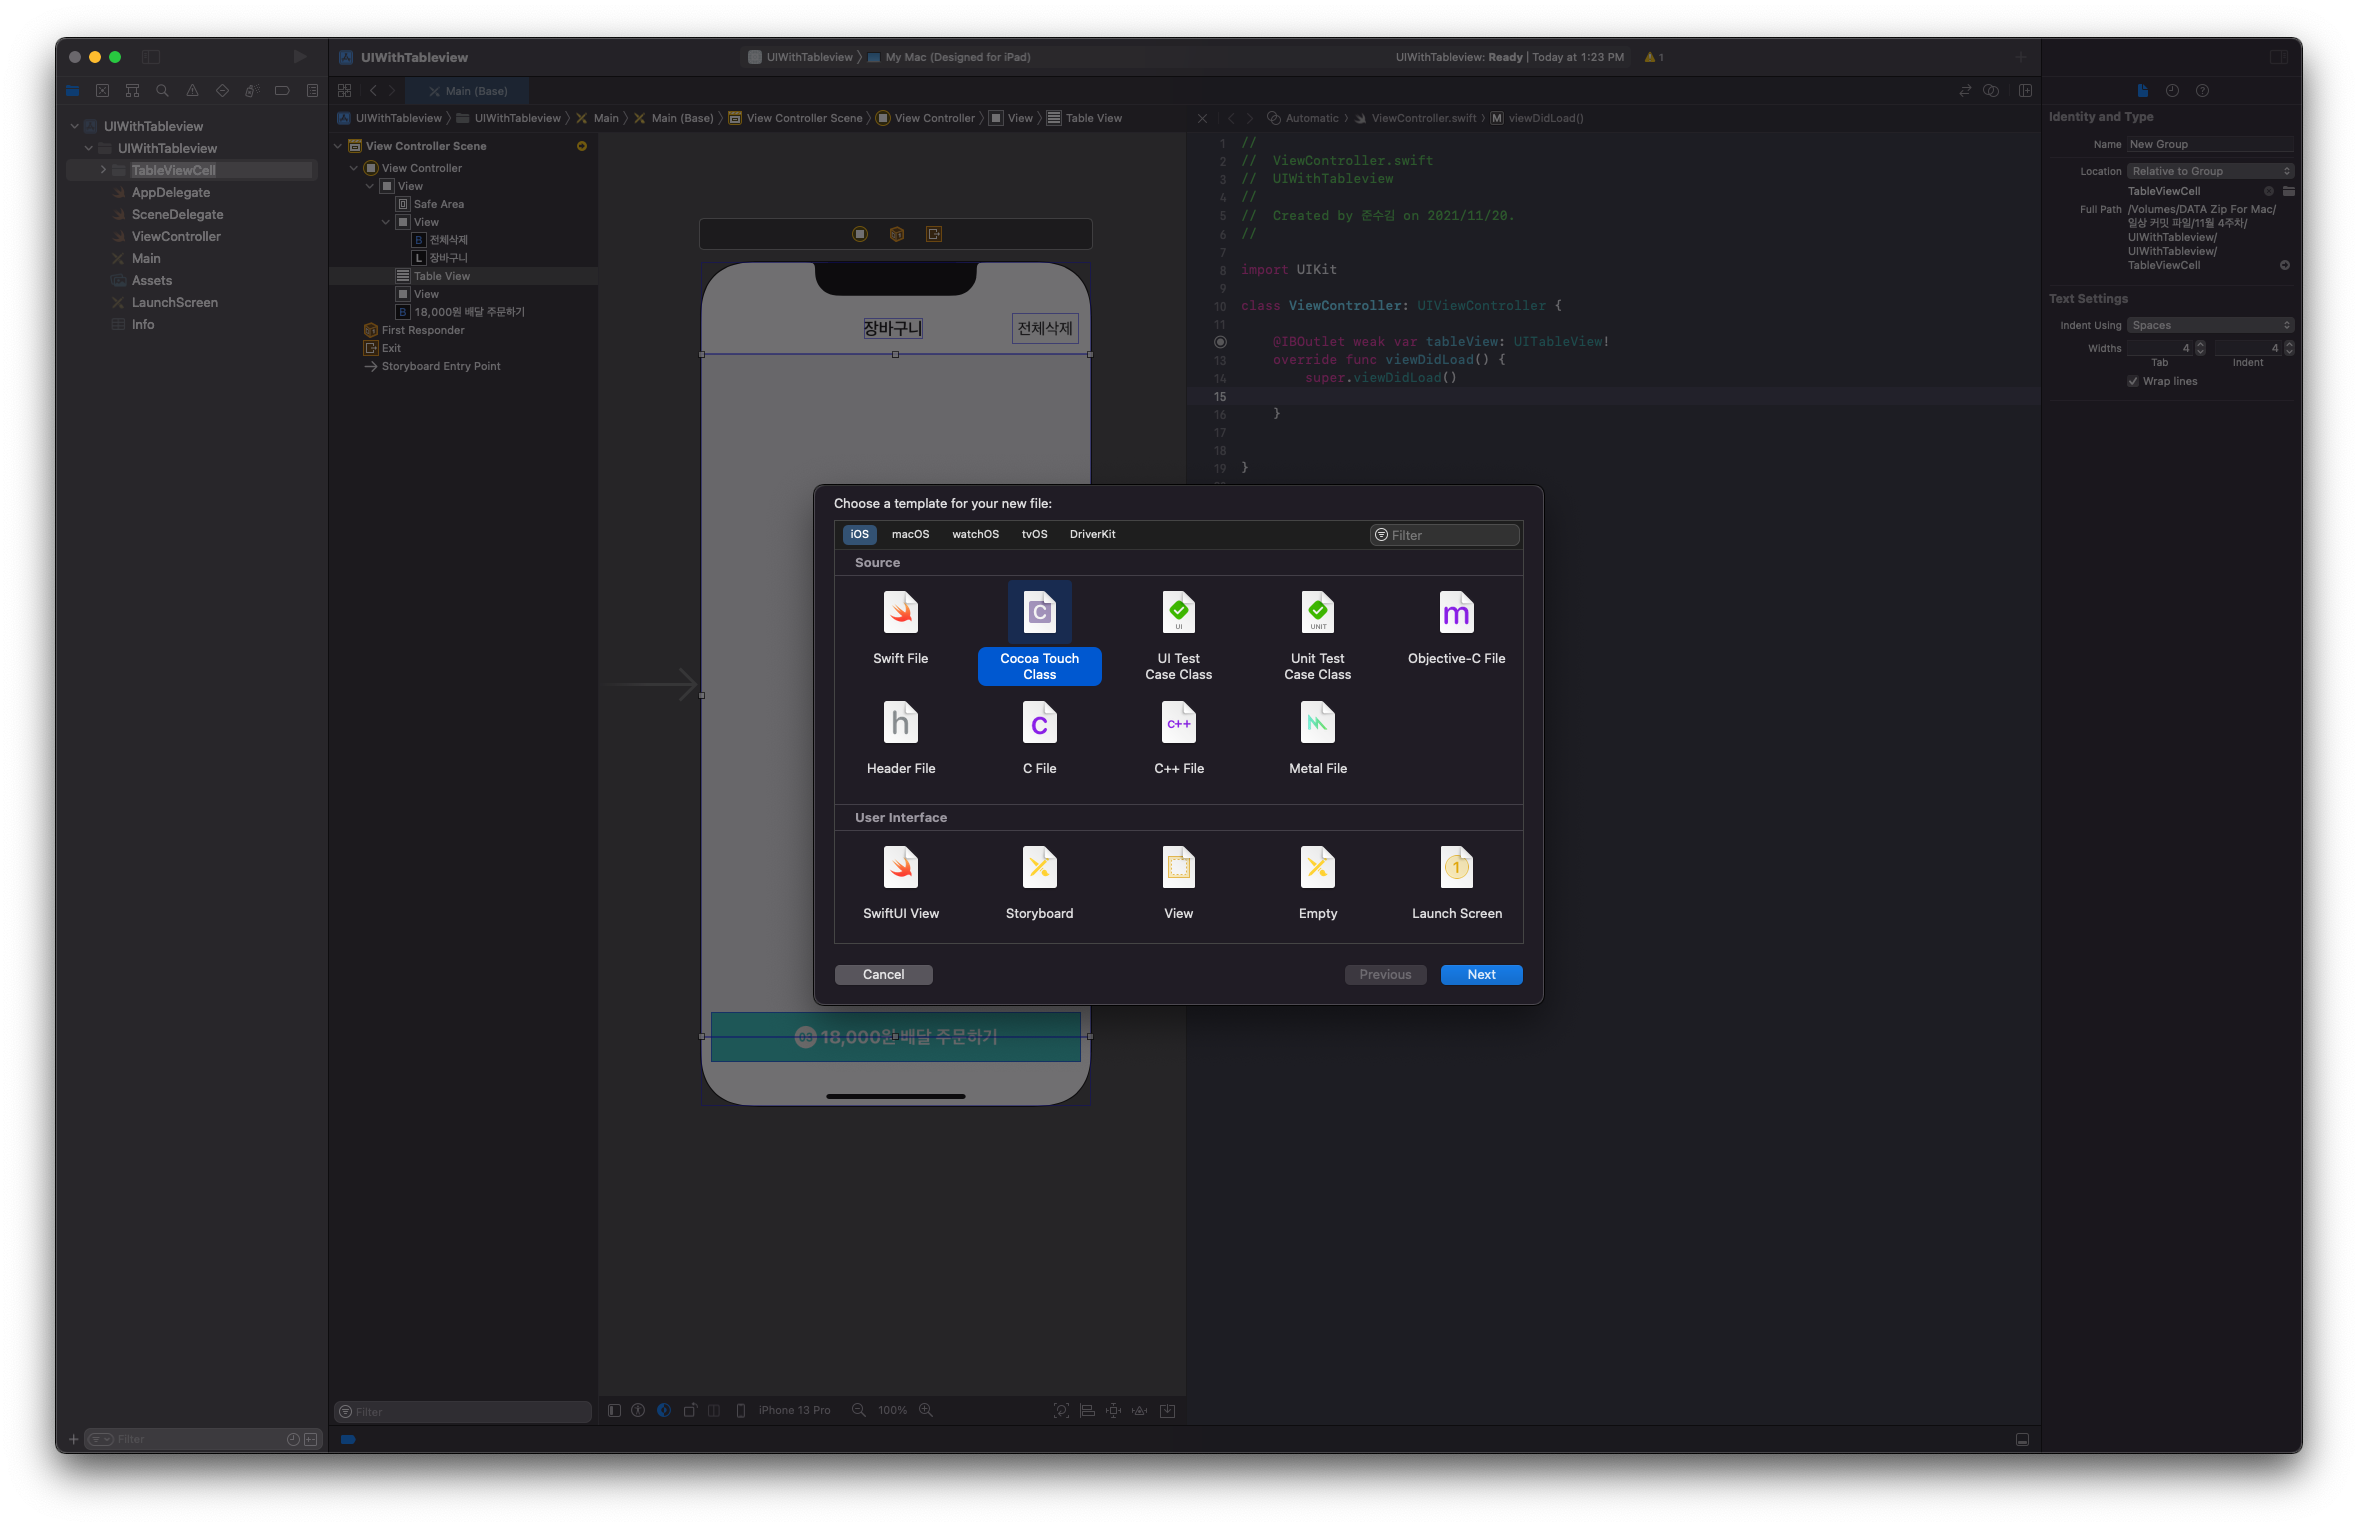
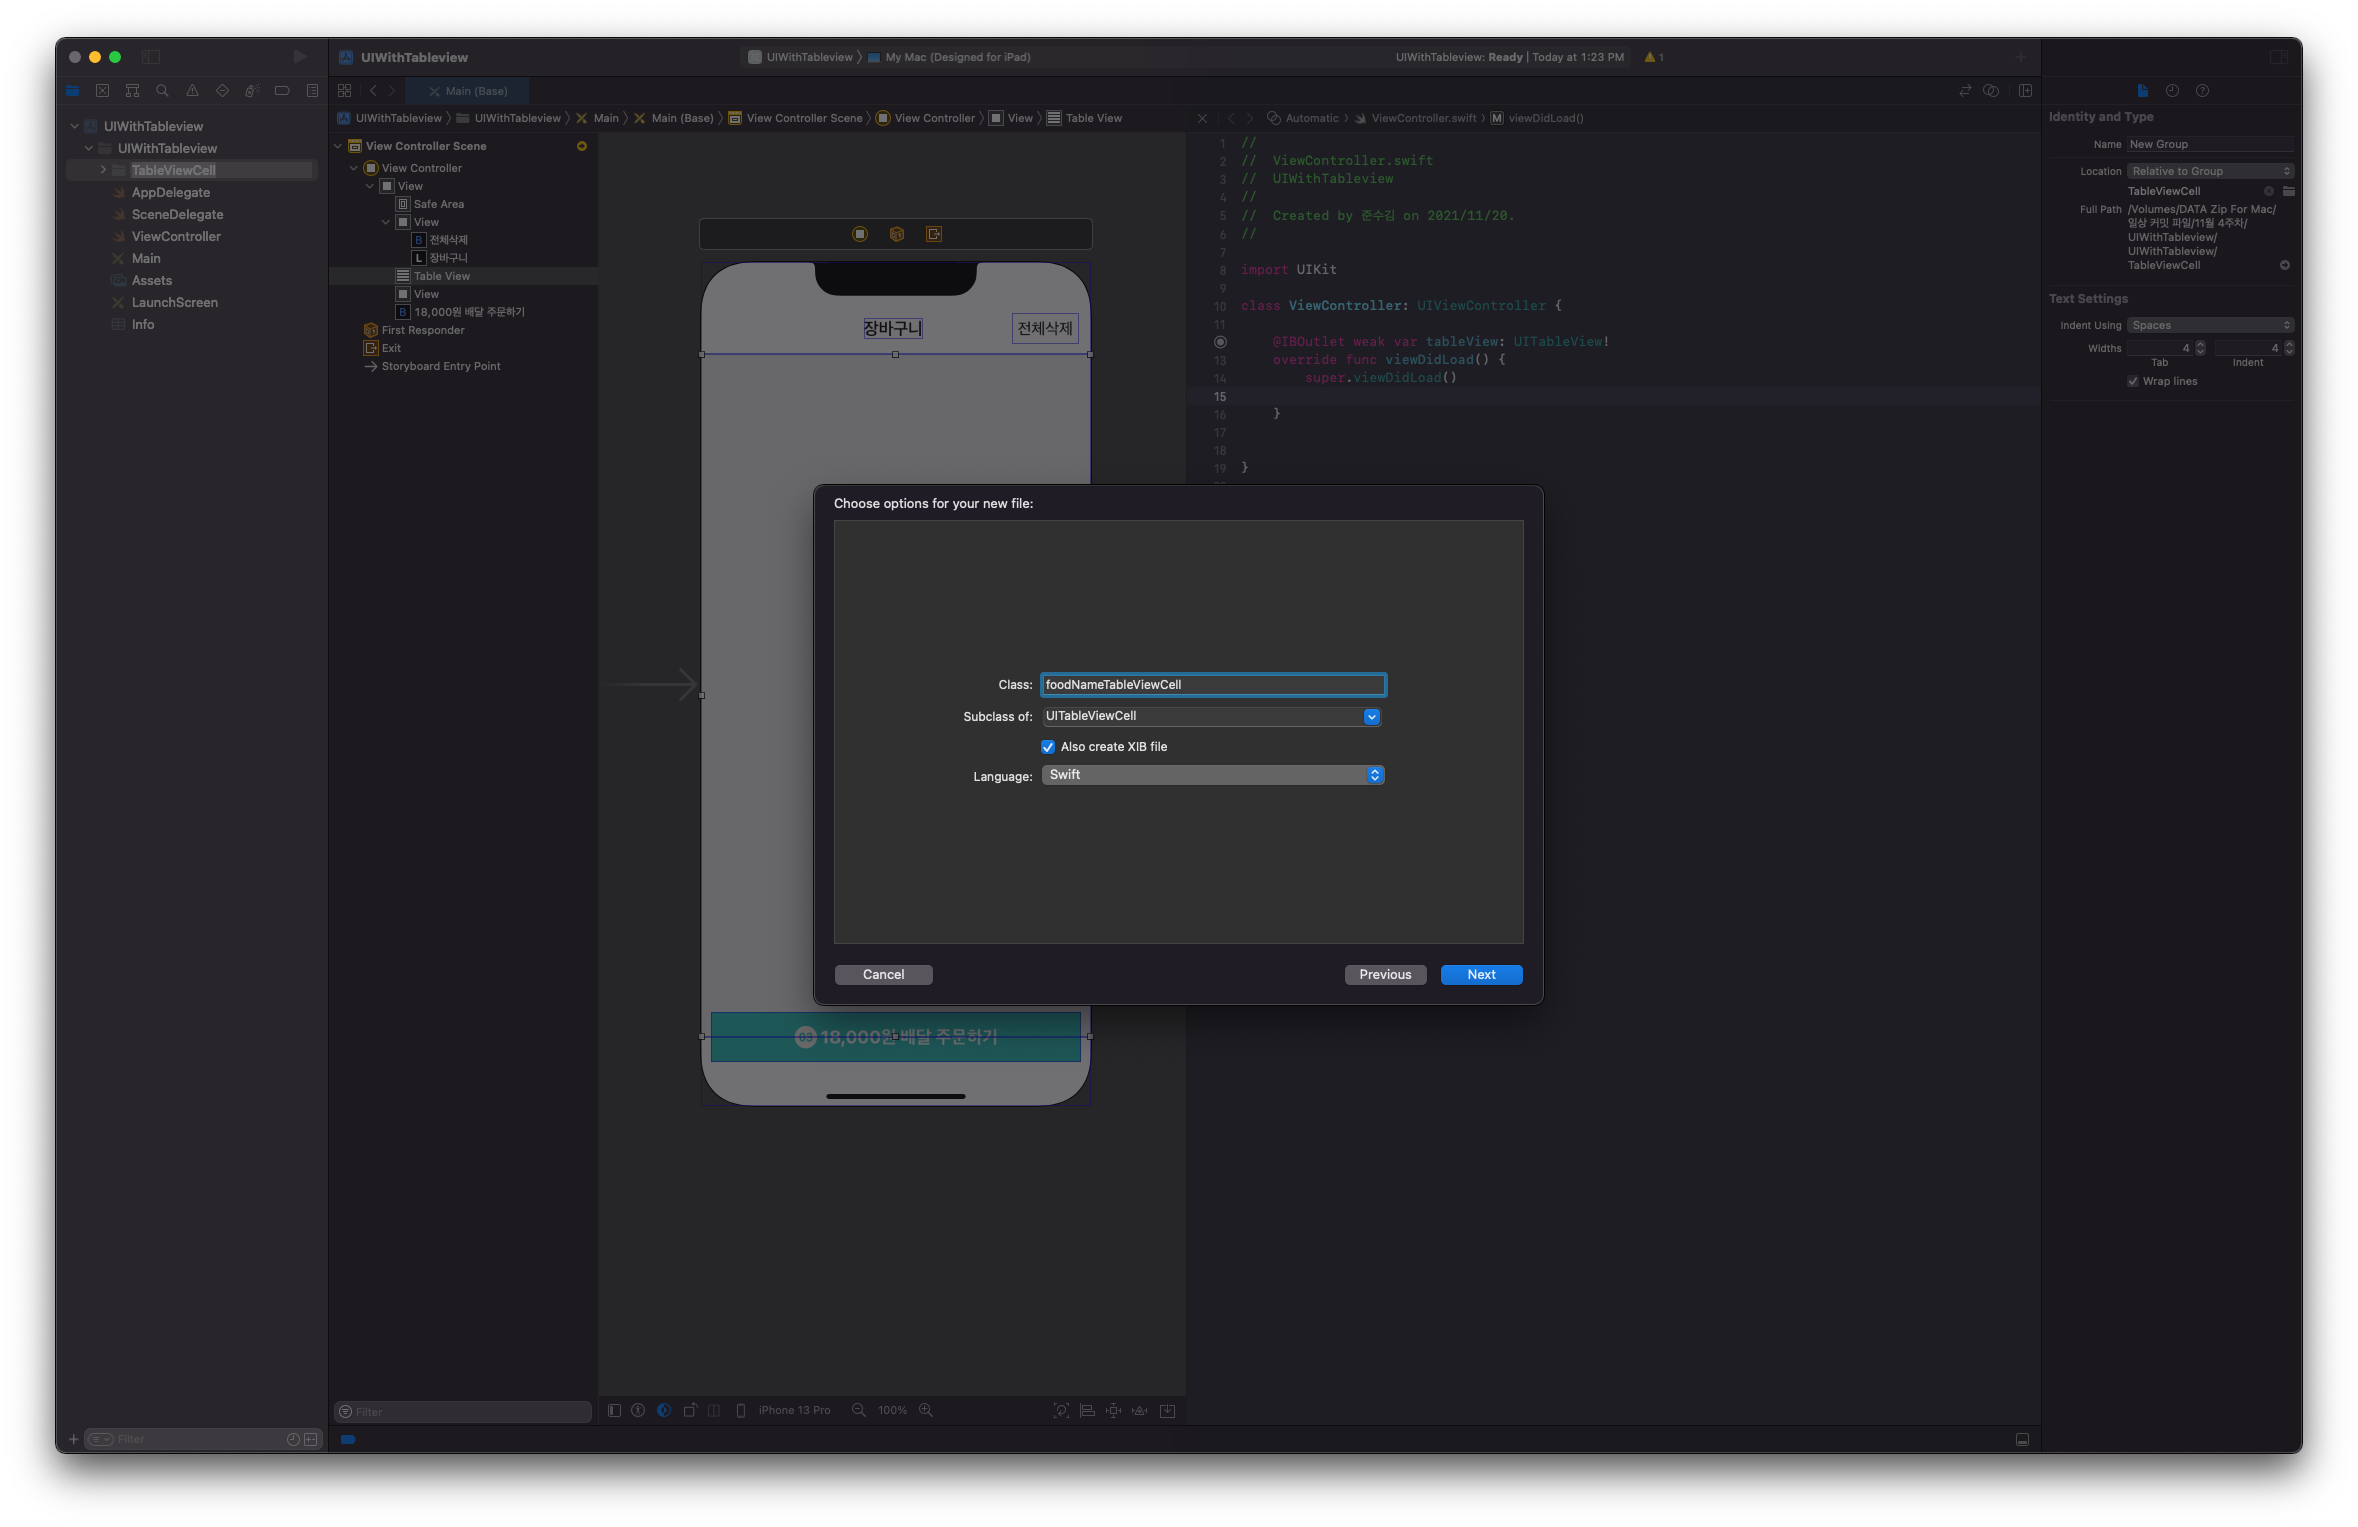
중요! indetifier는 각 Cell의 Class 명으로 하는 것이 나중에 사용할 때 편하다.
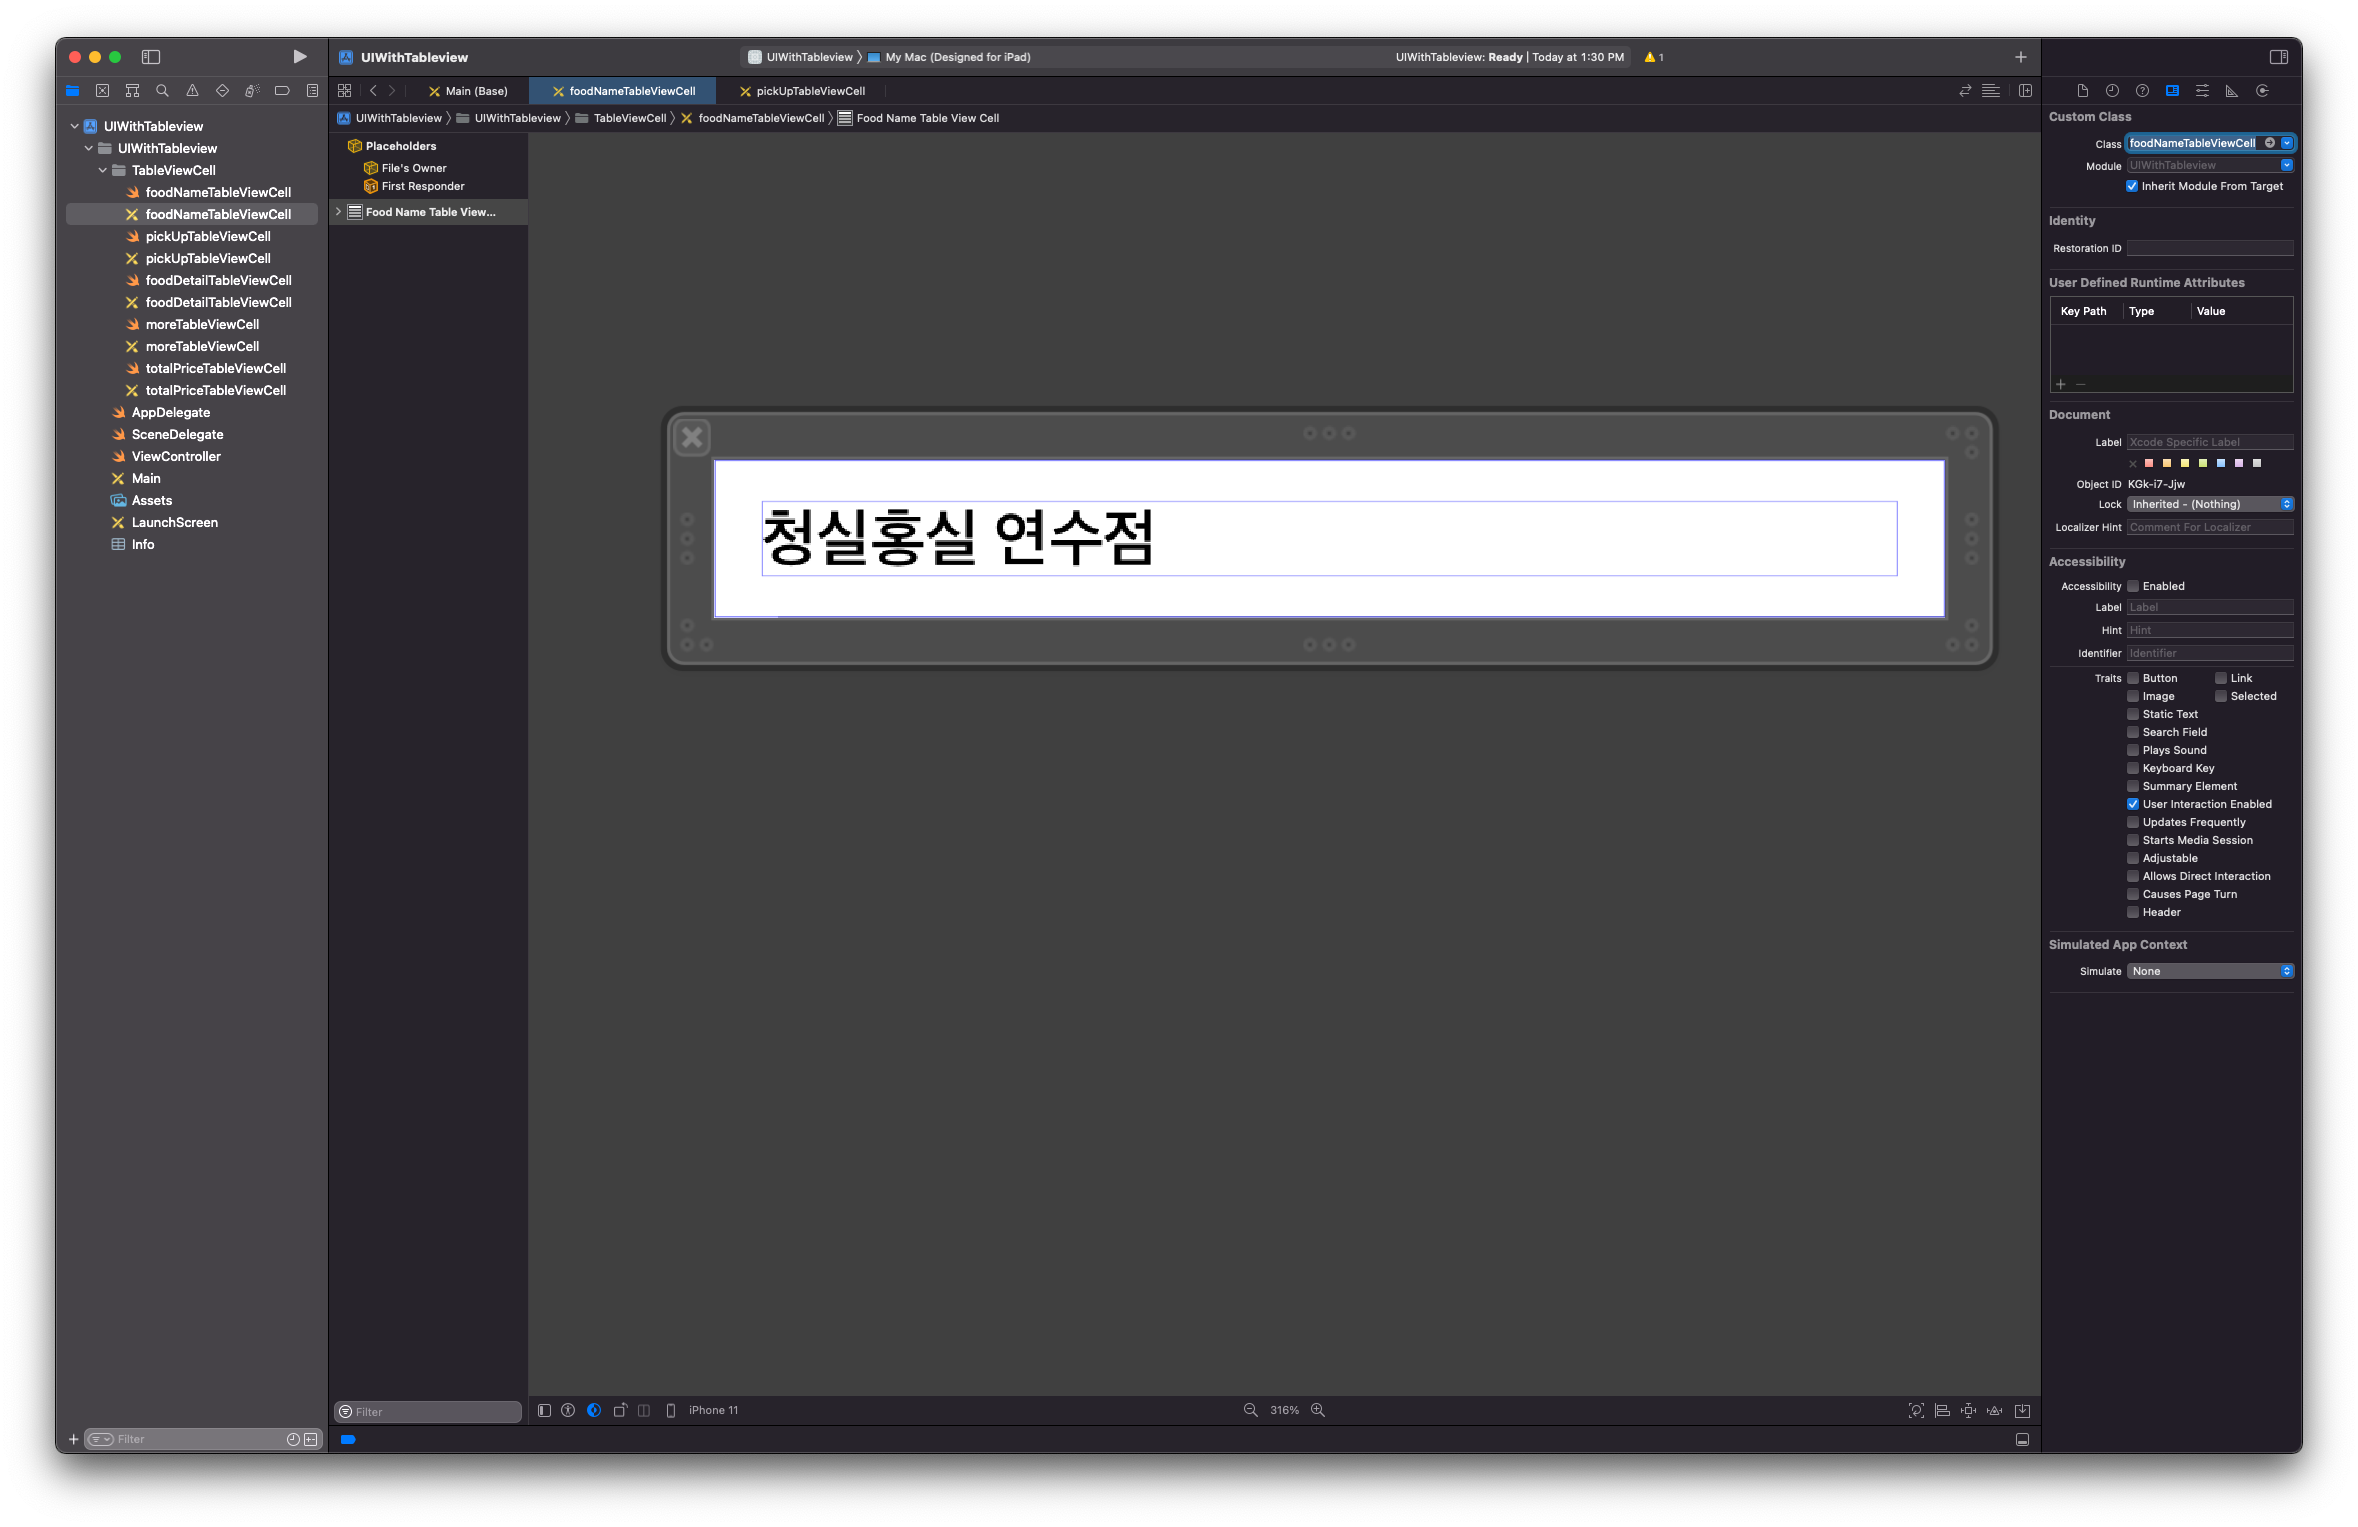
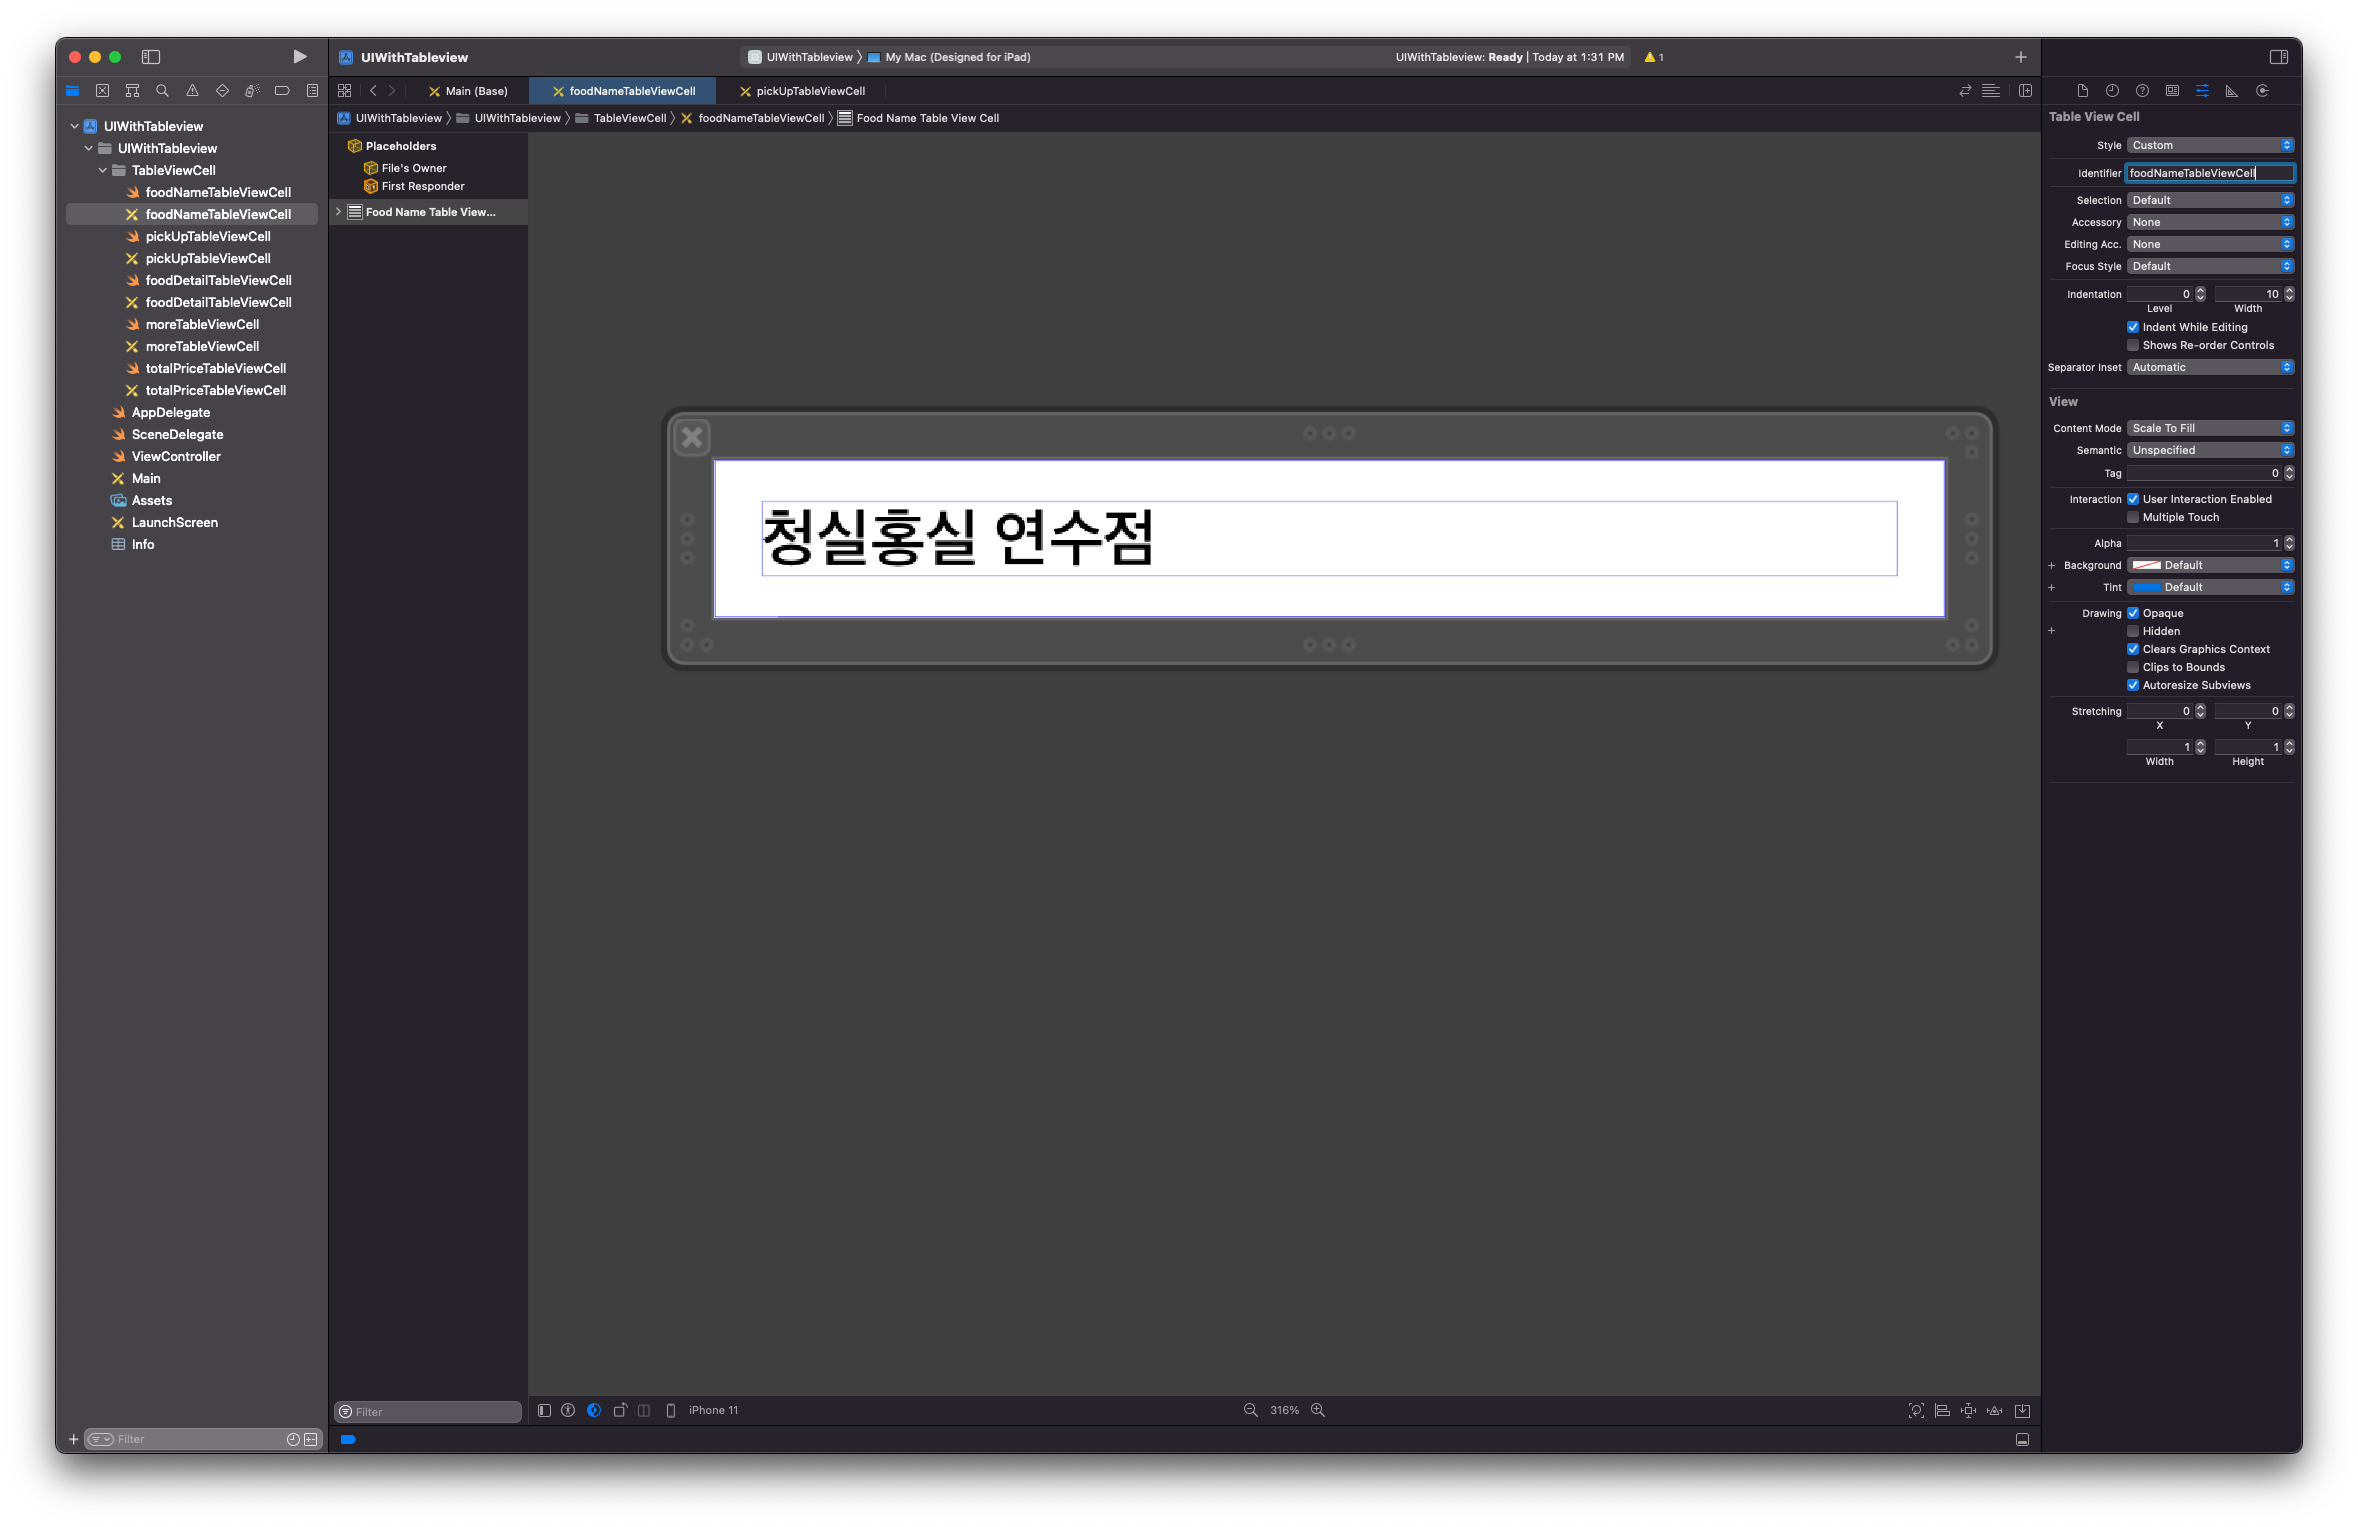
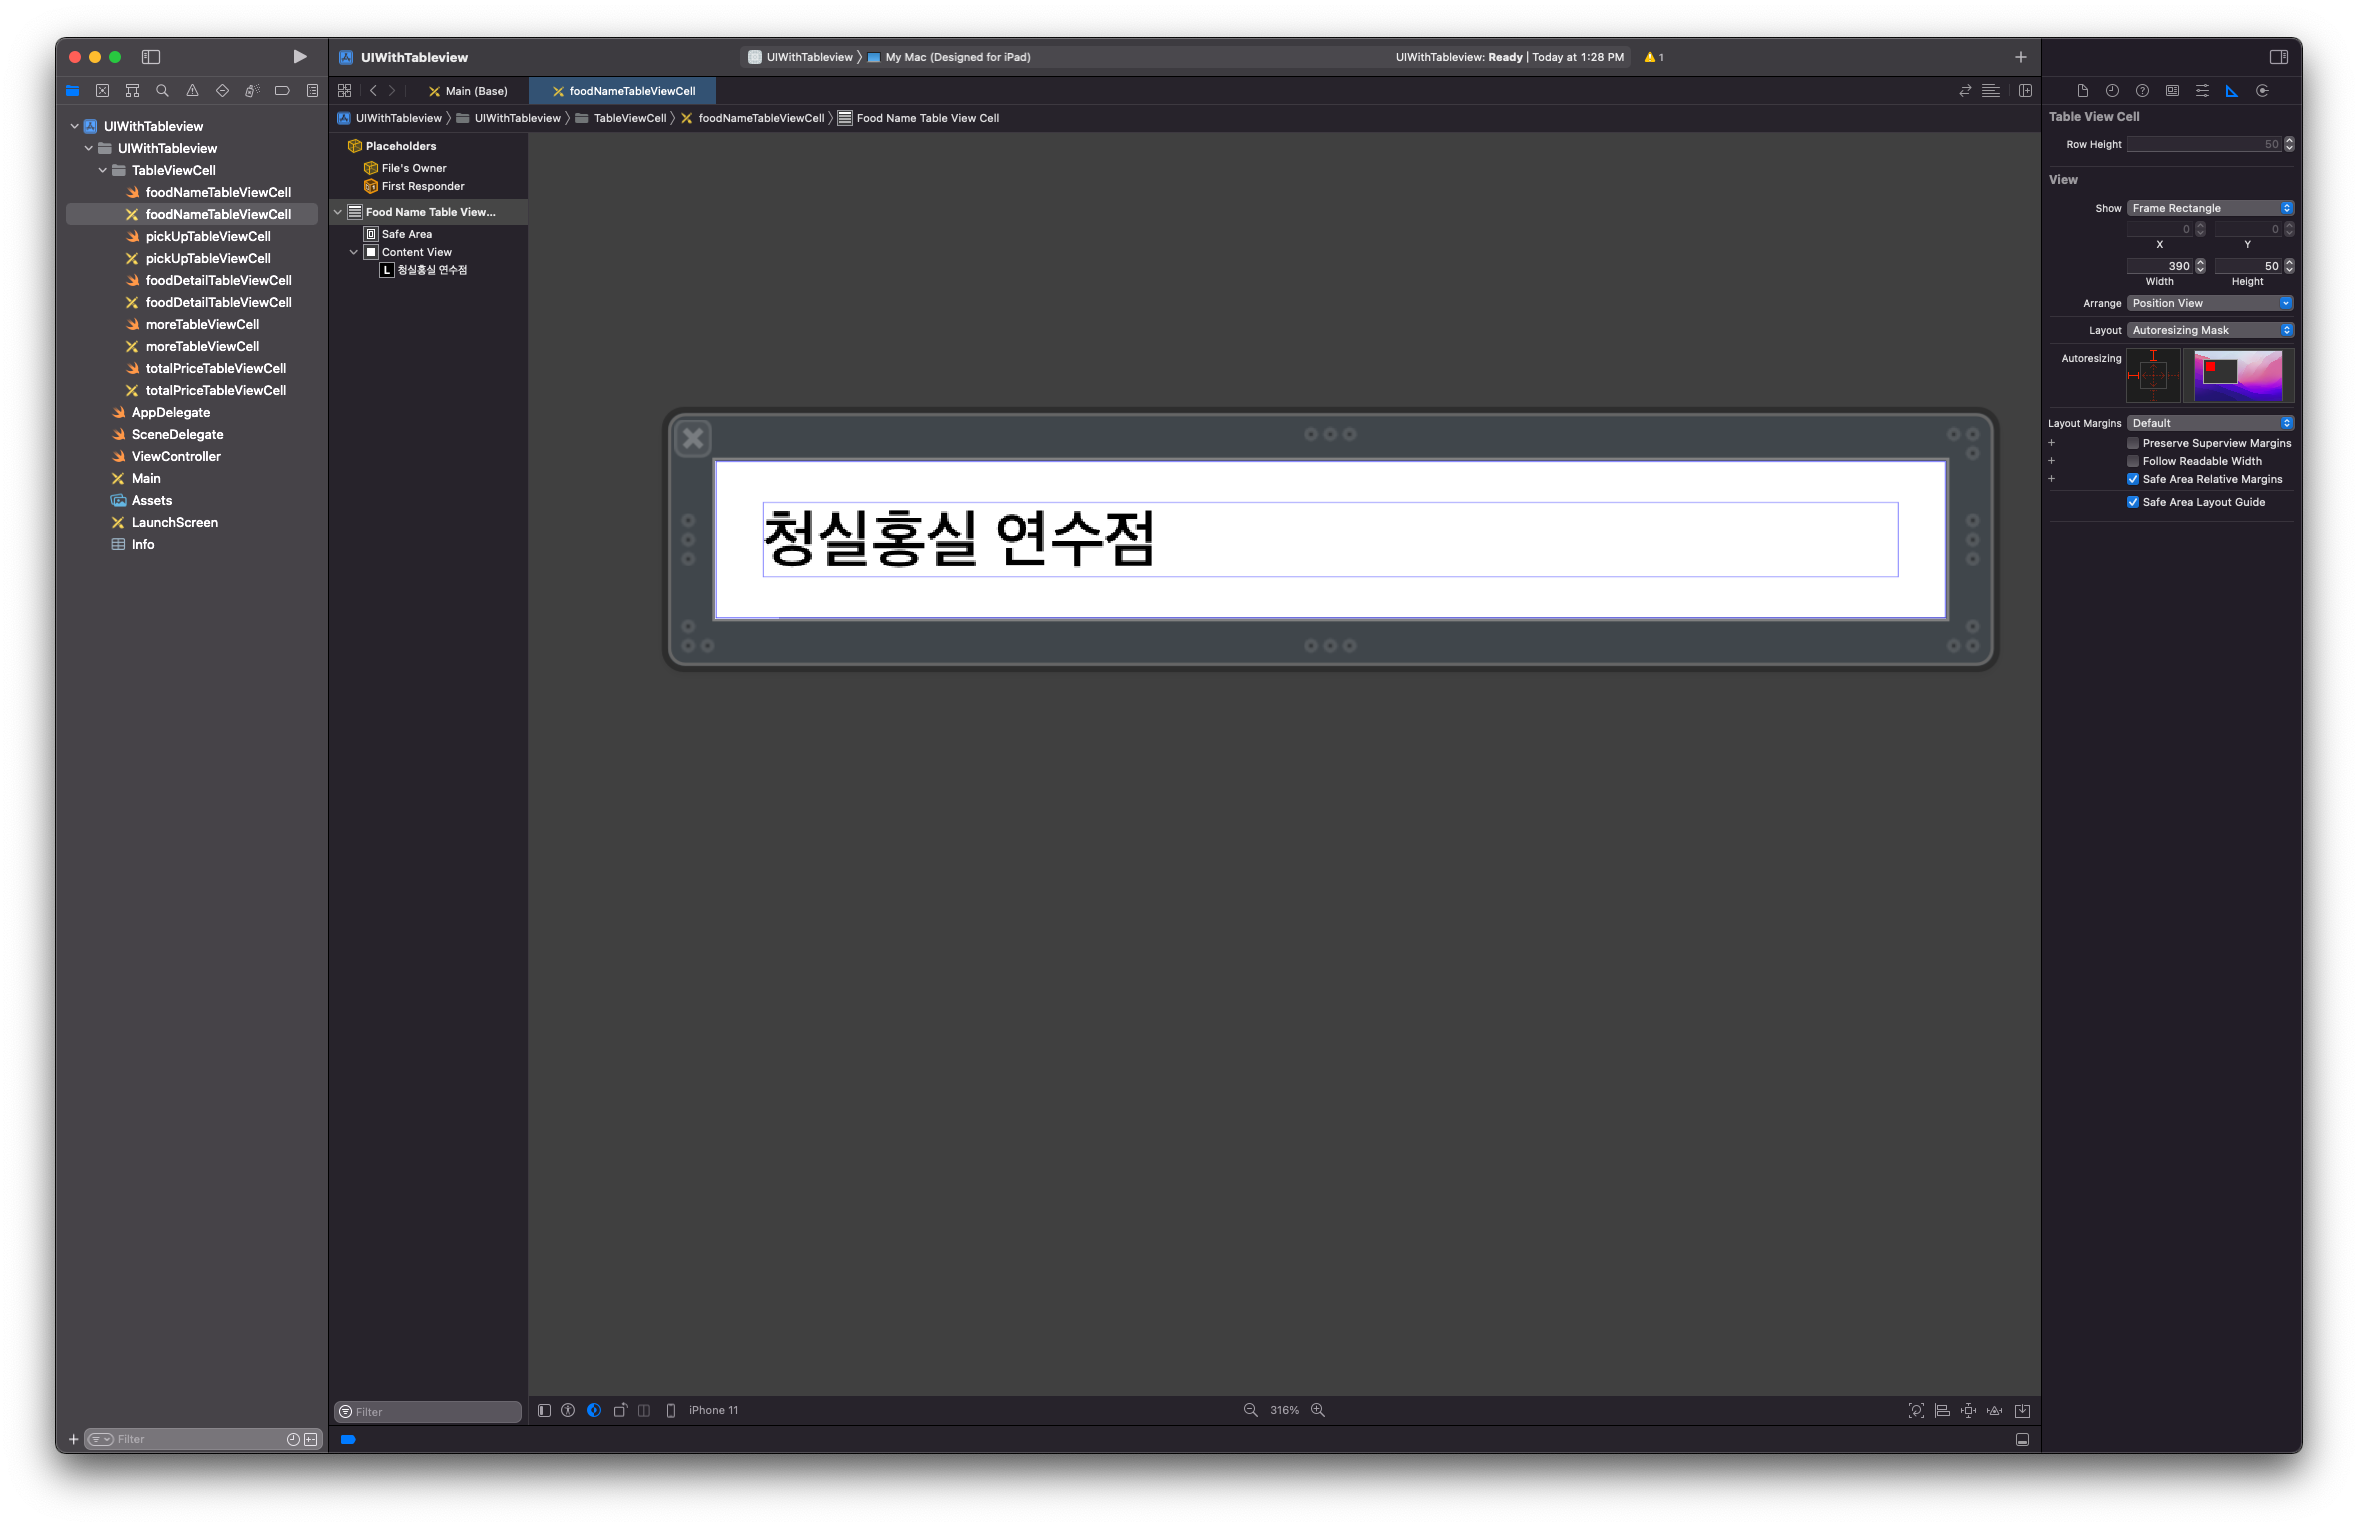
음식점 이름 Cell(2번)
-
픽업방법 선택 Cell(3번)

-
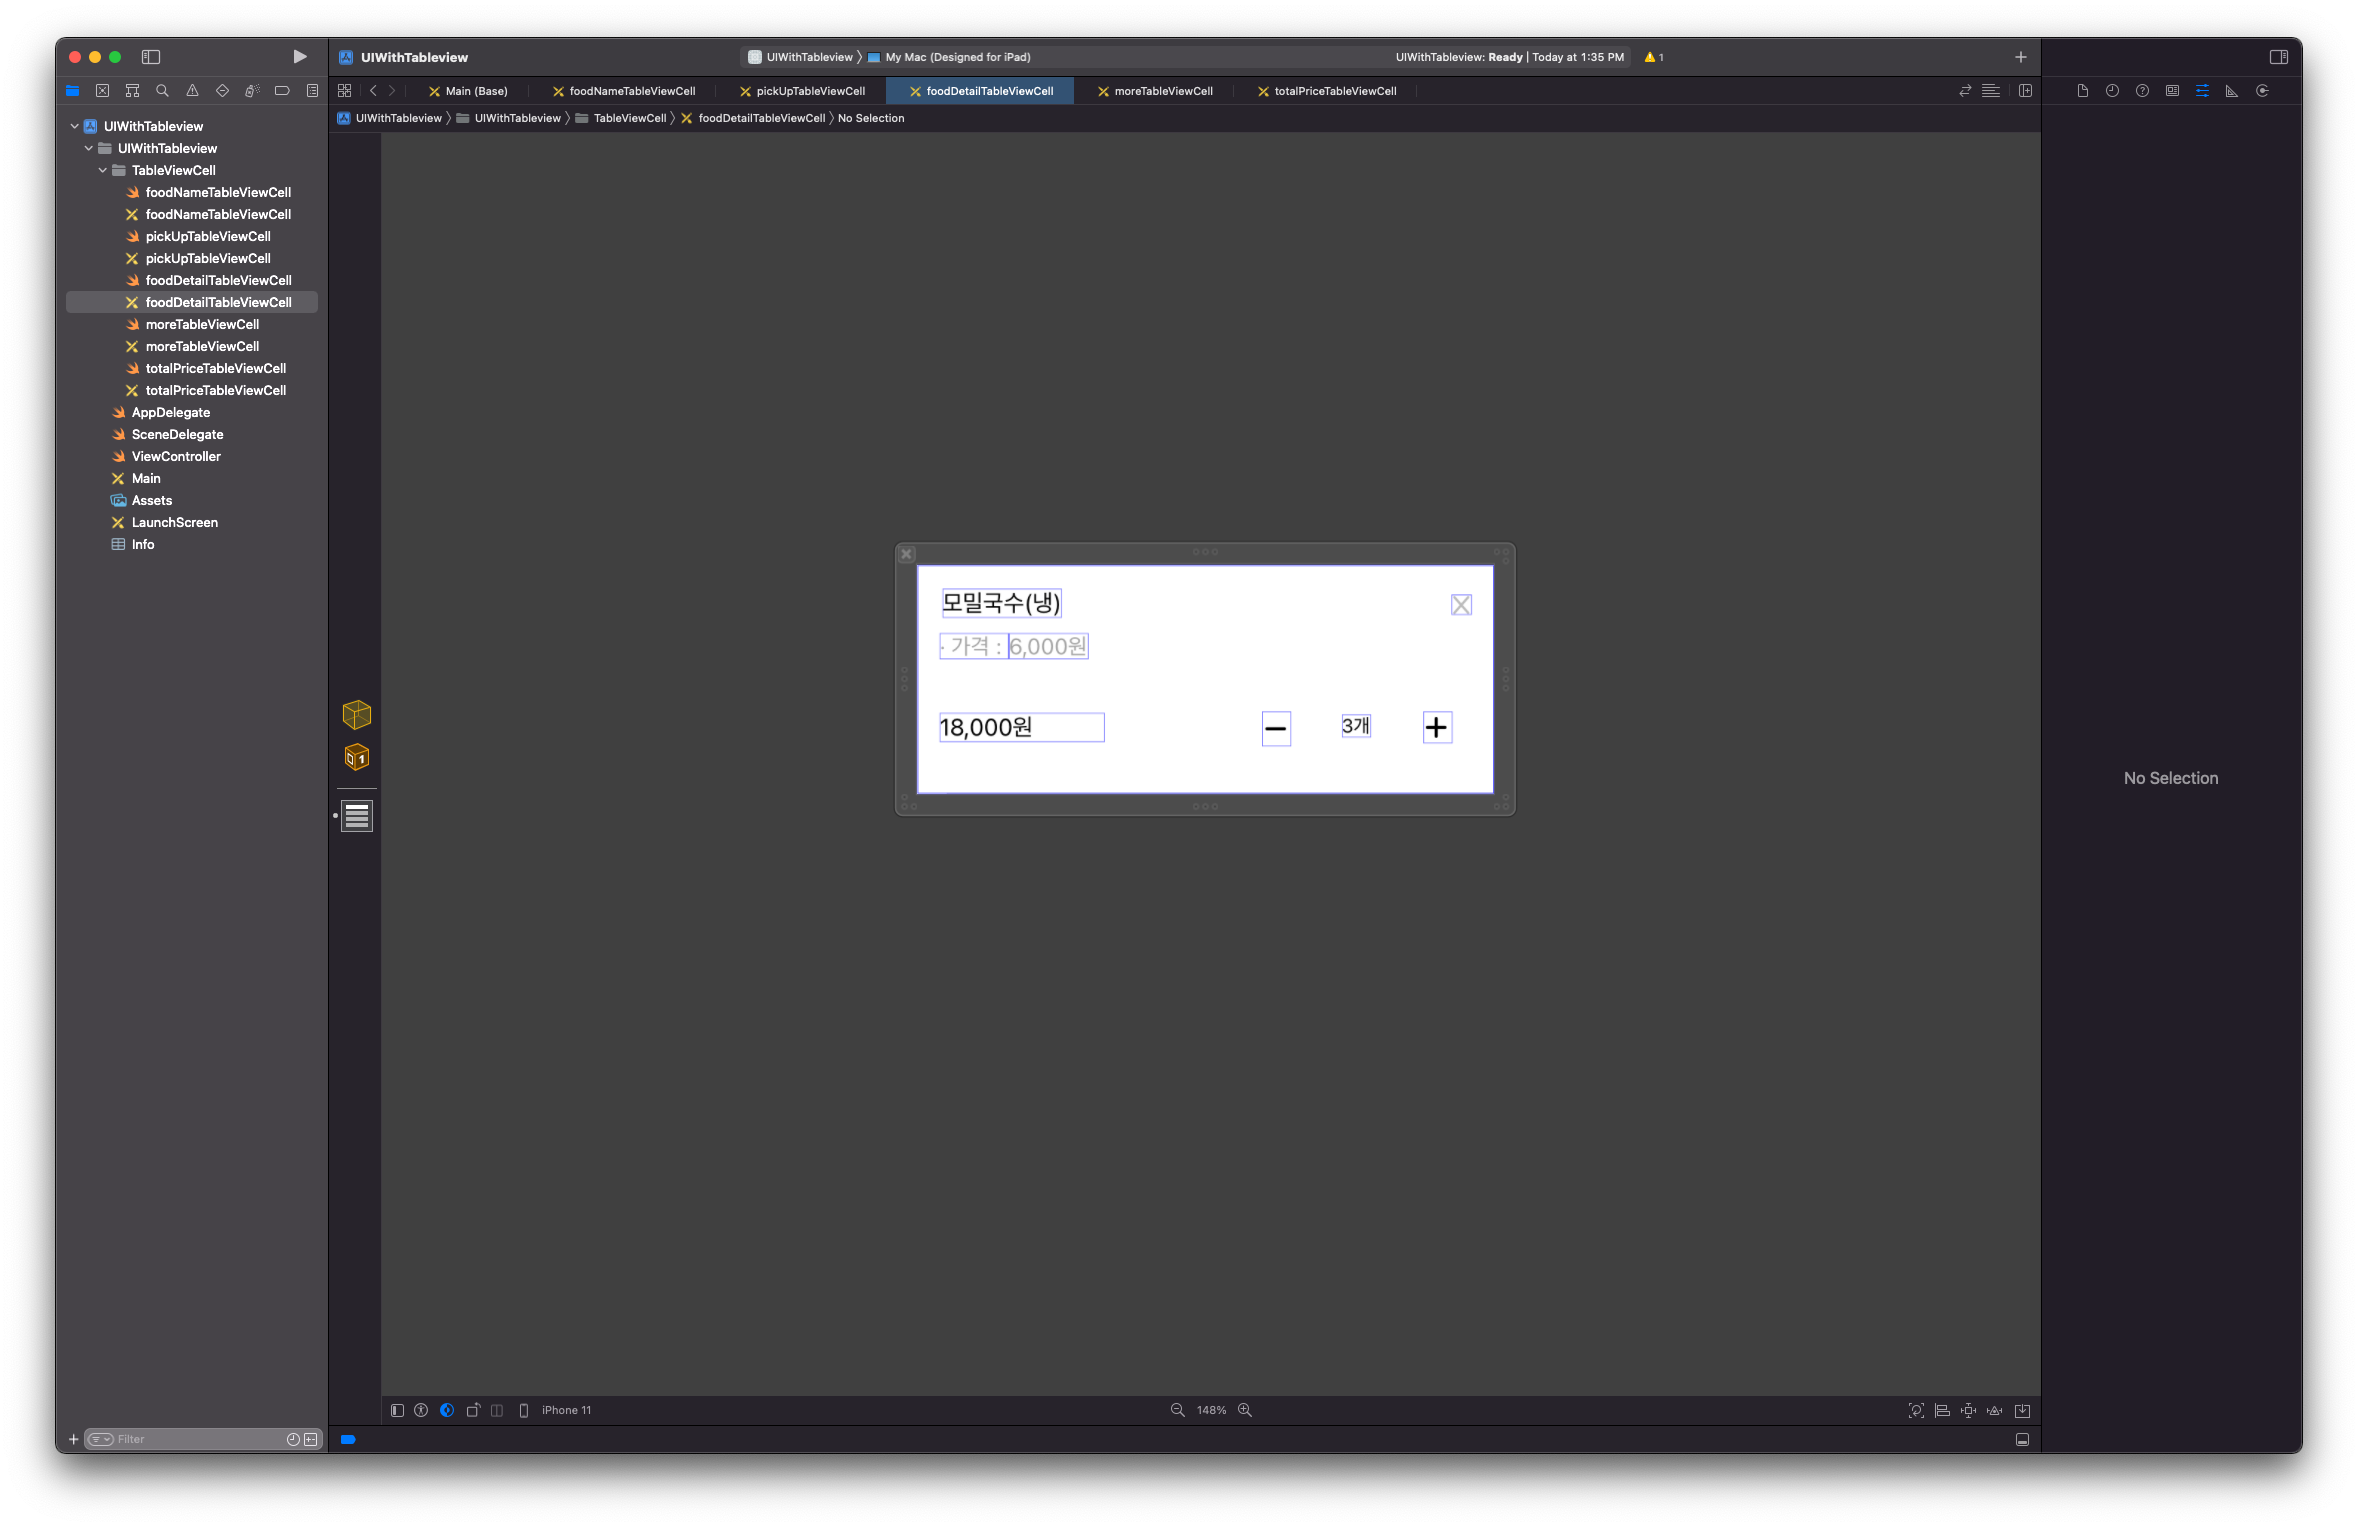
음식 상세 내용 Cell(5번)
-
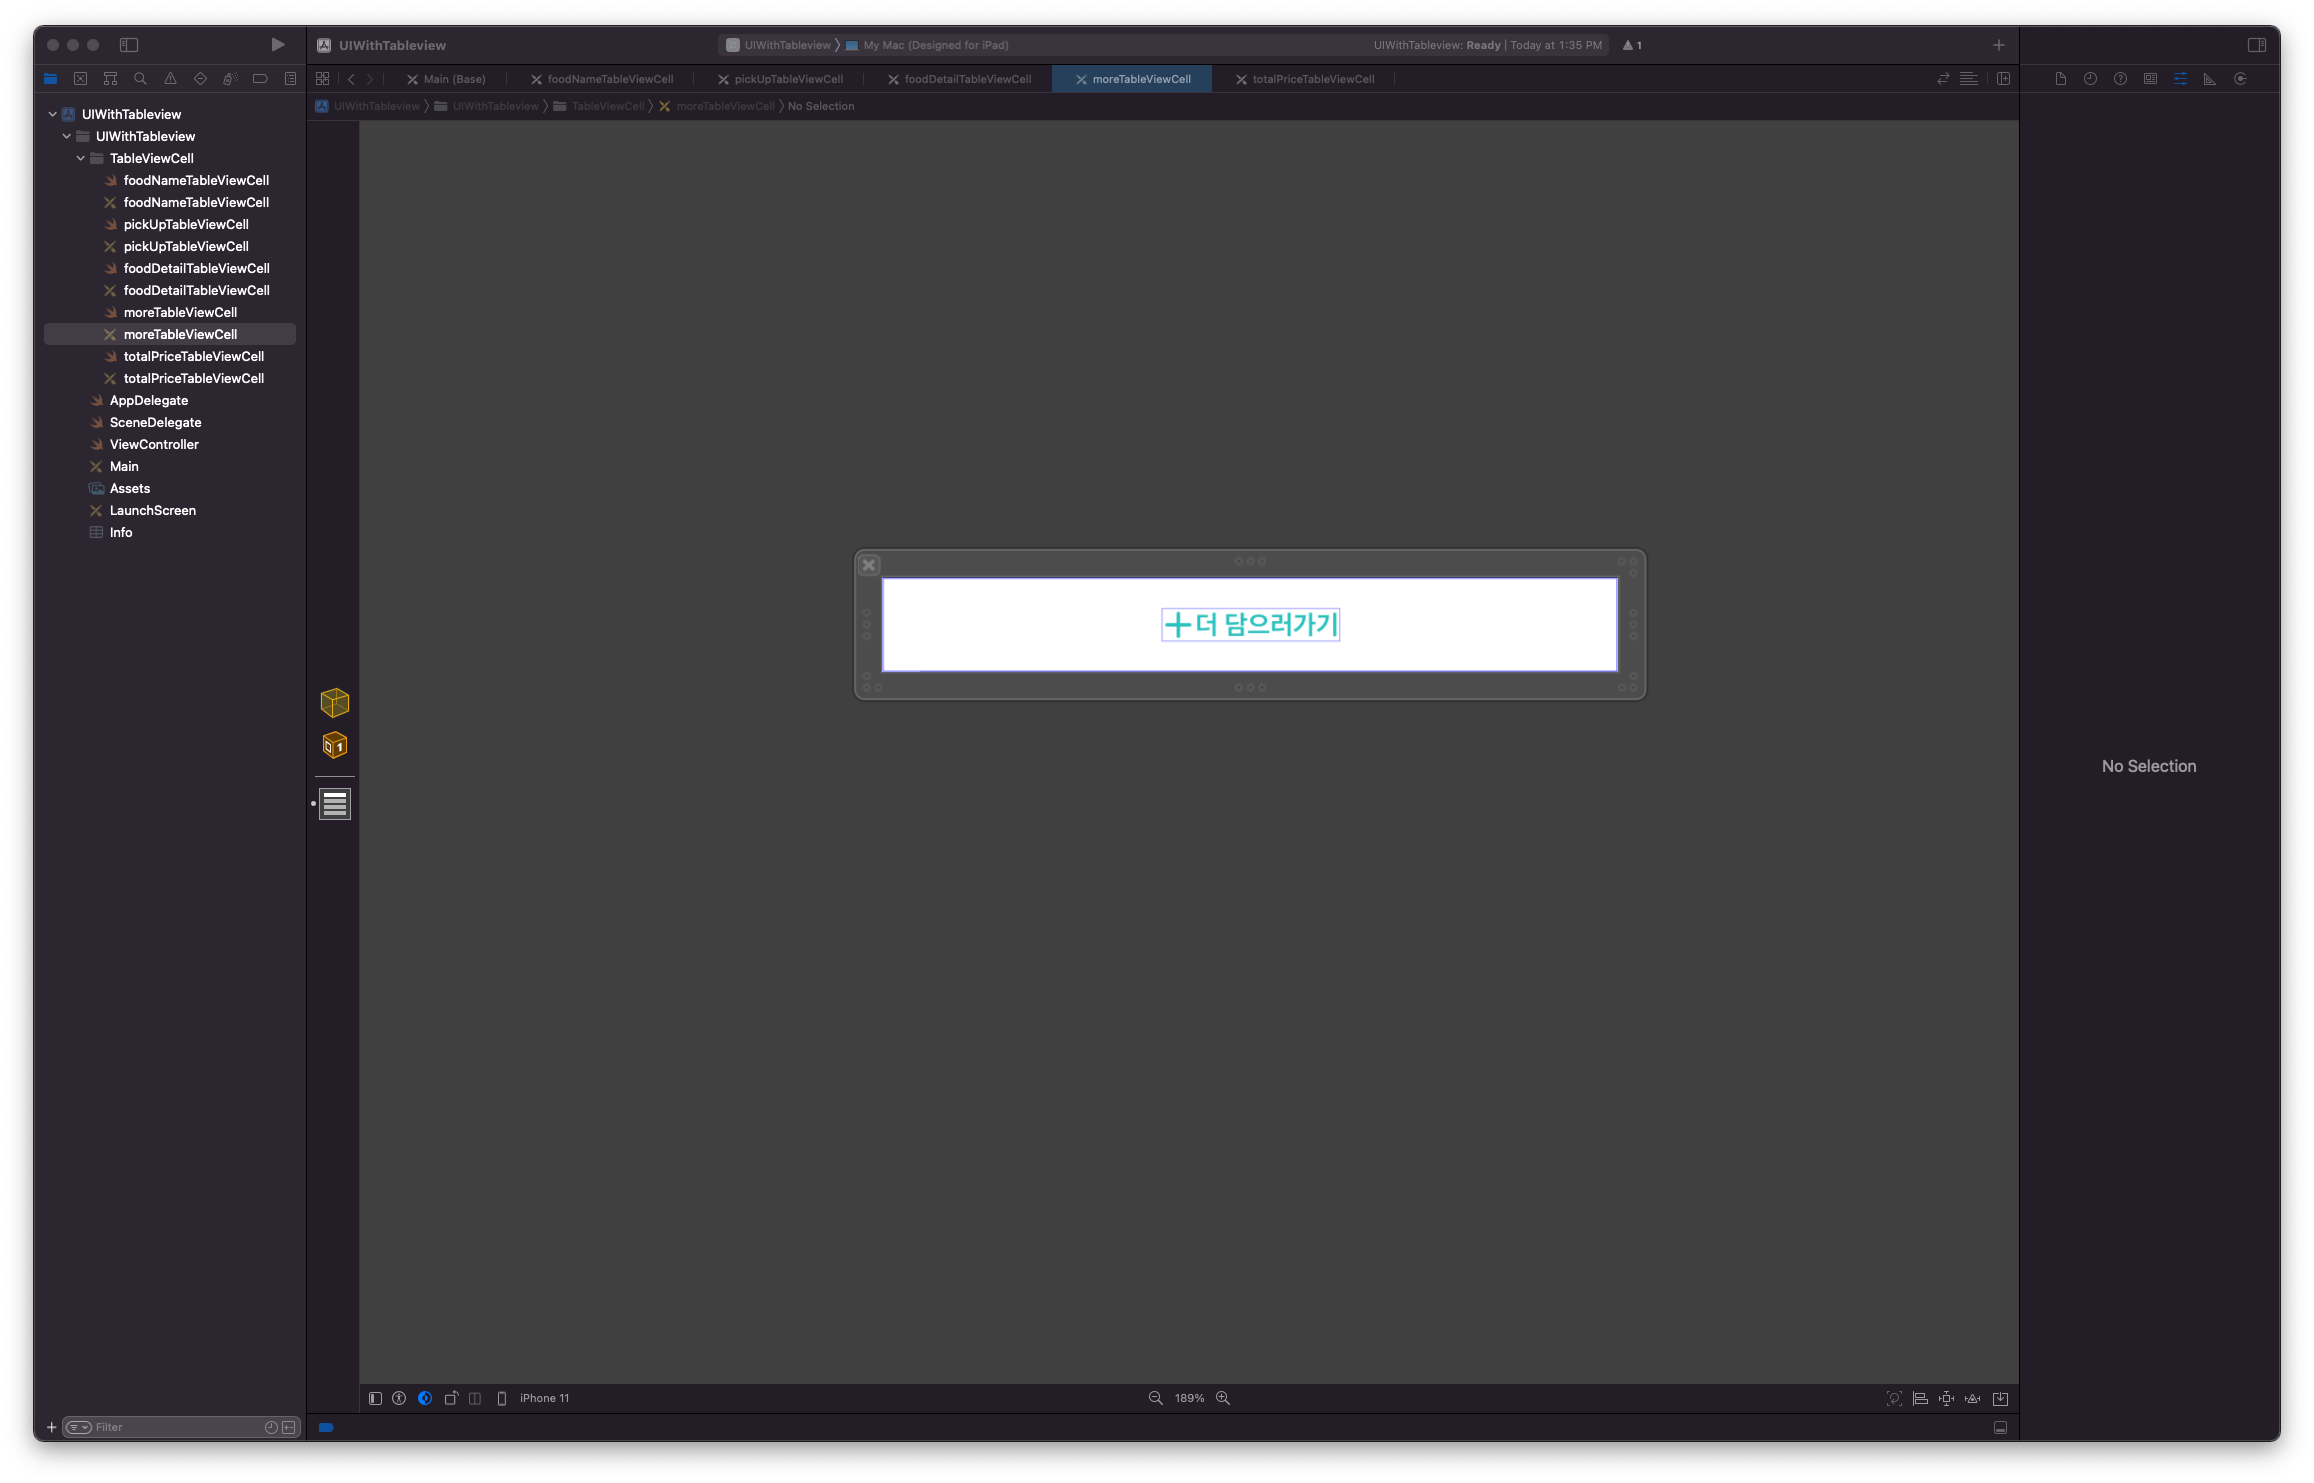
더 담으러 가기 Cell(6번)
-
총 주문금액 Cell(8번)

-
회색 Cell - 구분선
Color: #F5F5F5
3. TableView 사용하기
-
테이블뷰 연결하기
-
setUpTableView
-
extension 이용해서 TableView Delegate/Datasource 선언하기
ViewController 총 코드
import UIKit
class ViewController: UIViewController {
@IBOutlet weak var tableView: UITableView!
override func viewDidLoad() {
super.viewDidLoad()
setUpTableView()
}
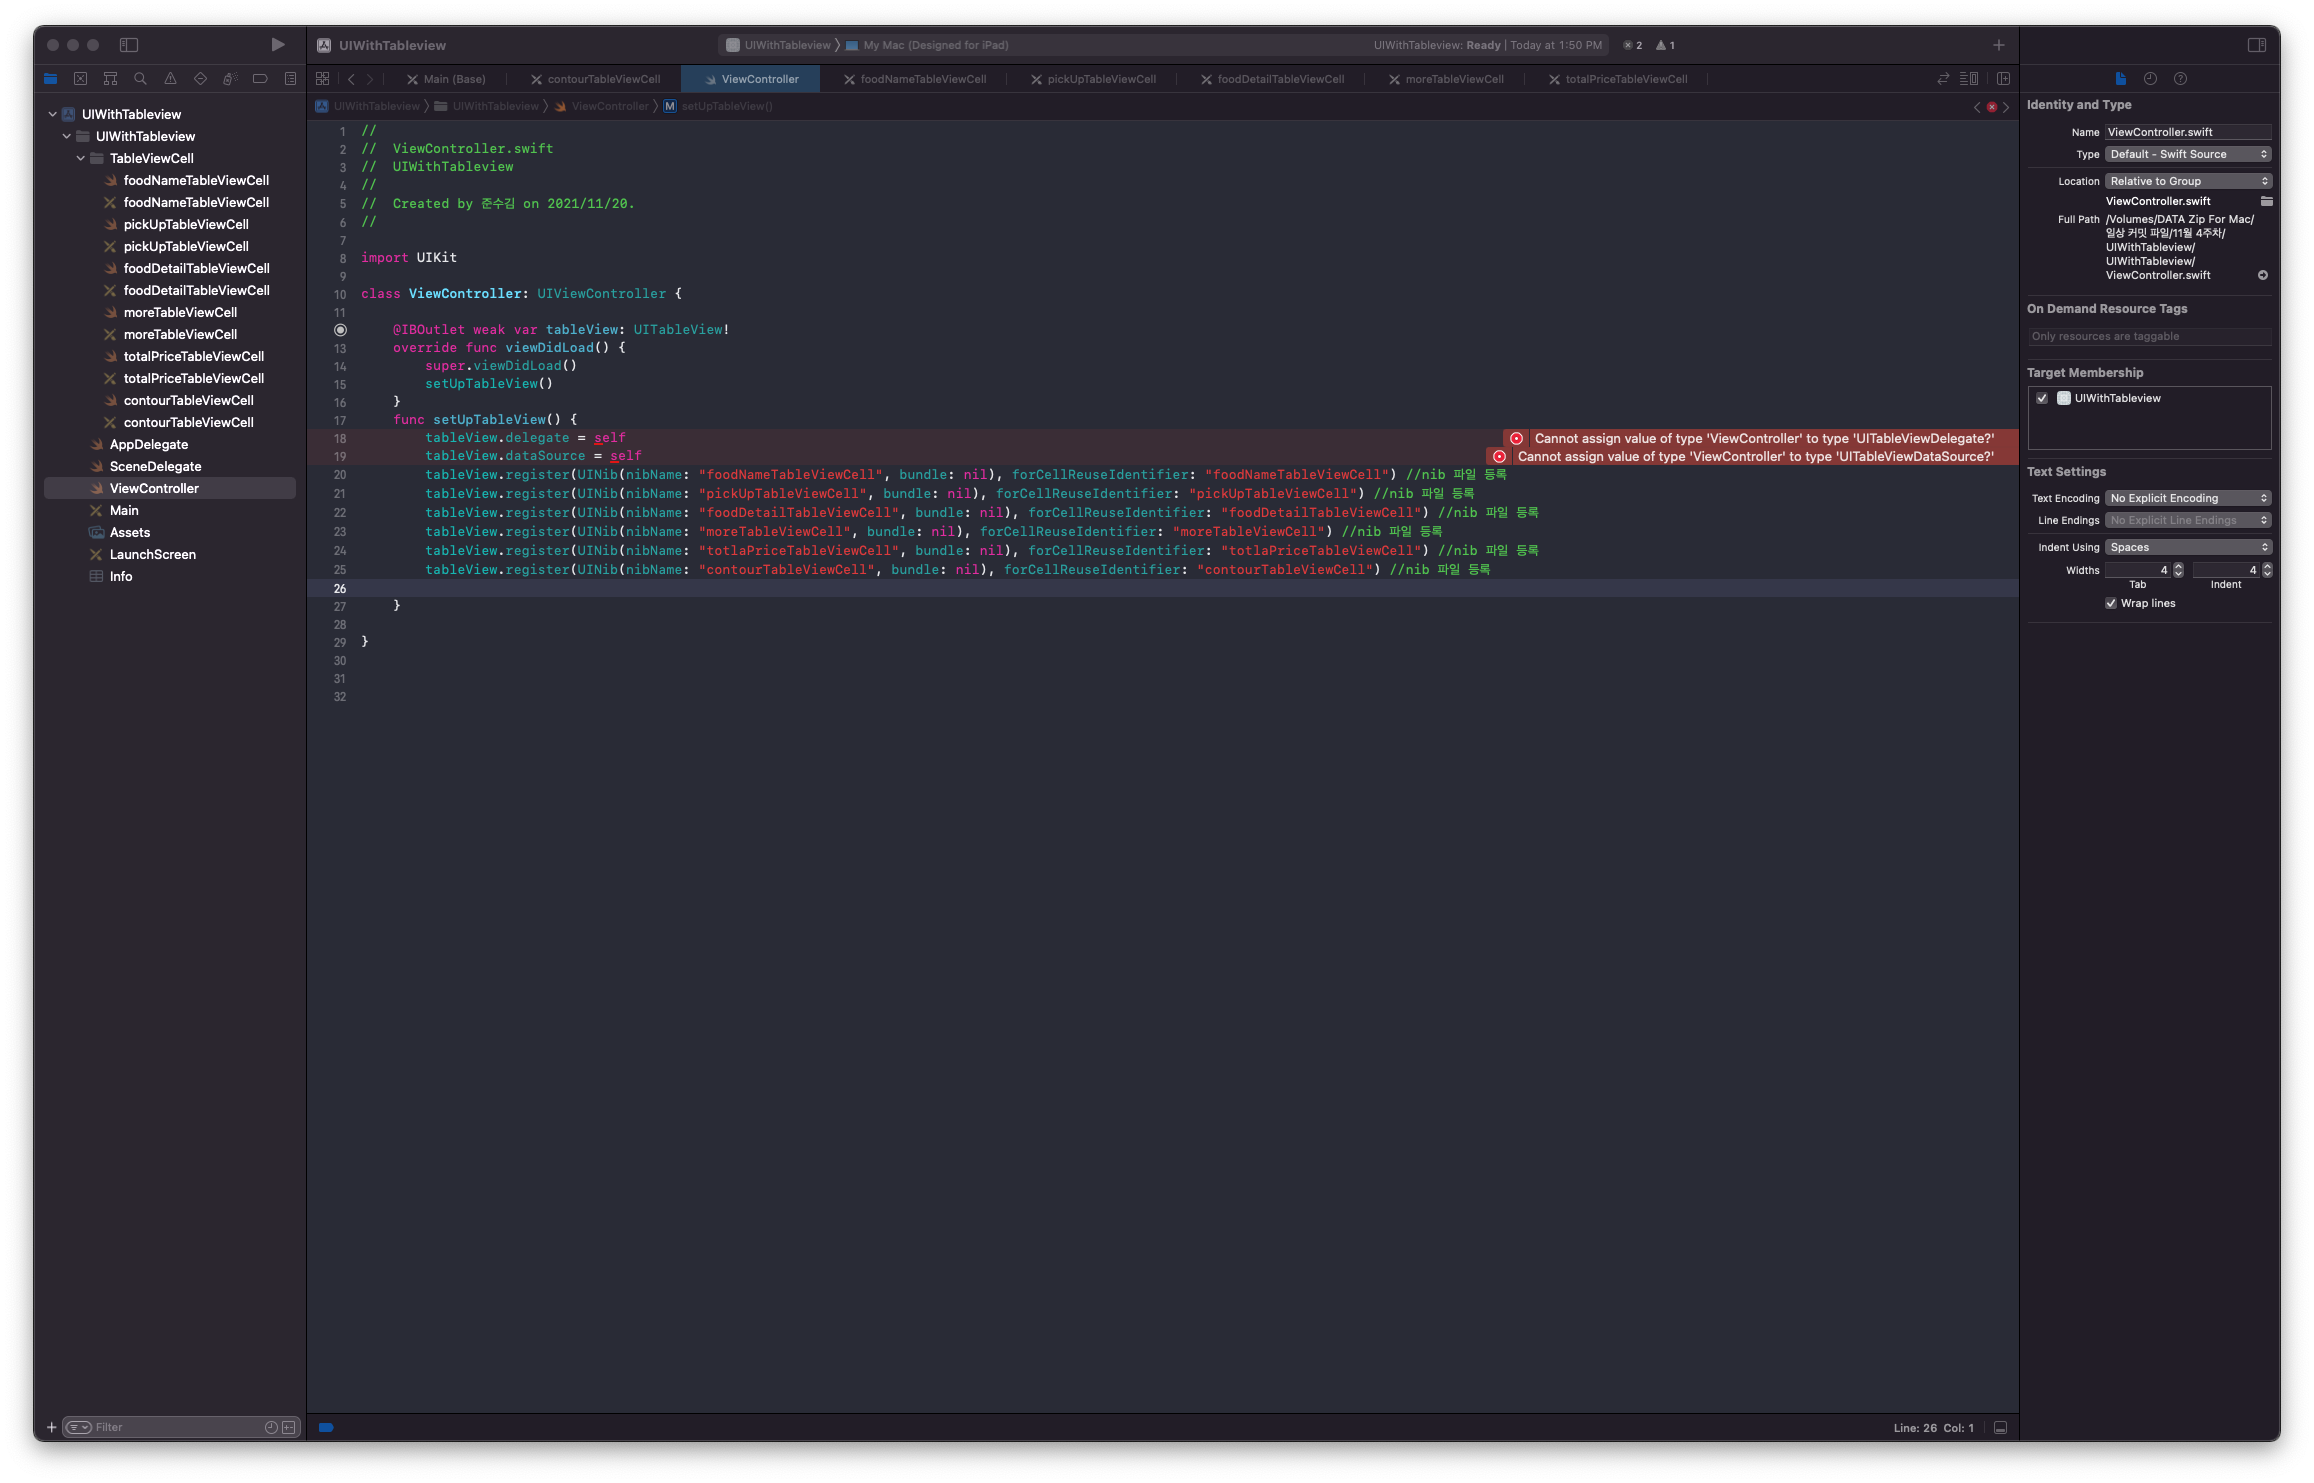
func setUpTableView() {
tableView.delegate = self
tableView.dataSource = self
tableView.register(UINib(nibName: "foodNameTableViewCell", bundle: nil), forCellReuseIdentifier: "foodNameTableViewCell") //nib 파일 등록
tableView.register(UINib(nibName: "pickUpTableViewCell", bundle: nil), forCellReuseIdentifier: "pickUpTableViewCell") //nib 파일 등록
tableView.register(UINib(nibName: "foodDetailTableViewCell", bundle: nil), forCellReuseIdentifier: "foodDetailTableViewCell") //nib 파일 등록
tableView.register(UINib(nibName: "moreTableViewCell", bundle: nil), forCellReuseIdentifier: "moreTableViewCell") //nib 파일 등록
tableView.register(UINib(nibName: "totalPriceTableViewCell", bundle: nil), forCellReuseIdentifier: "totalPriceTableViewCell") //nib 파일 등록
tableView.register(UINib(nibName: "contourTableViewCell", bundle: nil), forCellReuseIdentifier: "contourTableViewCell") //nib 파일 등록
}
}
extension ViewController: UITableViewDelegate, UITableViewDataSource {
func tableView(_ tableView: UITableView, numberOfRowsInSection section: Int) -> Int { //cell의 갯수 설정
return 8
}
func tableView(_ tableView: UITableView, cellForRowAt indexPath: IndexPath) -> UITableViewCell { //cell의 데이터 구성
switch indexPath.row {
case 0:
let cell = tableView.dequeueReusableCell(withIdentifier: "contourTableViewCell") as! contourTableViewCell
cell.selectionStyle = .none
return cell
case 1:
let cell = tableView.dequeueReusableCell(withIdentifier: "foodNameTableViewCell") as! foodNameTableViewCell
cell.selectionStyle = .none
return cell
case 2:
let cell = tableView.dequeueReusableCell(withIdentifier: "pickUpTableViewCell") as! pickUpTableViewCell
cell.selectionStyle = .none
return cell
case 3:
let cell = tableView.dequeueReusableCell(withIdentifier: "contourTableViewCell", for: indexPath) as! contourTableViewCell
cell.selectionStyle = .none
return cell
case 4:
let cell = tableView.dequeueReusableCell(withIdentifier: "foodDetailTableViewCell") as! foodDetailTableViewCell
cell.selectionStyle = .none
return cell
case 5:
let cell = tableView.dequeueReusableCell(withIdentifier: "moreTableViewCell") as! moreTableViewCell
cell.selectionStyle = .none
return cell
case 6:
let cell = tableView.dequeueReusableCell(withIdentifier: "contourTableViewCell") as! contourTableViewCell
cell.selectionStyle = .none
return cell
case 7:
let cell = tableView.dequeueReusableCell(withIdentifier: "totalPriceTableViewCell") as! totalPriceTableViewCell
cell.selectionStyle = .none
return cell
default:
return UITableViewCell()
}
}
func tableView(_ tableView: UITableView, heightForRowAt indexPath: IndexPath) -> CGFloat { //cell의 높이 설정
switch indexPath.row {
case 0:
return 10
case 1:
return 50
case 2:
return 125
case 3:
return 10
case 4:
return 155
case 5:
return 50
case 6:
return 10
case 7:
return 52
default:
return 0
}
}
}
완성된 화면

애플을 좋아하는 비전공생