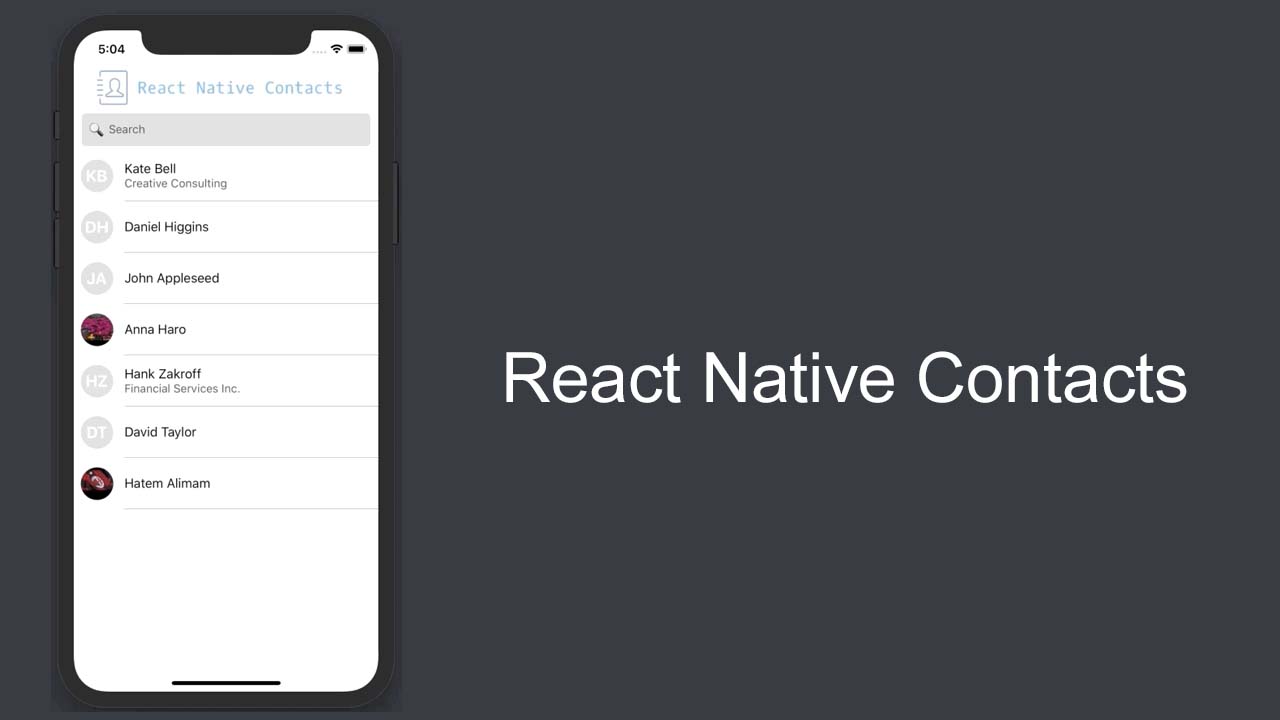
react-native-contacts를 리액트 네이티브 앱에 연동해 보겠습니다.
저는 현재 ios 버전 개발만 진행하고 있기 때문에 ios 관련된 설명만 하겠습니다.
npm
npm install react-native-contacts --saveyarn
yarn add react-native-contacts우선 react-native-contacts를 프로젝트에 설치해줍니다.
일반적으로 60 초과의 버전으로 설치될 것이기 때문에 따로 설정해 주어야 할 것은 없을 겁니다.
다만 60 이하의 버전으로 설치될 경우
https://github.com/morenoh149/react-native-contacts에서 권하는 설정을 따라주세요.
이제 바로 실행해 볼텐데 아래 코드를 그대로 붙여넣으셔서 한번 실행해 보시기 바랍니다.
import React from 'react';
import {
  StyleSheet,
  FlatList,
  View,
  Text,
  Platform,
  PermissionsAndroid,
} from 'react-native';

import Contacts from 'react-native-contacts';

const styles = StyleSheet.create({
  itemContainer: {
    margin: 10,
  },
  contactName: {
    fontSize: 16,
    color: 'blue',
  },
});

class ContactList extends React.Component {
  constructor(props) {
    super(props);
    this.state = {
      contacts: null,
    };
  }

  componentDidMount() {
    if (Platform.OS === 'android') {
      PermissionsAndroid.request(PermissionsAndroid.PERMISSIONS.READ_CONTACTS, {
        title: 'Contacts',
        message: ' This app would like to see your contacts',
      }).then(() => {
        this.getList();
      });
    } else if (Platform.OS === 'ios') {
      this.getList();
    }
  }

  getList = () => {
    Contacts.getAll()
      .then((contacts) => {
        this.setState({contacts});
        console.log(contacts);
      })
      .catch((e) => {
        console.log('cannot access');
      });
  };

  renderItem = ({item}) => (
    <View style={styles.itemContainer}>
      <Text style={styles.contactName}>
        Name: {`${item.givenName} `} {item.familyName}
      </Text>
      {item.phoneNumbers.map((phone) => (
        <Text style={styles.phones}>
          {phone.label} : {phone.number}
        </Text>
      ))}
    </View>
  );
  render() {
    return (
      <View style={styles.container}>
        <FlatList
          data={this.state.contacts}
          renderItem={this.renderItem}
          numColumns={1}
          keyExtractor={(item, index) => index}
        />
      </View>
    );
  }
}

export default ContactList;
빌드하게 되면 연락처 리스트가 생성될 것입니다. 성공적으로 보여진다면 문제가 없겠지만 처음 하시는 분들은 앱이 실행이 안될 겁니다.
xcode에서 권한 설정을 해야만 연락처를 가져올 수 있기 때문인데요 그럼 xcode에서 연락처 권한을 가져올 수 있게 설정하는 법을 알아보겠습니다.
우선 xcode를 실행하고 해당 프로젝트를 열어줍니다. 경로는
[프로젝트] - [ios] - [프로젝트 명.xcworkspace]로 열어주면 됩니다.
그후 xcode에서 프로젝트 명의 폴더를 열면 info.plist를 찾을 수 있으니 해당 파일을 선택해주세요.
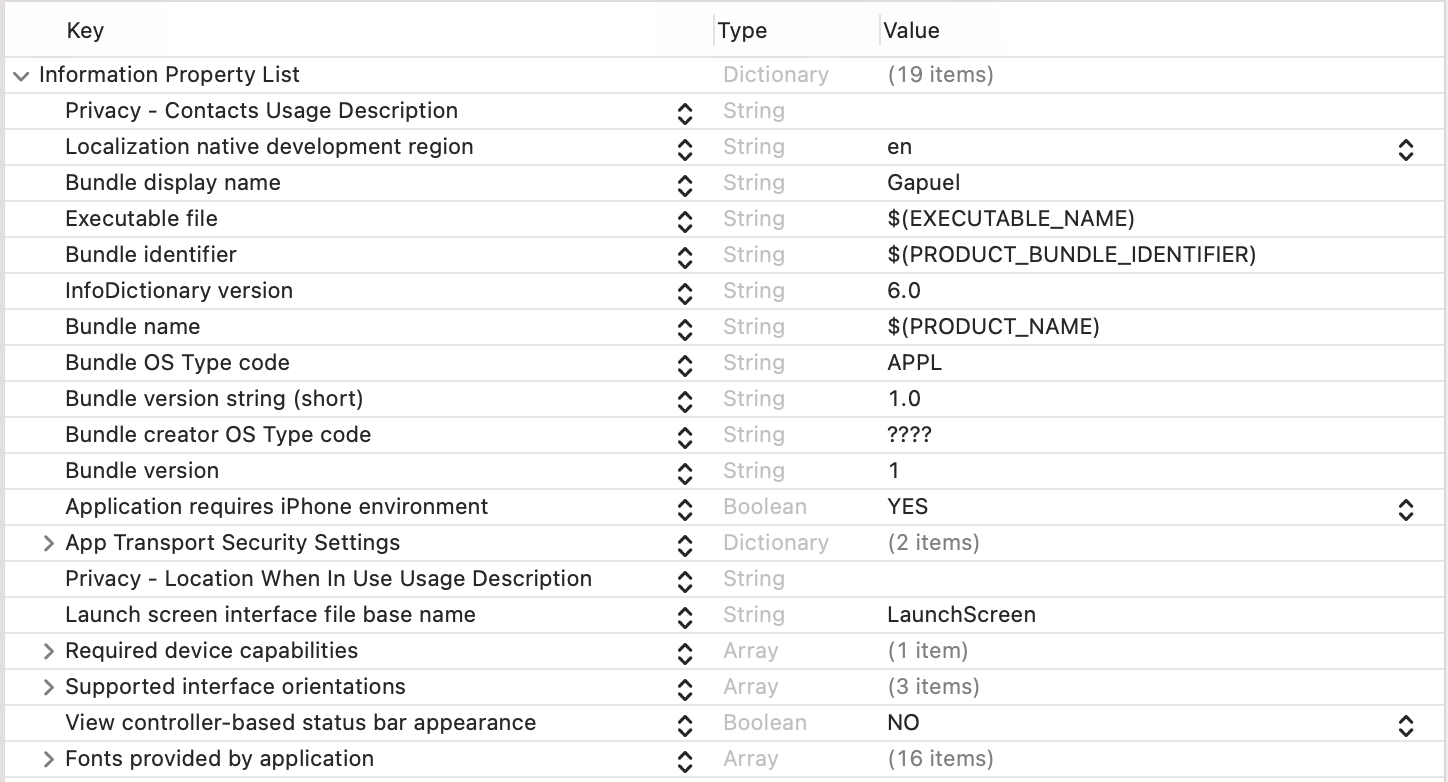
그럼 이와 같은 화면을 볼 수 있는데 여기서
Information Property List에 마우스를 올리면 오른쪽 끝에 + 버튼이 생깁니다. + 버튼을 누르고
Privacy - Contacts Usage Description를 추가해 줍니다.
끝났다면 해당 프로젝트를 다시 실행해 주세요.
그럼 연락처에 접근 권한을 허용할지 여부를 물어보는 화면이 나오니 allow하게 되면 성공적으로 연락처 데이터를 가져올 수 있게됩니다.
이상입니다.