Start SkeletonView
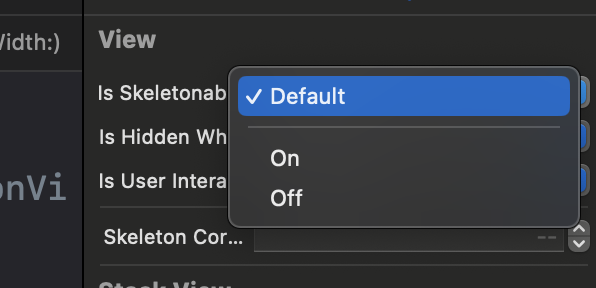
1. Skeletonable View
어떤 뷰를 skeletonable 하게 하려면 code로 각 뷰에 isSkeletonable을 true로 만들어 주거나
import SkeletonView

... 중략 ...

someView.isSkeletonable = true
someImageView.isSkeletonable = true
someLabel.isSkeletonable = true
스토리 보드에서 설정해 주는 방법이 있습니다.
2. Show SkeletonView
SkeletonView를 보여주는데에는 4가지 방법이 있습니다.
view.showSkeleton()                 // Solid
view.showGradientSkeleton()         // Gradient
view.showAnimatedSkeleton()         // Solid animated
view.showAnimatedGradientSkeleton() // Gradient animatedNote:
SkeletonView는 재귀적이기 때문에 모든 skeletonable view 에서 skeleton 을 보여주고 싶다면 메인 컨테이너 뷰에서 위의 show 메서드를 호출하면 됩니다.
3. Hide SkeletonView
SkeletonView를 종료하고 싶다면
view.hideSkeleton()hideSkeleton()을 사용하면 됩니다.
SkeletonView in CollectionView
CollectionView에서 SkeletonView를 사용하려면 기존 collectionView관련 프로토콜뿐 아니라 아래와 같은 프로토콜을 구현해야 합니다.
public protocol SkeletonCollectionViewDataSource: UICollectionViewDataSource {
    func numSections(in collectionSkeletonView: UICollectionView) -> Int
    func collectionSkeletonView(_ skeletonView: UICollectionView, numberOfItemsInSection section: Int) -> Int
    func collectionSkeletonView(_ skeletonView: UICollectionView, cellIdentifierForItemAt indexPath: IndexPath) -> ReusableCellIdentifier
    func collectionSkeletonView(_ skeletonView: UICollectionView, supplementaryViewIdentifierOfKind: String, at indexPath: IndexPath) -> ReusableCellIdentifier?
    func collectionSkeletonView(_ skeletonView: UICollectionView, skeletonCellForItemAt indexPath: IndexPath) -> UICollectionViewCell?
    func collectionSkeletonView(_ skeletonView: UICollectionView, prepareCellForSkeleton cell: UICollectionViewCell, at indexPath: IndexPath)
    func collectionSkeletonView(_ skeletonView: UICollectionView, prepareViewForSkeleton view: UICollectionReusableView, at indexPath: IndexPath)
}

public protocol SkeletonCollectionViewDelegate: UICollectionViewDelegate { }
func numSections(in collectionSkeletonView: UICollectionView) -> Int를 통해서 섹션 개수를 설정할 수 있습니다.func collectionSkeletonView(_ skeletonView: UICollectionView, numberOfItemsInSection section: Int) -> Int는 섹션 별로 몇 개를 보여줄지 설정 할 수 있습니다. 설정하지 않는 경우 자동으로 화면에 차도록 설정됩니다.func collectionSkeletonView(_ skeletonView: UICollectionView, cellIdentifierForItemAt indexPath: IndexPath) -> ReusableCellIdentifier는 SkeletonView로 사용할 셀의ReusableCellIdentifier를 설정해 줍니다.
Exercise
Skeletonable View로 만들기
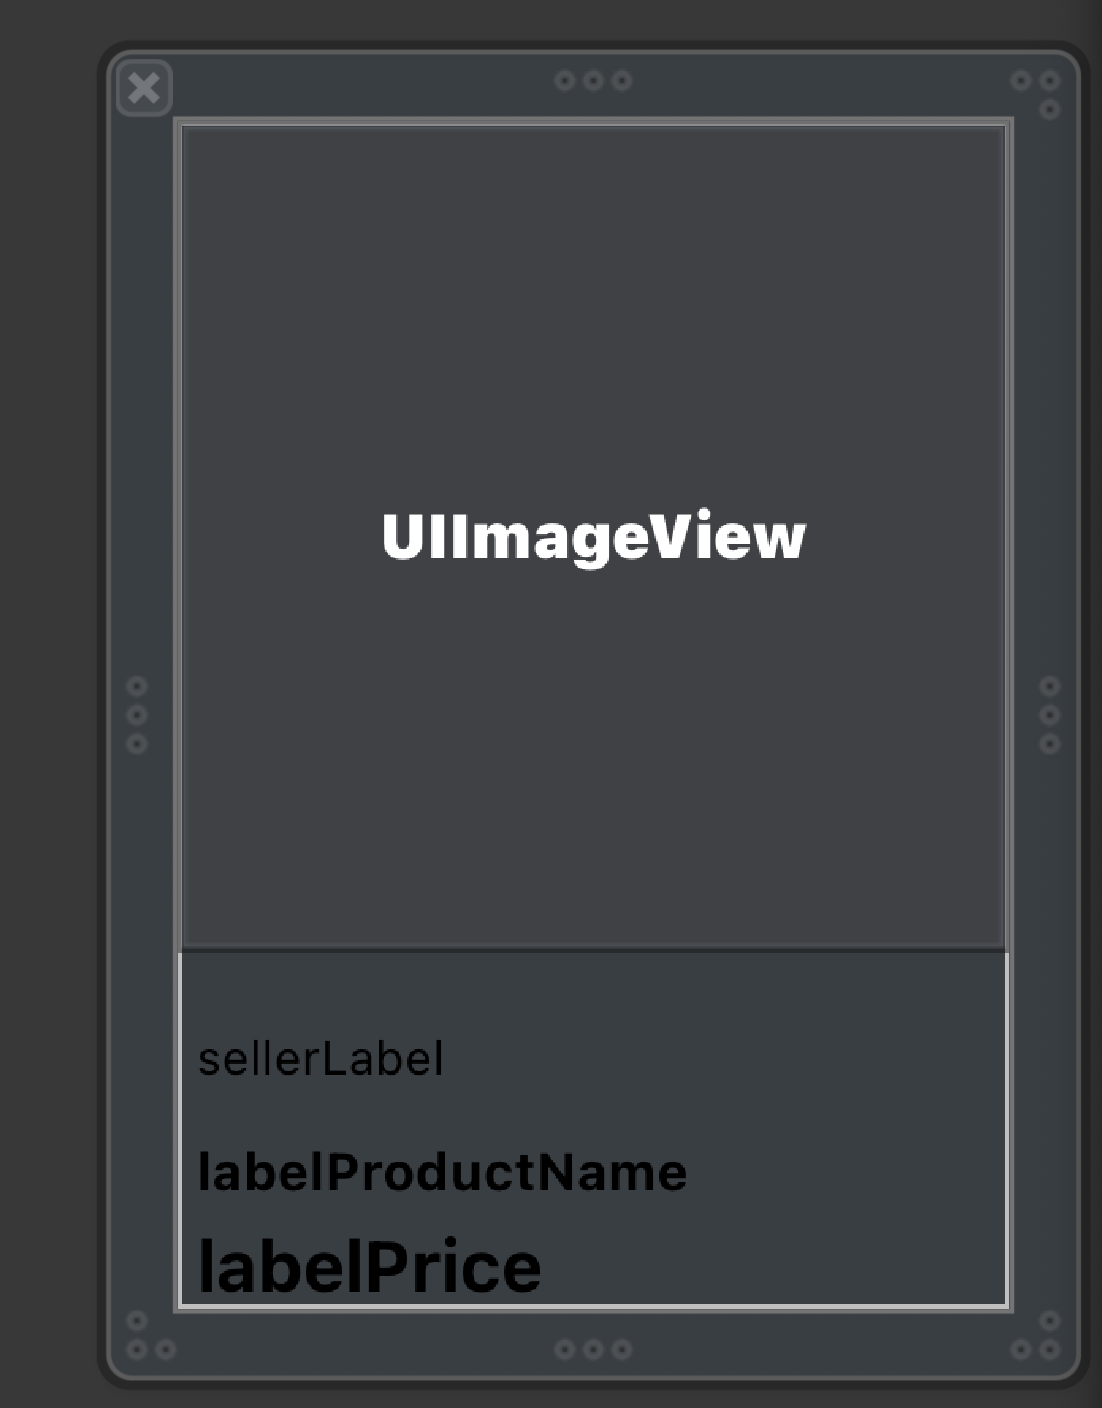
ProductListViewCell에서 필요한 부분만 Skeletonable하게 만들어 줍니다.
import SkeletonView

final class ProductListViewCell: UICollectionViewCell {

	... 생략 ....

	override func awakeFromNib() {
	    super.awakeFromNib()

			self.isSkeletonable = true
	    imageViewProduct.isSkeletonable = true
	    labelSellerName.isSkeletonable = true
	    labelProductName.isSkeletonable = true
	    labelProductPrice.isSkeletonable = true

	    setupView()
	    setupRx()
	}

	... 생략 ...

}
상품 셀의 imageView와 셀러, 상품명, 가격 부분만 Skeletonable하게 만들어 줬습니다.
그 외에 ViewController에서 view와 collectionView도 skeletonable하게 설정해 줍니다.
UICollectionViewDataSource 구현
ViewAdapter에서 SkeletonCollectionViewDataSource 를 구현해 줍니다.
import SkeletonView

......

extension ViewAdapter: SkeletonCollectionViewDataSource {
    func collectionSkeletonView(_ skeletonView: UICollectionView, cellIdentifierForItemAt indexPath: IndexPath) -> ReusableCellIdentifier {
        return ProductListViewCell.className()
    }

    func numSections(in collectionSkeletonView: UICollectionView) -> Int {
         return Section.allCases.count
    }

    func collectionSkeletonView(_ skeletonView: UICollectionView, numberOfItemsInSection section: Int) -> Int {
        switch Section(rawValue: section) {
        case .personalizedProducts:
            return 10
        default:
            return .zero
        }
    }

    func numberOfSections(in collectionView: UICollectionView) -> Int {
        return Section.allCases.count
    }

... 기존 UICollectionViewDataSource 관련 코드 생략 ...
}
Show Skeleton
viewWillAppear시점에 간단하게 view.showAnimatedGradientSkeleton 를 해주고 3초 뒤에 hide 해주면
	override func viewWillAppear(_ animated: Bool) {
        super.viewWillAppear(animated)

        refreshList()
        updateCartCount()
        let animation = SkeletonAnimationBuilder().makeSlidingAnimation(withDirection: .leftRight)
        view.showAnimatedGradientSkeleton(usingGradient: .init(baseColor: .lightGray), animation: animation, transition: .crossDissolve(0.5))
        DispatchQueue.main.asyncAfter(deadline: .now() + 3) {
            self.view.hideSkeleton()
        }
    }
위의 영상과 같이 나오게 됩니다.
SkeletonView with DummyCell
swiftUI를 사용하거나 기존 cell이 너무 방대해서 건드리기 어려운 경우들이 꽤 있을 것이라고 생각해 더미뷰를 만들어서 사용해 보았습니다.
final class SkeletonDummyCollectionViewCell: UICollectionViewCell {

	... 생략 ...
		override func awakeFromNib() {
        super.awakeFromNib()
        self.isSkeletonable = true
        imageViewProduct.isSkeletonable = true
				imageViewProduct.skeletonCornerRadius = 8
        stackViewMain.isSkeletonable = true
        labelSeller.isSkeletonable = true
        labelSeller.linesCornerRadius = 8
        labelProductName.isSkeletonable = true
        labelProductName.linesCornerRadius = 8
        labelPrice.isSkeletonable = true
        labelPrice.linesCornerRadius = 8

    }
}
각 view의 radius도 설정하고
func collectionSkeletonView(_ skeletonView: UICollectionView, cellIdentifierForItemAt indexPath: IndexPath) -> ReusableCellIdentifier {
	return SkeletonDummyCollectionViewCell.className()
}
더미 뷰로 바꿔주면!

이와 같은 결과물을 얻을 수 있습니다.
자세한 사항은 SkeletonView github에서 확인하실 수 있습니다.
https://github.com/Juanpe/SkeletonView
사용 소감
스켈레톤으로 보여줘야 할 셀 또는 뷰들의 종류(모양)가 많지는 않을 것 같아서 원래 쓰던 셀들을 skeletonable하게 하는게 아니라 모양에 따라 더미뷰를 만들고 각 화면에서 가져다 쓰면 좋을 것 같습니다.
주의할 점으로는 대부분 데이터가 없는 경우 cell의 사이즈를 .zero 로 하거나 fittingSize에서 크기값을 제대로 계산하지 못하는 경우들이 있습니다. 따라서 따로 사이즈 계산식을 세워줘야 합니다.
SkeletonView 라이브러리를 사용해서 편리하고 쉽게 스켈레톤 UI를 만들 수 있었습니다. 추후에 디자이너 분들과 협업을 통해서 도입하면 좋을 것 같습니다.
