스프링부트 gradle plugin이 제공하는 흥미로은 기능에 대해서 살펴보자.
다른 플러그인 인식
java, groovy, kotlin.jvm, io.spring.dependency-management 플러그인을 인식하고 그에 맞는 동작한다.
executable jar 패키징
bootJar task생성
java plugin이 적용되어 있을때 BootJar대신에 bootJar task를 생성하고, 이를 이용해서 executable jars를 빌드한다.
unpacking library
보통은 executable에 포함된(nested) library를 참조해서 사용할수 있지만 JRuby같은 library는 자체적인 nest jar 방법을 지원하고, 항상 jruby-complete.jar파일이 파일 시스템에 존재해야한다.
이런 경우 포함된 특정 library를 임시 디렉토리에 unpack할 수 있어야 한다.
tasks.named("bootJar") {
	requiresUnpack '**/jruby-complete-*.jar'
}
layered DSL
bootJar 구조
- BOOT-INF/classes - applications' classes
- BOOT-INF/lib - depencencies
- BOOT-INF/classpath.idx - classpath index
- BOOT-INF/layers.idx - layer index
- META-INF/ - manifest.mf
- / - boot classes
bootJar 확인
jar -t -f spring100-mongodb-0.0.1-SNAPSHOT.jar | sort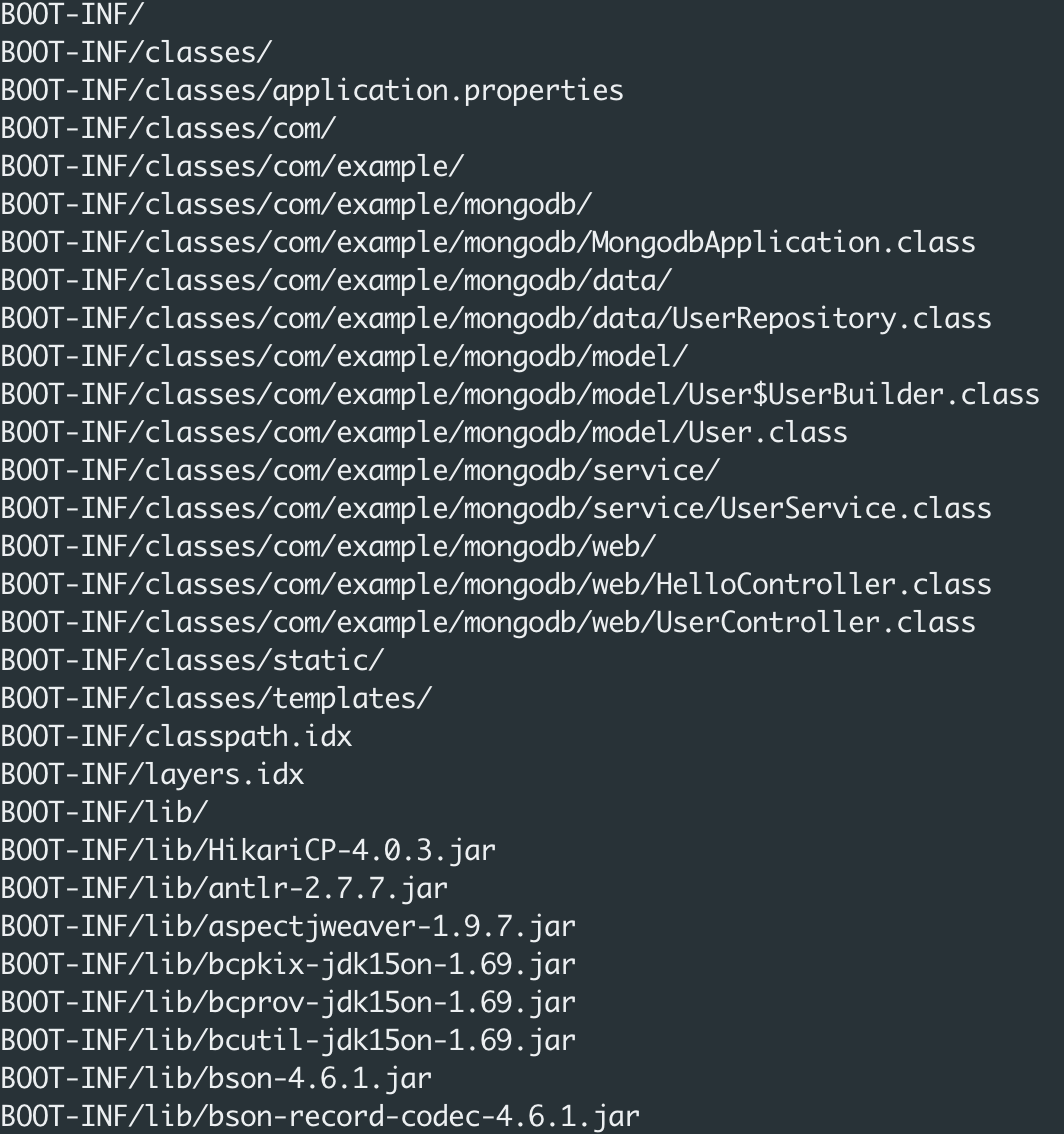
...
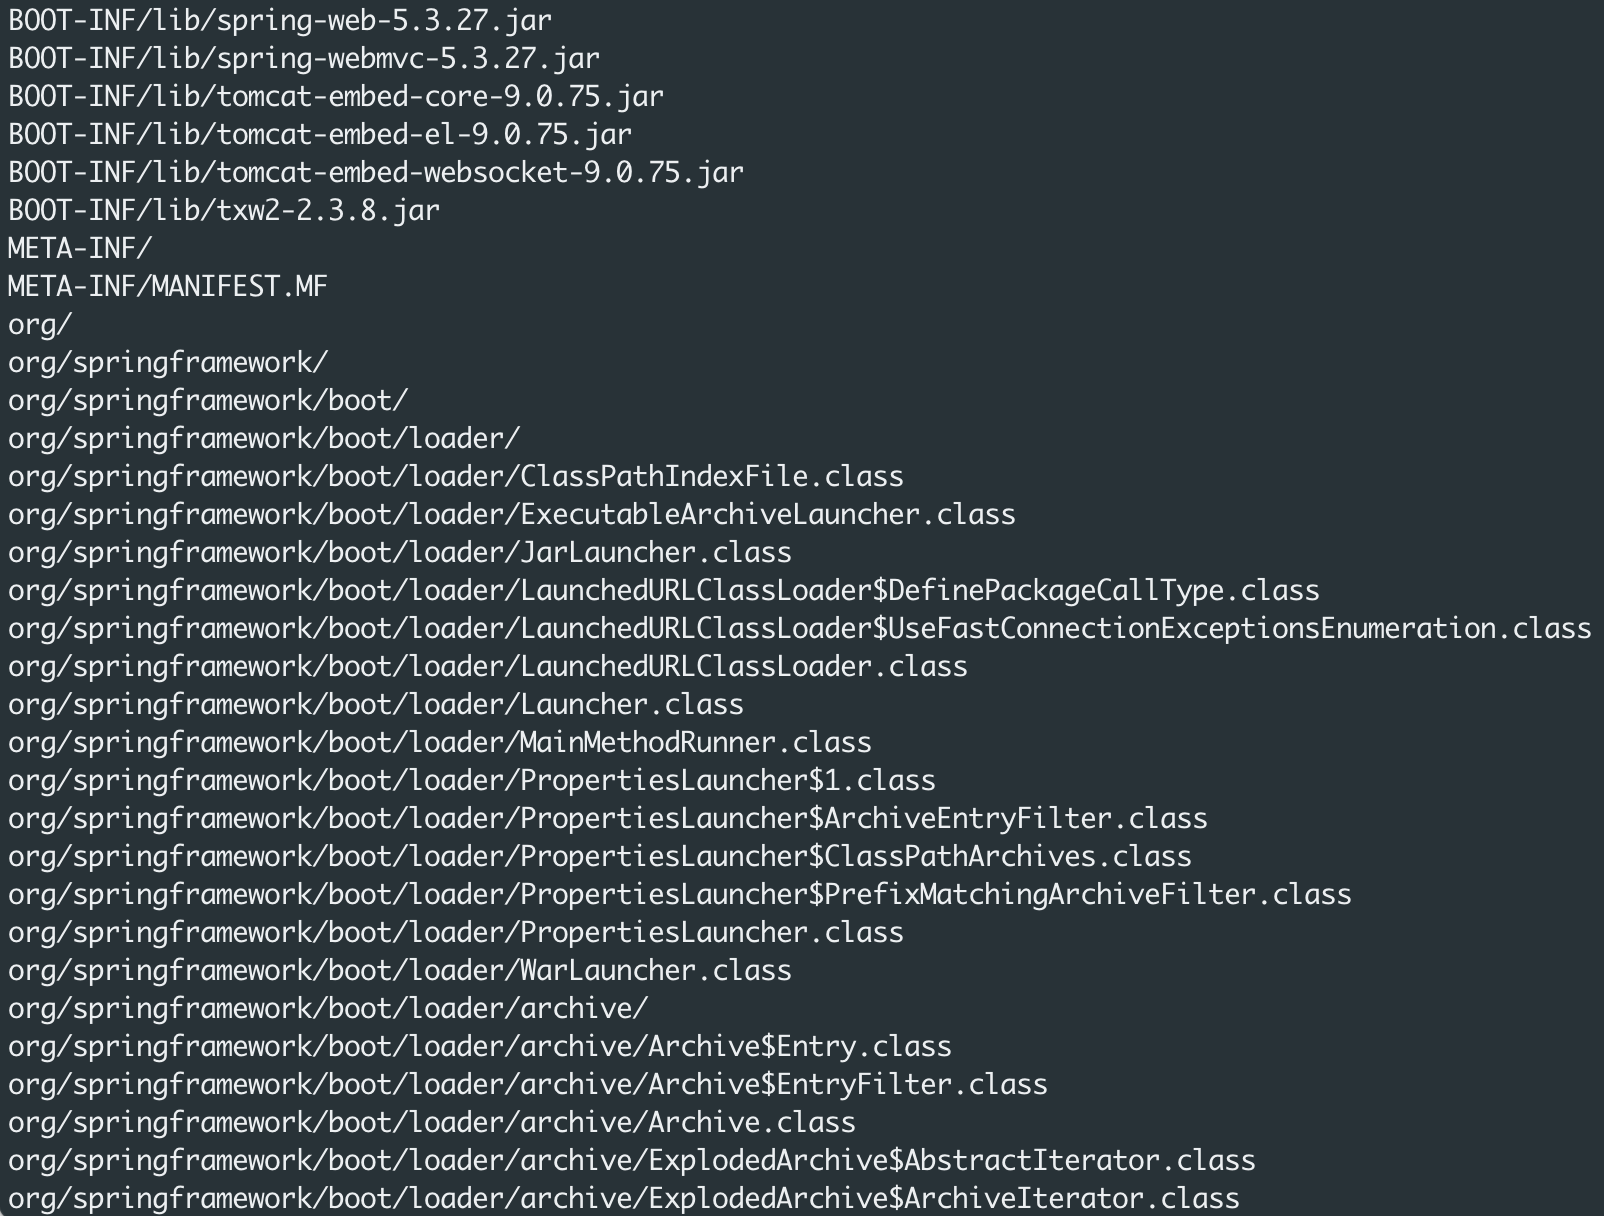
참고로 bootWar 구조
- WEB-INF/classes
- WEB-INF/lib
- WEB-INF/lib-provided
jar를 docker image를 생성하는 경우에는 이 디렉토리별로 별도의 Layer로 이미지를 구성할 수 있을 것이다.
boot jar와 동일한 구조를 갖고, 추가적인 meta-data file을 포함한다.
기본 정의된 layer들은 다음과 같고:
dependenciesfor any non-project dependency whose version does not contain SNAPSHOT.spring-boot-loaderfor the jar loader classes.snapshot-dependenciesfor any non-project dependency whose version contains SNAPSHOT.applicationfor project dependencies, application classes, and resources.
이 layer의 순서는 중요하다.
custom Layer configutation
tasks.named("bootJar") {
	layered {
		application {
			intoLayer("spring-boot-loader") {
				include "org/springframework/boot/loader/**"
			}
			intoLayer("application")
		}
		dependencies {
			intoLayer("application") {
				includeProjectDependencies()
			}
			intoLayer("snapshot-dependencies") {
				include "*:*:*SNAPSHOT"
			}
			intoLayer("dependencies")
		}
		layerOrder = ["dependencies", "spring-boot-loader", "snapshot-dependencies", "application"]
	}
}
publish
Maven-publish plugin으로 출판하기
MavenPublication 의 artifact 메소드를 이용해서 출판하는 방법으로 artifact method에 출판하고 싶은 task를 지정한다.
// bootJar의 output을 출판하는 경우
publishing {
	publications {
		bootJava(MavenPublication) {
			artifact tasks.named("bootJar")
		}
	}
	repositories {
		maven {
			url 'https://repo.example.com'
		}
	}
}
어플리케이션 실행하기
어플리케이션 arguements 전달
$ ./gradlew bootRun --args='--spring.profiles.active=dev'system properties를 앱에 전달
시스템의 com.example.property를 프로젝트의 example 프라퍼티로 설정
tasks.named("bootRun") {
	systemProperty 'com.example.property', findProperty('example') ?: 'default'
}
-P 옵션을 통해서 전달
$ ./gradlew bootRun -Pexample=customActuator 통합
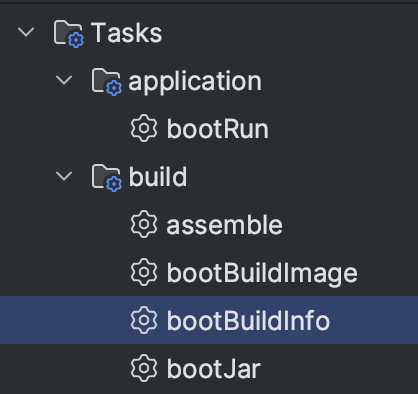
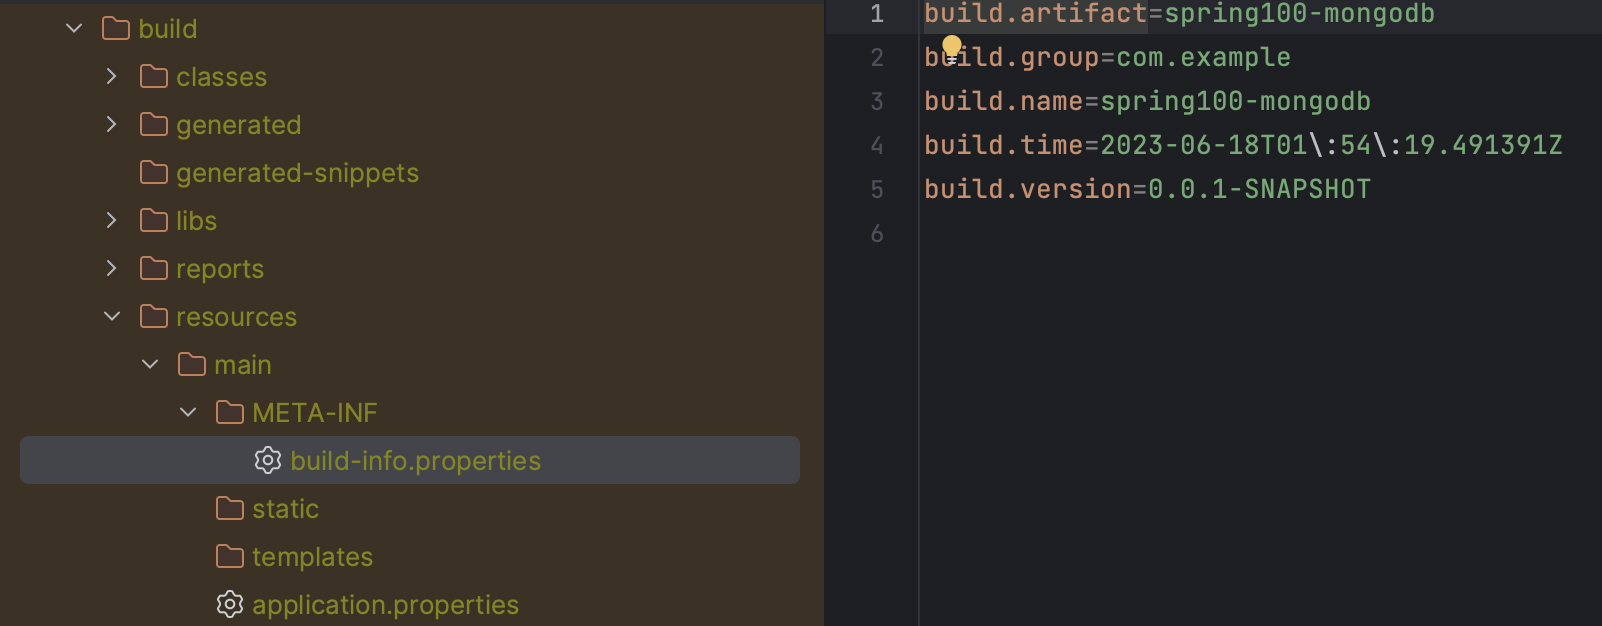
빌드인포 생성하기
bootBuildInfo task를 생성하고
springBoot {
	buildInfo()
}
build/resources/main/META-INF/build-info.properties파일을 생성한다.
레퍼런스
https://docs.spring.io/spring-boot/docs/current/gradle-plugin/reference/htmlsingle/#introduction
