JavaScript 7. day & night 모드 버튼 만들기 ( input / querySelector / if / 리팩토링 : this )
JavaScript_Basic

🖥 학원수업의 부족한 부분을 보완하기 위해 유튜브 '생활코딩' 강의를 들으며 정리한 것임을 알려드립니다.
생활코딩 : WEB2 JavaScript
HTML - input 태그
빈 태그이며, type 지정에 따라 무엇을 입력받을지를 결정한다.
실제 데이터가 오가는 로직이 필요하기 때문에 대부분 자바스크립트와 연결되어 쓰여진다. 많은 종류의 타입이 있으며 활용도가 높으니 다양하게 적용해 볼 것!
오늘 만들 day/night 모드에는 버튼을 만들 때 사용.
- type의 기본값은 "text", 이 외에 button / checkbox / radio / email / password 등이 있다.
- value : 버튼에 들어갈 버튼명을 넣어준다.
- onclick : 이벤트를 실행할 자바스크립트 함수를 넣어준다.
(자바스크립트 코드는 script안에서 존재할 수도 있지만 HTML 태그 상에서도 존재할 수 있다!!)
<input type="button" value="로그인" onclick="alert('hi')">
CSS선택자 - querySelector, querySelectorAll
두 속성 모두 CSS 선택자를 기반으로 원하는 요소를 가져올 때 쓰인다.
querySelector는 단일 요소를 가져올 때, querySelectorAll은 선택한 모든 요소를 NodeList 객체로 가져올 때 사용한다.
- Node List : 문서에서 추출된 노드의 리스트(컬렉션). 배열처럼 보이지만 그저 항목의 리스트일 뿐이다.
인덱스 번호로만 접근할 수 있으며, length 속성을 사용하여 총 항목의 수를 추출할 수 있다.
<script>
  document.querySelector('#id');
  console.log(id);

  document.querySelectorAll('a');  // 노드리스트 : (4) [a, a, a, a]

  let alist = document.querySelectorAll('a');
  console.log(alist[0]);    //a태그 노드리스트의 0번째 태그를 출력
  console.log(alist.length);     //'4' 라는 a태그의 총 개수 출력
</script>
조건문 if (Conditional statements)
if의 조건은 Boolean(true/false) 값으로 출력된다.
첫번째 조건이 true면 코드1이 실행되고, false면 두번째 조건의 값을 출력하여 true일시 코드2을 실행, 이것도 false이면 마지막 코드인 코드3이 실행된다.
//기본형식
<script>
    if( condition ){
        코드1;
    } else if( condition ){
        코드2;
    } else {
        코드3;
    }
</script>
이제 위 개념과 기능을 활용한 day & night 버튼을 만들어 보자! 🕶


버튼 따로 만들 때
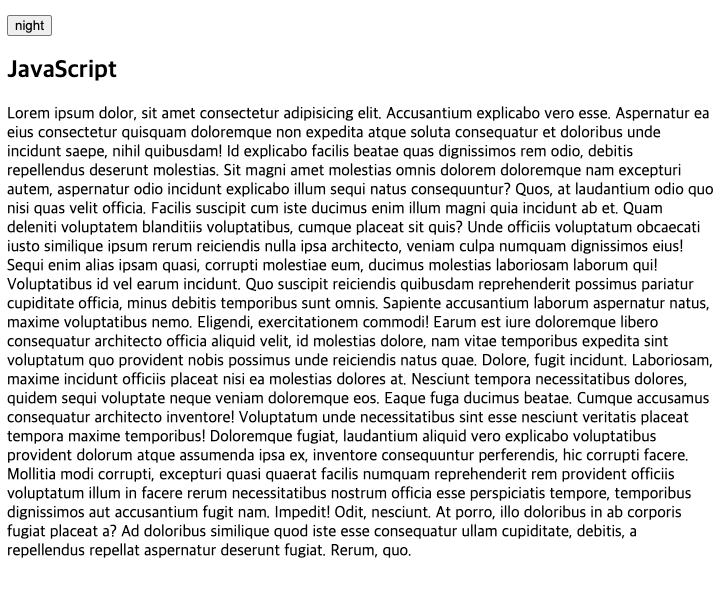
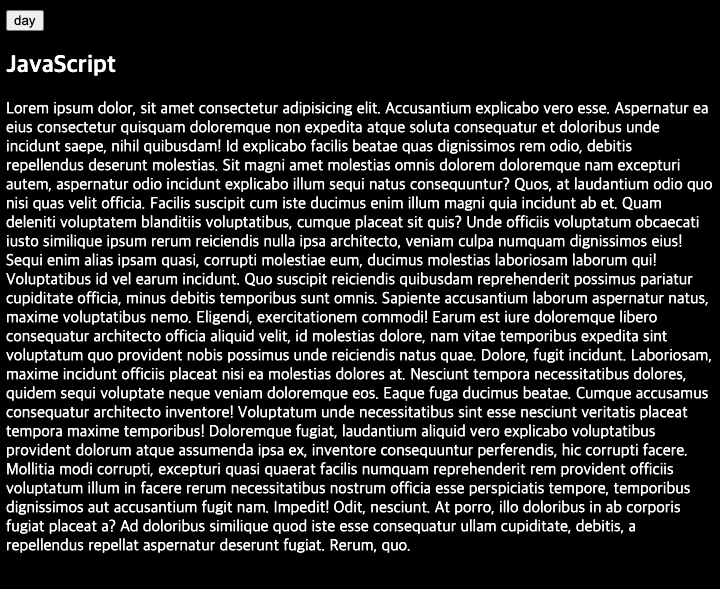
input 태그를 이용하여 night라는 버튼을 만들어주고, onclick 안에 자바스크립트 코드를 넣어 배경과 폰트컬러를 변경해주는 로직을 작성한다.
이 때이 쌍따옴표로 되어 있으므로 이 안에 들어갈 값들은 '' 홑따옴표로 묶어주어야 오류가 생기지 않는다.
  <input type="button" value="night" onclick="
    document.querySelector('body').style.backgroundColor='black';
    document.querySelector('body').style.color='white';
  ">

   <input type="button" value="day" onclick="
    document.querySelector('body').style.backgroundColor='white';
    document.querySelector('body').style.color='black';
  ">
버튼 하나로 만들 때
위의 버튼을 하나로 만들어 주는 공식이다. 아이디명 추가 후, if 문을 사용해준다.
- 조건 : 만약 #night_day의 value가 night인 버튼을 클릭한다면
- 실행 : 배경색과 폰트컬러, 그리고 value 값을 변경하라.
<input id="night_day" type="button" value="night" onclick="
    if(document.querySelector('#night_day').value === 'night'){
        document.querySelector('body').style.backgroundColor='black';
        document.querySelector('body').style.color = 'white';
        document.querySelector('#night_day').value = 'day';
    } else {
        document.querySelector('body').style.backgroundColor='white';
        document.querySelector('body').style.color='black';
        document.querySelector('#night_day').value = 'night';
    }
">
리팩토링(코드를 개선하는 작업) - this 와 변수선언
특정 아이디 선택자를 this로 바꿔준다. 이름 그대로 '이곳'을 지정하는 속성이기 때문에 긴 아이디 선택자를 사용할 필요가 없다. 또한 같은 버튼을 다른 곳에도 만들어주고 싶을 때, 붙여넣기 한 다음 일일이 아이디명을 바꿔줘야 하는 수고로움을 덜 수 있다.
또한 중복되는 'body' 선택자를 변수 안에 넣어 변수명을 사용하면 훨씬 간결하고 유지보수하기 좋은 코드가 된다. (이 때 변수선언 또한 onclick 안에서 해야된다는 것 잊지말자!)
    <input type="button" value="night" onclick="

    	let target = document.querySelector('body');

          if(this.value === 'night'){
              target.style.backgroundColor='black';
              target.style.color = 'white';
              this.value = 'day';
          } else{
              target.style.backgroundColor='white';
              target.style.color='black';
              this.value = 'night';
          }
    ">
페이지 안에 a태그가 있다면!?
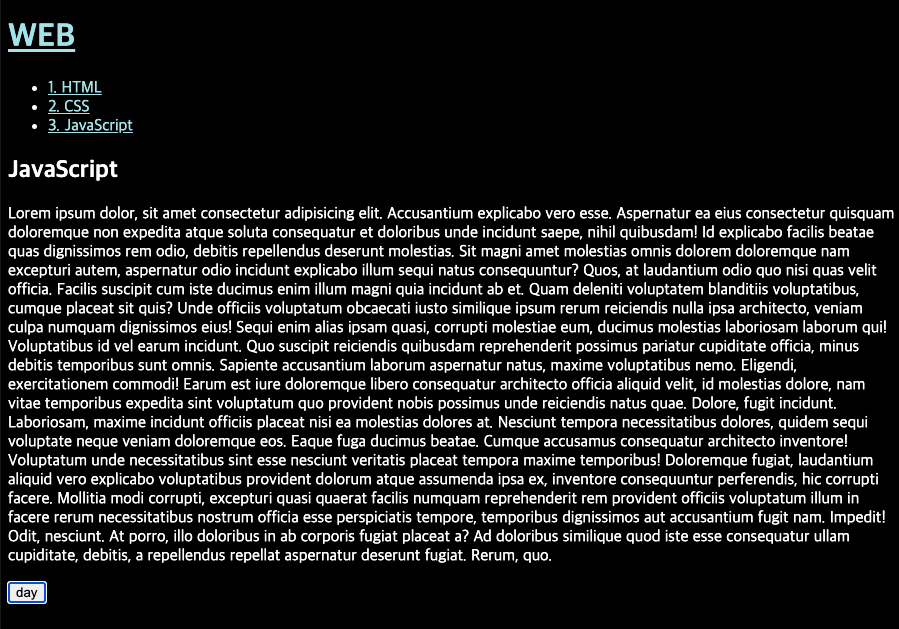
day & night 페이지 안에 여러개의 a링크가 있다면 위의 식으로는 폰트색상이 바뀌지 않는다. 이럴 땐, querySelectorAll 메소드를 사용하여 a 태그의 color 속성을 바꿔주자.
- a의 노드리스트를 인덱스번호로 선택하기 위해 i 변수를 선언해준다.
- i가 노드리스트 총 합보다 작을 때까지 (0부터 순서대로 1씩 증가)
- 속성의 폰트컬러를 powderblue로 지정
<script>
    let alist = document.querySelectorAll('a');
    let i = 0;

    while(i < alist.length){
    	console.log(alist[i]);   //필요없지만 작동여부 콘솔에 출력해보기
        alist[i].style.color = 'powderblue';
    	i += 1;
    }
</script>-
콘솔에 출력해보면 a태그의 컬러 속성이 순서대로 적용된 것을 볼 수 있음

-
이 로직을 그대로 복사하여, input 태그의 onclick "if" 문에(night) 붙여넣기 한다. 또 else문(day)에도 붙여넣기 해서 color를 "blue"로 지정해준다.
    <input type="button" value="night" onclick="

    	let target = document.querySelector('body');

          if(this.value === 'night'){
              target.style.backgroundColor='black';
              target.style.color = 'white';
              this.value = 'day';

         // a 태그 컬러 변경 (night)
         let alist = document.querySelectorAll('a');
         let i = 0;
           while(i < alist.length){
           	alist[i].style.color = 'powderblue';
           	i += 1; }

          } else{
              target.style.backgroundColor='white';
              target.style.color='black';
              this.value = 'night';

         // a 태그 컬러 변경 (day)
         let alist = document.querySelectorAll('a');
         let i = 0;
           while(i < alist.length){
           	alist[i].style.color = 'blue';
           	i += 1; }
          }
    ">

