들어가면서
UI5에서 주어지는 label 태그에는 다른 이벤트를 삽입할 수 없습니다. 하지만, 경우에 따라서는 이러한 것들을 자유롭게 사용하고 싶은 개발자의 니즈는 존재합니다. 반면, 반복되는 UI view를 일정 단위대로 묶고 하나의 컨트롤 단위로 묶어서 view단의 소스를 줄이고자 하는 니즈도 있을 수 있습니다.
이 두가지 니즈를 충족시키는 것이 바로, 이번 튜토리얼에서 배우는 Custom controls 입니다. 이는 말 그대로 하나의 커스텀 컨트롤을 만드는 것입니다. 앞서 언급한 label의 경우도 하나의 UI 컨트롤입니다. 만약 label 태그를 선택하여 특정 이벤트를 삽입하고자 한다면, 커스텀 컨트롤을 만든다면 가능합니다.
간단한 Custom Control 만들기
custom control의 특징 중 하나는 기존 html 태그를 그대로 사용할 수 있고 html 태그에 이벤트를 삽입할 수 있습니다. 커스텀 컨트롤은 렌더러에서 사용자 정의 컨트롤의 HTML을 렌더링 하는 하는 작업을 의미합니다. 이를 위해선 두개의 매개변수가 있는 랜더 함수를 정의해야 합니다.
이 두개의 매개변수로 RenderManager와 Render Control 객체를 들수 있습니다. RenderManager는 HTML을 조작하고 작성하는 많은 API를 제공합니다.
예를 들면 write의 경우 주어진 텍스트를 버퍼에 사용하는 기능, writeEscaped 는 HTML 텍스트를 이스케이프하여 버퍼에 작성하는 기능이고, WriteControlData는 컨트롤 데이터를 HTML에 작성하는 것입니다. addClass는 CSS 클래스를 추가하는 기능입니다. 반면 Render Control의 경우 주어진 컨트롤을 HTML 표현으로 바꾸어 렌더링 버퍼에 추가합니다.
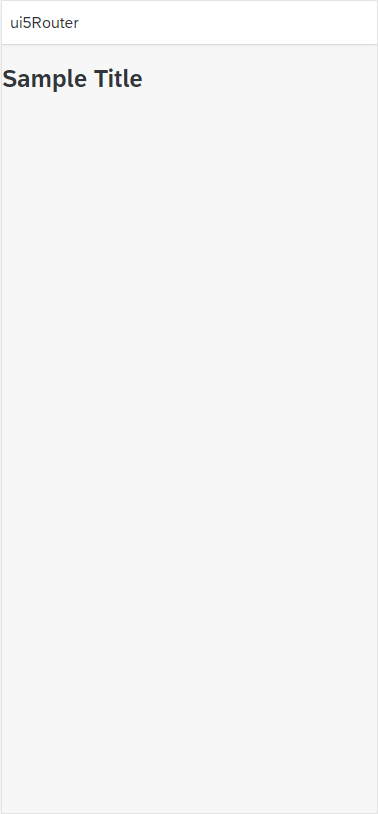
아래의 소스는 html 태그를 write를 사용해서 넣고 writeControlData 를 사용하여 html 태그에 custom control의 코드를 연결시킨 코드입니다. 이로서, 해당 div 영역을 클릭한다면, 커스텀 컨트롤에 매핑된 text 값을 불러와 alert 함수를 수행하는 프로세스가 진행됩니다.
myControl.js
sap.ui.define([
    "sap/ui/core/Control",
],function(Control){
    "use strict"
    return Control.extend("com.myorg.ui5Router.controller.myControl",{
        metadata : {
            properties : {
                "text" : {
                    type : "string"
                }
            }
        },
        ontap: function () {
            alert(`click ${this.getText()}`);
        },
        init : function(){

        },
        renderer : function(oRM, oControl){
            oRM.write(`<div`);
            oRM.writeControlData(oControl); //
            oRM.write(`>`);
            oRM.write(`<h1>${oControl.getText()}</h1>
            </div>`);
        }
    })
});
Mainview.view.xml
 <mvc:View controllerName="com.myorg.ui5Router.controller.MainView"
  displayBlock="true"
  xmlns="sap.m"
  xmlns:mvc="sap.ui.core.mvc"
  xmlns:ui="com.myorg.ui5Router.control"
  >
  <App id="idAppControl" >
    <pages>
      <Page title="{i18n>title}">
        <content>
          <ui:myControls text="Sample Title"/>
        </content>
      </Page>
    </pages>
  </App>
</mvc:View>
결과 화면

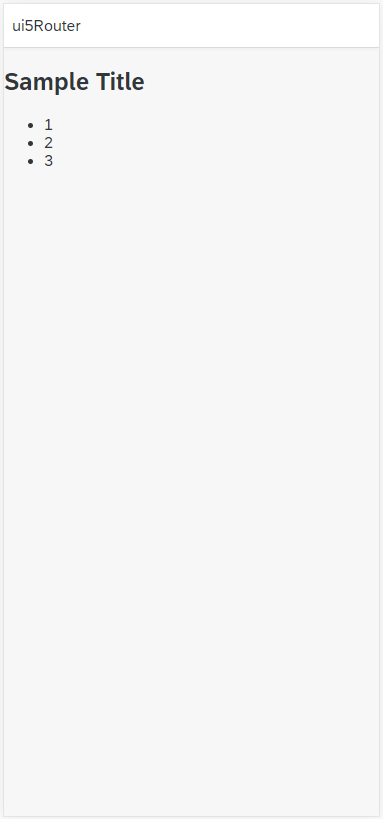
커스텀 리스트
지금까지 배웠던 UI5 Model의 내용을 활용해서 oData를 직접 커스텀 컨트롤에 보여줄 수 있습니다. 커스텀 컨트롤은 UI5 컨트롤러와 마찬가지로 init ,beforeRendering, afterRendering , exit의 생명주기를 따릅니다. 그리하여 init에서 UI5 Model을 만들고 이를 화면에 렌더링 시 뿌려주는 것이 가능합니다.
IE 호환 버전 JS 소스
sap.ui.define([
    "sap/ui/core/Control",
    "sap/ui/model/json/JSONModel"
],function(Control,JSONModel){
    "use strict"
    return Control.extend("com.myorg.ui5Router.controller.myControl",{
        metadata : {
            properties : {
                "text" : {
                    type : "string"
                }
            }
        },
        ontap: function () {
            alert('click ' + this.getText());
        },
        init : function(){
            var oData = [
                { "title" : "1"},
                { "title" : "2"},
                { "title" : "3"}
            ];
            sap.ui.getCore().setModel(new JSONModel(oData), 'oModel');
            // console.log(sap.ui.getCore().getModel("oModel"));
        },
        onGetList : function(){
            var lists = sap.ui.getCore().getModel("oModel").getData();

            var res = '<ul>';
            for(var i=0;i<lists.length;i++){
                res += '<li>'+lists[i].title+'</li>'
            }
            res += '</ul>';
            return res;
        },
        renderer : function(oRM, oControl){
            oRM.write('<div');
            oRM.writeControlData(oControl);
            oRM.write('>');
            oRM.write('<h1>'+ oControl.getText()+'</h1>');
            oRM.write(oControl.onGetList());
            oRM.write('</div>');
        }
    })
});
ES6 버전 javascript 소스
myControl.js
sap.ui.define([
    "sap/ui/core/Control",
    "sap/ui/model/json/JSONModel"
],function(Control,JSONModel){
    "use strict"
    return Control.extend("com.myorg.ui5Router.controller.myControl",{
        metadata : {
            properties : {
                "text" : {
                    type : "string"
                }
            },
            events: {
                press: {enablePreventDefault : true}
             }
        },
        ontap: function () {
            alert(`click ${this.getText()}`);
        },
        init : function(){
            var oData = [
                { "title" : "1"},
                { "title" : "2"},
                { "title" : "3"}
            ];
            sap.ui.getCore().setModel(new JSONModel(oData), 'oModel');
            // console.log(sap.ui.getCore().getModel("oModel"));
        },
        onGetList : function(){
            var lists = sap.ui.getCore().getModel("oModel").getData();

            var res = `<ul>`;
            lists.forEach((param)=>
                res += `<li>${param.title}</li>`
            );
            res += `</ul>`;
            return res;
        },
        renderer : function(oRM, oControl){
            oRM.write(`<div`);
            oRM.writeControlData(oControl); //
            oRM.write(`>`);
            oRM.write(`<h1>${oControl.getText()}</h1>
            ${oControl.onGetList()}
            </div>`);
        }
    })
});
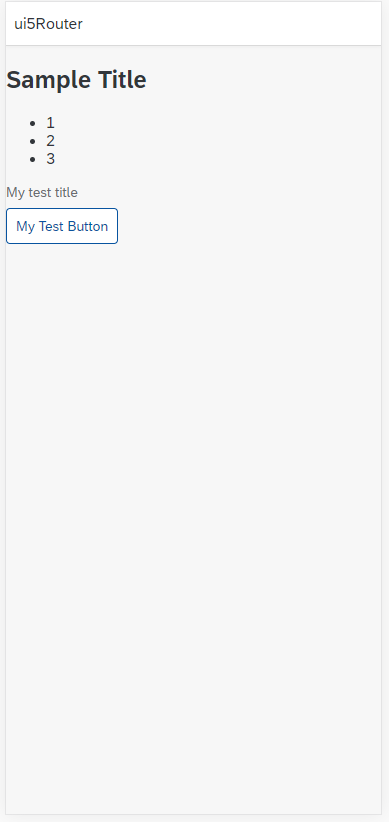
UI5 View Element를 활용한 Custom control 만들기
Custom control을 사용하면, 기존의 HTML 태그는 물론, UI5에서 기본적으로 제공하는 UI Element들도 사용할 수 있습니다. 사실 UI5는 주로 SAP Fiori 플랫폼의 웹앱을 만들기 위한 목적이기에, Custom Control을 제작함에 있어서 더 쉬운 기능들을 제공합니다.
예를 들면 html 태그를 직접 작성하지 않고, UI Element 객체를 불러와서 이를 Custom control에 넣는 것이 가능합니다.
sap.ui.define([
"sap/ui/core/Control",
"sap/ui/model/json/JSONModel",
"sap/m/Label",
"sap/m/Button",
"sap/m/VBox"
],function(Control,JSONModel, Label, Button, VBox){
"use strict"
return Control.extend("com.myorg.ui5Router.controller.myControl",{
metadata : {
properties : {
"text" : {
type : "string"
}
},//aggregation에 원하는 UI5 element를 선언
aggregations :{
_VBox : {type : "sap.m.VBox", multiple: false, visibility : "hidden" }
},
events :{
"press" : {}
}
},
init : function(){
var oData = [
{ "title" : "1"},
{ "title" : "2"},
{ "title" : "3"}
];
sap.ui.getCore().setModel(new JSONModel(oData), 'oModel');
var oLabel = new Label({
text : "My test title"
});
var oButton = new Button({
text : "My Test Button",
press : this.onTest.bind(this)
});
//metadata에서 선언한 aggregation을 init 함수에서 setAggregation 수행
this.setAggregation("_VBox",new VBox({
items : [
oLabel,
oButton
]
}));
},
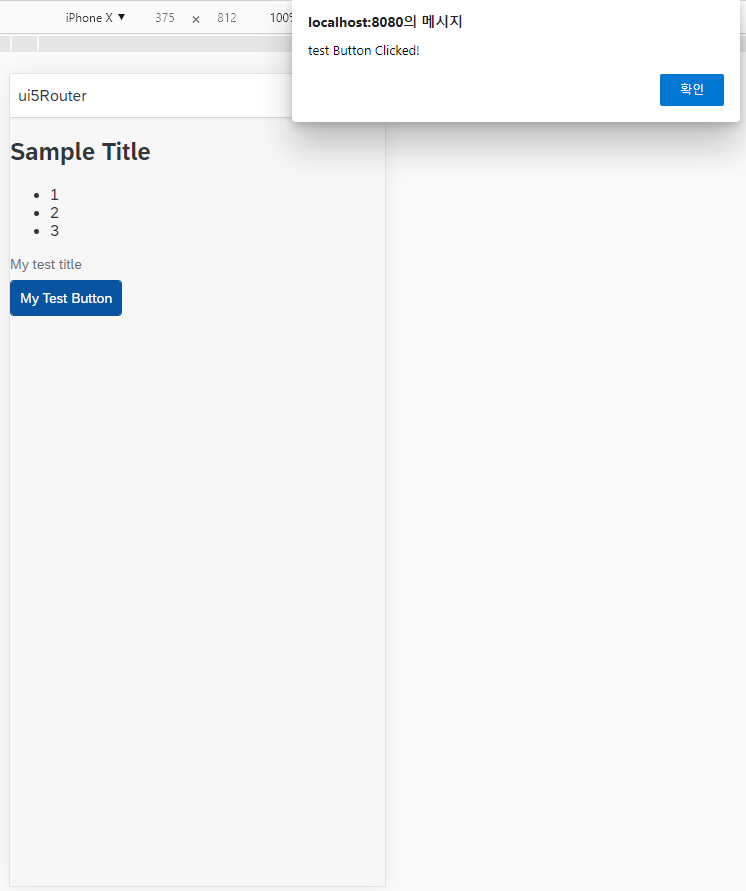
onTest : function(){
alert("test Button Clicked!")
},
onGetList : function(){
var lists = sap.ui.getCore().getModel("oModel").getData();
var res = '<ul>';
for(var i=0;i<lists.length;i++){
res += '<li>'+lists[i].title+'</li>'
}
res += '</ul>';
return res;
},
renderer : function(oRM, oControl){
oRM.write('<div');
oRM.writeControlData(oControl);
oRM.write('>');
oRM.write('<h1>'+ oControl.getText()+'</h1>');
oRM.write(oControl.onGetList());
//init 함수에서 setAggregation 수행한 것을 renderer 함수에서 수행하면 UI5 Element 렌더링 성공
oRM.renderControl(oControl.getAggregation("_VBox"));
oRM.write('</div>');
}
})
});
Custom Control Parameter
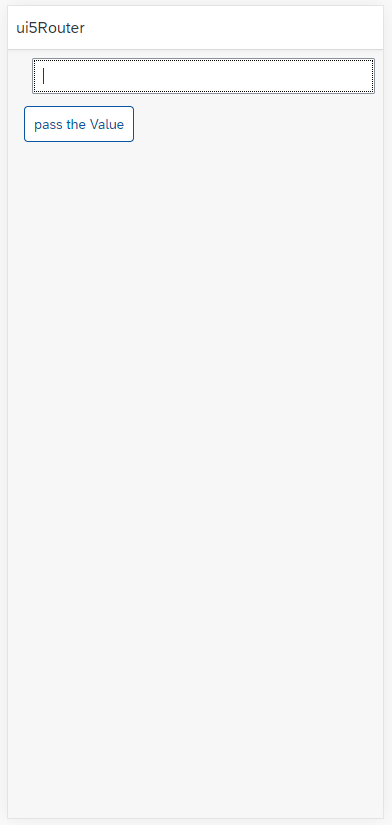
Custom Control에서 제작한 값을 파라미터로 컨트롤러에 전달하는 방법을 배워보도록 하겠습니다. 간단하게 Custom Control에서 Input 태그에서 입력받은 값을 MainView.controller.js에서 받아오는 예시를 만들어보겠습니다.
Custom Control의 장점은 press나 ontap과 같은 UI5에서 기본적으로 제공하는 이벤트 말고도 자신만의 이벤트를 만들고, 전달할 파라미터 정보를 properties에 설정할 수 있습니다.
Custom control 활용 팁
Custom control는 생각보다 object Id를 통한 value 값 접근이 쉽지 않습니다. 이 경우, sap.ui.getCore("ID").byId()나 this.getView("ID").byId보다는 this.getAggregations("_Input") 처럼 getAggregation을 이용하는 것이 낫습니다.
control/InputControl.js
sap.ui.define([
	"sap/ui/core/Control",
	"sap/m/Input",
	"sap/m/Button"
], function (Control, Input, Button) {
	"use strict";
	return Control.extend("com.myorg.ui5Router.controller.InputControl", {
		metadata : {
			properties : { //properties 아래에 Custom control에서 다룰 속성값을 정의할 수 있습니다.
				value: 	{type : "string", defaultValue : ""}
			},
			aggregations : {
				_Input : {type : "sap.m.Input", multiple: false, visibility : "hidden"},
				_Button : {type : "sap.m.Button", multiple: false, visibility : "hidden" }
			},
			events : { //UI5에서 제공하는  기본 이벤트 말고 자신의 이벤트 설정 예시, 해당 이벤트가 실행될 때, 전달될 속성 정보도 세팅 가능
				"myEvent" : {
					parameters : {
						value : {type : "string"}
					}
				}
			}
		},
		init : function () {
			this.setAggregation("_Input", new Input({
			}).addStyleClass("sapUiTinyMargin"));
			this.setAggregation("_Button", new Button({
				text: "pass the Value",
				press: this._onSubmit.bind(this)
			}));
		},
		_onSubmit : function () {
			this.fireEvent("myEvent", { //커스텀 이벤트 수행시, fireEvent 함수에 앞서 정의한 Custom Event 명을 입력하여 해당 이벤트가 수행될 때, viewController에 전달할 값 설정 가능
				value: this.getAggregation("_Input").getValue()
			});
		},
		renderer : function (oRM, oControl) {
			oRM.write("<div");
			oRM.writeControlData(oControl);
			oRM.writeClasses();
			oRM.write(">");
			oRM.renderControl(oControl.getAggregation("_Input"));
			oRM.renderControl(oControl.getAggregation("_Button"));
			oRM.write("</div>");
		}
	});
});
MainView.view.xml
 <mvc:View controllerName="com.myorg.ui5Router.controller.MainView"
  displayBlock="true"
  xmlns="sap.m"
  xmlns:mvc="sap.ui.core.mvc"
  xmlns:ui="com.myorg.ui5Router.control">
  <App id="idAppControl" >
    <pages>
      <Page title="{i18n>title}">
        <content>
          <ui:InputControl class="sapUiSmallMarginBeginEnd" myEvent="onGetValue"/>
        </content>
      </Page>
    </pages>
  </App>
</mvc:View>
MainView.controller.js
sap.ui.define([
  "com/myorg/ui5Router/controller/BaseController",
  "sap/ui/model/json/JSONModel",
  "sap/m/MessageToast"
], function(Controller, JSONModel,MessageToast) {
  "use strict";

  return Controller.extend("com.myorg.ui5Router.controller.MainView", {
    onInit : function(){
      var oData = {
        value : 'sample'
      };
      var oModel = new JSONModel(oData);
			this.getView().setModel(oModel);
    },
    navToSecondPage : function(){
      var oRouter = sap.ui.core.UIComponent.getRouterFor(this);
      oRouter.navTo("secondPage");
    },
    onGetValue : function(oEvent){
      var fValue = oEvent.getParameter("value");
      console.log(fValue);
    }
  });
});
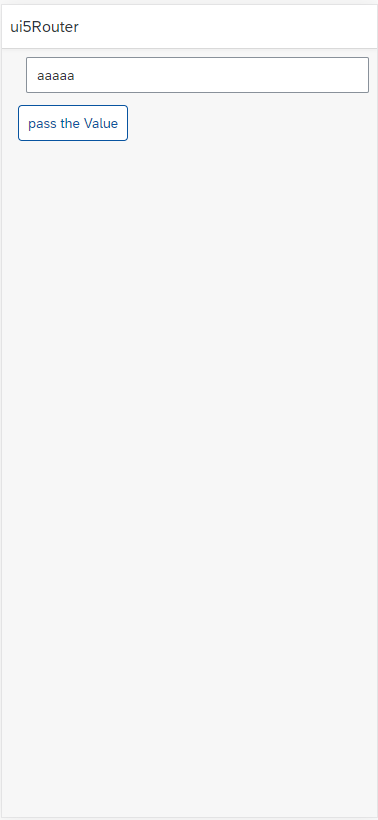
Input 태그에서 전달받은 값을 console.log로 띄운다.