화면 전환 (ViewContoller Transition)
간단하게 버튼 활용
버튼을 통해서 outlet연결 하듯이 다음화면에 띄울 UIViewController에 연결 시키고 애니매이션을 선택해주면 아래와 같이 화면전환이 가능합니다.


Present - Dismiss 활용
Present
먼저 전환하고자 하는 ViewController의 Storyboard ID Identity 설정을 합니다.

이전과 같이 버튼을 클릭하면 화면전환하도록 하겠습니다.
버튼에 Action함수를 주고 코드를 작성합니다.
@IBAction func buttonClicked(_ sender: UIButton) {
	let sb = UIStoryboard(name: "Main", bundle: nil)
    let vc = sb.instantiateViewController(withIdentifier: "SecondViewController") as! SecondViewController

    present(vc, animated: true)
}
"Main"의 스토리보드의 SecondViewController Idenetity를 갖고 있는 ViewController를 vc로 초기화 하고 이를 불러온다는 뜻이라고 생각하면 됩니다.
vc.modalPresentationStyle = .fullScreen //전체 화면으로 띄우기modalPresentationStyle을 이용하여 화면전환시 여러가지 애니메이션을 적용할수있습니다.
Dismiss
전환된 SecondViewController에서 버튼 클릭시 다시 돌아가게 하고싶다면
@IBAction func button2Clicked(_ sender: UIButton) {
dismiss(animated: true, completion: nil)
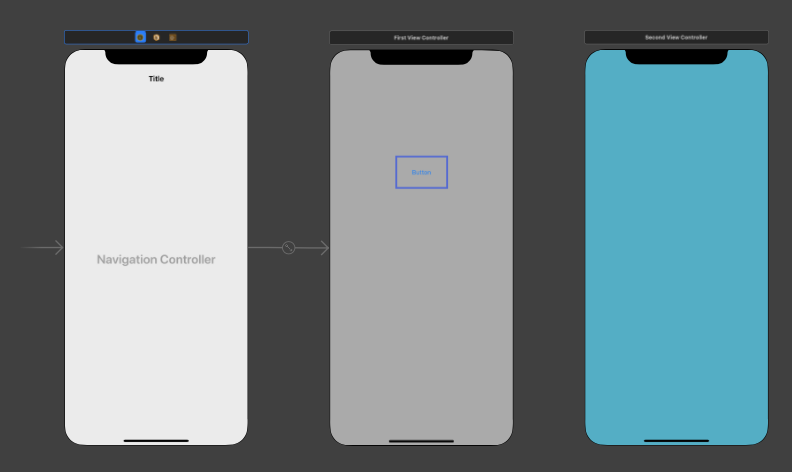
}Navigation Controller 활용
Push
처음 ViewController를 Navigtaion Controller Embed하고 화면전환을 합니다.
@IBAction func buttonClicked(_ sender: UIButton) {
	let sb = UIStoryboard(name: "Main", bundle: nil)
    let vc = sb.instantiateViewController(withIdentifier: "SecondViewController") as! SecondViewController

    navigationController?.pushViewController(vc, animated: true)
버튼 클릭시 push되면서 화면전화이 이루어집니다.

Pop
전환된 SecondViewController에서 버튼 클릭시 다시 돌아가게 하고싶다면
@IBAction func button2Clicked(_ sender: UIButton) {
	navigationController?.popViewController(animated: true)
}
iOS 공부 기록