사용자에게 알림창이나 경고창을 띄어주기 위해서는 UIAlertController 클래스에 대하여 알아여 한다. 이 클래스를 사용하면 메시지나 선택할 수 있는 작업을 제공할 수 있습니다.
UIAlertController
두 가지 스타일을 제공합니다. .alert, .actionSheet
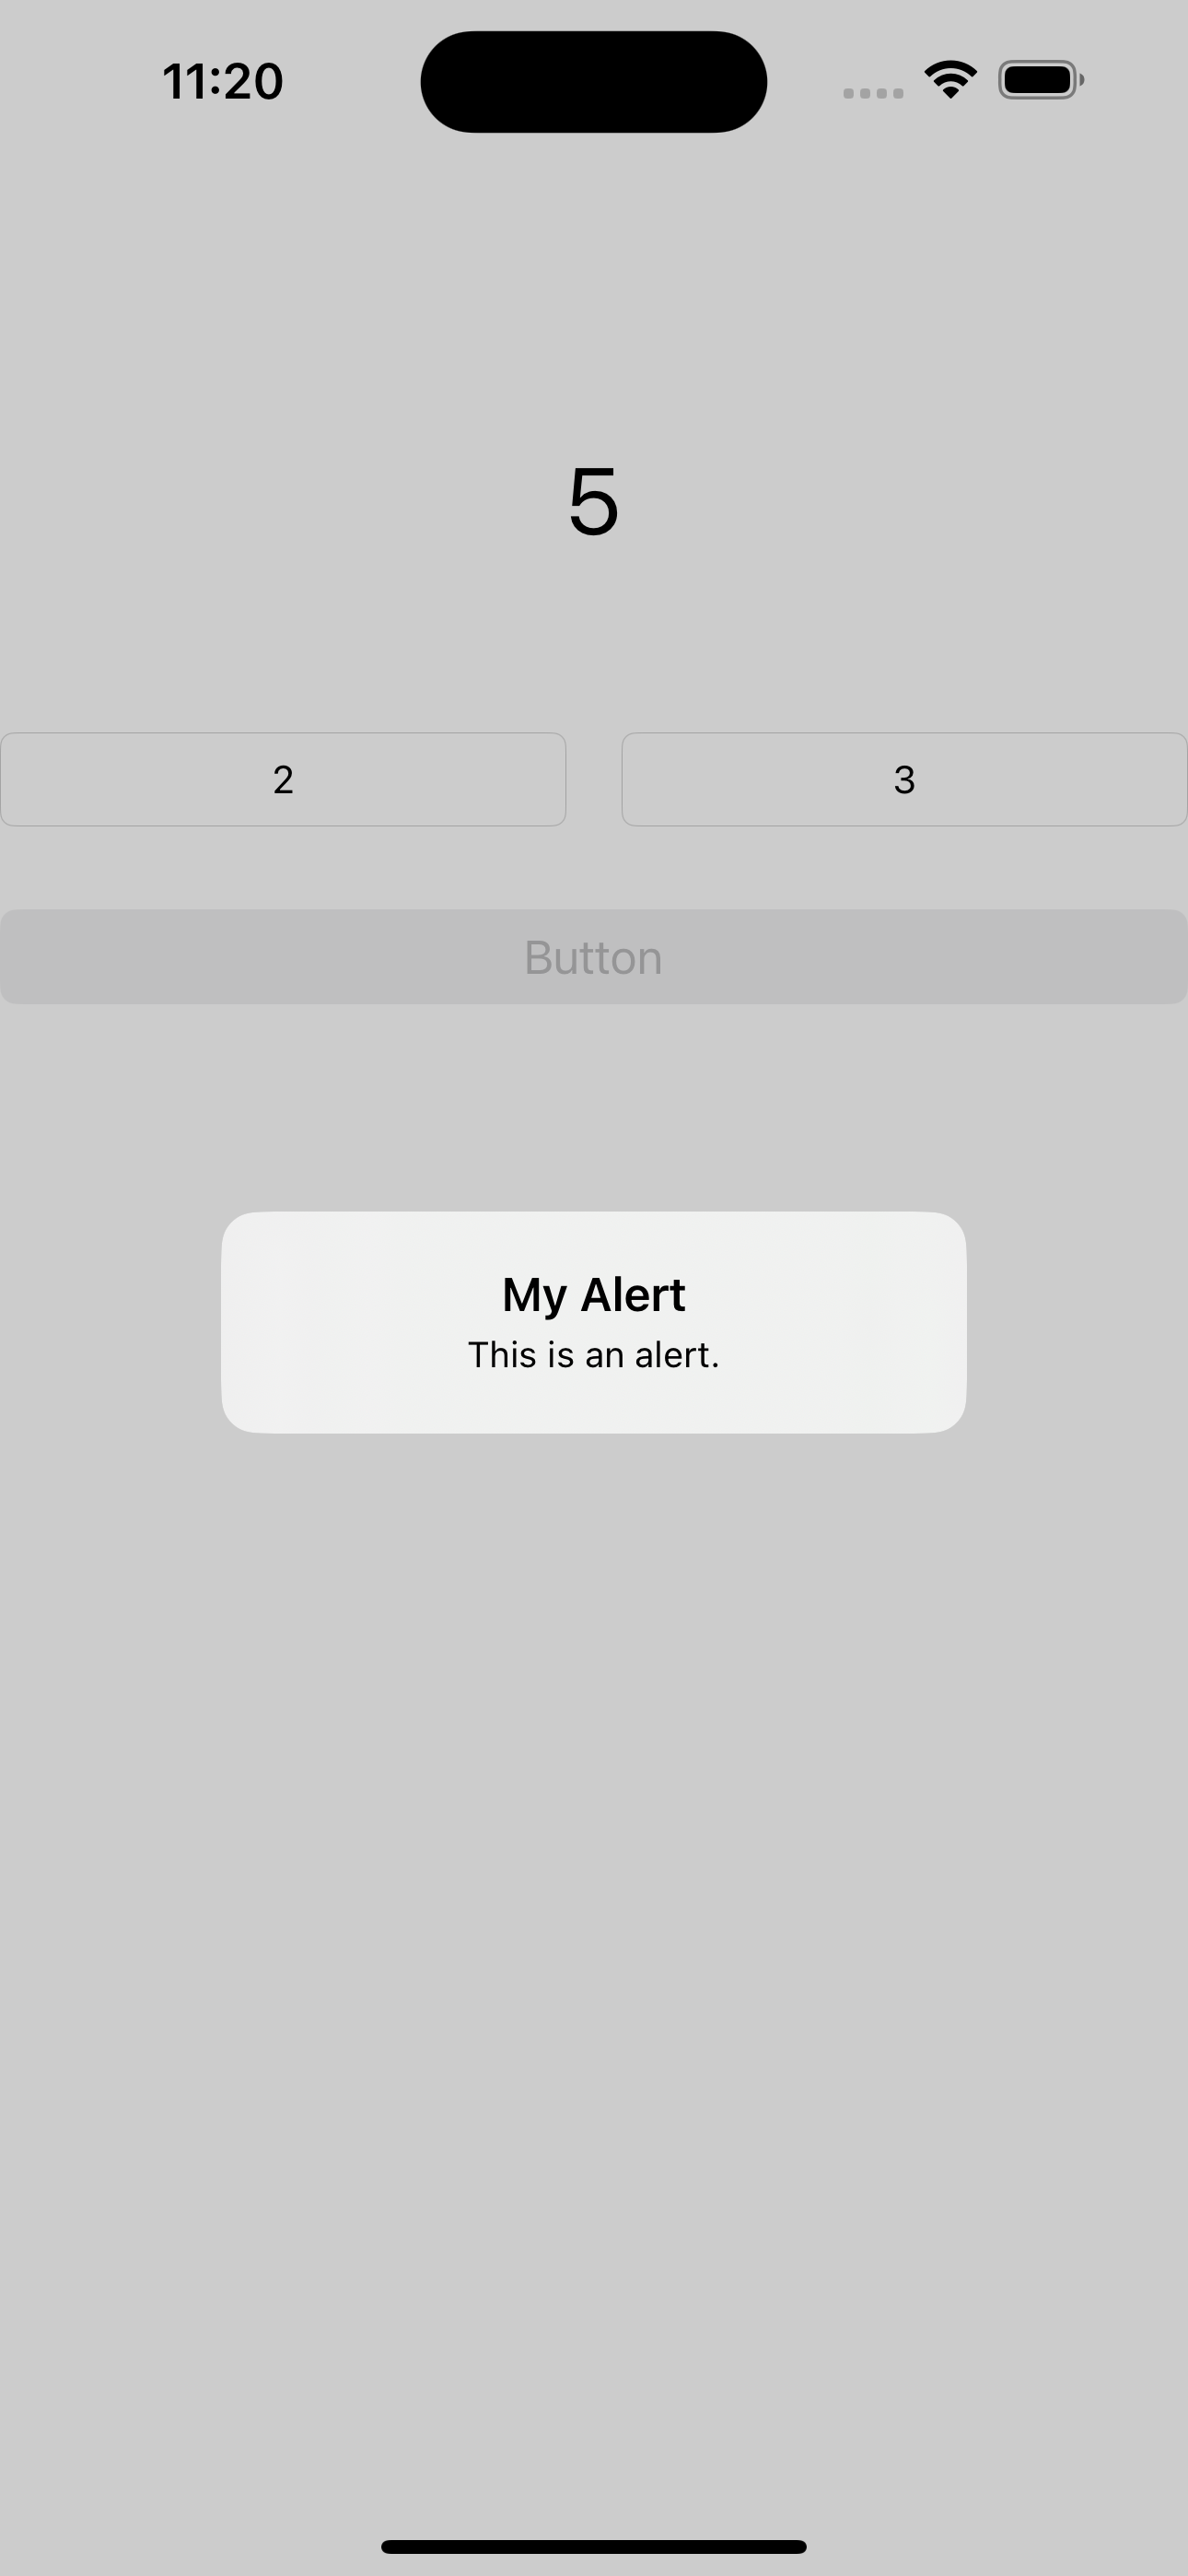

- .alert
let alert = UIAlertController(title: "My Alert", message: "This is an alert.", preferredStyle: .alert) - .actionSheet
let actionSheet = UIAlertController(title: "My Alert", message: "This is an alert.", preferredStyle: .actionSheet) UIAction
위에 경고창이나 알림창에 버튼을 넣기 위해서는 UIAction 클래스를 사용해야 합니다.
동작을 수행하는 메뉴 요소가를 추가할 수 있습니다.
let action = UIAlertAction(title: "확인", style: .default)

alert.addAction(action)
actionSheet.addAction(action)
action을 생성했으면 addAction에 추가를 해줘야하고 마지막으로 꼭 present 메서드를 호출하여 다이얼로그를 화면에 표시하기 전에, 해당 다이얼로그에 추가적인 액션 등을 설정해주어야 원하는 동작이 이루어질 수 있습니다.
액션을 여러 개를 생성하고 추가하면 여러 옵션을 제공할 수 있습니다.
let action = UIAlertAction(title: "default", style: .default)
        let cancelAction = UIAlertAction(title: "cancel", style: .cancel)

let destructiveAction = UIAlertAction(title: "destructive", style: .destructive)

alert.addAction(action)
alert.addAction(cancelAction)
alert.addAction(destructiveAction)
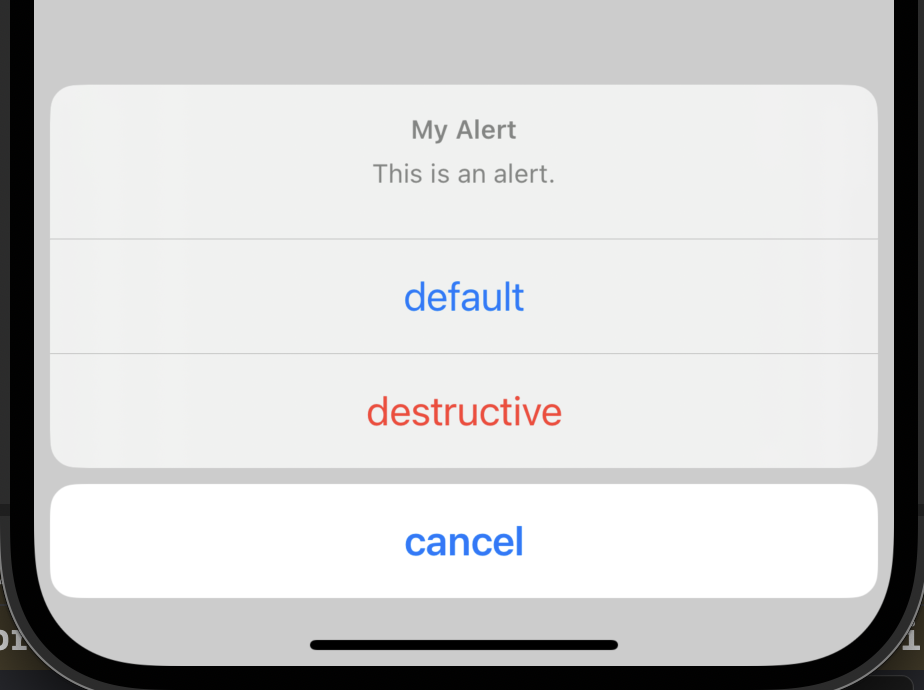
alertSheet에서의 .cancel 스타일은 단독적으로 아래 표시됩니다.
present(alert, animated: true)❗️ present 메서드는 자동완성 기능으로 바로 나오지 않을 수 있으므로, 이를 사용하고자 할 때는 따로 기억하셔야 합니다.

iOS, Flutter를 공부해 보자