STS3 브라우저 내 서버 실행까지 전체 과정 기록
1. Java11 설치
2. STS3 설치
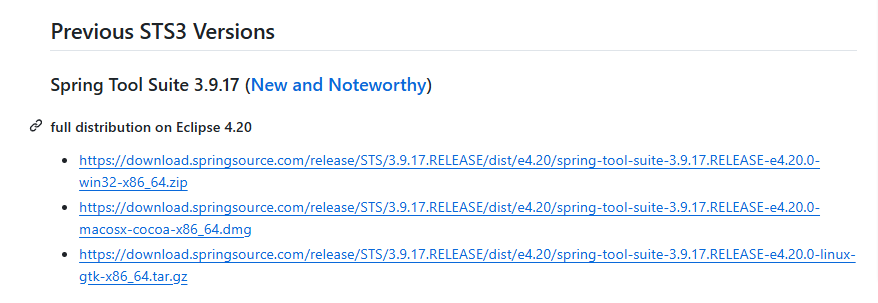
1) STS3 사이트 접속
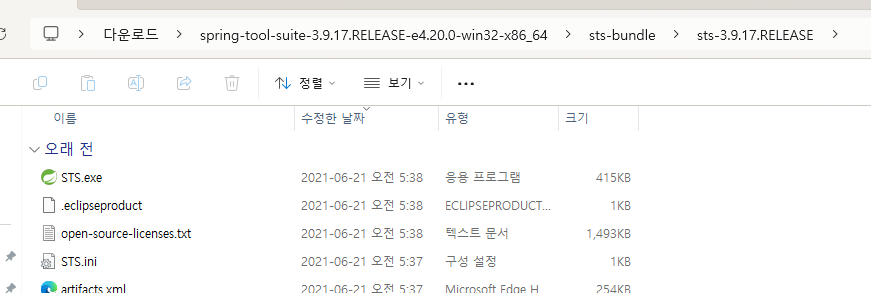
2) 3.9.17버전 다운로드해서 압축 해제
3) STS.ini 파일 열기
4) STS.init 파일 수정
- -vm 관련 옵션 추가 (값은 현재 설치된 JDK 경로)
-vm
C:\jdk-11\bin\javaw.exe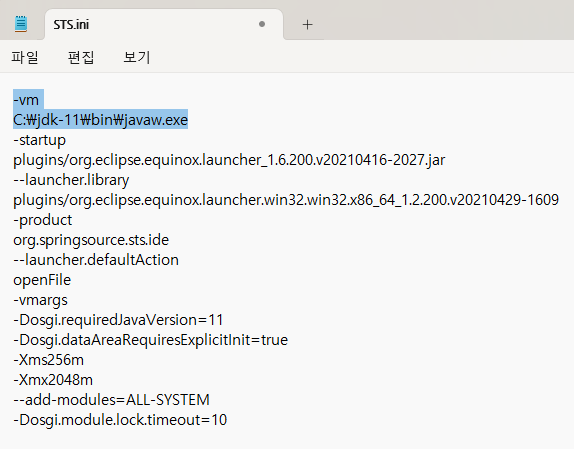
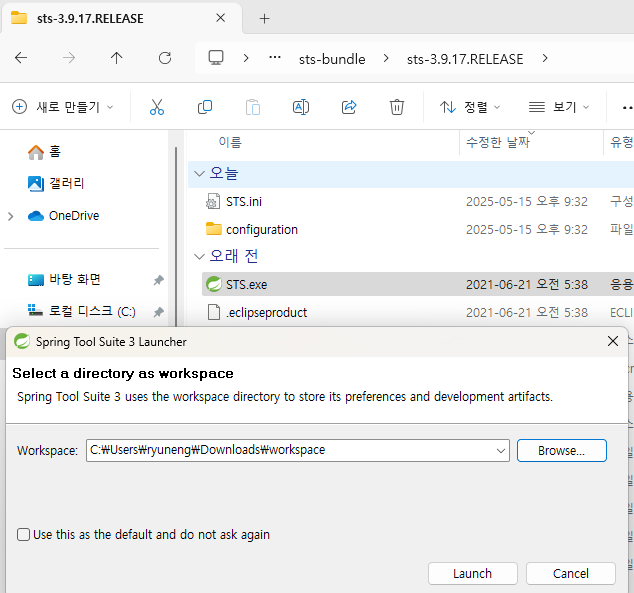
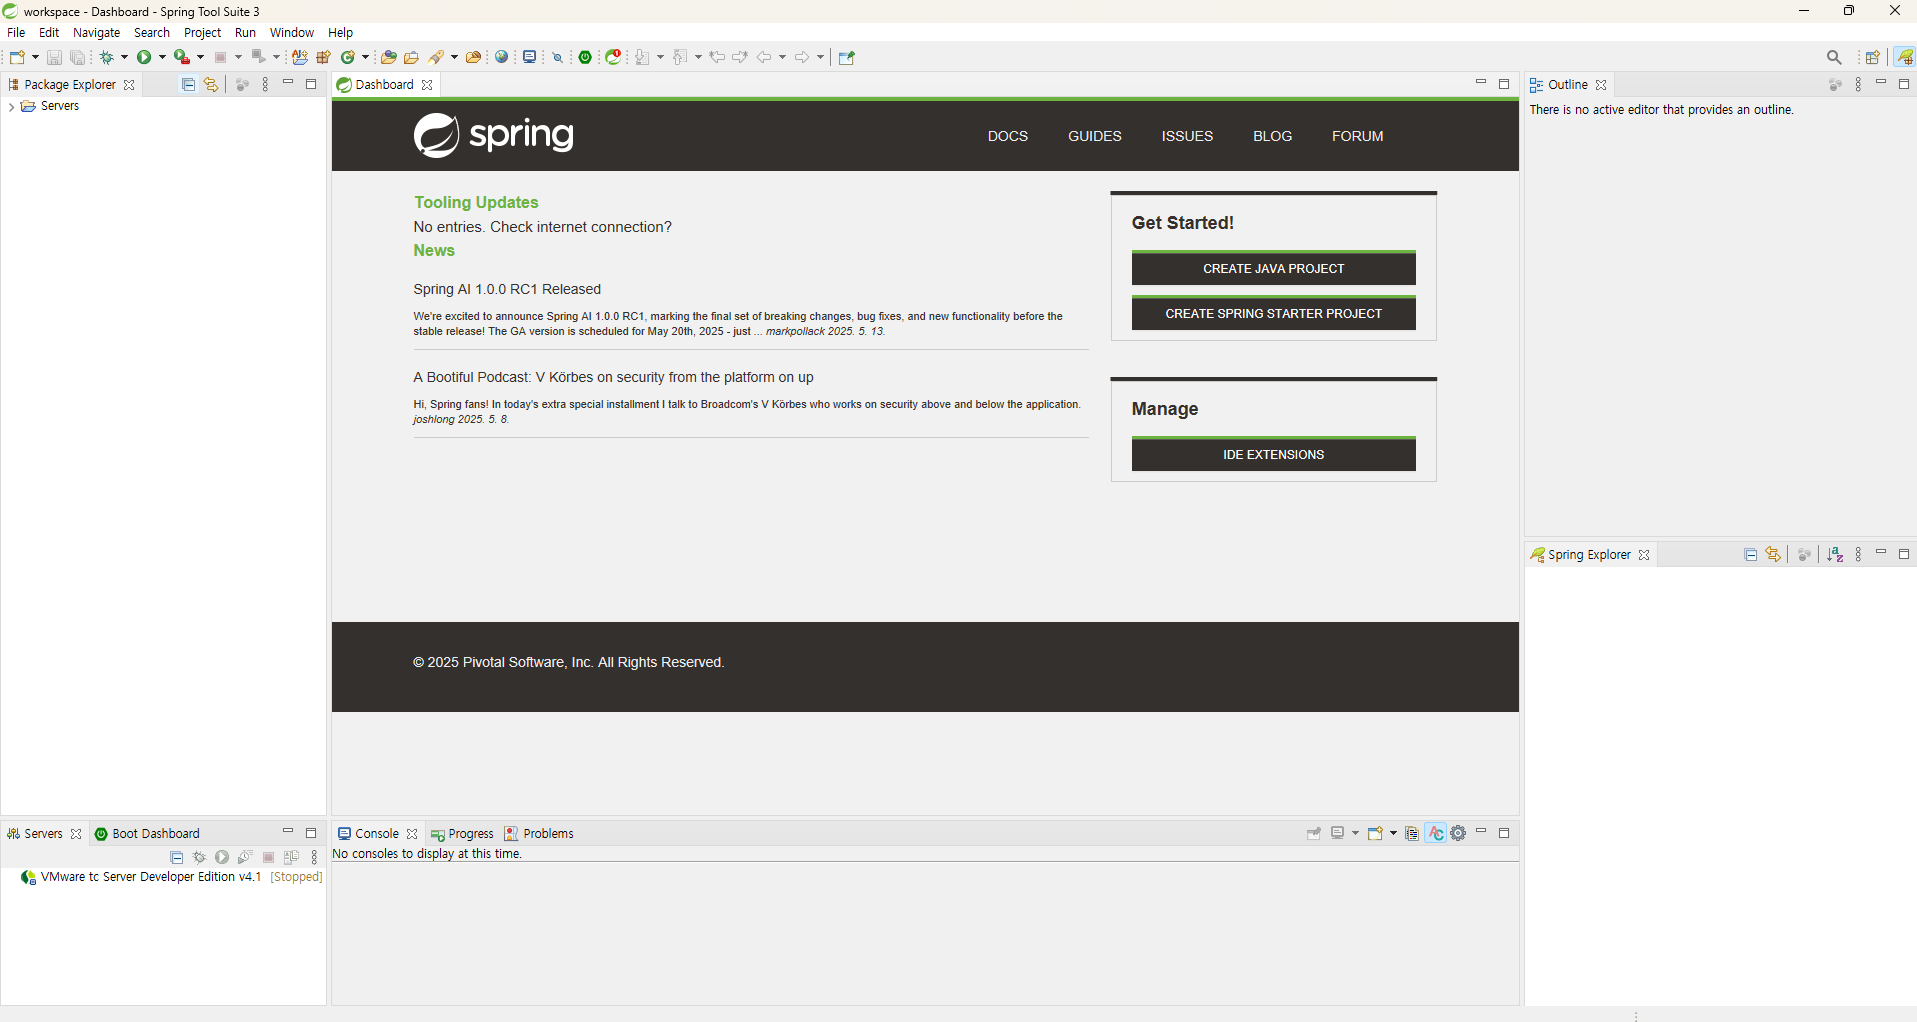
3. STS.exe 파일 실행
-
사용할 워크스페이스 폴더 지정
-
초기 화면
4. 프로젝트 템플릿 확인
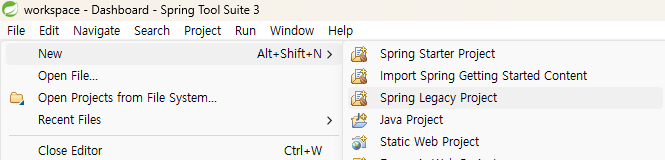
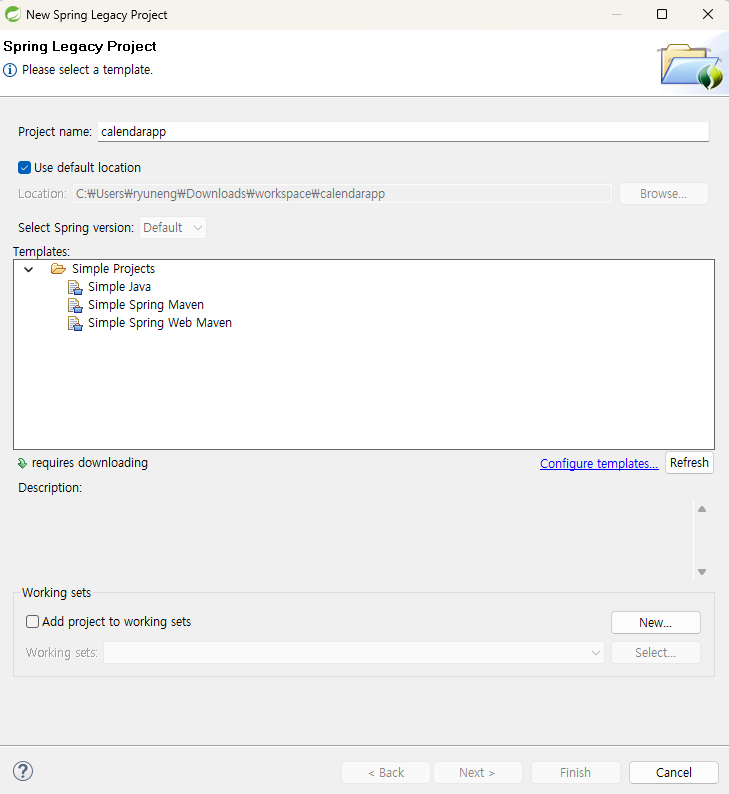
1) File > New > Spring Legacy Project 클릭
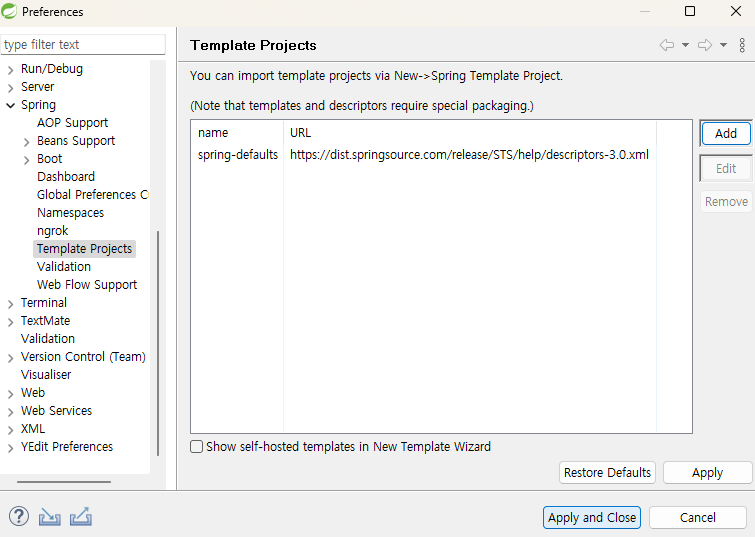
2) 파란색 Configure templates 클릭
3) spring-defaults 외 2가지는 Remove하고 apply
-
삭제 전
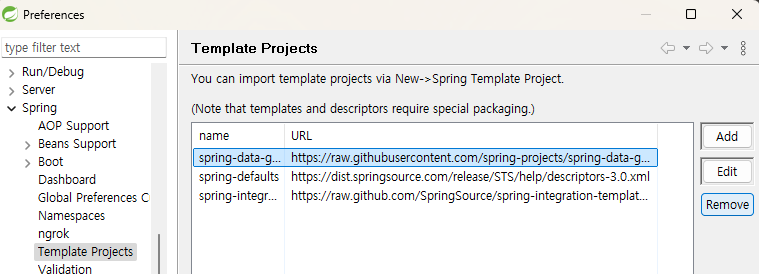
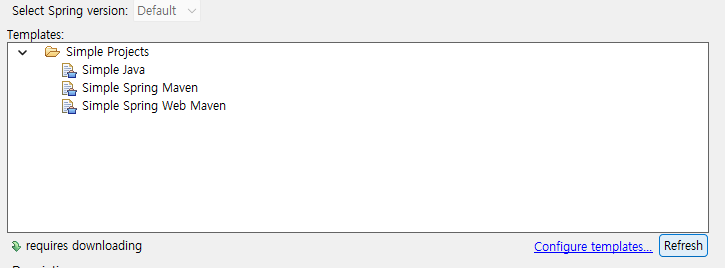
-
삭제 후
4) Refresh 클릭
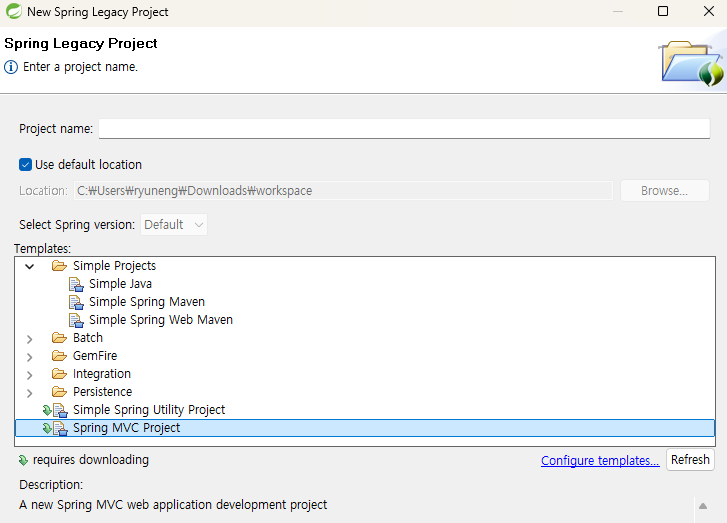
5) Spring MVC Project 클릭
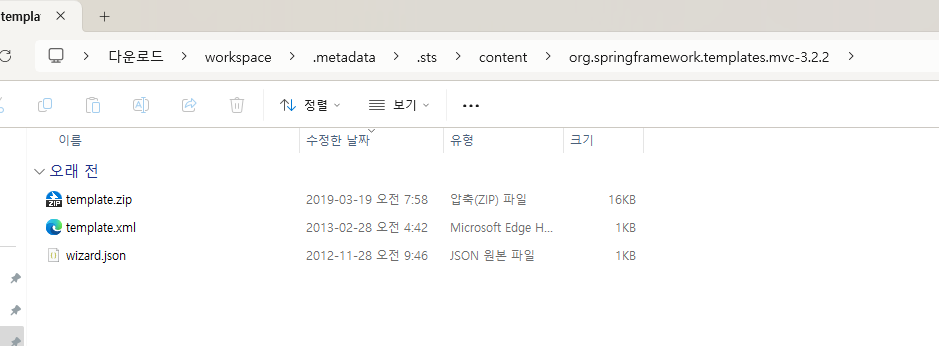
4-2) Refresh 클릭했는데도 안나오는 경우
- STS3 종료 후 워크스페이스 아래 경로로 이동
- [workspace경로]/.metadata/.sts/content/org.springframework.templates.mvc-3.2.2
- 해당 경로에
org.springframework.templates.mvc-3.2.2파일 압축해제해서 복붙
- 파일 다운로드 URL : https://nirsa.tistory.com/405
- STS3 다시 실행해서 확인

5. 워크스페이스 환경설정
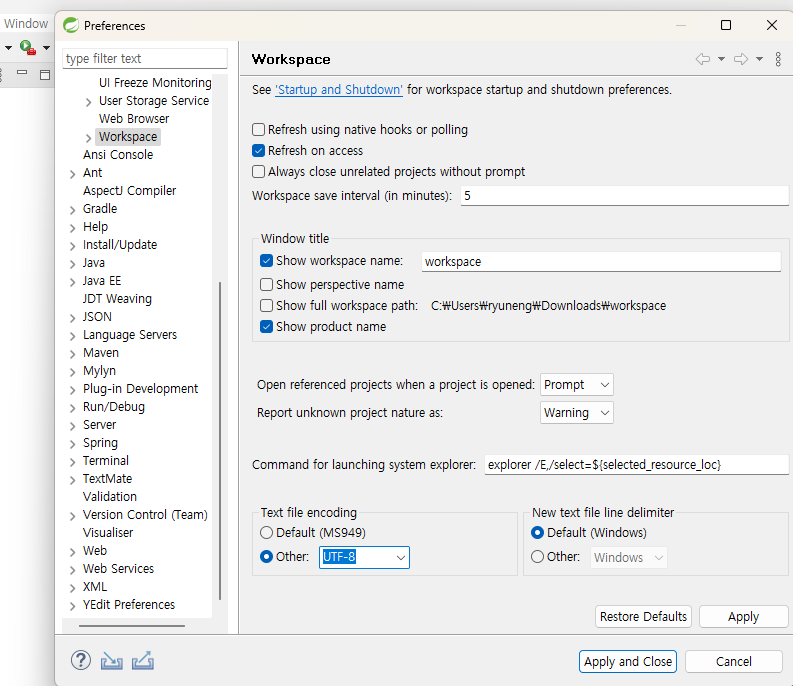
1) Window > Preferences > General > Workspace 클릭
2) 하단의 Text file encoding을 UTF-8로 변경
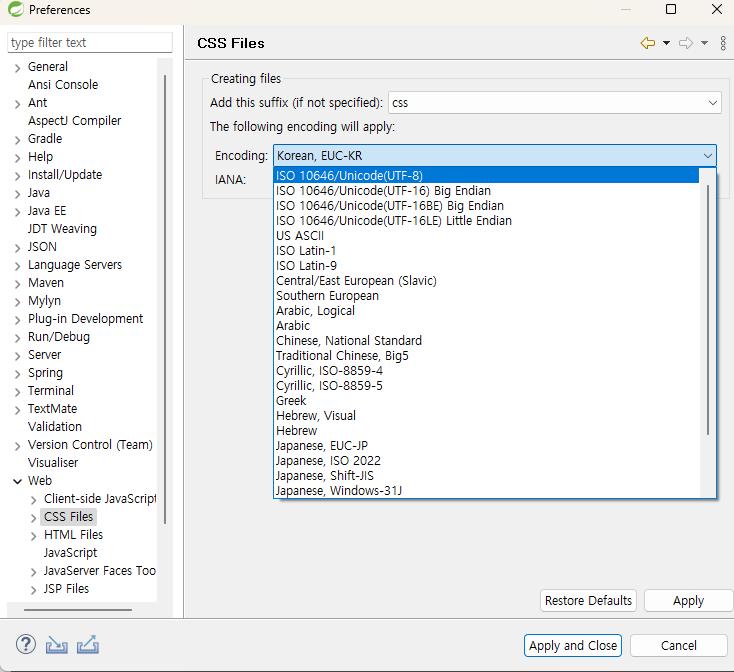
3) Window > Preferences > Web > CSS Files/HTML Files/JavaScript 항목의 Encoding 항목 > UTF-8로 수정
6. Tomcat 9 서버 설정
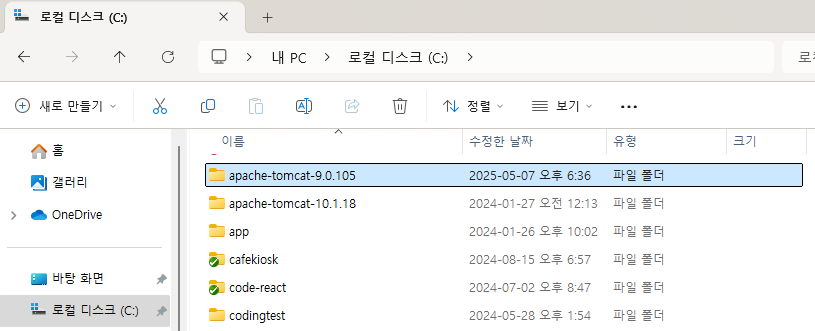
1) Tomcat 사이트 접속해서 파일 다운로드 및 압축해제

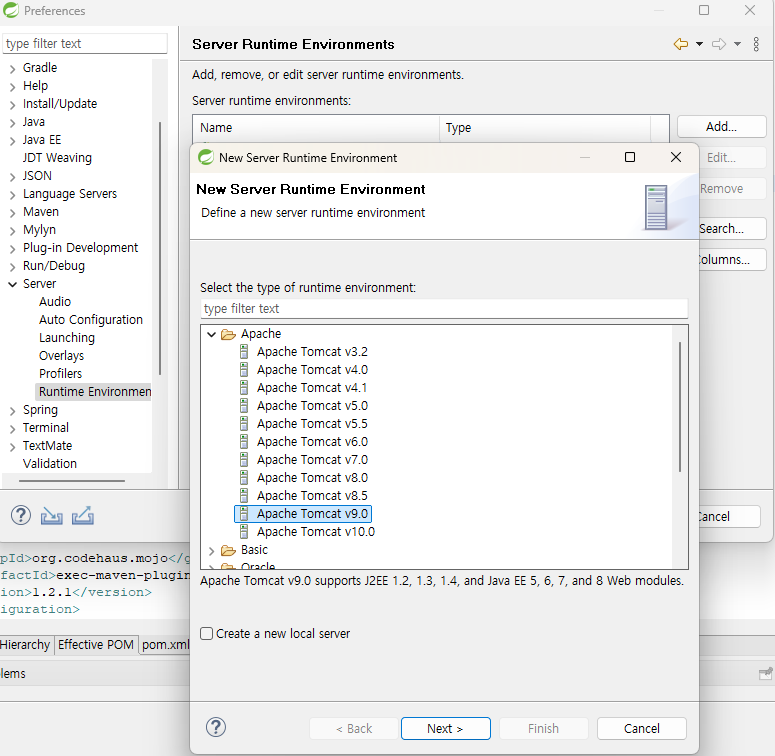
2) Window > Preferences > Server > Runtime Environments > Add 클릭
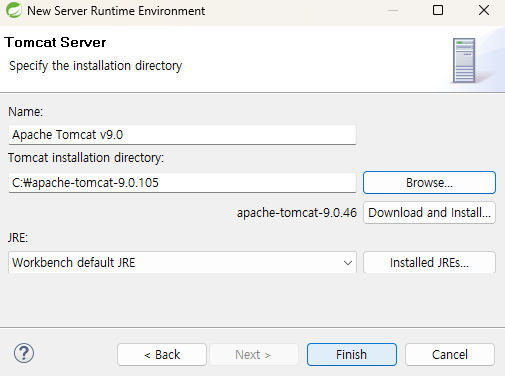
3) Apache > Apache Tomcat v9.0 클릭
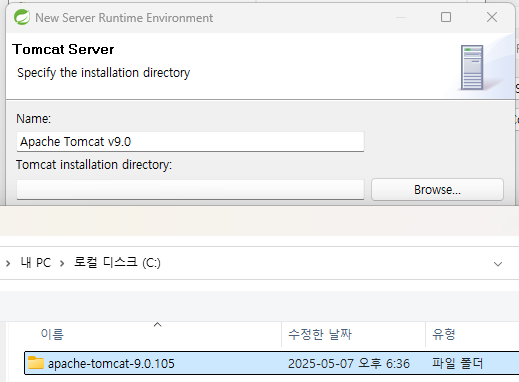
4) Browse 클릭 후 Tomcat 설치된 경로 지정
5) Finish 클릭 후 Apply and Close 클릭
7. Spring Legacy Project 생성
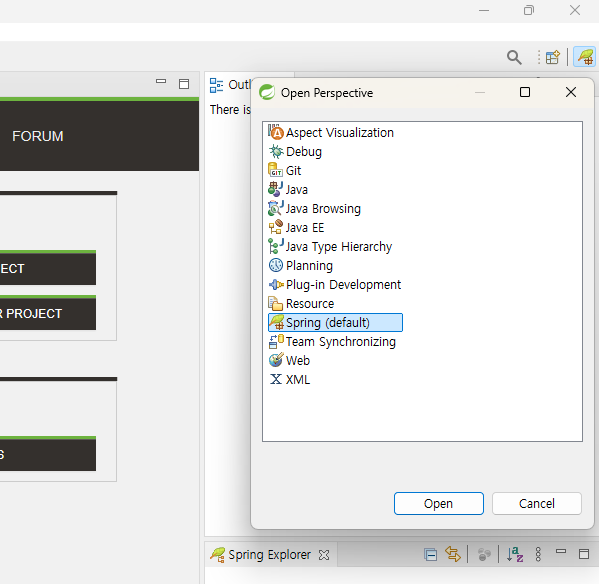
1) 우측 상단의 Perspective를 Spring으로 지정
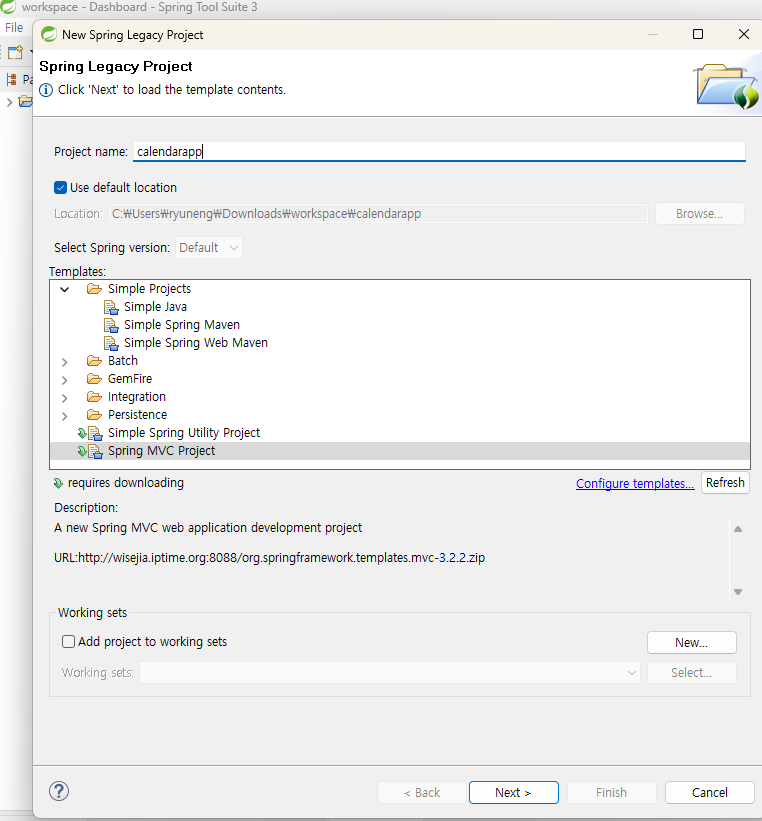
2) File > New > Spring Legacy Project 클릭
- Project name 입력 및 Spring MVC Project Template 클릭 후 Next 클릭
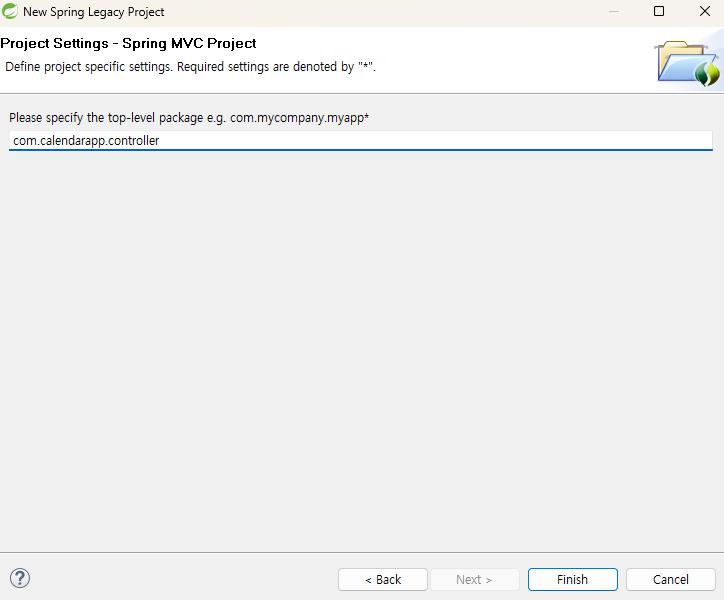
3) 패키지명 지정 후 Finish 클릭
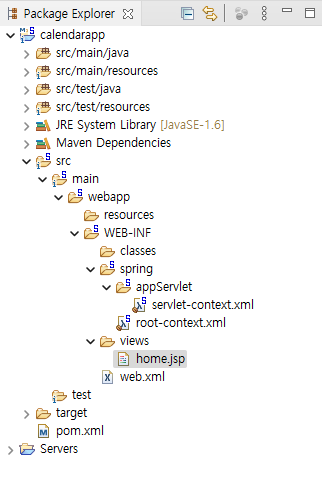
4) 디렉토리 구조 확인
- servlet-context.xml : 웹과 관련된 스프링 설정 파일
- root-context.xml : 스프링 설정 파일
- web.xml : Tomcat의 web.xml 파일
- pom.xml : Maven이 사용하는 pom.xml
8. pom.xml 의존성 버전 수정
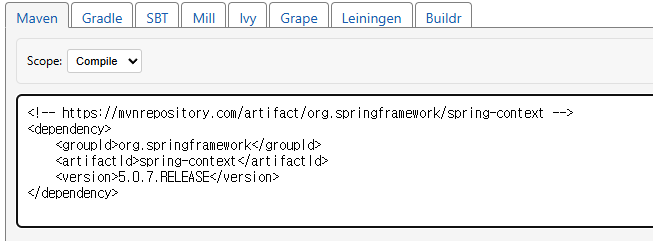
1) Maven Repository 사이트 접속해서 Spring Context 검색 후 5.0.7버전의 태그 복사

2) pom.xml 일부 수정
<properties>
<java-version>1.6</java-version>
<!-- 5.0.7버전으로 수정 -->
<org.springframework-version>5.0.7.RELEASE</org.springframework-version>
<org.aspectj-version>1.6.10</org.aspectj-version>
<org.slf4j-version>1.6.6</org.slf4j-version>
</properties>
<dependencies>
<!-- Spring -->
<!-- spring-context 태그 붙여넣기 -->
<dependency>
<groupId>org.springframework</groupId>
<artifactId>spring-context</artifactId>
<version>5.0.7.RELEASE</version>
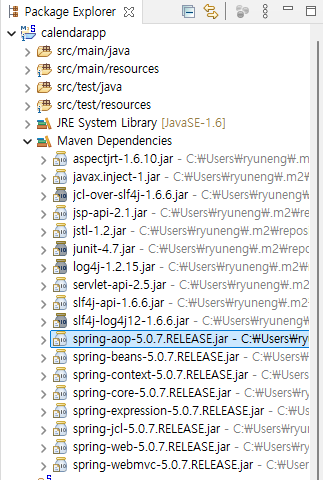
</dependency>3) Maven Dependencies > 라이브러리 버전 제대로 변경되었는지 확인
4) Java 버전 변경
            <plugin>
                <groupId>org.apache.maven.plugins</groupId>
                <artifactId>maven-compiler-plugin</artifactId>
                <version>2.5.1</version>
                <configuration>
                    <!-- 아래 2개 11로 수정 -->
                    <source>11</source>
                    <target>11</target>
                    <compilerArgument>-Xlint:all</compilerArgument>
                    <showWarnings>true</showWarnings>
                    <showDeprecation>true</showDeprecation>
                </configuration>
            </plugin>
5) 프로젝트 우클릭 > Maven > Update Project 실행

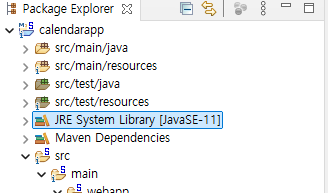
- 실행 후 JDK11로 설정된 것 확인
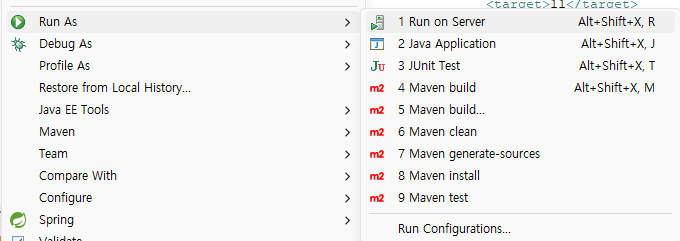
9. Tomcat 서버 실행
- 프로젝트 우클릭 > Run As > Run on Server 클릭
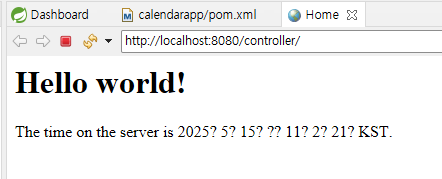
10. 실행 완료
- Eclipse(STS3) 내 브라우저에서 http://localhost:8080/controller/ URL이 정상적으로 실행되면 성공
Reference
- 책 [코드로 배우는 스프링 웹 프로젝트]

학습용 커스터마이징 간단 개발자 사전