기술 스택
UIKit, RxSwift
DispatchGroup
PHPicker, UIDocumentPicker, UIDocumentInteractionController
Remote Push Notification, NotificationCenter
RxDataSources, RxTableViewSectionedAnimatedDataSource
UI
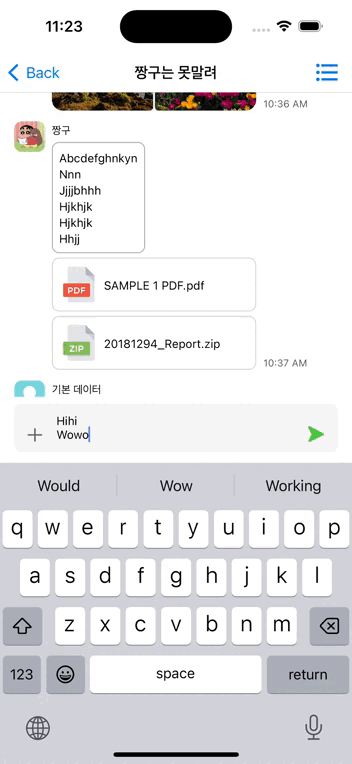
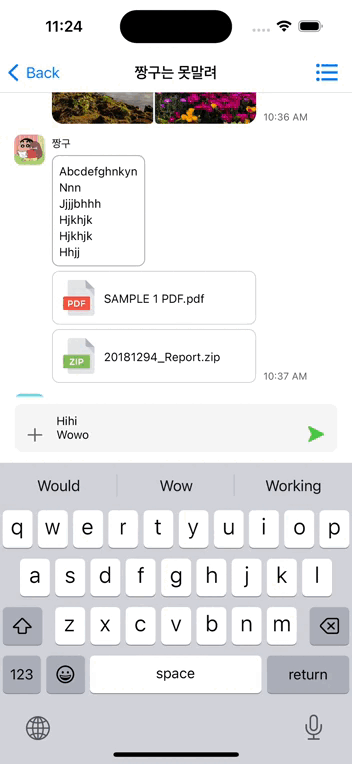
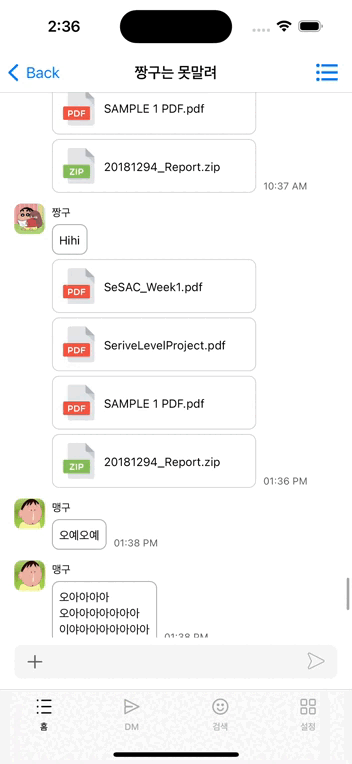
1. Chatting Input View
-
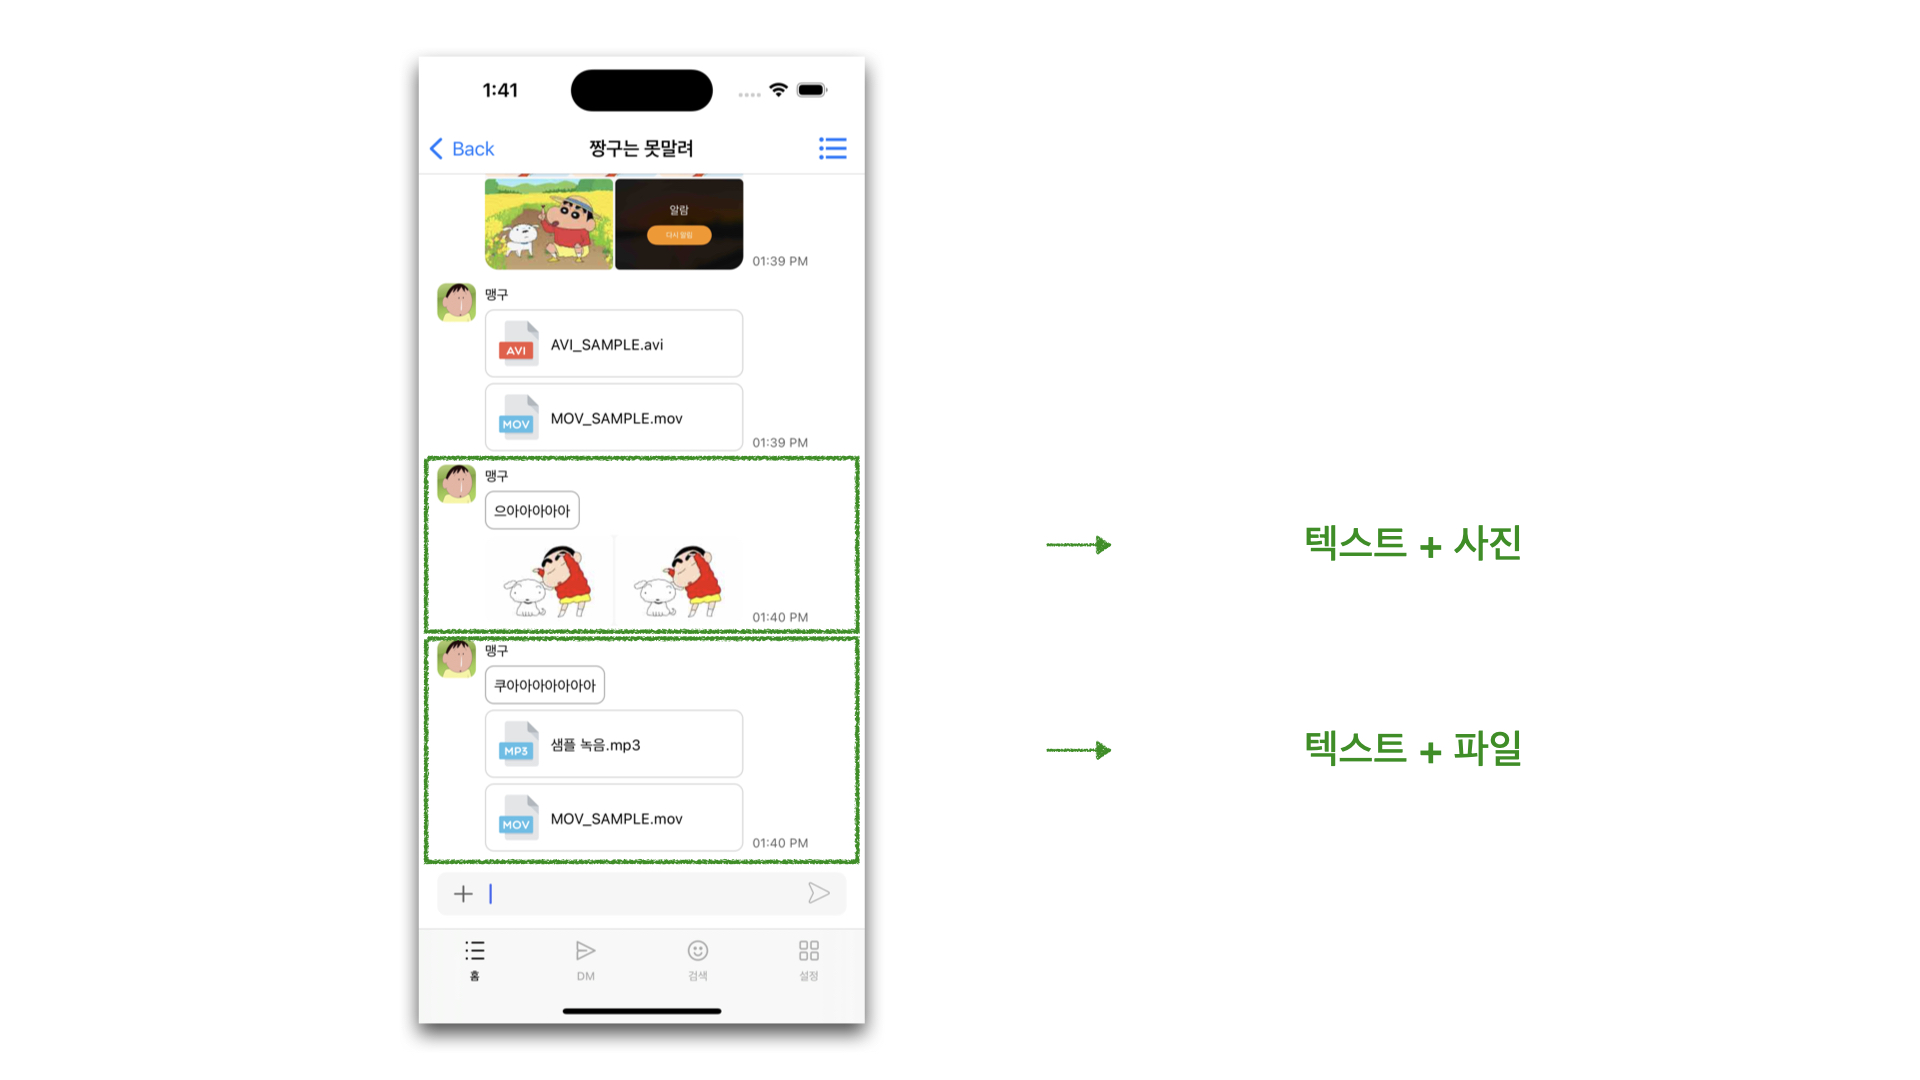
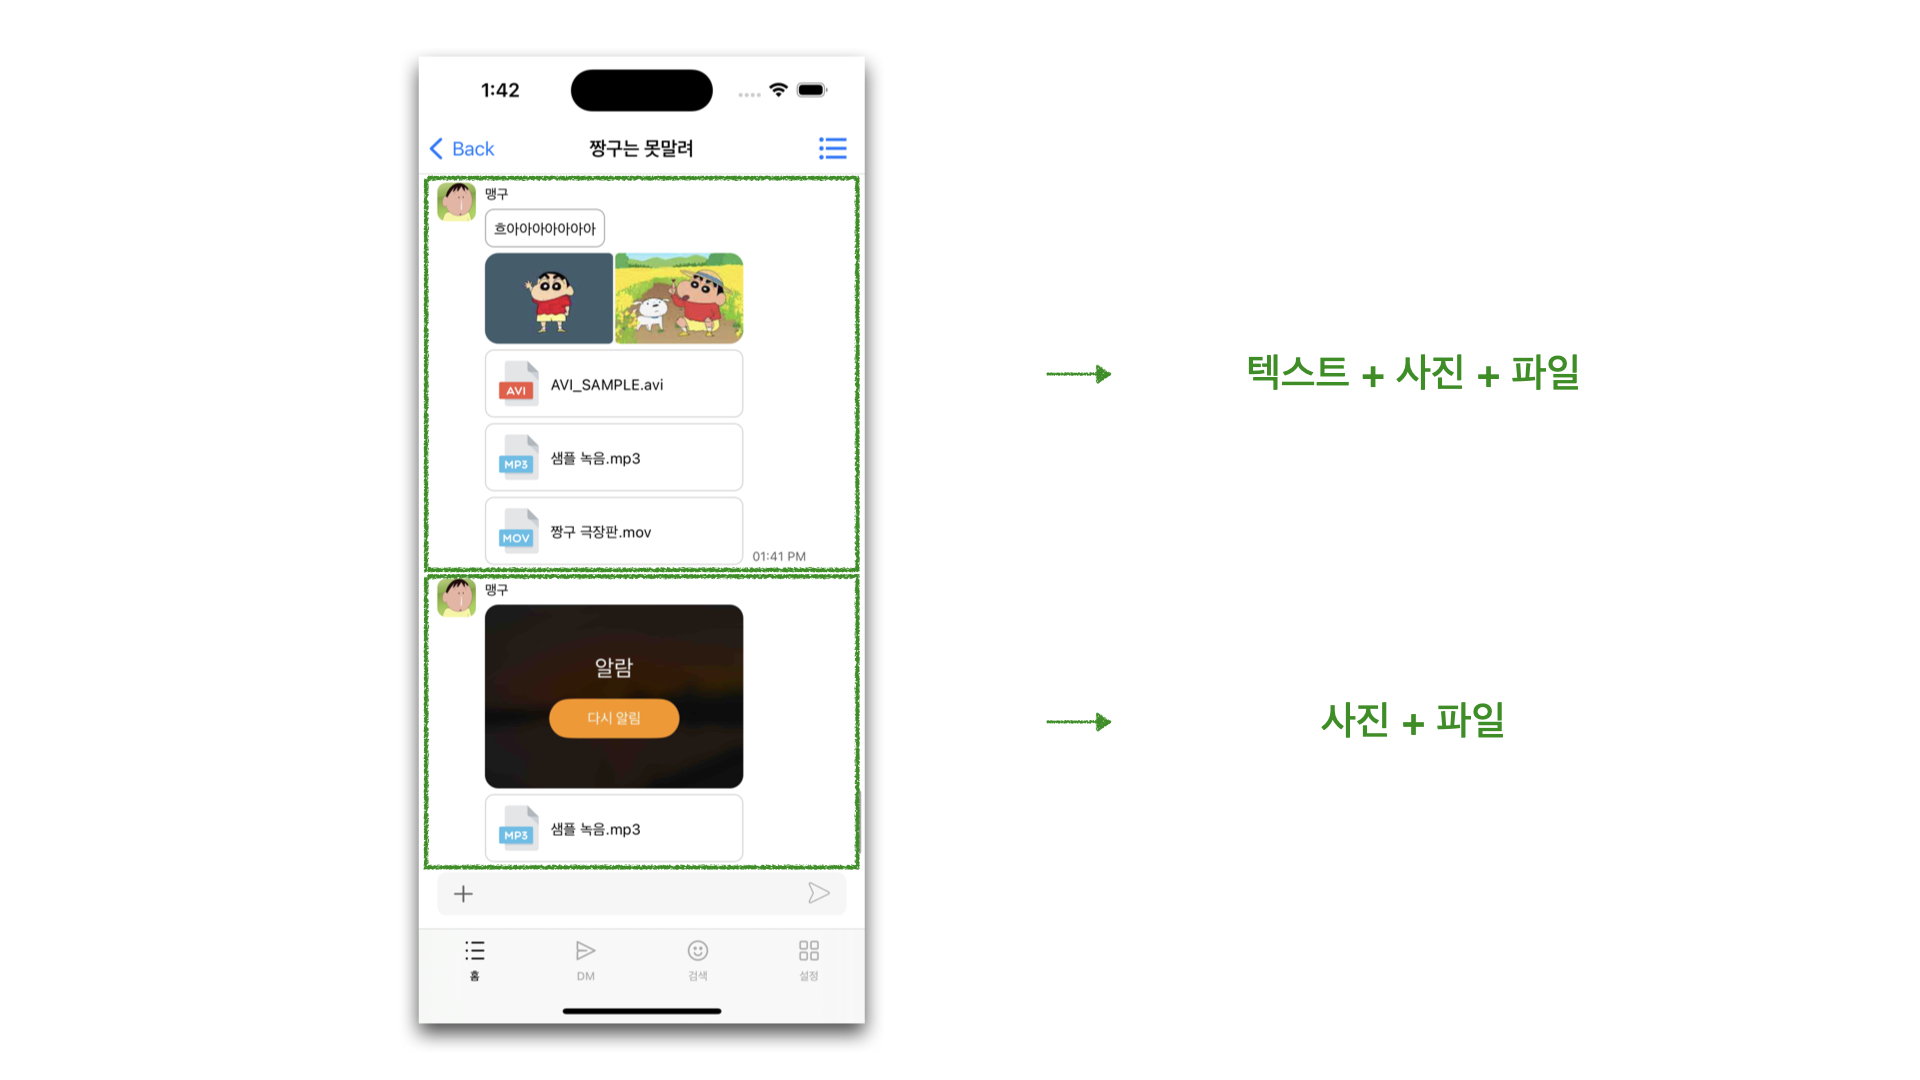
채팅으로 전송할 데이터를 입력하는 곳
텍스트, 이미지, 파일 전송 가능No data
- button disabledonly text
- 1 lineonly text
- 4 or more lineswith files 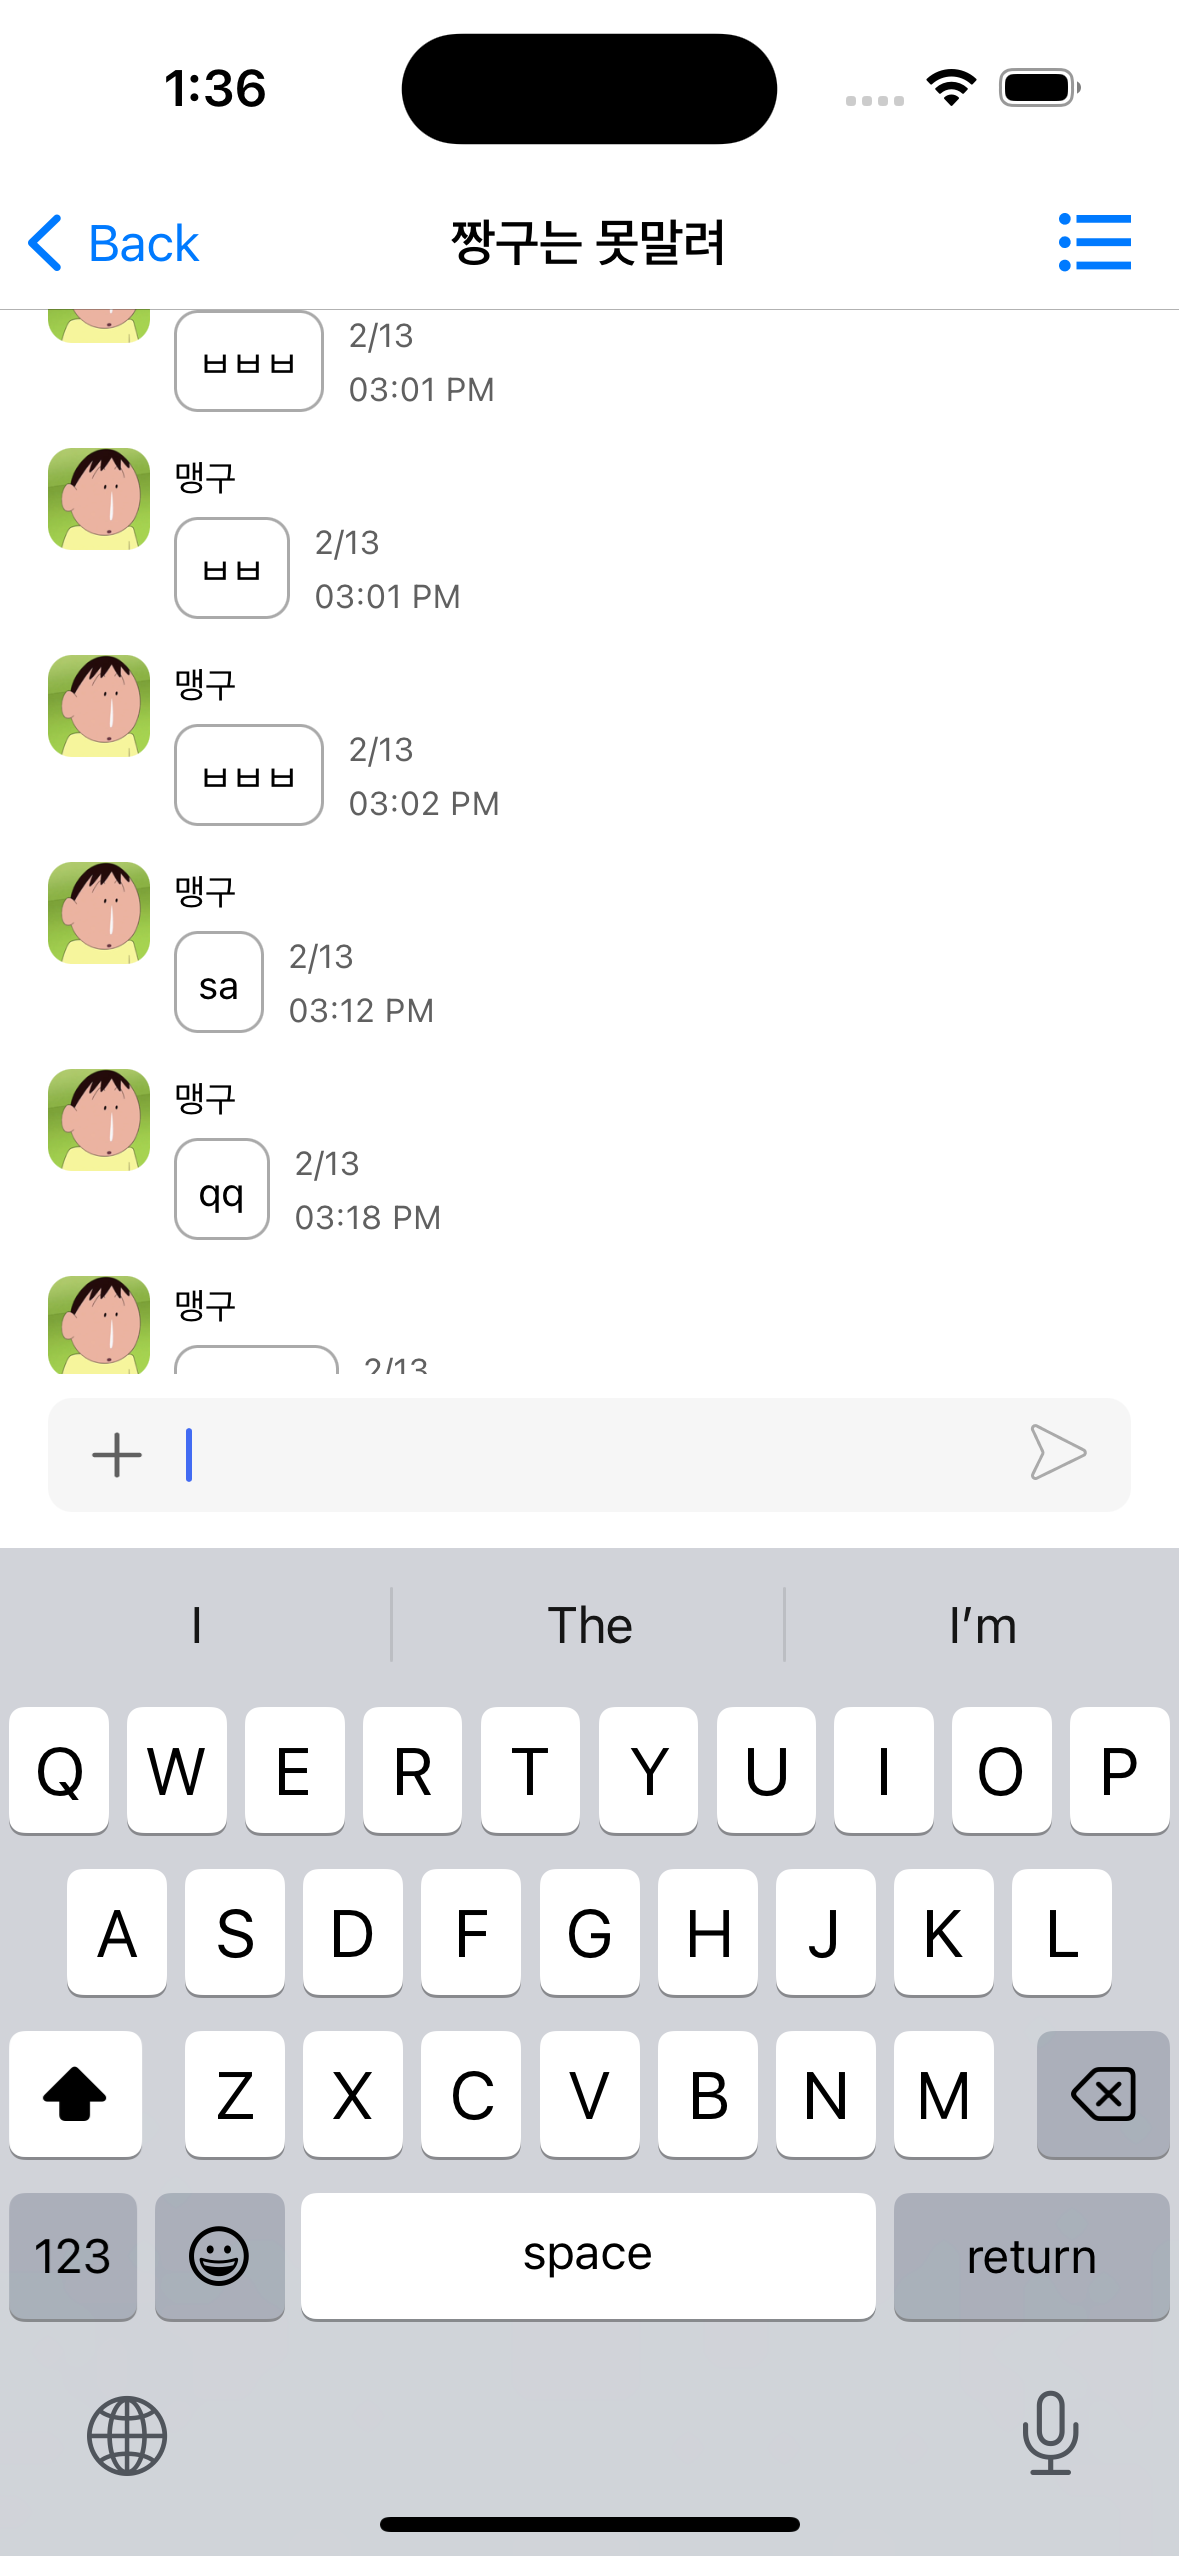
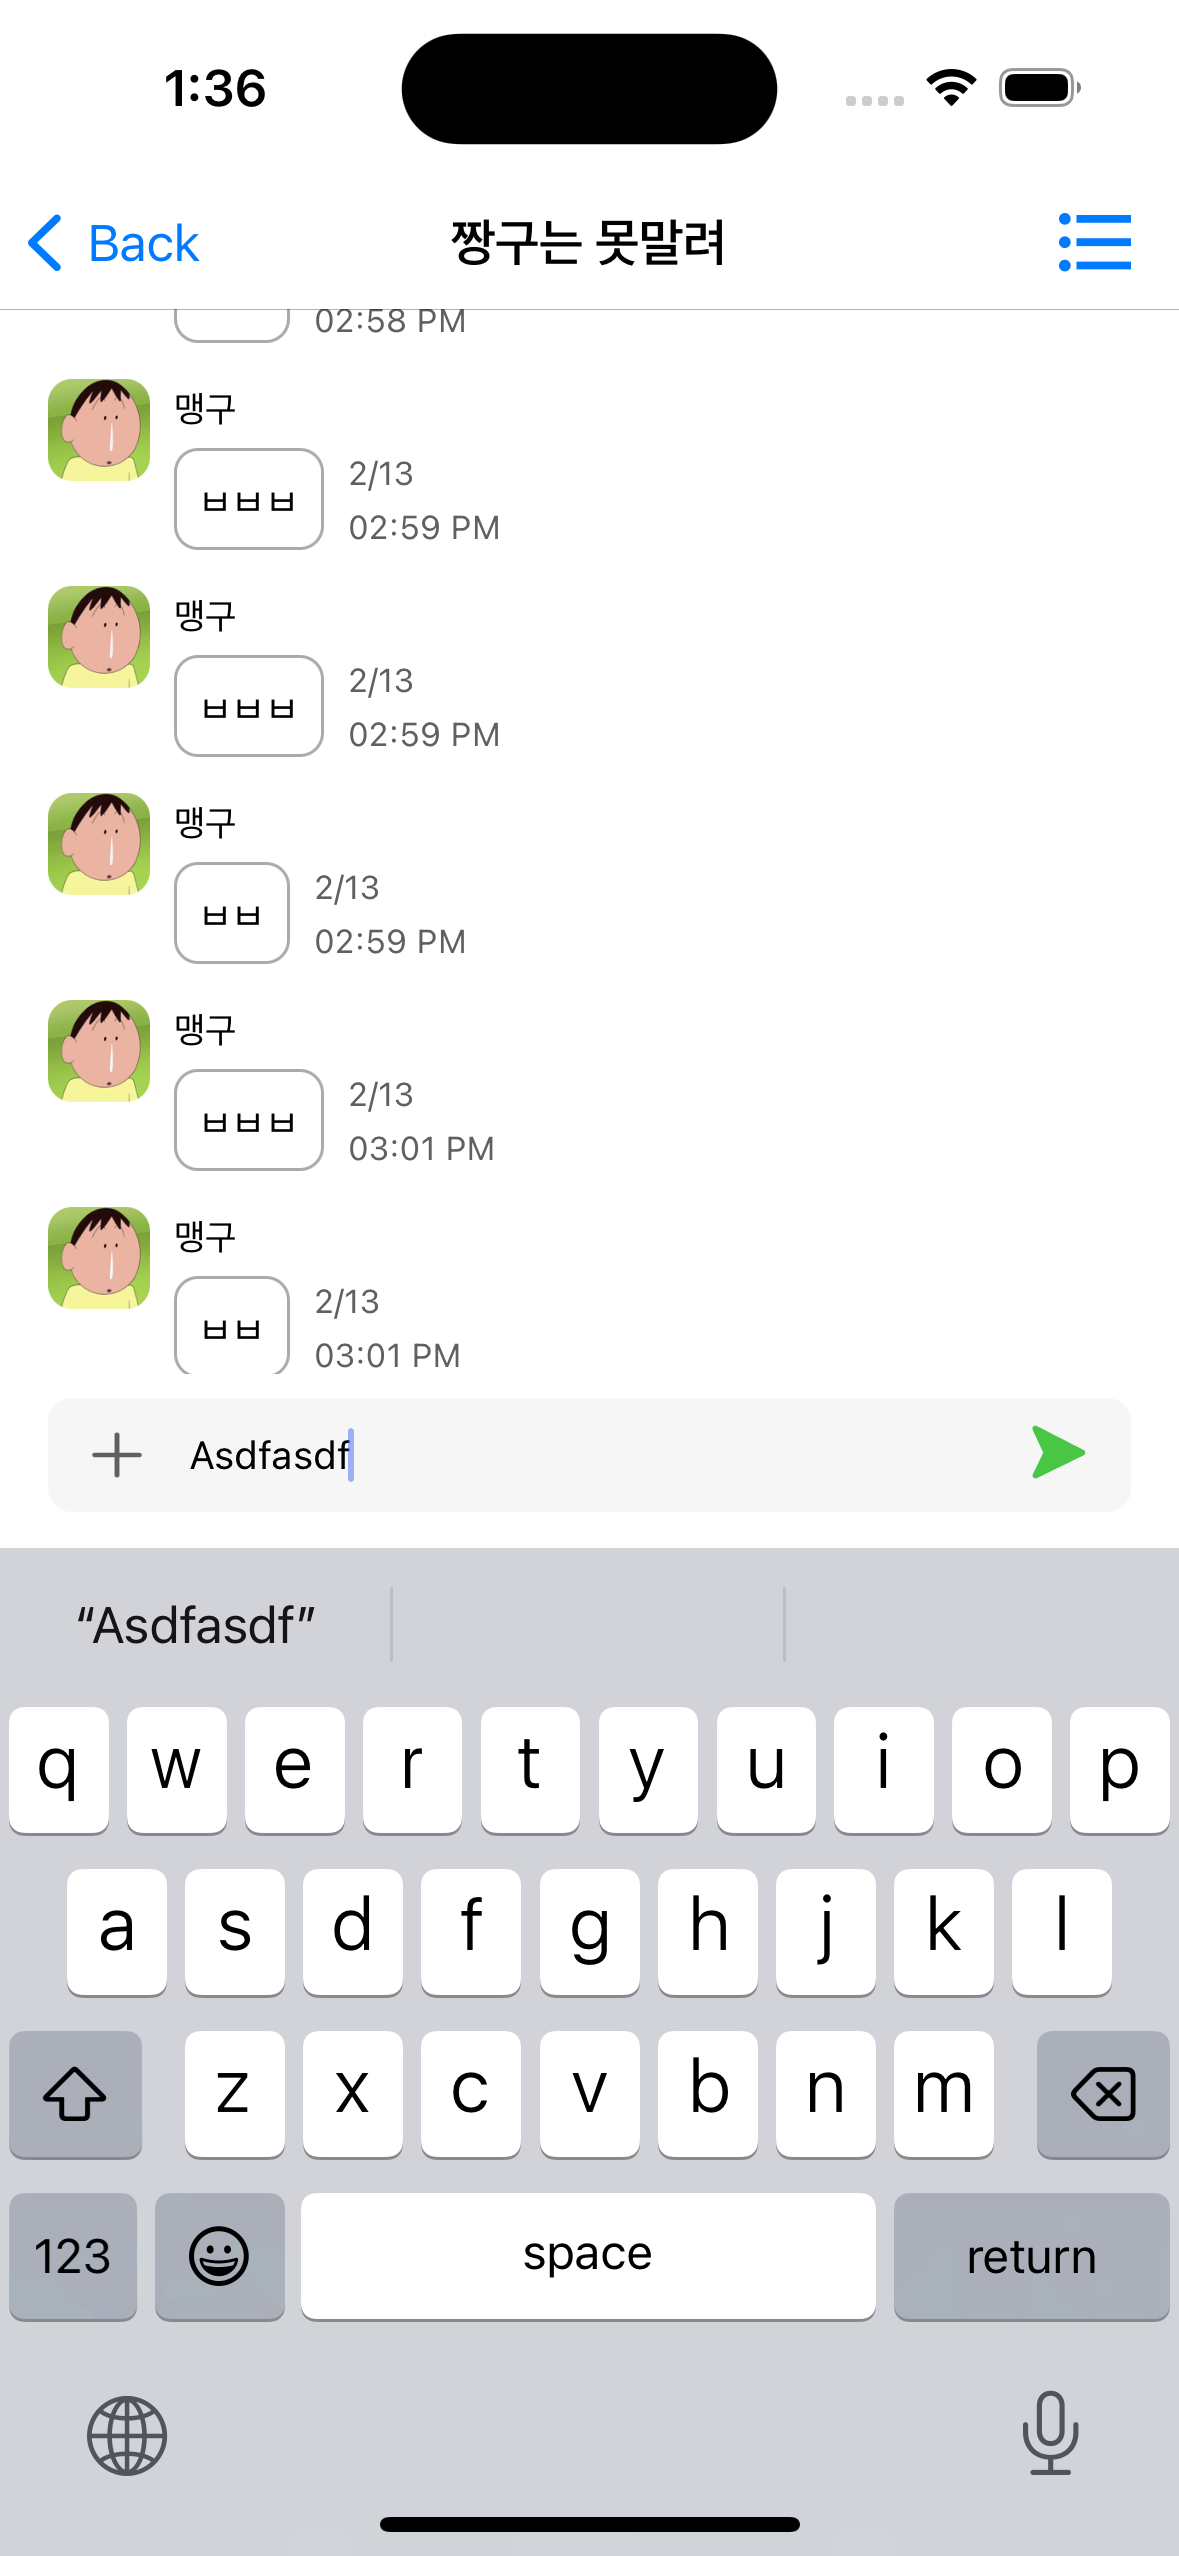
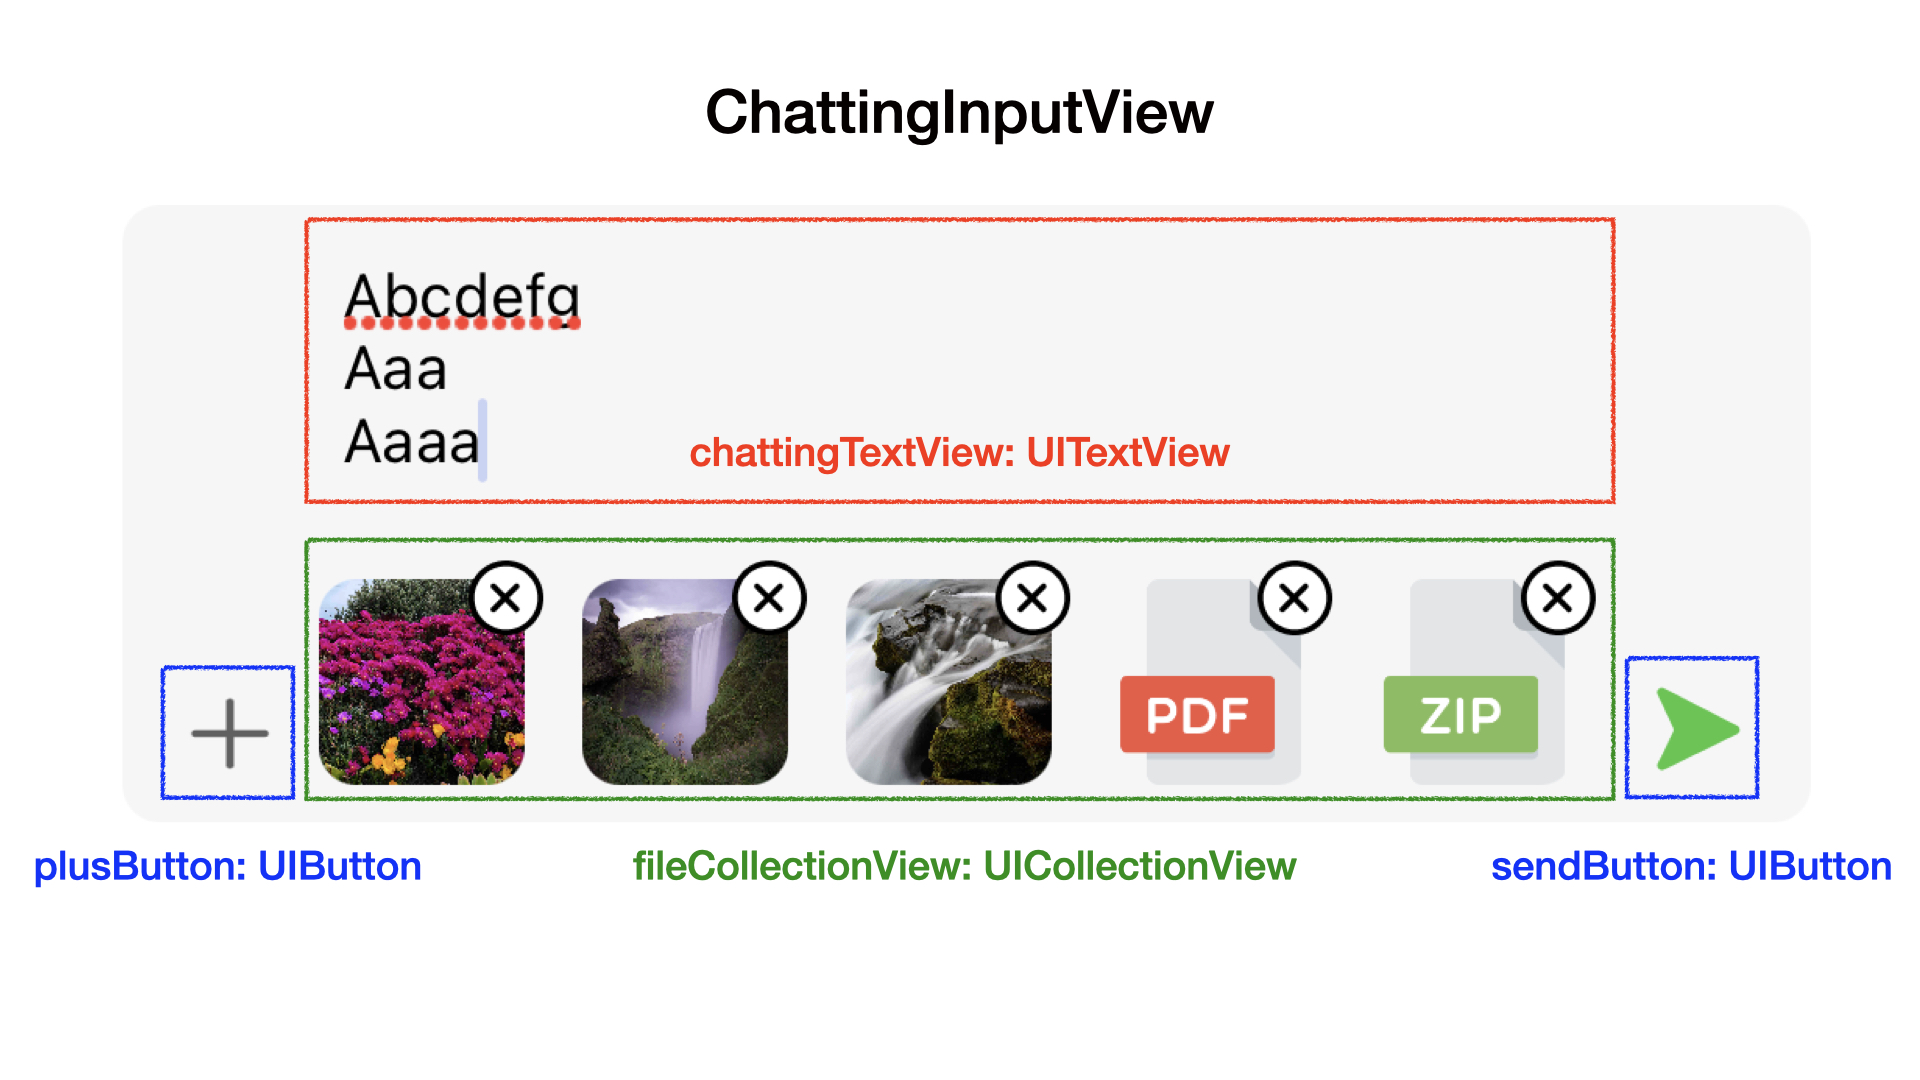
1. chattingTextView: UITextView
-
텍스트 3줄까지 화면에 보이게 구현. 4줄 이상부터 스크롤 가능
no file with files 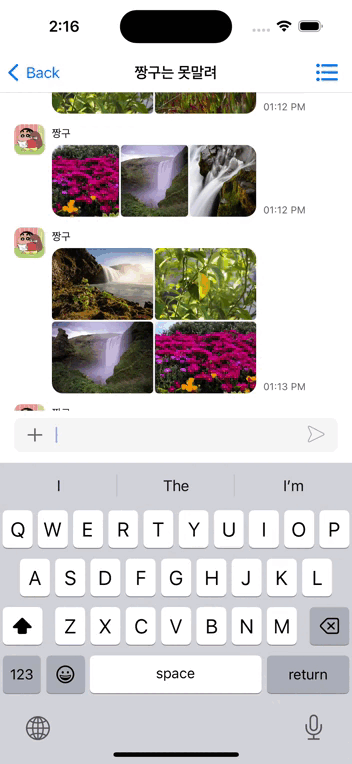
// View
let chattingTextView = {
    let view = ChannelChattingTextView()
    view.isScrollEnabled = false	// 초기 스크롤 불가능 (4줄 이상부터 가능)
    return view
}()

override setConstraints() {
    [
        chattingTextView.topAnchor.constraint(equalTo: self.topAnchor, constant: 3.2),
        chattingTextView.leadingAnchor.constraint(equalTo: plusButton.trailingAnchor, constant: 8),
        chattingTextView.trailingAnchor.constraint(equalTo: sendButton.leadingAnchor, constant: -8),
        chattingTextView.heightAnchor.constraint(equalToConstant: 31.6),
    ].forEach{ $0.isActive = true }

    // fileImageCollectionView의 유무에 따라 bottom Layout 결정
    chattingTextView.bottomAnchor.constraint(
        equalTo: self.bottomAnchor, constant: -3.2
    ).isActive = fileImageCollectionView.isHidden
}


// VC
// TextView
extension VC: UITextViewDelegate {

    func textViewDidChange(_ textView: UITextView) {

        let size = CGSize(width: view.frame.width, height: .infinity)
        let estimatedSize = textView.sizeThatFits(size)

        // estimatedSize
        // 1줄일 때 31.6
        // 2줄일 때 47.3
        // 3줄일 때 62.6

        if estimatedSize.height > 65 {
            textView.isScrollEnabled = true
            return
        } else {
            textView.isScrollEnabled = false

            // 레이아웃 중 height 수정
            textView.constraints.forEach { constraint in
                if constraint.firstAttribute == .height {
                    constraint.constant = estimatedSize.height
                }
            }
        }
    }
}
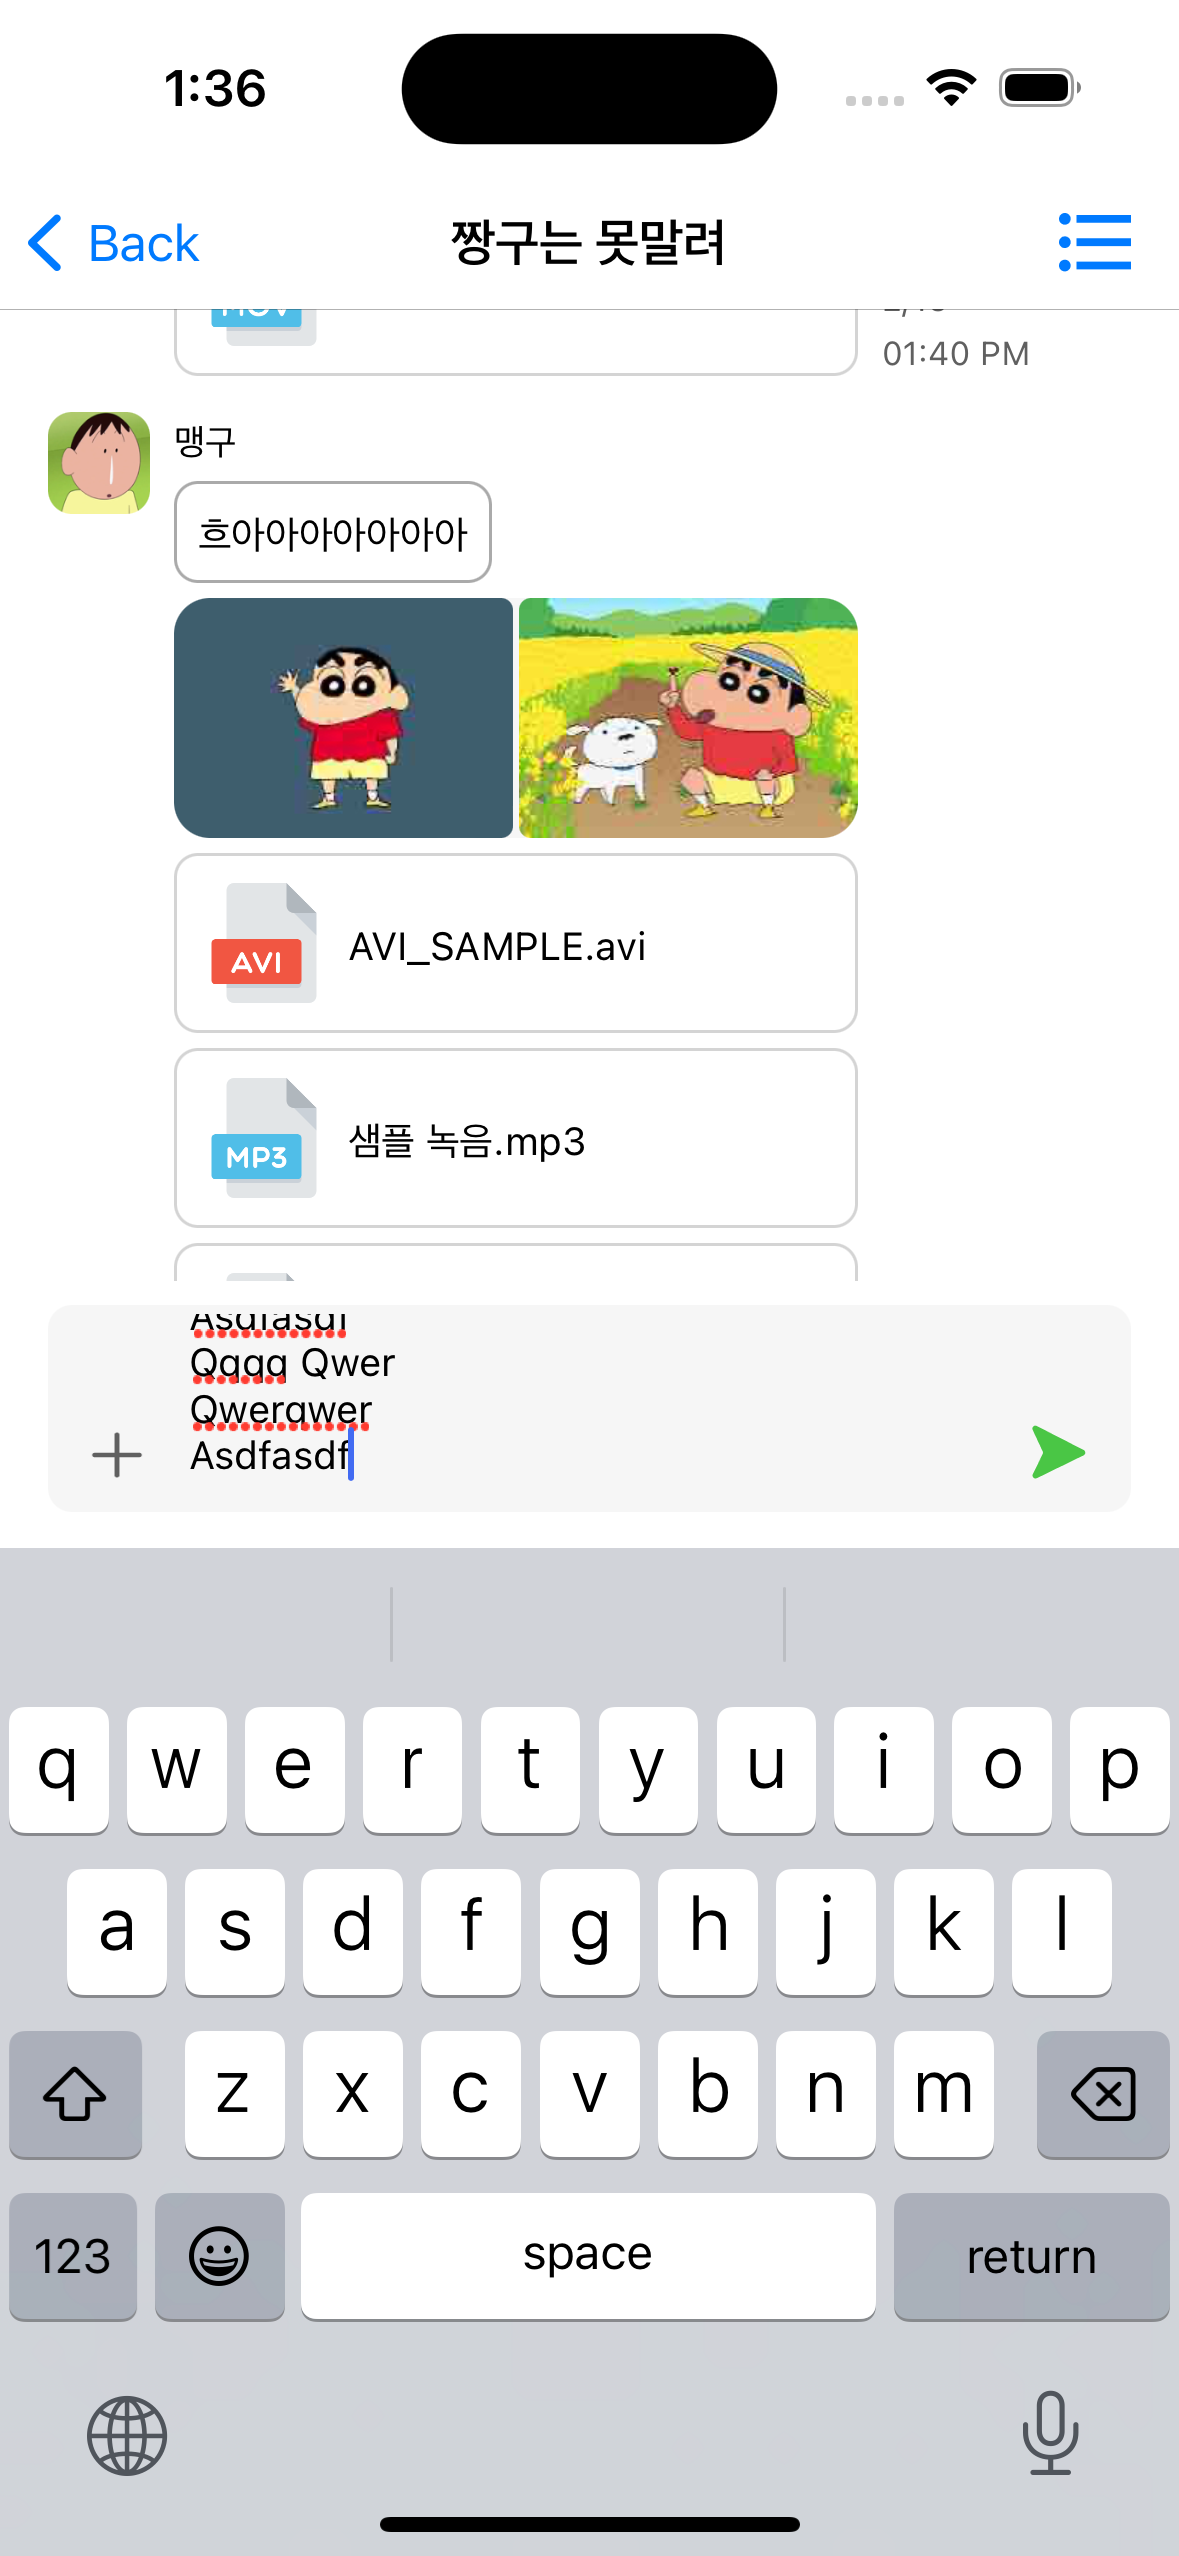
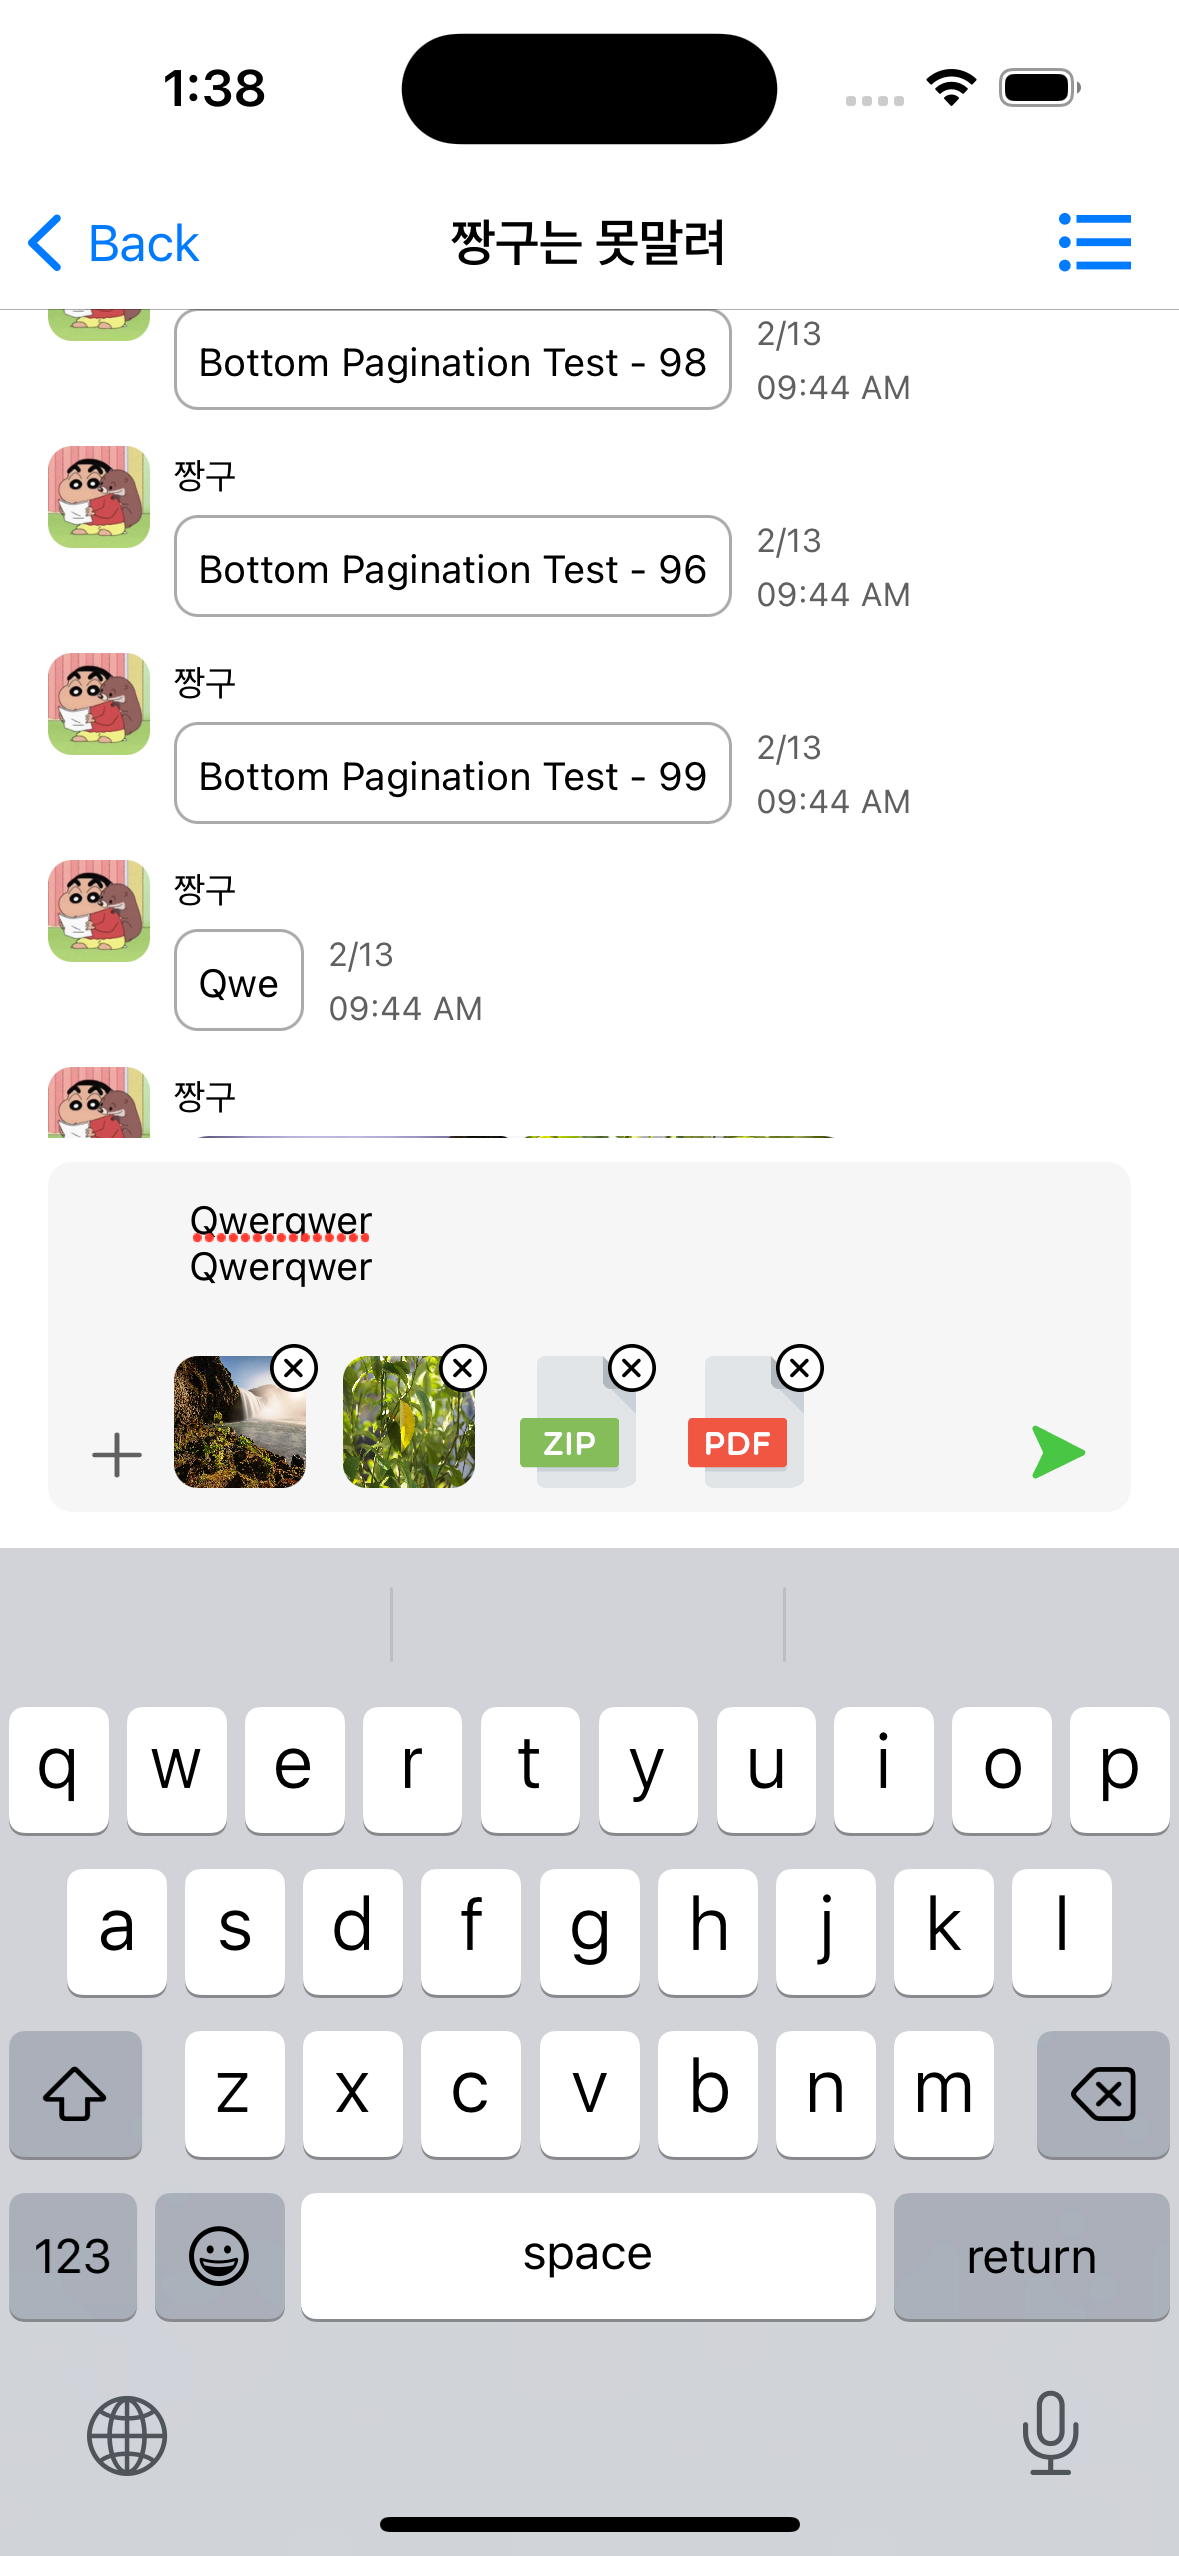
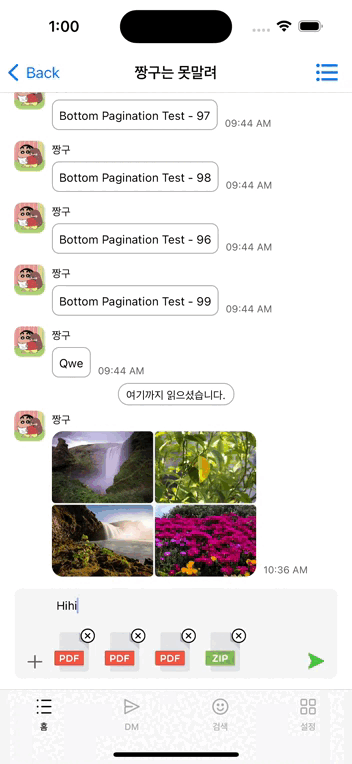
2. fileCollectionView
- 전송할 이미지 또는 파일 표시
- 이미지(.jpeg, .png, .jpg)는 썸네일 표시,
파일(.pdf, .zip, .mp3, ...)은 아이콘 표시 - x 버튼 눌러서 삭제 가능
3. plusButton
-
전송할 이미지 또는 파일 추가
-
이미지, 파일 합 최대 5개 전송 가능
이미지 추가 파일 추가 둘 다 추가 + 삭제 
-
이미지 추가 : PHPicker
extension VC: PHPickerViewControllerDelegate {

    func showPHPicker() {
        var configuration = PHPickerConfiguration()

        configuration.selectionLimit = 5
        configuration.filter = .images

        let picker = PHPickerViewController(configuration: configuration)
        picker.delegate = self
        present(picker, animated: true)
    }

    func picker(_ picker: PHPickerViewController, didFinishPicking results: [PHPickerResult]) {

        if results.isEmpty { return }

        // 이미지 + 파일 합 최대 5개
        guard let curCnt = try? viewModel.fileData.value() else { return }
        let enableCnt = 5 - curCnt.count
        if results.count > enableCnt {
            // show alert
            return
        }

        // 선택한 순서에 맞춰서 넣어주기 위해 미리 size 맞춰서 배열 선언
        var imageArr = Array(
            repeating: FileDataModel(
                fileName: "image.jpeg",
                data: Data(),
                fileExtension: .jpeg
            ),
            count: results.count
        )

        // 비동기 작업의 종료 시점 파악하기 위해 DispatchGroup 활용
        var group = DispatchGroup()

        for (index, item) in results.enumerated() {
            group.enter()
            let itemProvider = item.itemProvider
            if itemProvider.canLoadObject(ofClass: UIImage.self) {
                itemProvider.loadObject(ofClass: UIImage.self) { [weak self] image , error  in

                    guard let image = image as? UIImage else { return }
                    guard let imageData = image.jpegData(compressionQuality: 0.01) else { return }
                    imageArr[index].data = imageData
                    group.leave()

                }
            }
        }
        picker.dismiss(animated: true)

        // 종료 시접에 VM 배열 업데이트
        group.notify(queue: .main) { [weak self] in
            guard var fileArr = try? self?.viewModel.fileData.value() else { return }
            fileArr.append(contentsOf: imageArr)
            self?.viewModel.fileData.onNext(fileArr)
        }

    }
}
-
파일 추가 : UIDocumentPicker
extension VC: UIDocumentPickerDelegate {

    func showDocumentPicker() {

        let picker = UIDocumentPickerViewController(
            forOpeningContentTypes: [.pdf, .gif, .avi, .zip, .text, .mp3, .movie],
            asCopy: true
        )

        picker.delegate = self
        picker.allowsMultipleSelection = true
        present(picker, animated: true)
    }

    func documentPicker(_ controller: UIDocumentPickerViewController, didPickDocumentsAt urls: [URL]) {

        // 이미지 + 파일 합 최대 5개
        guard let curCnt = try? viewModel.fileData.value() else { return }
        let enableCnt = 5 - curCnt.count
        if urls.count > enableCnt {
            // show alert
            return
        }

        // 배열에 넣어줄 타입으로 변환
        var dataArr: [FileDataModel] = []
        for url in urls {
            // url : FileManager 주소
            if let fileName = url.absoluteString.extractFileName(),
               let fileExtension = url.absoluteString.fileExtension() {
                dataArr.append(
                    FileDataModel(
                        fileName: fileName,
                        data: (try? Data(contentsOf: url)) ?? Data(),
                        fileExtension: fileExtension
                    )
                )
            }
        }

        // VM 배열 업데이트
        guard var fileArr = try? viewModel.fileData.value() else { return }
        fileArr.append(contentsOf: dataArr)
        viewModel.fileData.onNext(fileArr)
    }

}
4. sendButton
- 텍스트 또는 이미지, 파일이 있을 때 버튼 활성화 (빈 값 전송 불가능)
- 채팅 데이터 전송 로직 실행
5. keyboard appear / disappear
-
기기 키보드가 올라오고 내려감에 따라 테이블뷰의 시점을 맞춰줌
-
최대한 상수를 쓰고 싶지 않았지만,, 일단 구현을 최우선으로 둠..
기기 대응 시 코드 수정 필요함 -
추후 구현해보고 싶은 점 : 카카오톡, 슬랙처럼 테이블뷰의 스크롤에 키보드 스크롤이 같이 적용되는 UI
no data with data 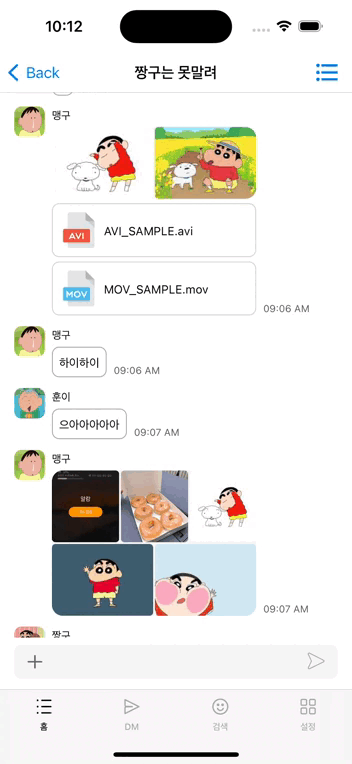
extension VC {
    // observer 등록
    private func startObservingKeyboard() {
        let notificationCenter = NotificationCenter.default

        notificationCenter.addObserver(
            forName: UIResponder.keyboardWillShowNotification,
            object: nil,
            queue: nil,
            using: keyboardWillAppear
        )


        notificationCenter.addObserver(
            forName: UIResponder.keyboardWillHideNotification,
            object: nil,
            queue: nil,
            using: keyboardWillDisappear
        )
    }

    // keyboard appear
    private func keyboardWillAppear(_ notification: Notification) {
        print("*** keyboardWillAppear ***")

        let key = UIResponder.keyboardFrameEndUserInfoKey
        guard let keyboardFrame = notification.userInfo?[key] as? CGRect else { return }

        // 스크롤을 이동할 높이
        let height = keyboardFrame.height - 83

        let currentOffset = mainView.chattingTableView.contentOffset.y
        let newOffset = max(currentOffset + height, 0)

        // 키보드가 움직이는 시간 0.25 second (Keyboard Responder로 확인 가능)
        UIView.animate(withDuration: 0.25) {
            self.mainView.chattingTableView.setContentOffset(CGPoint(x: 0, y: newOffset), animated: false)
        }
    }

    private func keyboardWillDisappear(_ notification: Notification) {
        print("*** keyboardWillDisappear ***")

        let key = UIResponder.keyboardFrameEndUserInfoKey
        guard let keyboardFrame = notification.userInfo?[key] as? CGRect else { return }

        // 이슈 : keyboardFrame.height가 75 정도로 나온다.
        // "일단" keyboardWillAppear에서 확인한 값 상수로 선언

        let keyboardHeight: CGFloat = 336

        let height = keyboardHeight - 83

        let currentOffset = mainView.chattingTableView.contentOffset.y

        let newOffset = currentOffset - height

        UIView.animate(withDuration: 0.25) {
            self.mainView.chattingTableView.setContentOffset(CGPoint(x: 0, y: newOffset), animated: false)
        }
    }
}
-
참고 레퍼런스 : 카카오톡, 슬랙, 잔디
카카오톡 슬랙 잔디 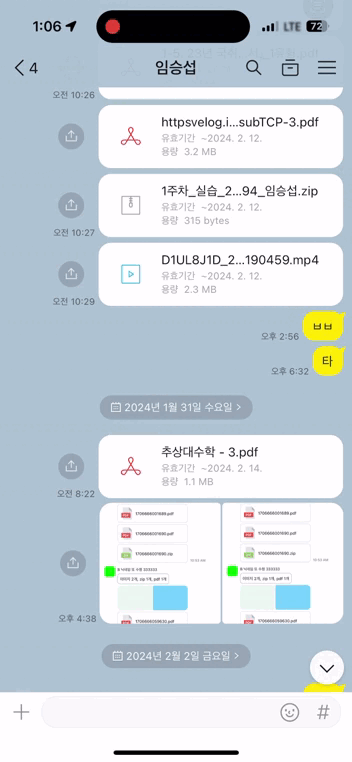
* 테이블뷰 스크롤 + 키보드 스크롤 맞물림 * 테이블뷰 스크롤 + 키보드 스크롤 맞물림 * 테이블뷰 스크롤과 키보드 상관 x * 테이블뷰 탭 시
키보드 disappear
+ 스크롤 시점 같이 이동 o* 테이블뷰 탭 시
상세페이지 이동
키보드 상관 x* 테이블뷰 탭 시
키보드 disappear
+ 스크롤 시점 이동 x
2. Chatting TableView Cell
- 채팅을 통해 받을 수 있는 데이터는 크게 다음과 같다.
1. 텍스트
2. 사진
3. 파일
각 데이터의 유무에 따라 셀 디자인이 달라진다. - stackView 활용
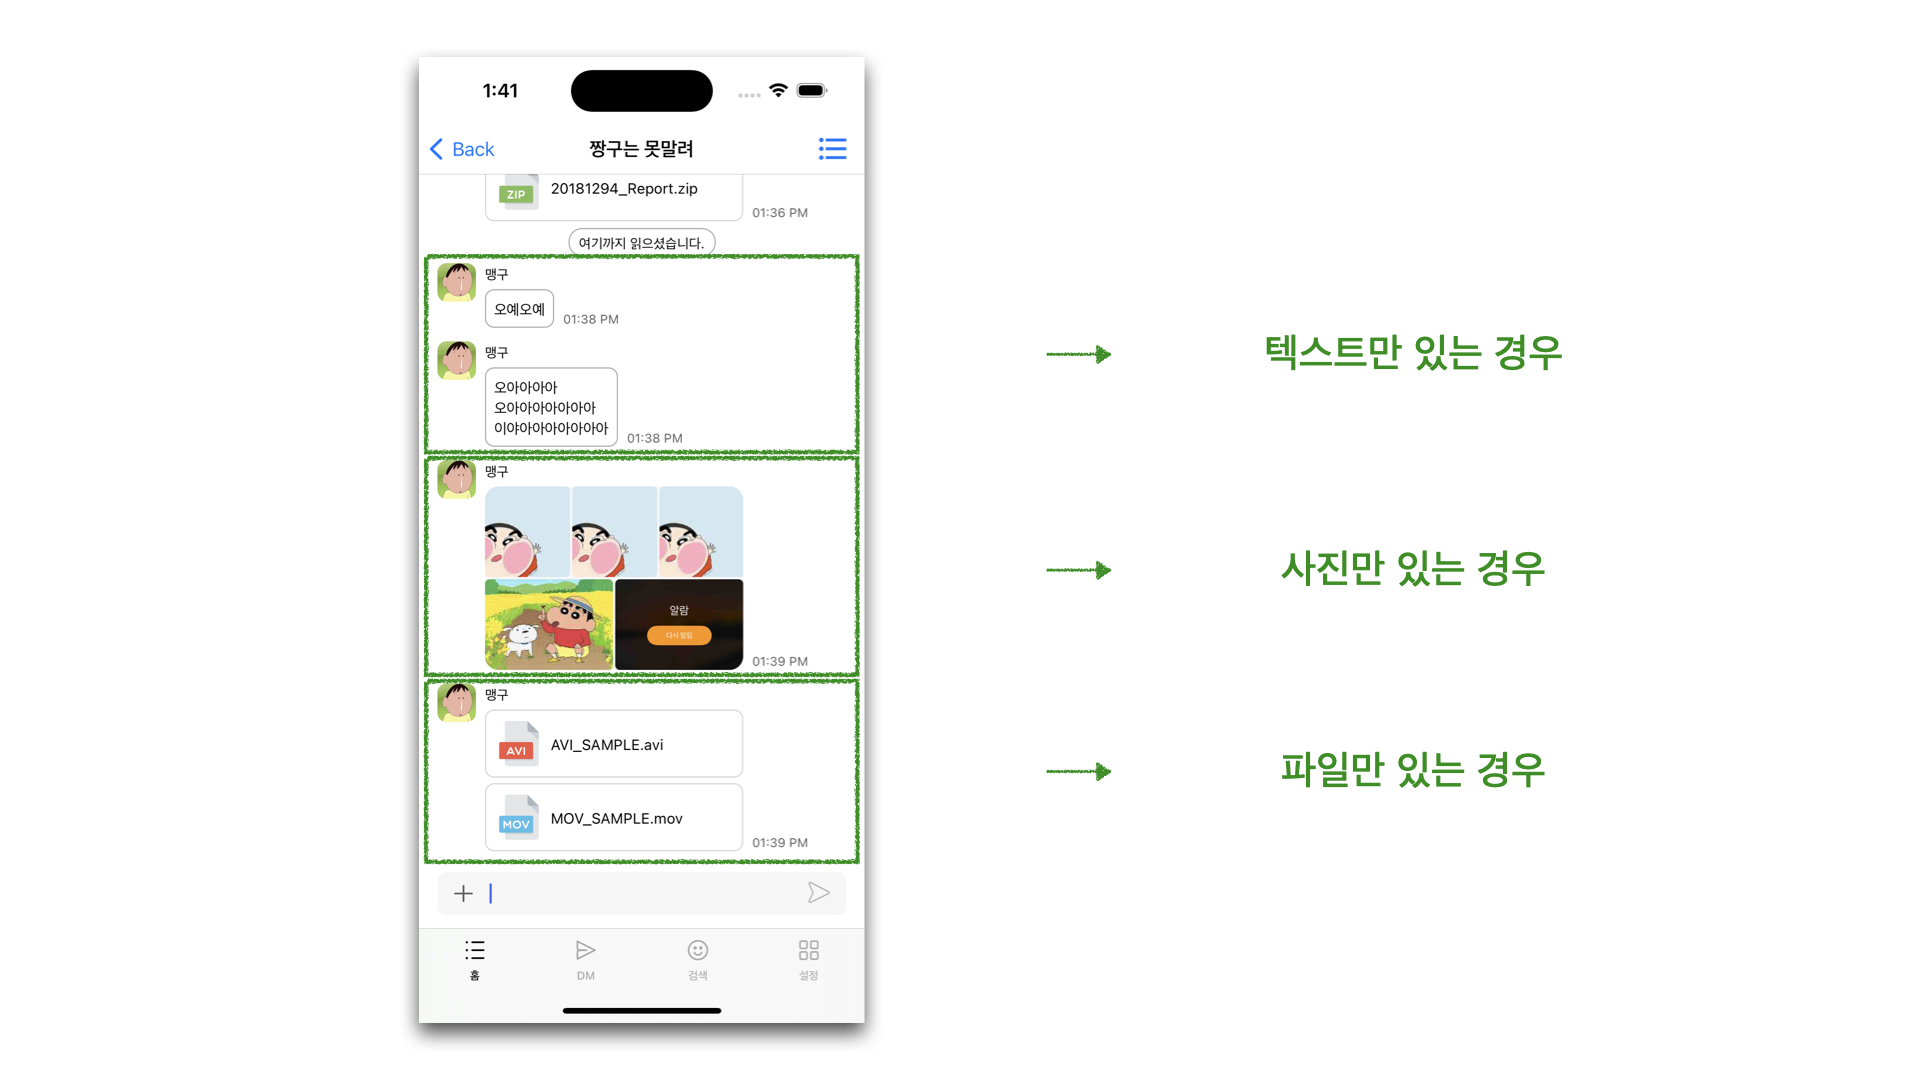
1. 텍스트 - UILabel
- 텍스트가 써있는 UILabel과, 테두리 역할을 하는 UIView를 만들어서 구현
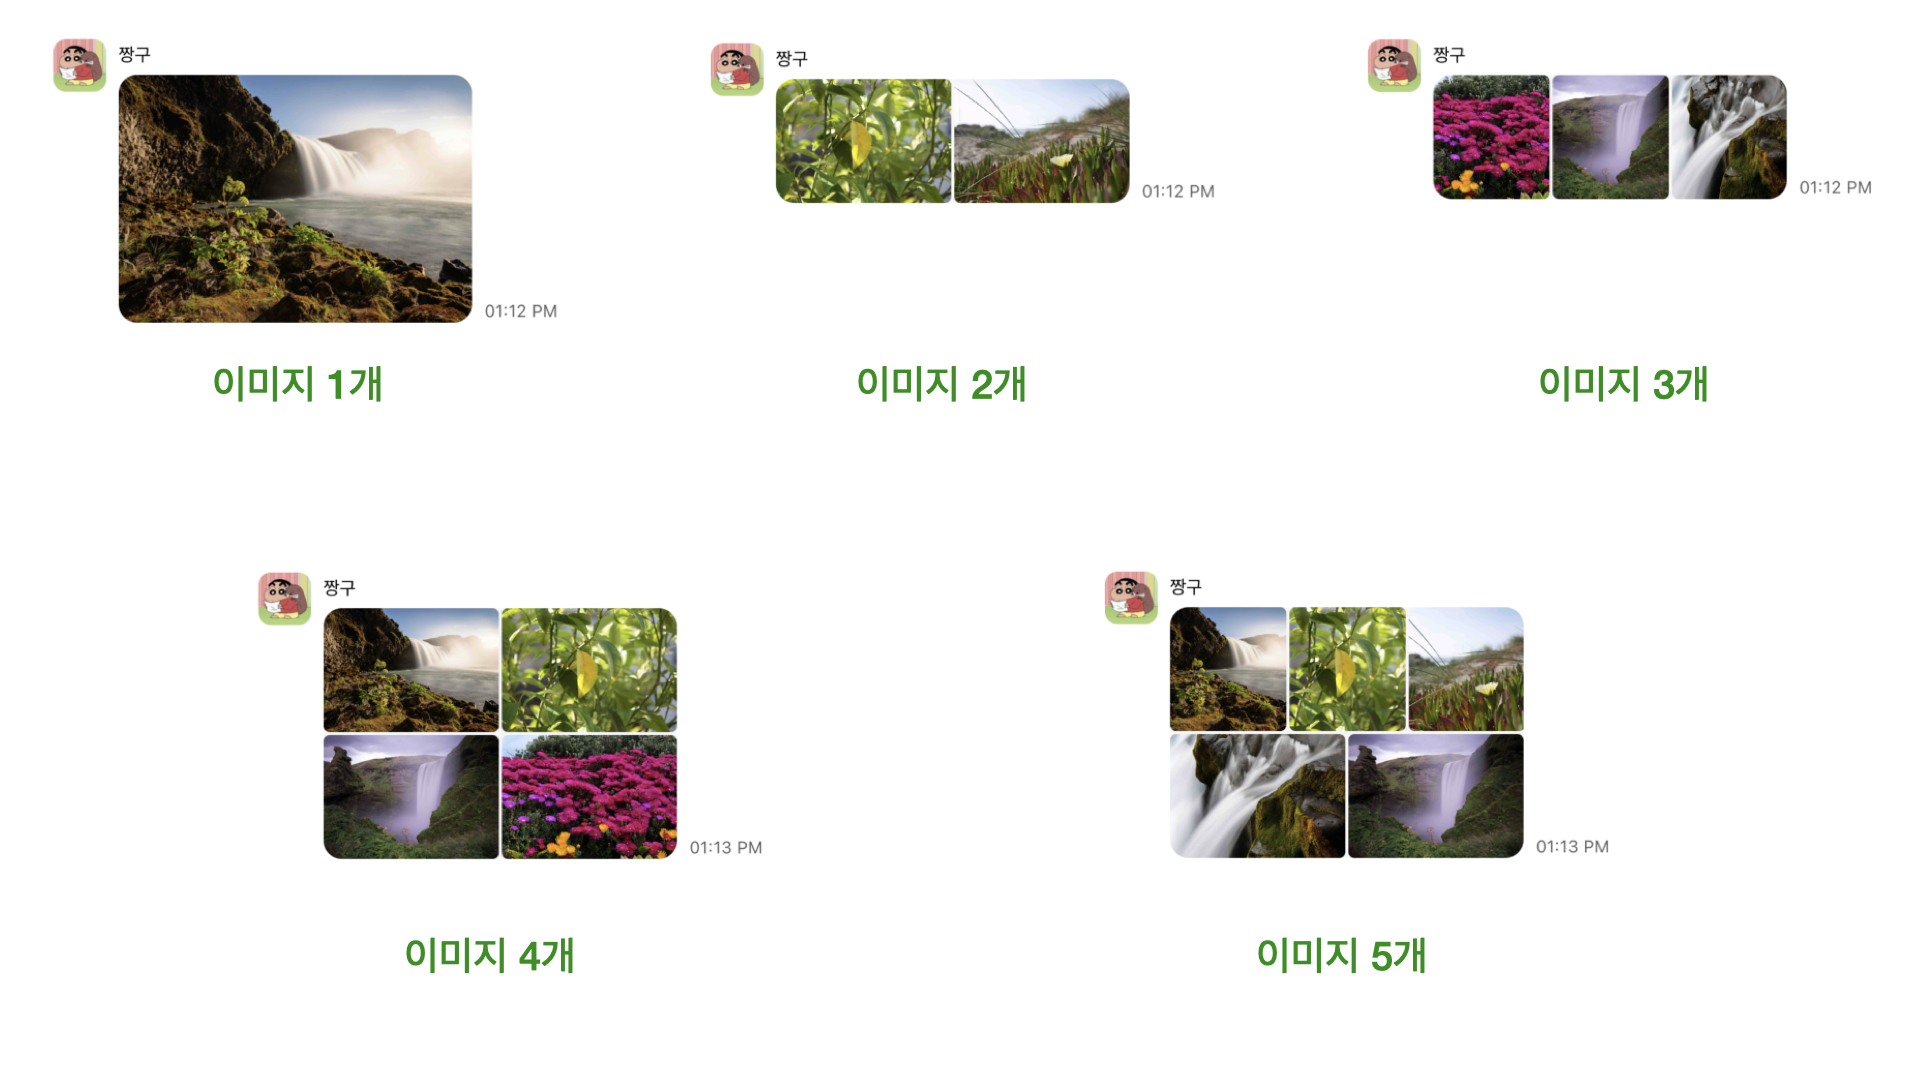
2. 이미지 - ChannelChattingCellContentImageSetView
- 이미지 개수는 최대 5장까지 가능하며, 개수에 따라 레이아웃이 다르다.
- 뷰 내에 imageView를 미리 5개 만들어두고, 들어오는 이미지 배열의 count에 따라 다른 레이아웃 함수를 실행한다.
3. 파일 - FileContentView
- 파일 개수 역시 최대 5개까지 가능하다.
- 미리 인스턴스 5개 만들어두고,
stackView.addArrangedSubView(view) - 파일 개수에 따라 Hidden 처리
- 파일 확장자에 따라 다른 아이콘 (
UIImageView) + 파일 이름 (UILabel)
-
뷰 클릭 시 UIDocumentInteractionController 이용해서 preview 화면 - delegate pattern 활용
.pdf .zip 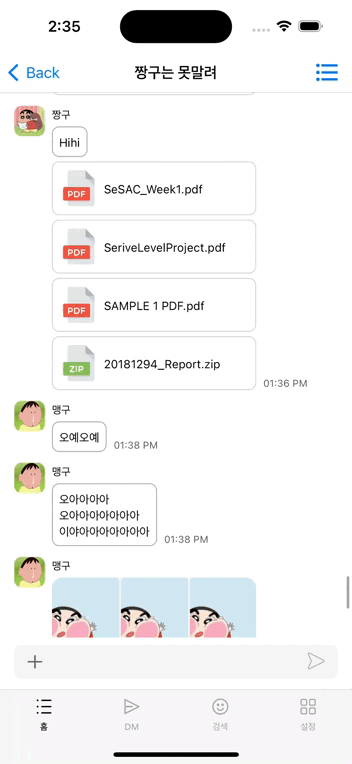
// VC
func downloadAndOpenFile(_ fileURL: String) {
    // fileURL : 서버에 저장된 파일 주소

    // 1. 네트워크 통신으로 파일 Data 다운
    NetworkManager.shared.requestCompletionData(
        api: .downLoadFile(fileURL)) { response in
            switch response {
            case .success(let data):
                print(data)

                // 마지막 '/' 기준 뒤 문자열이 파일 이름
                guard let fileName = fileURL.extractFileName() else { return }

                // Document 내부 경로 설정
                let fileManager = FileManager()
                let documentPath = fileManager.urls(for: .documentDirectory, in: .userDomainMask).first!.appendingPathComponent("\(fileName)")

                do {
                    try data.write(to: documentPath)
                } catch {
                    print(error)
                }

                // 파일 오픈
                DispatchQueue.main.async {
                    self.interaction = UIDocumentInteractionController(url: documentPath)
                    self.interaction?.delegate = self
                    self.interaction?.presentPreview(animated: true)
                }

            case .failure(let networkError):
                print("에러 발생 : \(networkError)")
            }
        }
}
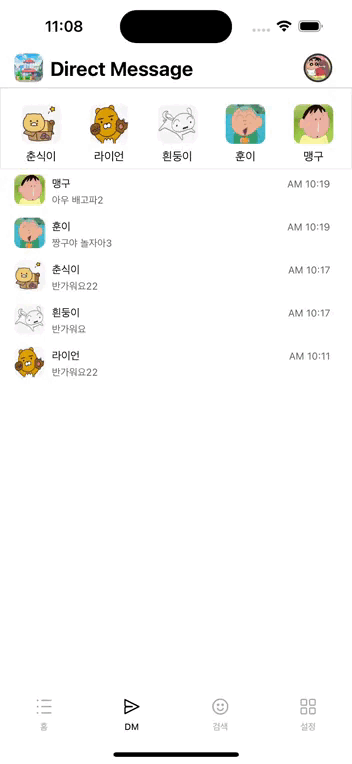
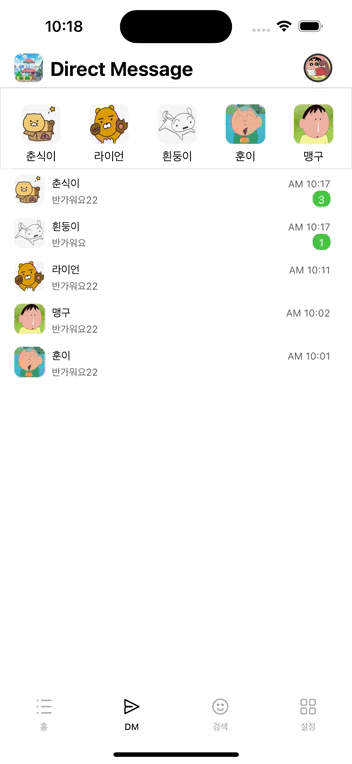
3. Update Chatting List View
- 채팅 리스트들을 볼 수 있는 화면에서도 실시간 채팅에 대한 대응을 해주어야 한다. (가장 최신 채팅 내용이 화면에 나타나야 한다)
- 하지만 그렇다고 모든 채팅방에 대해 소켓을 열어두고, 실시간 채팅에 대한 응답을 처리하는 건 비효율적이다.
- 그래서 push notification 을 이용했다.
- push로 받은 데이터를 확인해서, 실시간으로 화면에 최신 채팅을 보여준다
- 이 과정에서 자연스러운 애니메이션을 보여주기 위해 RxDataSource의 RxTableViewSectionedAnimatedDataSource를 이용했다.
| 기본 Chatting List View | 실시간 채팅이 왔을 때 대응 |
|---|---|
 |  |
-
RxDataSource tableView 구현// VC func bind() { // DMListTableView - RxDataSource let dataSource = RxTableViewSectionedAnimatedDataSource<DMListSectionData>( animationConfiguration: AnimationConfiguration( insertAnimation: .fade, reloadAnimation: .fade, deleteAnimation: .fade ) ) { data, tableView, indexPath, item in guard let cell = tableView.dequeueReusableCell(withIdentifier: DMListTableViewCell.description(), for: indexPath) as? DMListTableViewCell else { return UITableViewCell() } cell.designCell(item) return cell } output.dmRoomSectionsArr .bind(to: mainView.dmListTableView.rx.items(dataSource: dataSource)) .disposed(by: disposeBag) } // VM let dmRoomSectionArr = BehaviorSubject<[DMListSectionData]>(value: []) // 타입은 배열이긴 하지만, 실질적인 배열의 크기는 1 // Model struct DMListSectionData { var header: String var items: [Item] } extension DMListSectionData: AnimatableSectionModelType { typealias Item = DMChattingCellInfoModel typealias Identity = String var identity: String { return header } init(original: DMListSectionData, items: [DMChattingCellInfoModel]) { self = original self.items = items } } struct DMChattingCellInfoModel { let roomId: Int let userInfo: UserInfoModel var lastContent: String var lastDate: Date var unreadCount: Int }
-
Push Notification 응답// AppDelegate func userNotificationCenter(_ center: UNUserNotificationCenter, willPresent notification: UNNotification, withCompletionHandler completionHandler: @escaping (UNNotificationPresentationOptions) -> Void) { // 포그라운드 상태에서 알림 받기 guard let userInfo = notification.request.content.userInfo as? [String: Any] else { return } /* ... */ // 2. 디엠 채팅인 경우 if let dmChatInfo: PushDMChattingDTO = self.decodingData(userInfo: userInfo) { // 디코딩 메서드 따로 구현 // 현재 보고 있는 채팅방은 아닌지 확인 (현재 접속한 채팅방의 채팅은 푸시 알림 x) if !self.checkCurrentDMRoom(chatInfo: dmChatInfo) { // 푸시 알림 completionHandler([.list, .badge, .sound, .banner]) // NotificationCenter 이용해서 DMListView에 새로운 채팅이 왔음을 알림 let userInfo: [String: Any] = [ "workspaceId": Int(dmChatInfo.workspace_id)!, "opponentId": Int(dmChatInfo.opponent_id)!, "content": dmChatInfo.aps.alert.body, "opponentName": dmChatInfo.aps.alert.title ] NotificationCenter.default.post( name: Notification.Name("receiveDMChattingPushNotification"), object: nil, userInfo: userInfo ) } } } // VM func transform(_ input: Input) -> Output { /* ... */ // Observer 등록 NotificationCenter.default.addObserver( self, selector: #selector(receiveDMChattingPushNotification), name: Notification.Name("receiveDMChattingPushNotification"), object: nil ) } @objc private func receiveDMChattingPushNotification(_ notification: Notification) { if let userInfo = notification.userInfo, let opponentId = userInfo["opponentId"] as? Int, let workspaceId = userInfo["workspaceId"] as? Int, let content = userInfo["content"] as? String, let opponentName = userInfo["opponentName"] as? String { // VM에서 가지고 있는 dmRoomSectionArr 중, 해당되는 채팅방을 찾고, (opponent id 이용) // 해당 채팅을 배열에서 맨 앞으로 옮긴다 (remove -> insert) do { var newArr = try self.dmRoomSectionsArr.value() // 새롭게 onNext로 넣어줄 배열 var targetIndex: Int = 0 // 해당되는 채팅의 index for i in 0..<newArr[0].items.count { if newArr[0].items[i].userInfo.userId == opponentId { targetIndex = i break } } // 새롭게 업데이트될 채팅방 정보 var newItem = newArr[0].items.remove(at: targetIndex) newItem.lastDate = Date() newItem.lastContent = content newItem.unreadCount += 1 // 1. remove 후 onNext (애니메이션 때문) self.dmRoomSectionsArr.onNext(newArr) // 2. insert 후 onNext (애니메이션 때문) newArr[0].items.insert(newItem, at: 0) self.dmRoomSectionsArr.onNext(newArr) } catch { print("Error") } } }

감사합니다~ 많은 도움이 되는 글이었습니다! 👍🏻