컴포넌트들의 style 이 많아질 예정이므로 StyleSheet을 import 해주고 react-native 로 부터
StatusBar 는 expo-status-bar 에서 import 해주자.
입력을 해주고 자동완성에서 어떤 곳의 것을 사용할지 선택하면 된다. 자동완성은 패키지명 끝에서 한단어를 지웠다가 입력하면 자동완성이 뜬다.
import { StatusBar } from "expo-status-bar";
import { React } from "react";
import { StyleSheet, Text, View } from "react-native";
export default function App() {
return (
<View style={styles.container}>
<StatusBar style="dark"></StatusBar>
<View style={styles.city}>
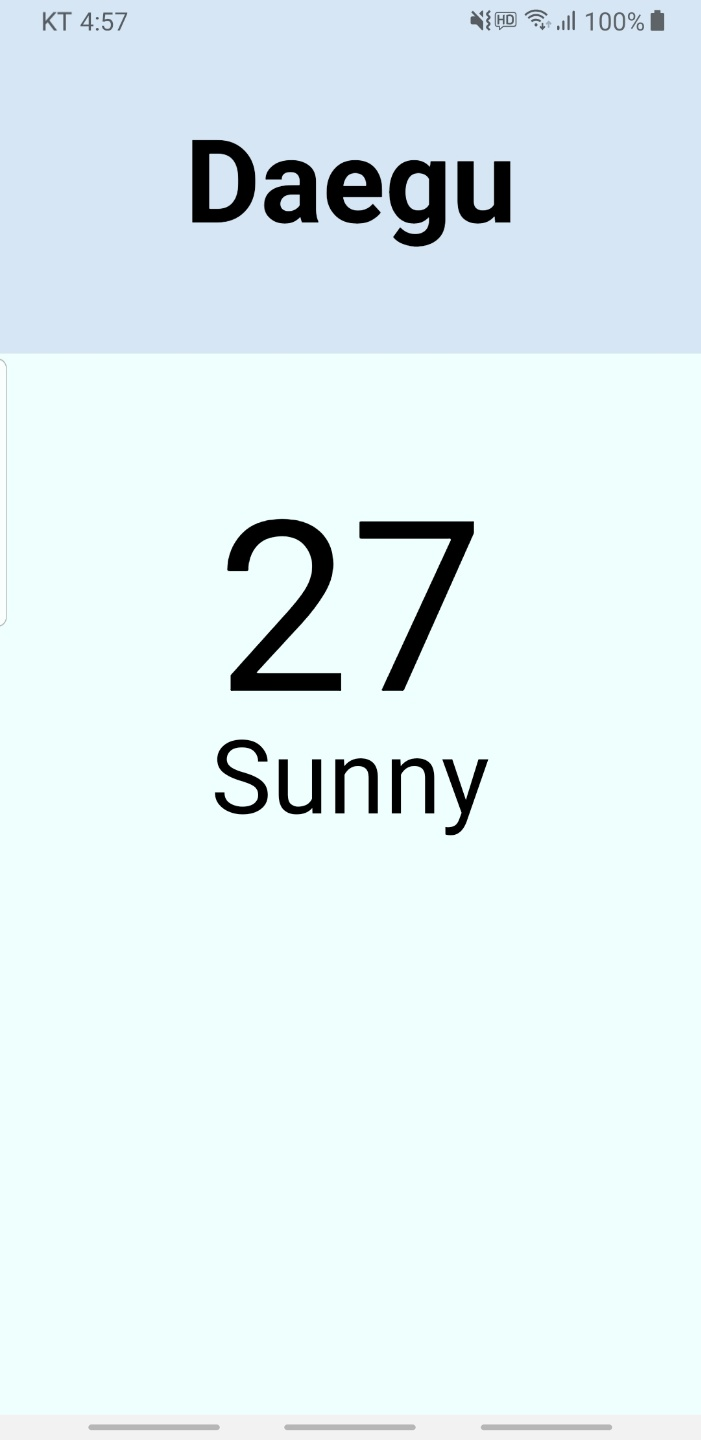
<Text style={styles.cityName}>Daegu</Text>
</View>
<View style={styles.weather}>
<View style={styles.day}>
<Text style={styles.temp}>27</Text>
<Text style={styles.description}>Sunny</Text>
</View>
</View>
</View>
);
}
const styles = StyleSheet.create({
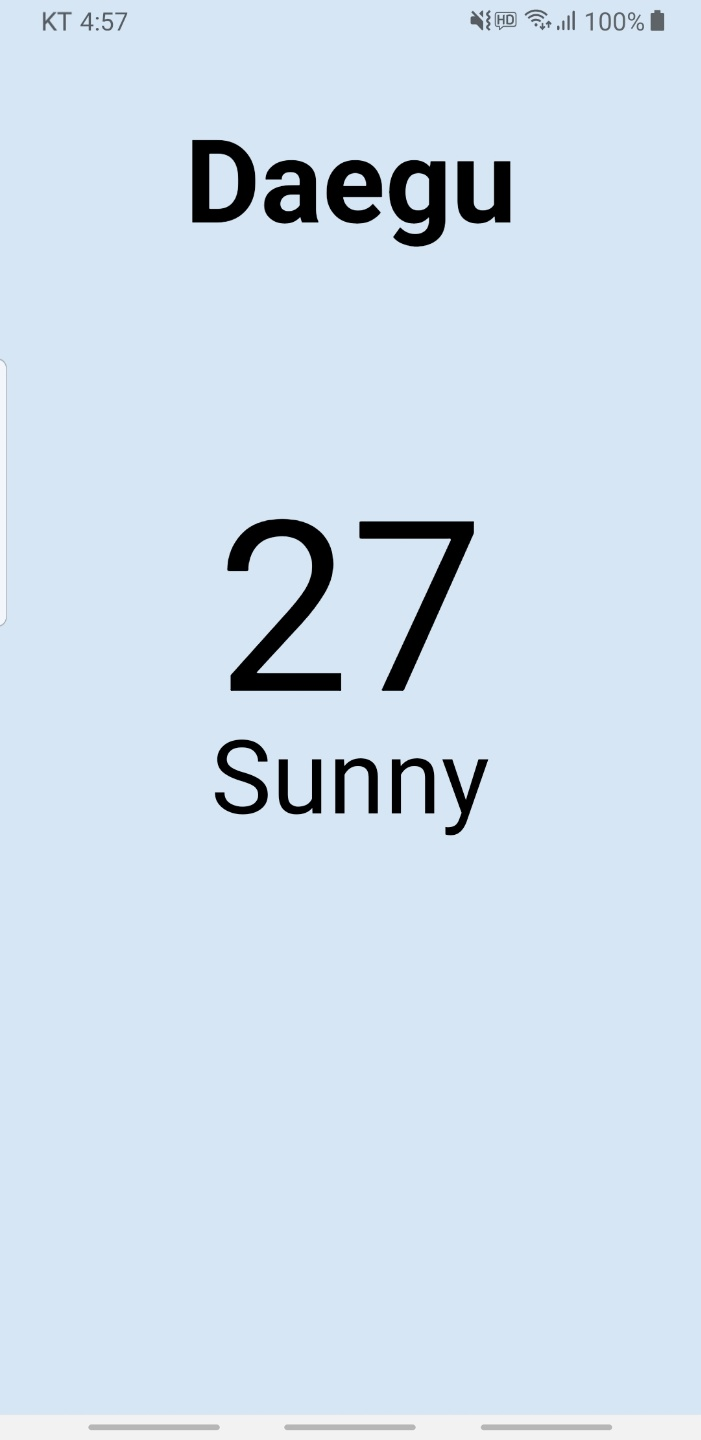
container: { flex: 1, backgroundColor: "rgb(214,230,245)" },
city: {
flex: 1,
justifyContent: "center",
alignItems: "center",
},
cityName: { fontSize: 68, fontWeight: "bold" },
weather: {
flex: 3,
},
day: {
flex: 1,
alignItems: "center",
// backgroundColor: "rgb(239, 255, 253)",
},
temp: {
marginTop: 50,
fontSize: 140,
},
description: {
marginTop: -30,
fontSize: 60,
},
});
CSS
backgroundColor 를 View 마다 주면 레이아웃을 이해하기가 굉장히 쉬워진다. 따라서 구성하기도 쉬워진다.
justifyContent (가로정렬) "center"
alignItems (세로정렬) "center"
fontSize (글자크기)
fontWeight (글자 두께) 관련 이슈
marginTop (윗 공백) : 음수 값도 줄 수 있다.
가운데 정렬하는 것 보다 차라리 margin을 주는 게 낫겠다라는 생각을 할 수 있어야 한다.
fontWeight 관련 이슈
https://github.com/facebook/react-native/issues/26193
안드로이드에서는 "100" ~ "900" 이런 식으로 해도 변화가 없고 대신에 "bold" / "normal" 이 적용가능하다.
- 항상 styles. ~ 으로 CSS 를 적용하는 습관을 가져주자 (오타를 줄여준다)
- Alt + Click 을 하면 변수를 여러개 동시에 서낵할 수 있다. (다중 선택)
