Appdelegate 및 SceneDelegate는 SwiftUI 에서 다른 방식으로 사용되고 있다. 하지만 아직까지는 완벽하게 자리를 잡지는 못한것 같다. 그러므로 우리는 다시 Appdelegate 와 SceneDelegate를 부활시켜서 기존 StoryBoard에서 사용했던 방식 그대로 사용하는 방법에 대해서 알아보자.
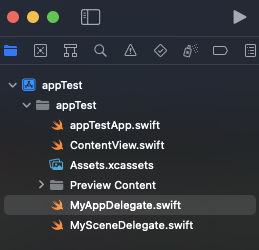
우선 당연히 새로운 swift 파일을 생성해야 한다. 나는 MyAppDelegate 와 MySceneDelegate로 생성했다.
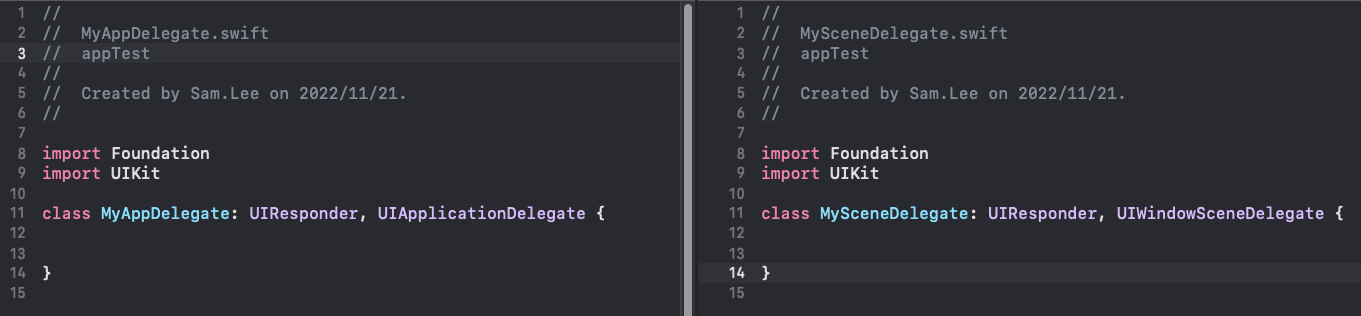
이제 각각 파일에 Class 를 생성했다. Appdelegate는 UIResponder, UIApplicationDelegate 프로토콜를 채택한다. SceneDelegate는 UIResponder, UIWindowSceneDelegate를 채택한다.
파일 두 개 만들었으니깐 이제 실제로 Working 하게끔 연결을 시켜줘야한다.
프로젝트이름App.Swift파일에서 약간의 추가만 해주면 appdelegate는 끝이다.
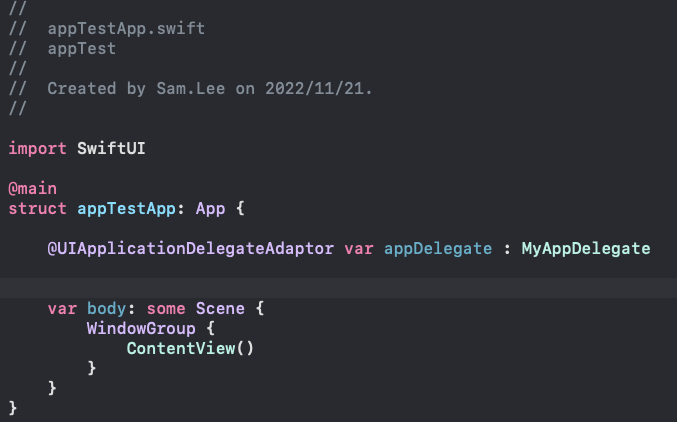
Property Wrapper 구조를 갖고 있는 UIApplicationDelegateAdapto를 통해 우리가 만든 Appdelegate랑 실제 작동하는 Appdelegate를 연동시켜주는 코드이다.
그러면 SceneDelegate도 똑같은 방식으로 하면되는가? 아니다.
기존 (ios13 이전) 에 Appdelegate에서는 현재 SceneDelegate가 하고 있던 업무까지 다 하고 있었다. 그래서인지 SceneDelegate는 Appdelegate에서 코드를 추가를 해줘야지 작동을 한다.
func application(_ application: UIApplication, configurationForConnecting connectingSceneSession: UISceneSession, options: UIScene.ConnectionOptions) -> UISceneConfiguration {
let sceneConfiguration = UISceneConfiguration(name: nil, sessionRole: connectingSceneSession.role)
sceneConfiguration.delegateClass = MySceneDelegate.self
return sceneConfiguration
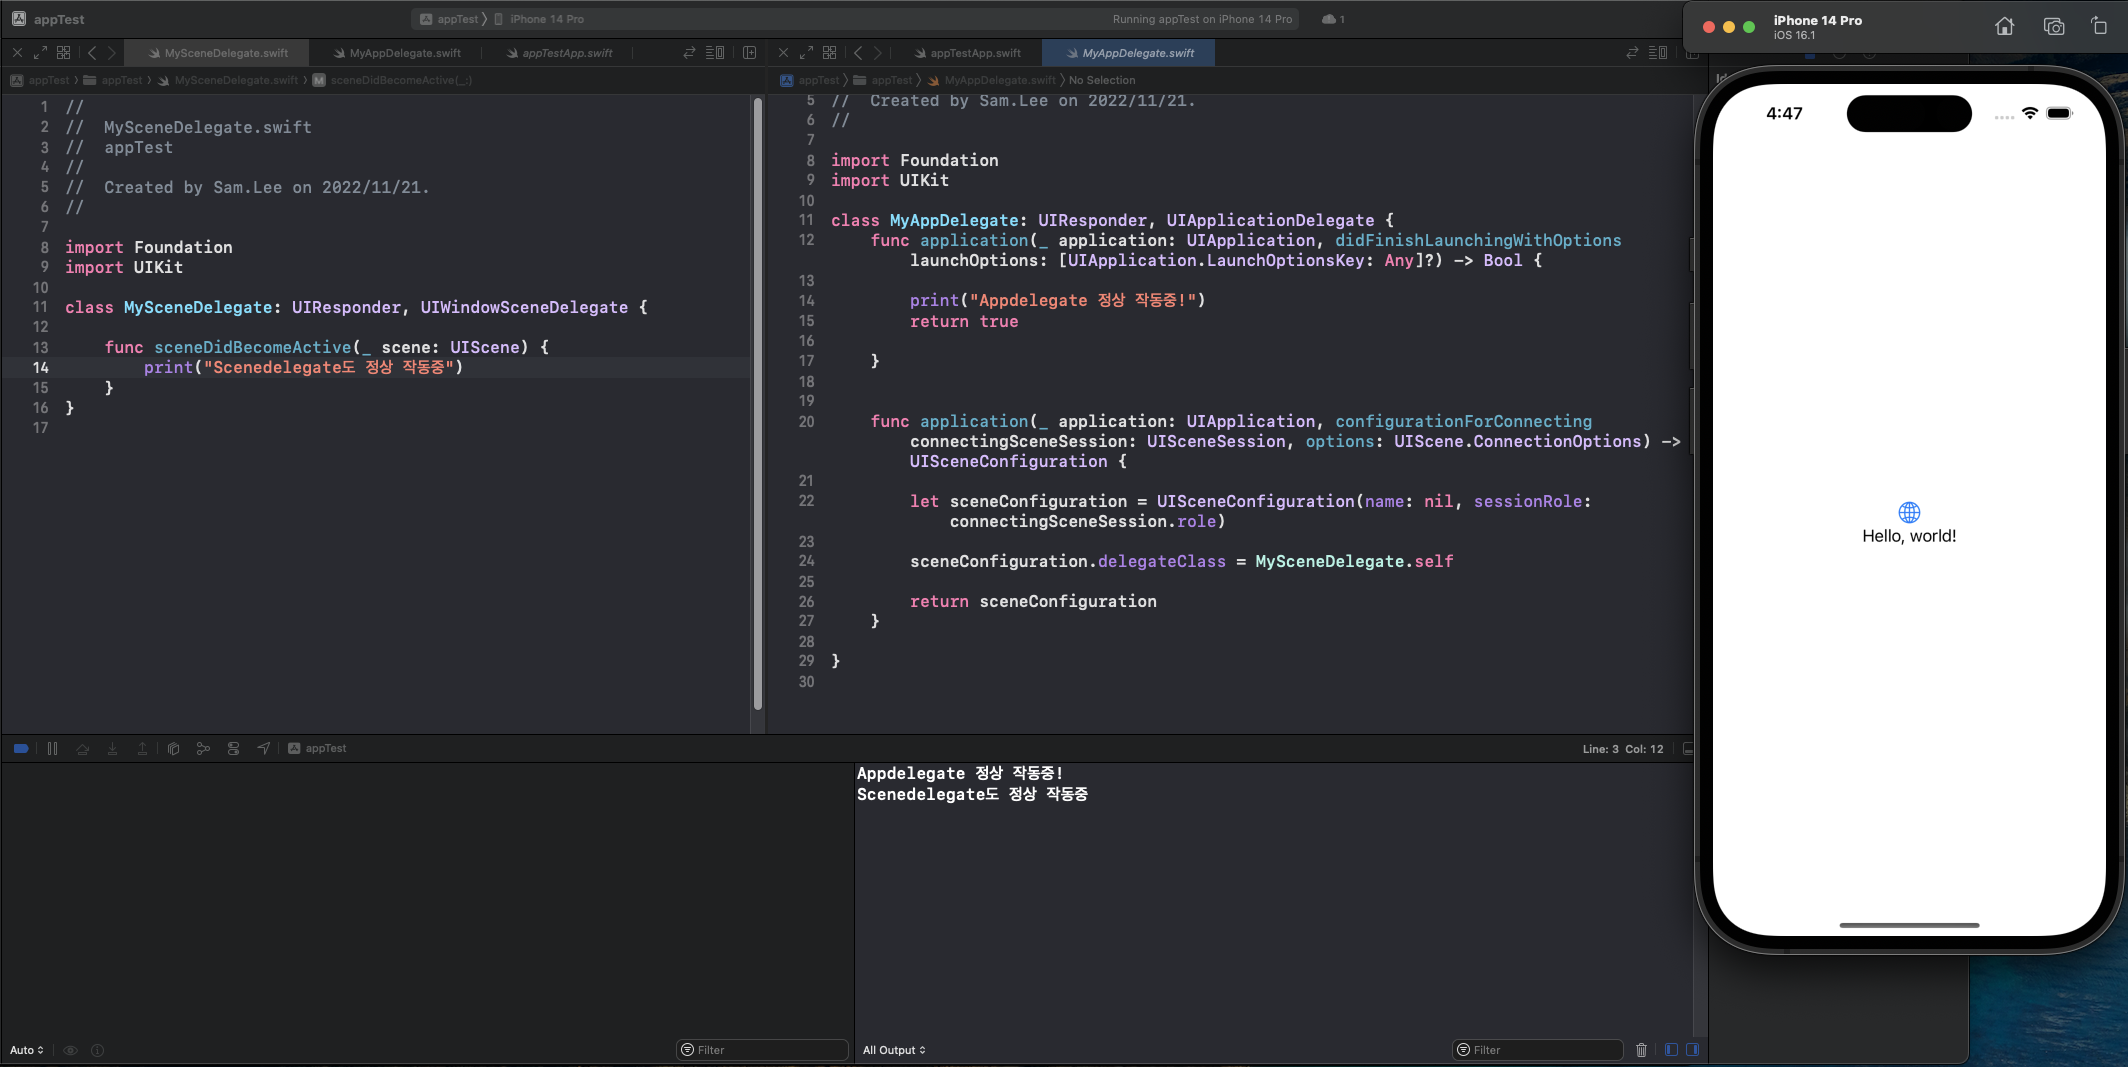
}위 코드를 추가해주면 끝! 이제 그러면 되는지 확인해보자.

정상적으로 작동한다!! 이제 다시 하려던 프로젝트에 집중해보자..
개발자 (진)