노트북은 cctv 영상을 cv2.VideoCapture로 받아볼 수 있지만 성능이 안좋아서 버벅거리고 조금만 무거운 작업을 하면 꺼져버린다. AWS나 GCE 가상머신을 빌려와서 작업을 하려고 하면 CLI 환경이라서 영상을 직접 확인할 수 없다. 이럴때 Flask 서버에서 영상을 띄워볼 수 있다. 리눅스에서 RTSP 영상을 스트리밍하는 법은 window에서 스트리밍 하는 법과 거의 비슷하다.
Part I. 리눅스에서 RTSP 영상 스트리밍 하는 법
-
여기에서 simple-rtsp-server 리눅스 버전 다운로드한다. rtsp-simple-server_버전_linux_amd64.tar.gz을 다운 받으면 된다.
-
압축 푼 곳으로 가서 simple-rtsp-server를 백그라운드로 실행한다
//리눅스에서 마지막에 &붙이면 백그라운드 실행
./simple-rtsp-server &- ffmpeg를 다운받는다.
pip install ffmpeg- ffmpeg로 영상을 스트리밍한다
//백그라운드 실행을 하지 않고 새로 터미널을 띄워서 실행한다.
ffmpeg -re -stream_loop -1 -i myVideo.mp4 -c copy -f rtsp rtsp://localhost:8554/live
Part II. Flask 서버 만들기
- app.py 작성
from flask import Flask, render_template, Response
import cv2
#Initialize the Flask app
app = Flask(__name__)

camera = cv2.VideoCapture('rtsp://localhost:8554/live')

def gen_frames():
    while True:
        success, frame = camera.read()  # read the camera frame
        if not success:
            break
        else:
            ret, buffer = cv2.imencode('.jpg', frame)
            frame = buffer.tobytes()
            yield (b'--frame\r\n'
                   b'Content-Type: image/jpeg\r\n\r\n' + frame + b'\r\n')
@app.route('/')
def index():
    return render_template('index.html')

@app.route('/video_feed')
def video_feed():
    return Response(gen_frames(), mimetype='multipart/x-mixed-replace; boundary=frame')


if __name__ == "__main__":
app.run(debug=True, host='0.0.0.0')- templates 폴더(반드시 이름이 templates여야한다)를 만들고 index.html 파일을 작성한다.
<body>
<div class="container">
<div class="row">
<div class="col-lg-8 offset-lg-2">
<h3 class="mt-5">Live Streaming</h3>
<img src="{{ url_for('video_feed') }}" width="50%">
</div>
</div>
</div>
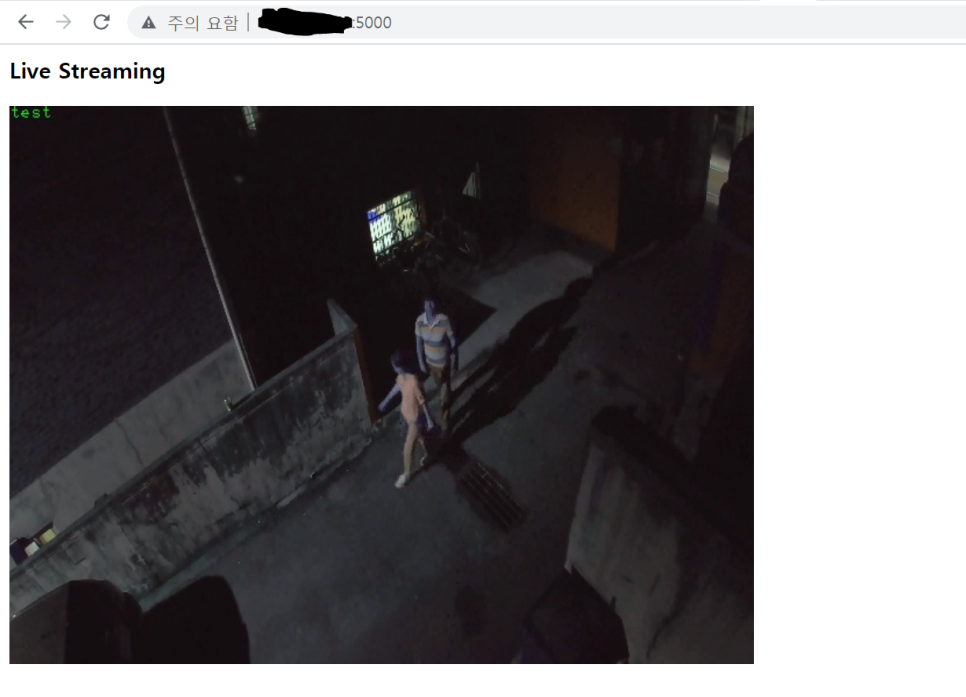
</body>이제 http:// {외부접속 IP 주소}:5000 로 접속하면 영상을 확인할 수 있다.
만약 접속이 안된다면?
-
플라스크 서버 포트(tcp:5000)를 방화벽/인바운드 규칙에 추가하기
-
app.py 파일에서 외부접속 허용하기 app.run(debug=True, host='0.0.0.0')
+) 매번 긴 명령어 치는게 귀찮아서 스트립트로 만들었다.
stream.sh
#! /bin/bash
./rtsp-simple-server &

link=${1}
ffmpeg -re -stream_loop -1 -i ${link} -c copy -f rtsp rtsp://localhost:8554/live
스크립트를 실행하기 위해서는 권한을 부여해야한다.
chmod +x stream.sh사용법
./stream.sh {스트리밍 링크 or 영상 파일이름.확장자}
ex)
./stream.sh myvideo.mp4
코더가 아니라 개발자가 되자