
kafka 사용법
카프카 설치
- kfafk 공식 홈페이지에 접속하여 다운로드 한다 필자는 2.8.1 버전을 다운로드 받았다.
카프카 zookeeper 실행
- power shell 구동한다.
- 카프카가 설치된 곳으로 디렉토를 변경한다.
- zookeeper-server-start을 실행하기위한 명령어를 실행한다.
.\bin\windows\zookeeper-server-start.bat .\config\zookeeper.properties 명령어를 실행한다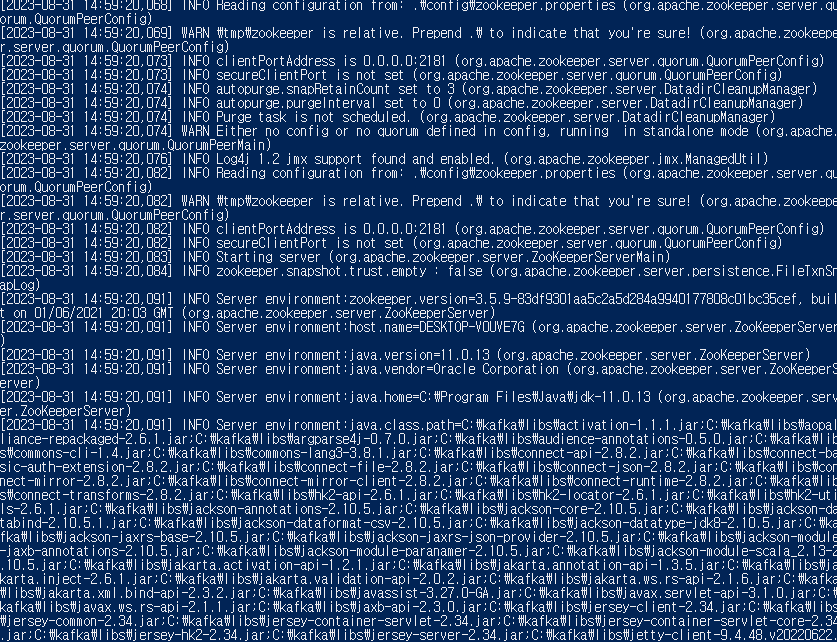
이러한 화면이 나타나면 정상 실행된것이다.
kafka 실행
- power shell 구동한다.
- 카프카가 설치된 곳으로 디렉토를 변경한다.
- kafka-server-start실행을 위한 명령어를 실행한다.
.\bin\windows\kafka-server-start.bat .\config\server.properties 명령어를 실행한다.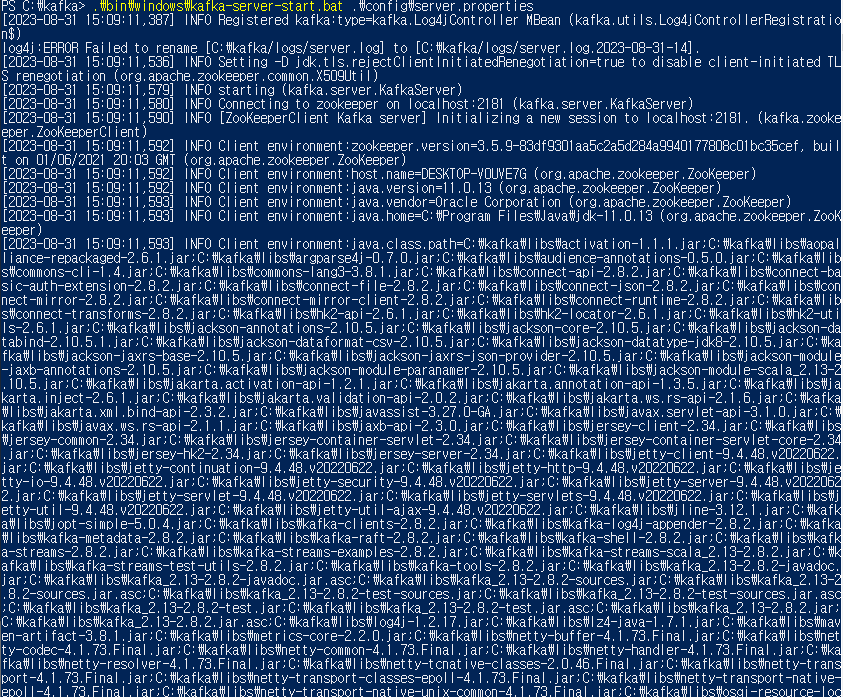
이러한 화면이 나타나면 잘 실행된 것이다.
topic 생성 방법
1.powershell을 실행한다.
2.카프카가 설치된 곳으로 디렉토를 변경한다.
3.kafka-topics.bat 파일을 이용하면 토픽을 생성하는 기능을 제공한다. 명령어를 실행한다.
.\bin\windows\kafka-topics.bat --create --topic topice-example1 --bootstrap-server=localhost:9092
Created topic topice-example1.
--bootstrap-server을 이용하여 포트및 서버를 설정할 수 있다.
생성된 topic 정보 확인
1.powershell을 실행한다.
2.카프카가 설치된 곳으로 디렉토를 변경한다.
3. --create 대신 --describe 명령어로 변경한다
.\bin\windows\kafka-topics.bat --describe --topic topice-example1 --bootstrap-server=localhost:9092
이러한 생성된 토픽을 확인할 수 있다.
생성한 topic에 메세지 발행하기
1.powershell을 실행한다.
2.카프카가 설치된 곳으로 디렉토를 변경한다.
3. kafka-console-producer을 이용하여 메시지를 발행한다
\kafka> .\bin\windows\kafka-console-producer.bat --topic topic-example1 --bootstrap-server=localhost:9092발행된 메세지 수신
1.powershell을 실행한다.
2.카프카가 설치된 곳으로 디렉토를 변경한다.
3.kafka-console.consumer을 이용하여 메세지를 확인한다
.\bin\windows\kafka-console-consumer.bat --topic topic-example1 --from-beginning --bootstrap-server=localhost:9092--from-beginning 을 설정하지 않으면 consumer가 접속한 시점부터 메시지를 발행 받으면 설정시 이전의 메시지도 확인 가능하다.
consumer 실행하면 producer가 발행한 메세지를 준 실시간적으로 메세지를 받아 볼 수 있다.

기록에 성장을