파일관리 앱을 가지고 있기 때문에, 자연스럽게 WWDC23에서 발표한 UIDocumentViewController에 관심을 가지게 됐다.
UIDocumentViewController는 UIDocument를 사용해서 효율적인 파일의 저장/로드/액세스를 지원하고 파일 auto save와 rename도 가능하게 해준다고 한다.
'기존에는 UIViewController로 해당기능을 직접 구현해야 했었는데 어떤 문제가 있었을까'라는 의문이 남지만 기회가 될 때 다른 글에서 다룰 예정이다.
2024년 5월 9일 현재까지, 구글에서도 샘플을 만들기 위해 참고 할 코드들은 전혀 검색되지 않았다, ChatGPT도 바보상태.
WWDC23 발표 동영상과 API 명세서만 있을 뿐이어서, 직접 샘플을 만들어 어떤 기능인지 확인해보기로 했다.
저장/로드/액세스
UIDocumentViewController는 iOS17에서부터 지원하며, 이전 iOS 버전에서 UIDocument를 사용해 파일관리를 한다면 아래 예시처럼 사용해야 했다:
let document = UIDocument(fileURL: url)
document.open { success in
	if success {
		print("Document was opened successfully.")
		print("Document Content: \(document.content ?? "No Content")")
		// 문서 닫기
		document.close { success in
			if success {
            	print("Document was closed successfully.")
			}
		}
}
간단히 txt파일 에디터기능을 구현을 해보자.
import UIKit

final class TxtEditorViewController: UIDocumentViewController, UITextViewDelegate {

    private let textView = UITextView()

    override func documentDidOpen() {
        configureViewForCurrentDocument()
    }

    override func viewDidLoad() {
        super.viewDidLoad()
        textView.delegate = self
        view.addSubview(textView)
        textView.translatesAutoresizingMaskIntoConstraints = false
        textView.topAnchor.constraint(equalTo: view.topAnchor).isActive = true
        textView.bottomAnchor.constraint(equalTo: view.bottomAnchor).isActive = true
        textView.leadingAnchor.constraint(equalTo: view.leadingAnchor).isActive = true
        textView.trailingAnchor.constraint(equalTo: view.trailingAnchor).isActive = true

        configureViewForCurrentDocument()
    }

    override func navigationItemDidUpdate() {
        navigationItem.leadingItemGroups = [] // 상좌단의 Documents 버튼을 지움
        navigationItem.trailingItemGroups = [undoRedoItemGroup] // 상우단에 undo, redo 추가
    }

    func configureViewForCurrentDocument() {
        guard let document = document as? TxtDocument,
              !document.documentState.contains(.closed) && isViewLoaded
        else { return }

        textView.text = document.content
    }

    // MARK: UITextViewDelegate

    func textViewDidChange(_ textView: UITextView) {
        guard let document = document as? TxtDocument else { return }

        document.content = textView.text
    }
}
undo/redo 기능 구현은 다른 포스트에서 다룰 예정이다.
init(document: nil) 처럼 파일을 선택하지 않으면 기본적으로 아무런 액션이 없지만, openDocument 메소드를 재정의해 callback을 true로 호출하면:
override func openDocument(completionHandler: @escaping (Bool) -> Void) {
	if let document {
	    // 파일이 있으면 당연히 이쪽으로 들어오고
		completionHandler(true)
	} else {
	    // 파일이 없으면 이쪽으로 들어온다.
        // 기존엔 파일이 없으면 throw를 해버린다.
		completionHandler(true)
	}
}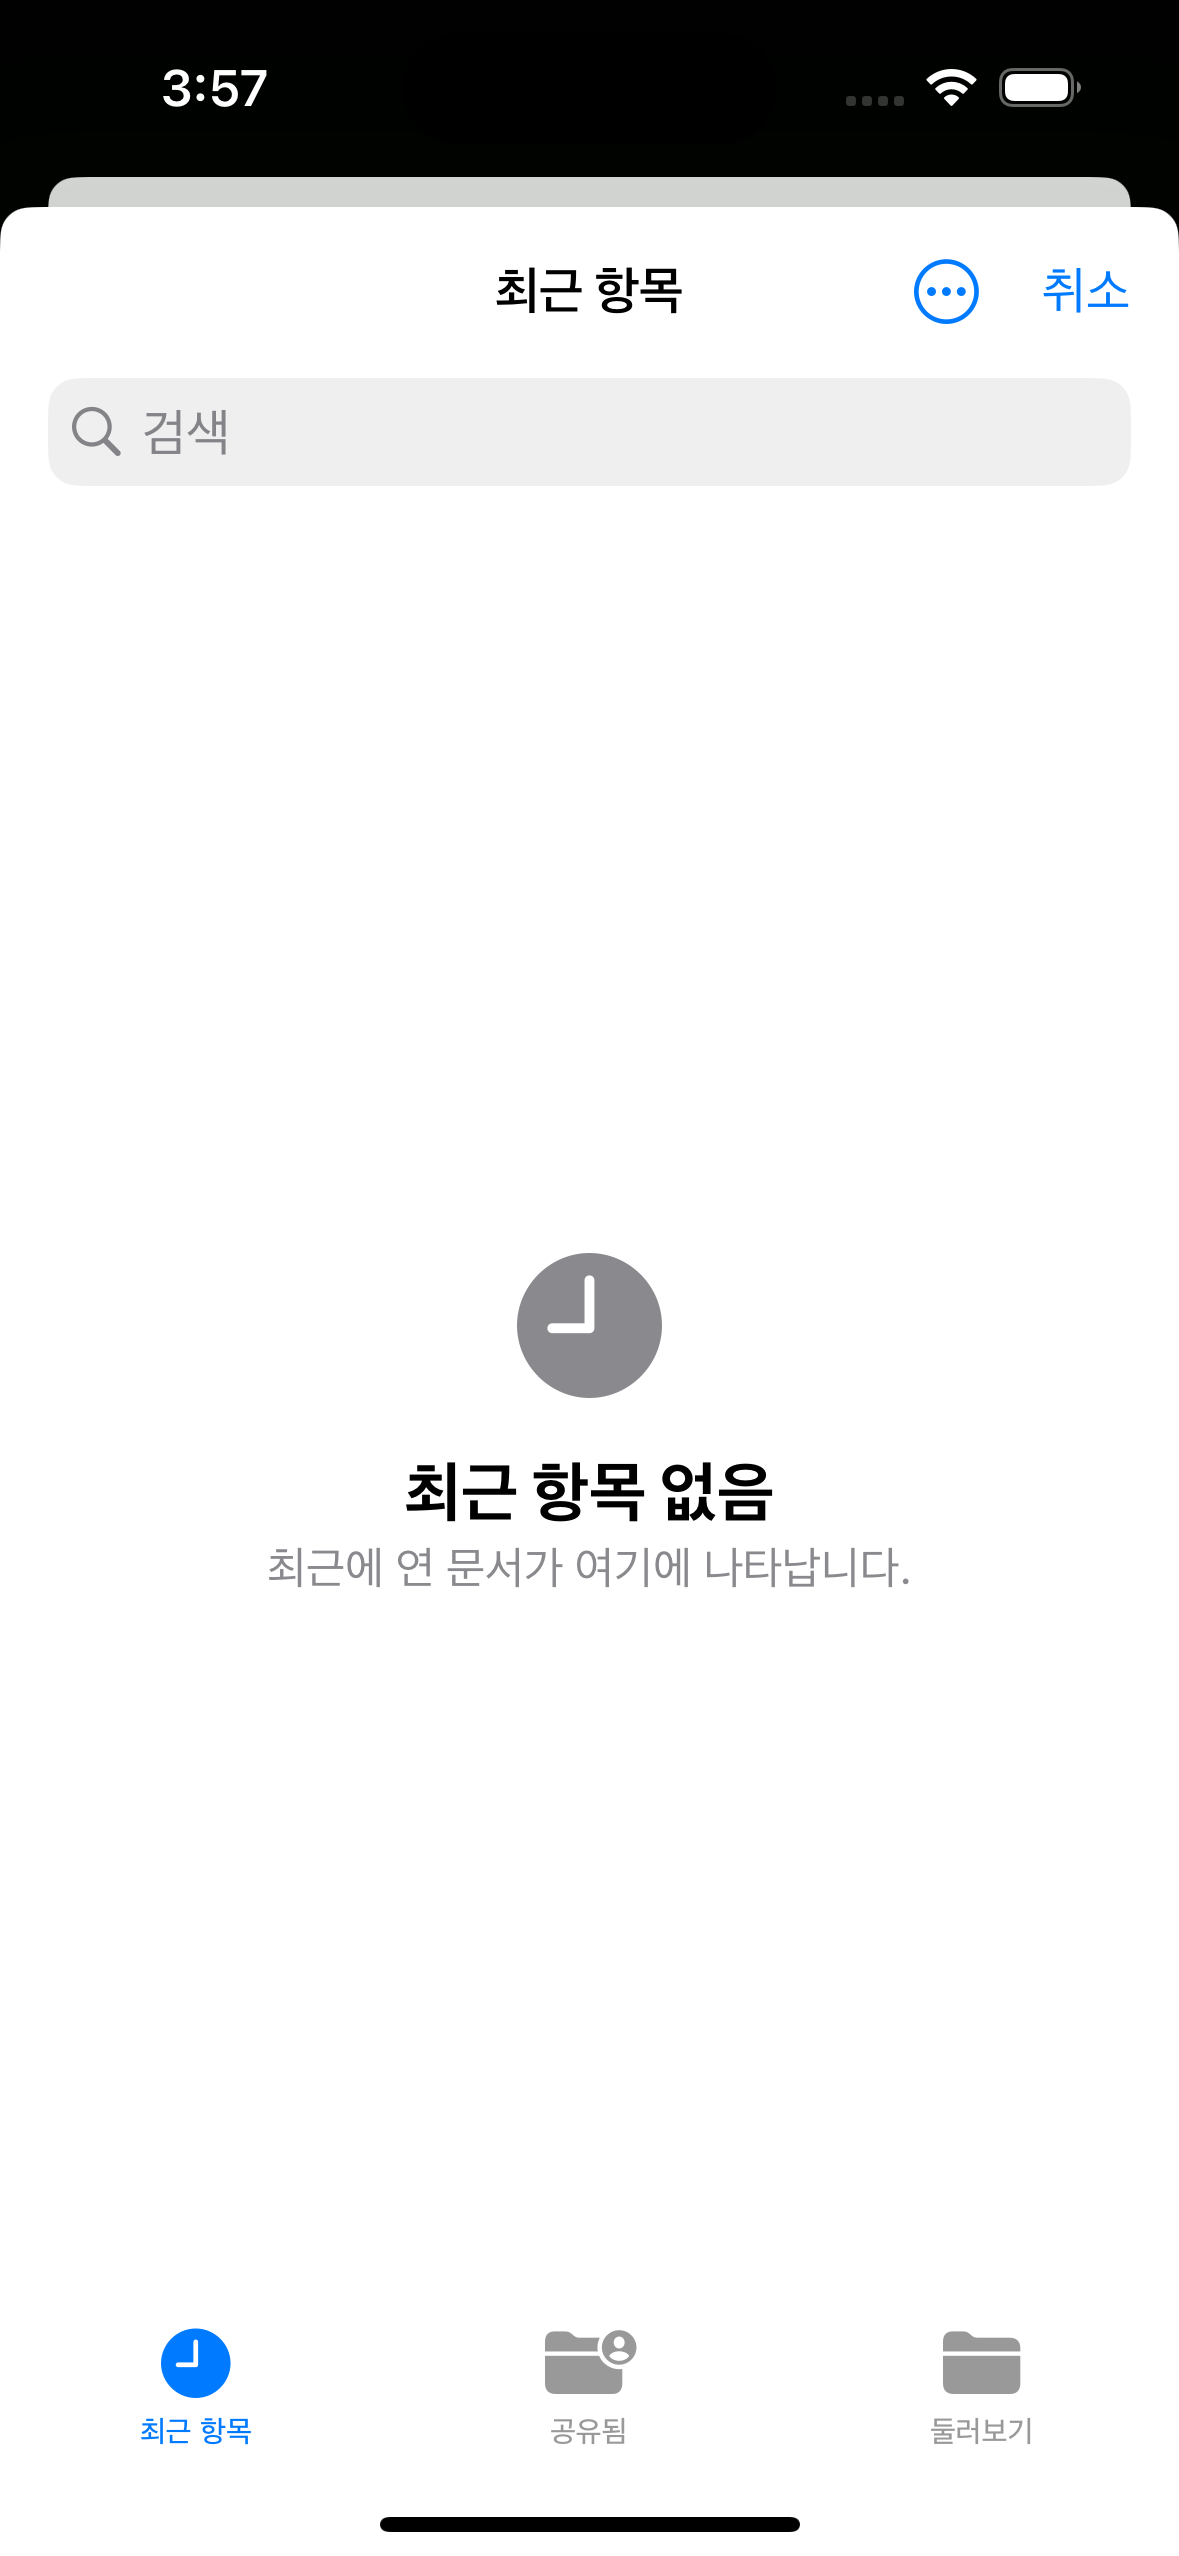
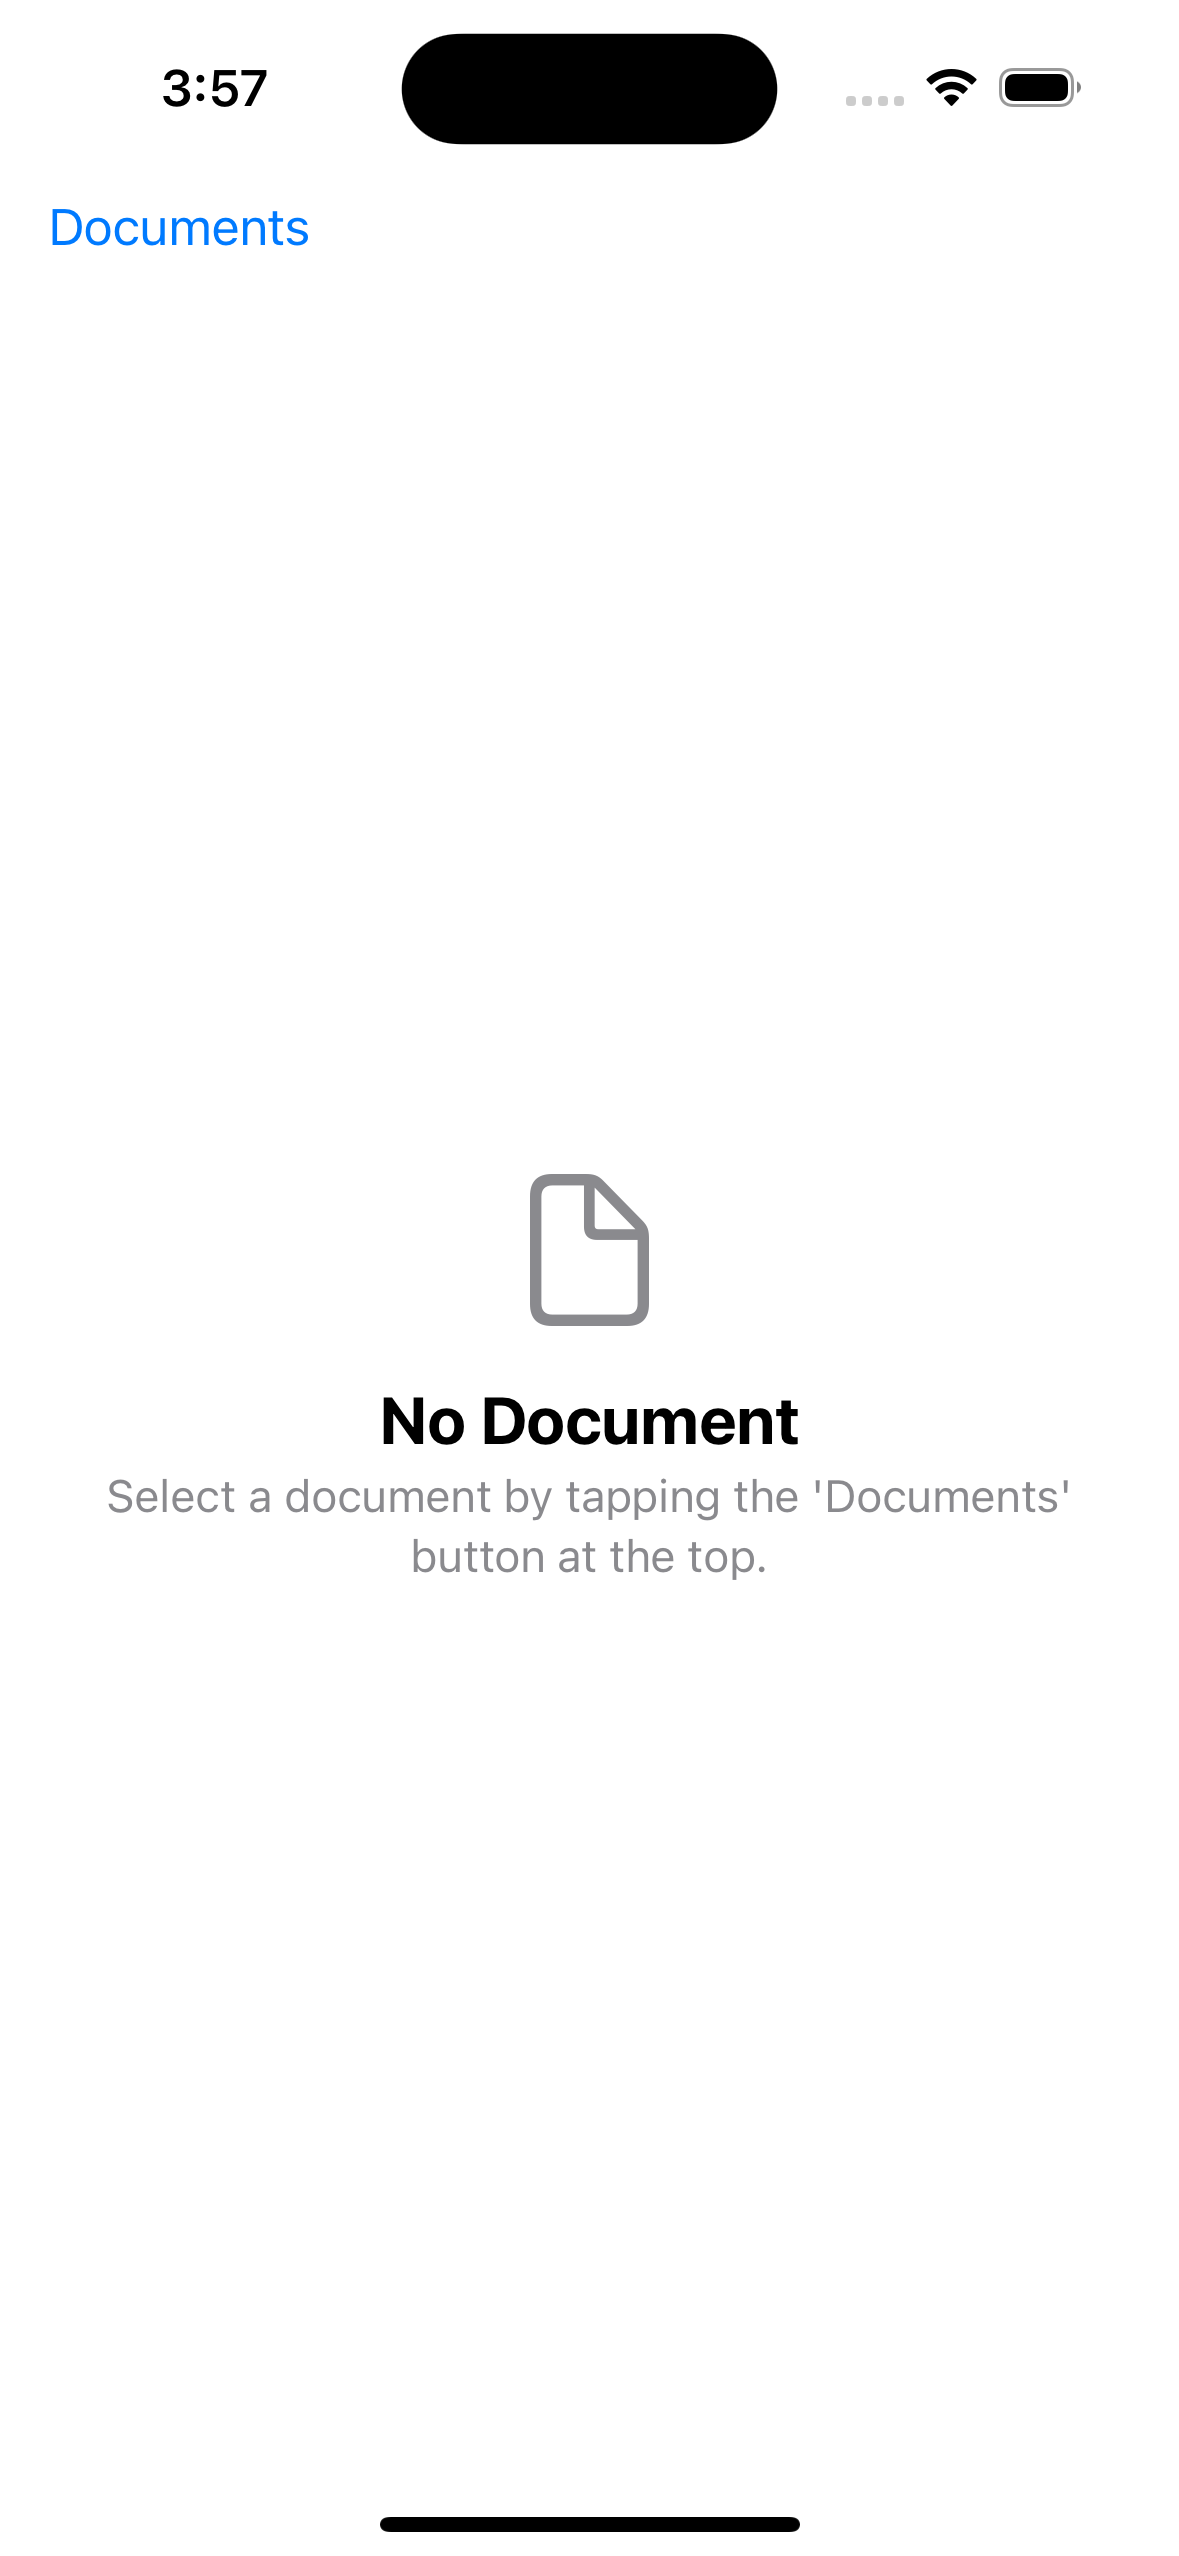
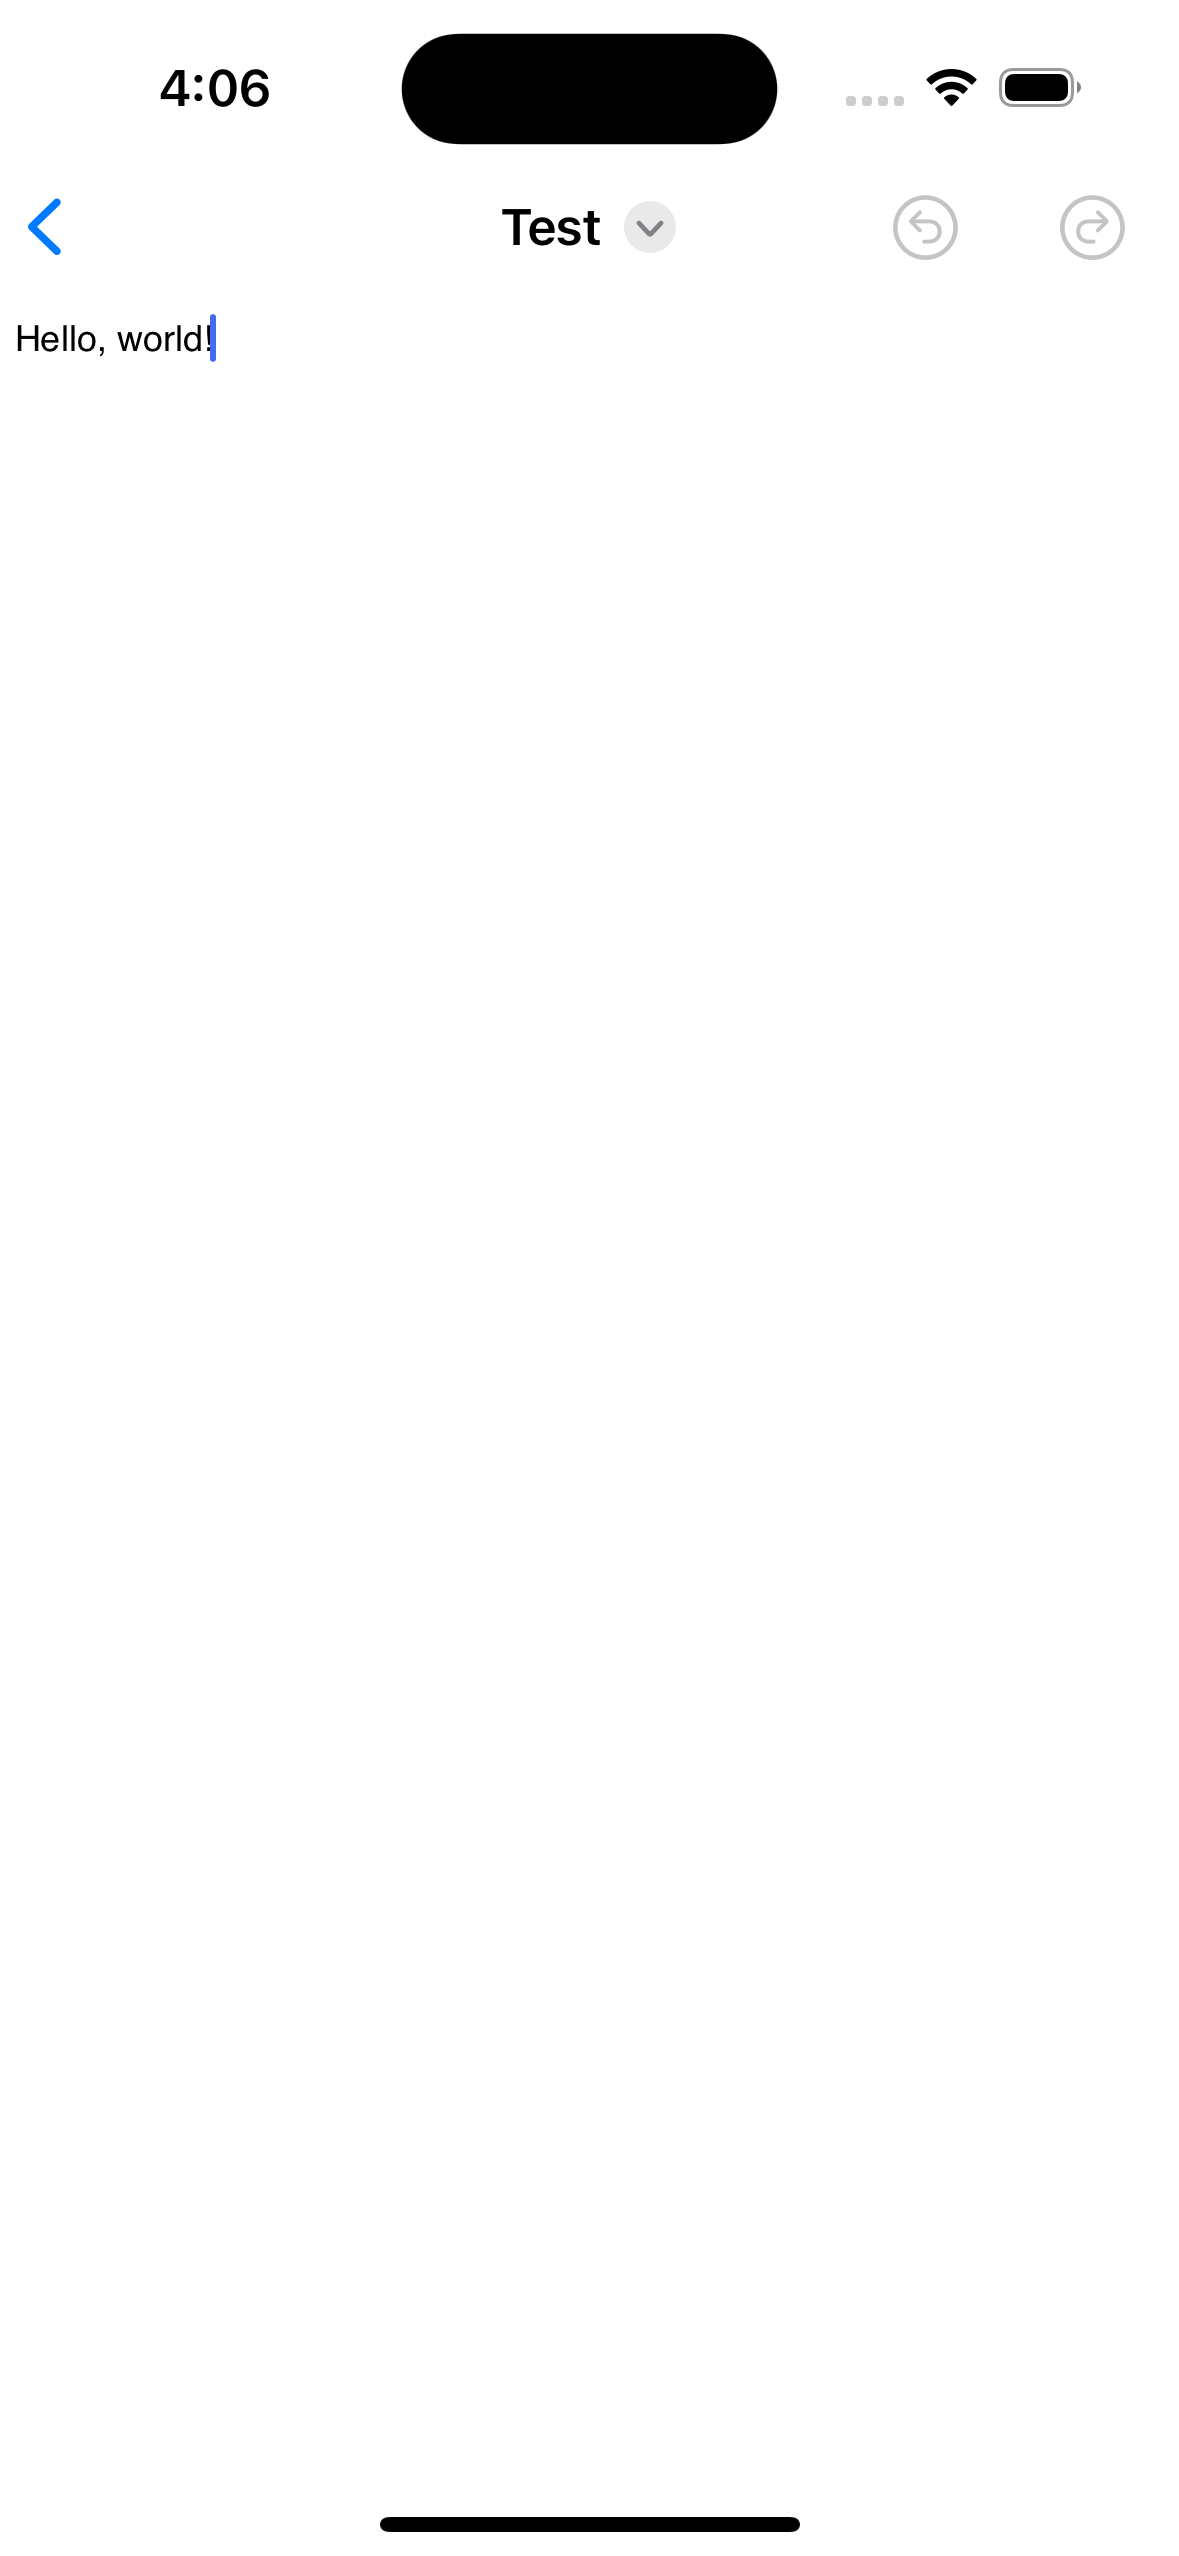
위 화면을 볼 수 있는데, 몇가지 실험들로 몇 가지 단점을 알 수 있었다:
- file path가 없다면 화면을 열 수 없다. 따라서 컨텐츠 작성후에 파일을 만드는 것이 불가능 하다.
- Documents 버튼이 노출되면
UINavigationController의 좌상단에 표시되어야 할 "뒤로"버튼이 가려진다. (Documents 버튼을 쉽게 숨길 순 있음) - 자동으로 표시되는 빈화면 표시를 가리거나 문구를 바꿀 방법이 아직 발견되지 않았다.
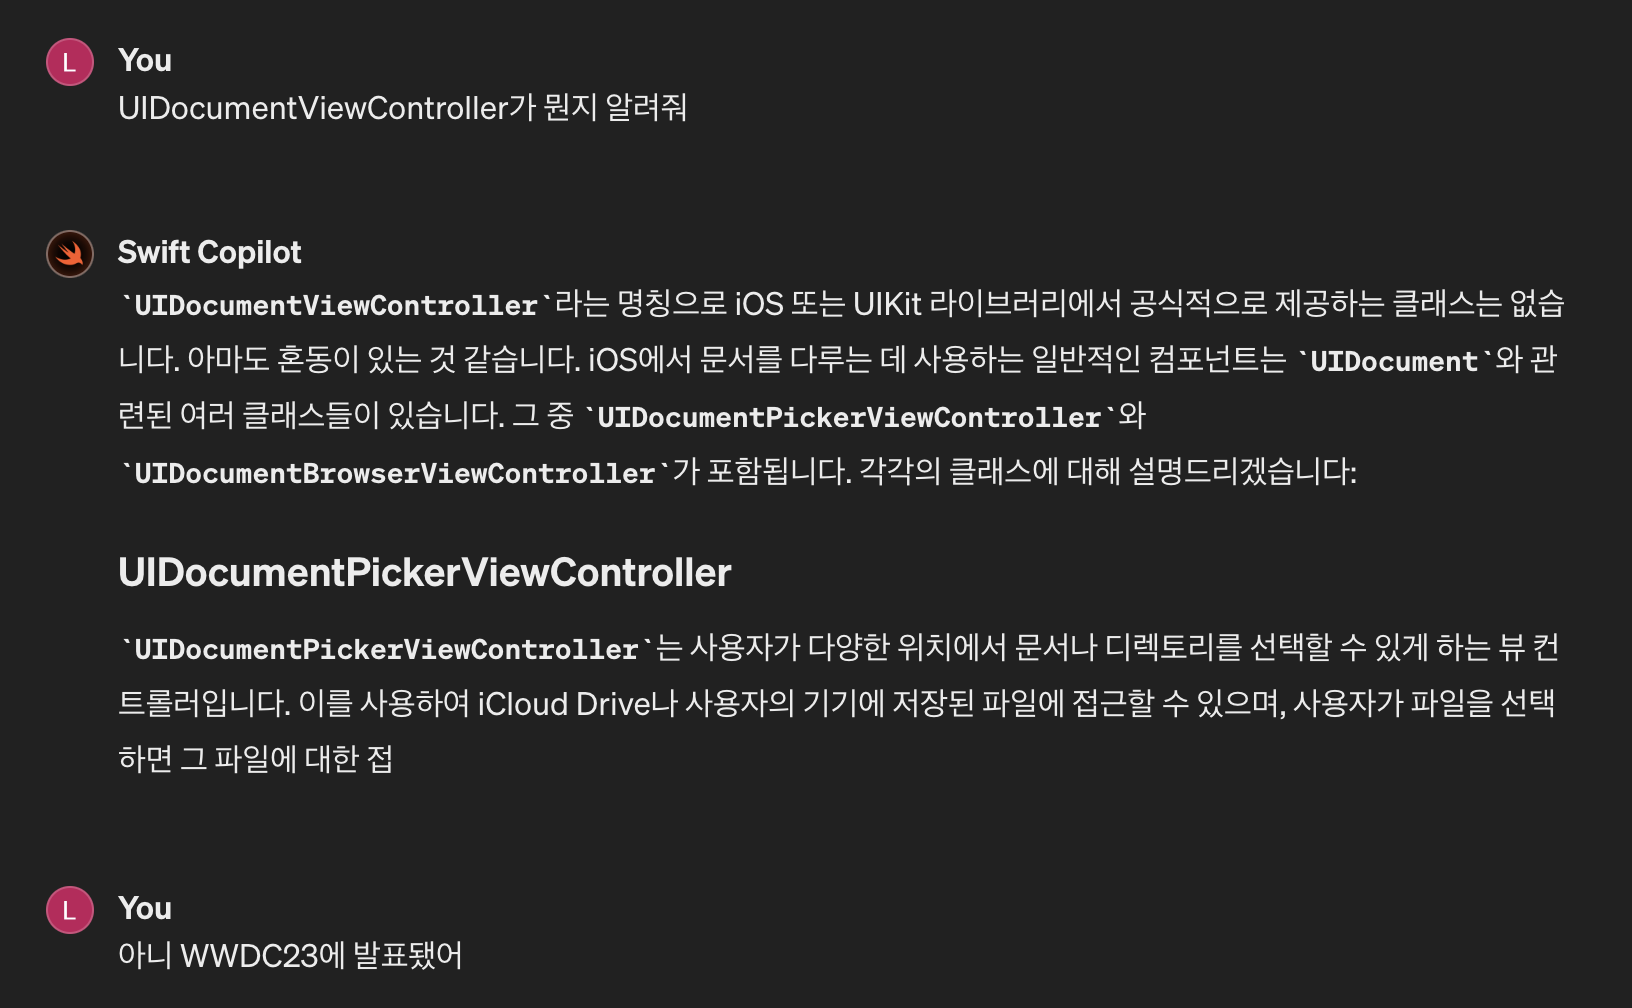
rename
UIDocumentViewController는 네비게이션바의 undo/redo 버튼그룹을 선정의하여 쉽게 추가할 수 있도록 해주고, title 또한 자동으로 구성해준다.
주목할 점은 title 오른쪽의에 버튼을 누르면 파일이름 바꾸기 기능 또한 제공한다는 것이다.
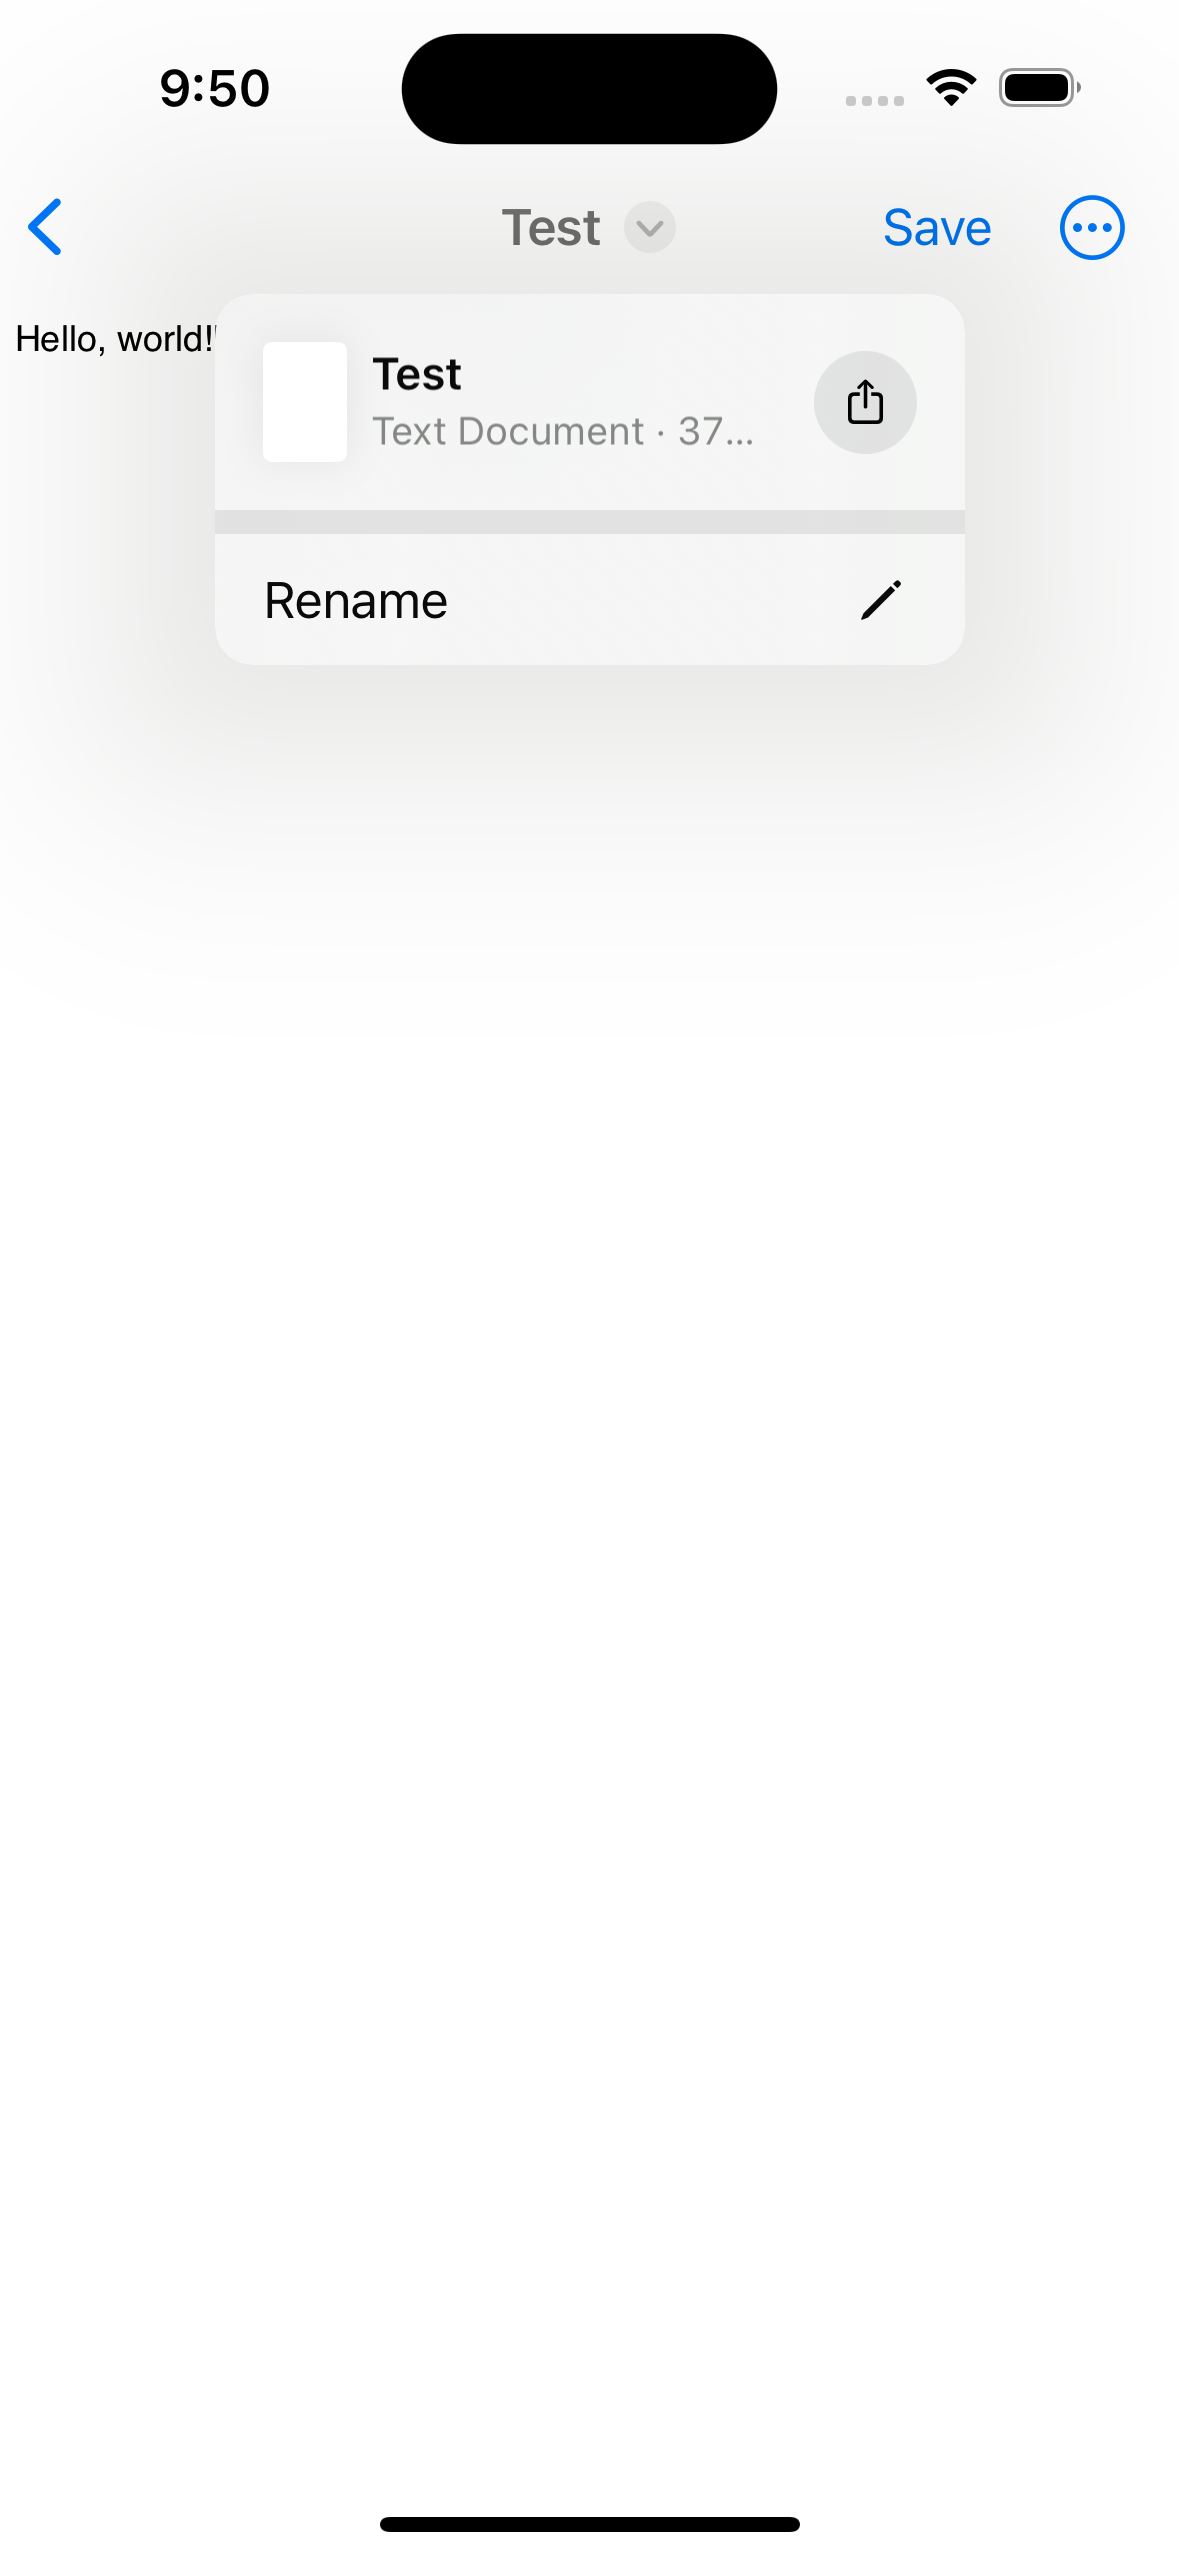
만약 같은 기능을 구현하려면, navigationItem.renameDelegate = self 코드를 비롯해 delegate를 직접 구현해야 할 것이다.