
https://minikube.sigs.k8s.io/docs/start/
https://ahnseungkyu.com/326
docker desktop이 설치되어있어야함!!
- minikube 설치
% brew install minikube
% minikube start --driver=docker --memory=4096
😄  minikube v1.33.1 on Darwin 14.4.1 (arm64)
✨  Using the docker driver based on user configuration
📌  Using Docker Desktop driver with root privileges
👍  Starting "minikube" primary control-plane node in "minikube" cluster
🚜  Pulling base image v0.0.44 ...
💾  Downloading Kubernetes v1.30.0 preload ...
    > preloaded-images-k8s-v18-v1...:  319.81 MiB / 319.81 MiB  100.00% 5.37 Mi
    > gcr.io/k8s-minikube/kicbase...:  435.76 MiB / 435.76 MiB  100.00% 6.35 Mi
🔥  Creating docker container (CPUs=2, Memory=4096MB) ...
🐳  Preparing Kubernetes v1.30.0 on Docker 26.1.1 ...
    ▪ Generating certificates and keys ...
    ▪ Booting up control plane ...
    ▪ Configuring RBAC rules ...
🔗  Configuring bridge CNI (Container Networking Interface) ...
🔎  Verifying Kubernetes components...
    ▪ Using image gcr.io/k8s-minikube/storage-provisioner:v5
🌟  Enabled addons: storage-provisioner, default-storageclass
🏄 Done! kubectl is now configured to use "minikube" cluster and "default" namespace by default- 노드 추가
% minikube node add
😄  Adding node m02 to cluster minikube as [worker]
❗  Cluster was created without any CNI, adding a node to it might cause broken networking.
👍  Starting "minikube-m02" worker node in "minikube" cluster
🚜  Pulling base image v0.0.44 ...
🔥  Creating docker container (CPUs=2, Memory=2200MB) ...
🐳  Preparing Kubernetes v1.30.0 on Docker 26.1.1 ...
🔎  Verifying Kubernetes components...
🏄  Successfully added m02 to minikube!
% kubectl get nodes
NAME           STATUS   ROLES           AGE   VERSION
minikube       Ready    control-plane   42s   v1.30.0
minikube-m02   Ready    <none>          5s    v1.30.0
% minikube status
minikube
type: Control Plane
host: Running
kubelet: Running
apiserver: Running
kubeconfig: Configured

minikube-m02
type: Worker
host: Running
kubelet: Running- 중지
minkube pause -A
minikube unpause -A
minikube stop --all=true- 삭제
minikube delete --all- dashboard 보기
minikube dashboard
🔌  Enabling dashboard ...
    ▪ Using image docker.io/kubernetesui/metrics-scraper:v1.0.8
    ▪ Using image docker.io/kubernetesui/dashboard:v2.7.0
💡  Some dashboard features require the metrics-server addon. To enable all features please run:

        minikube addons enable metrics-server

🤔  Verifying dashboard health ...
🚀  Launching proxy ...
🤔  Verifying proxy health ...
🎉  Opening http://127.0.0.1:54815/api/v1/namespaces/kubernetes-dashboard/services/http:kubernetes-dashboard:/proxy/ in your default browser...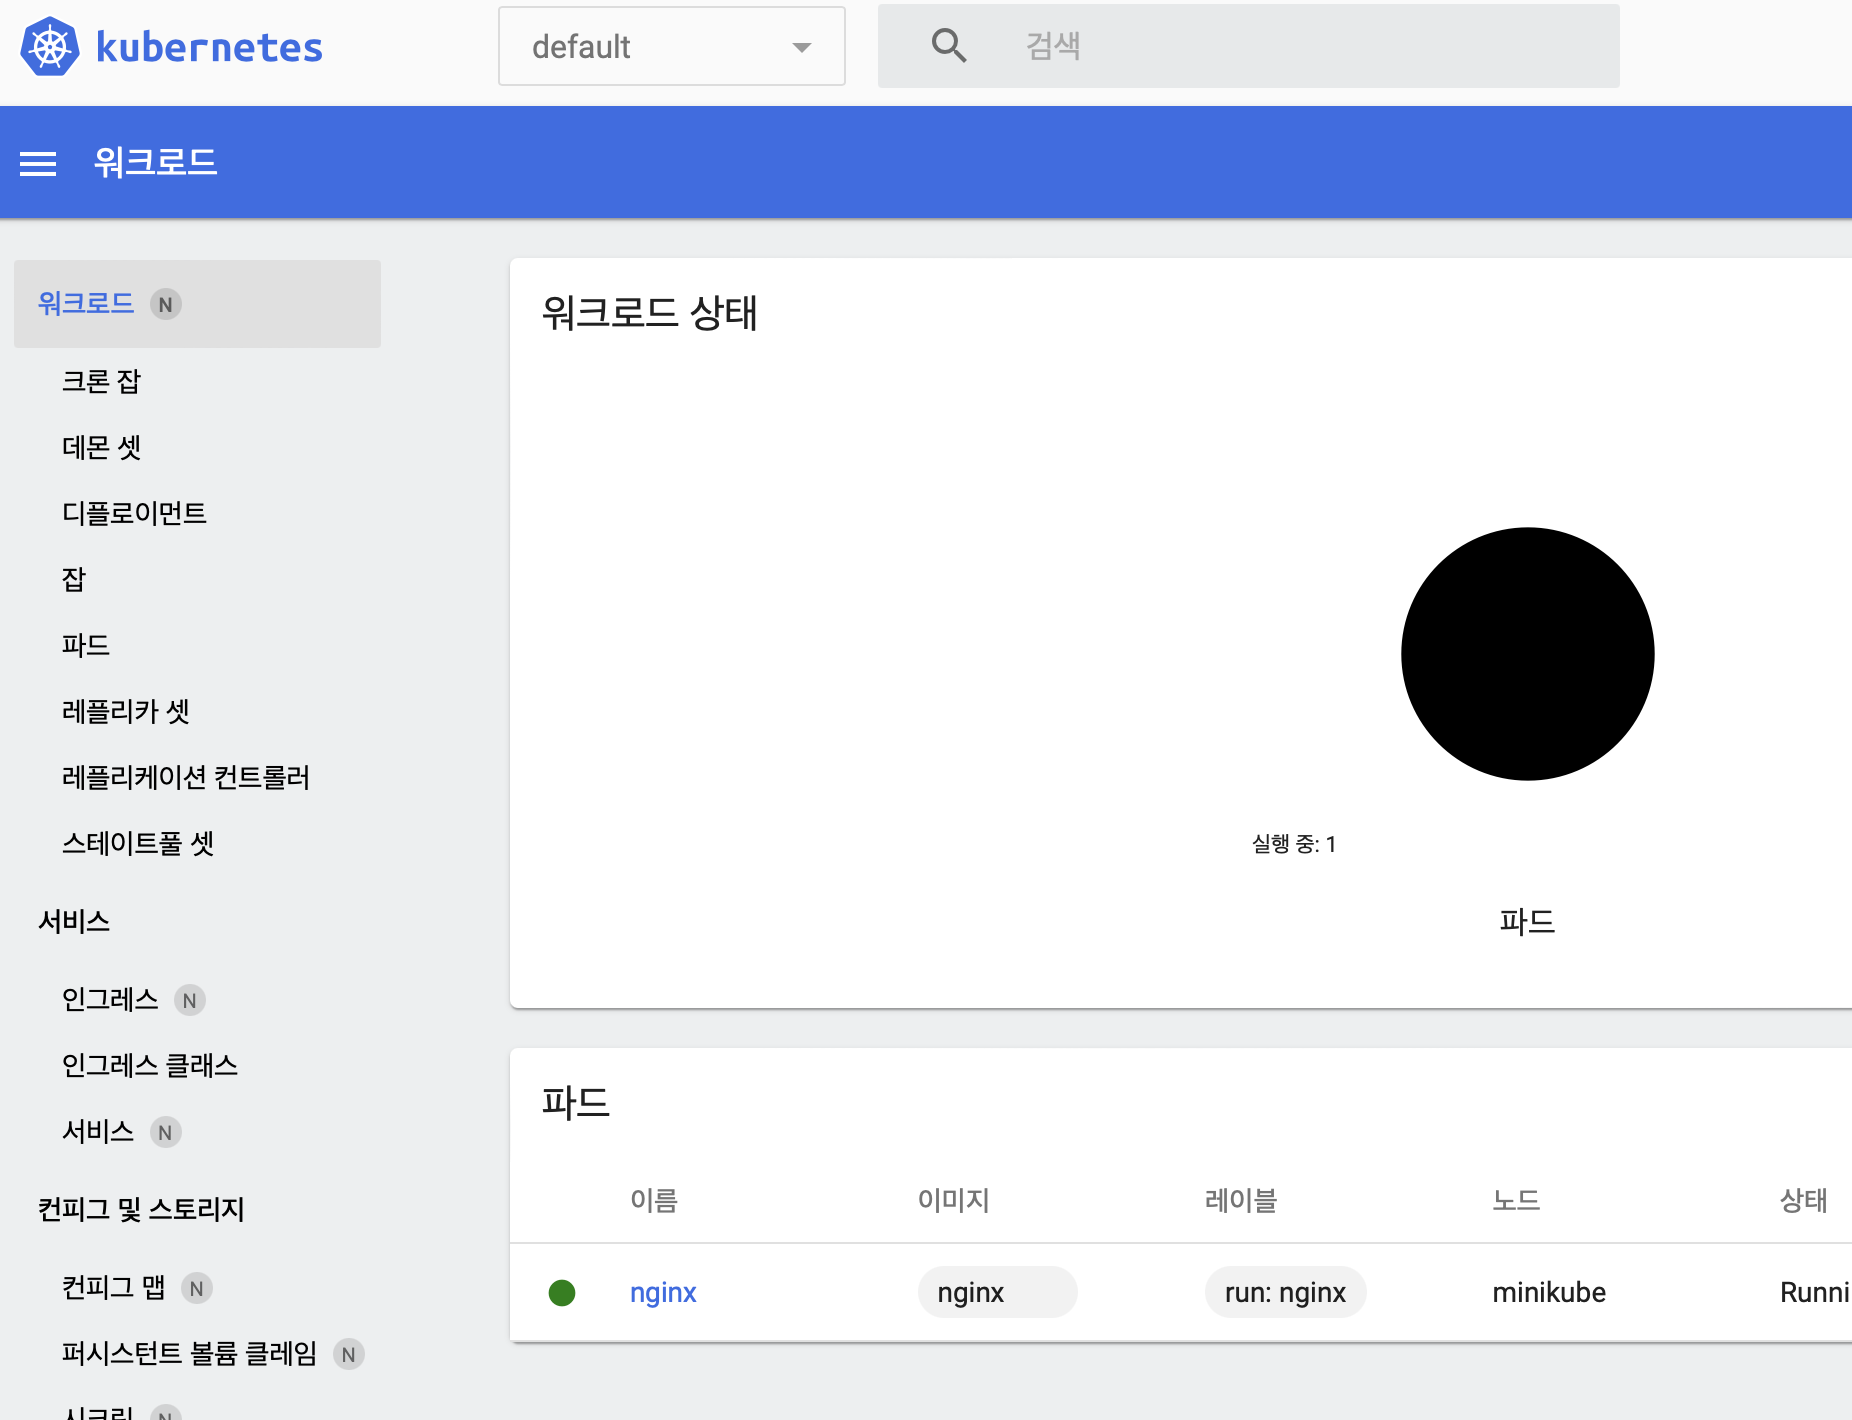
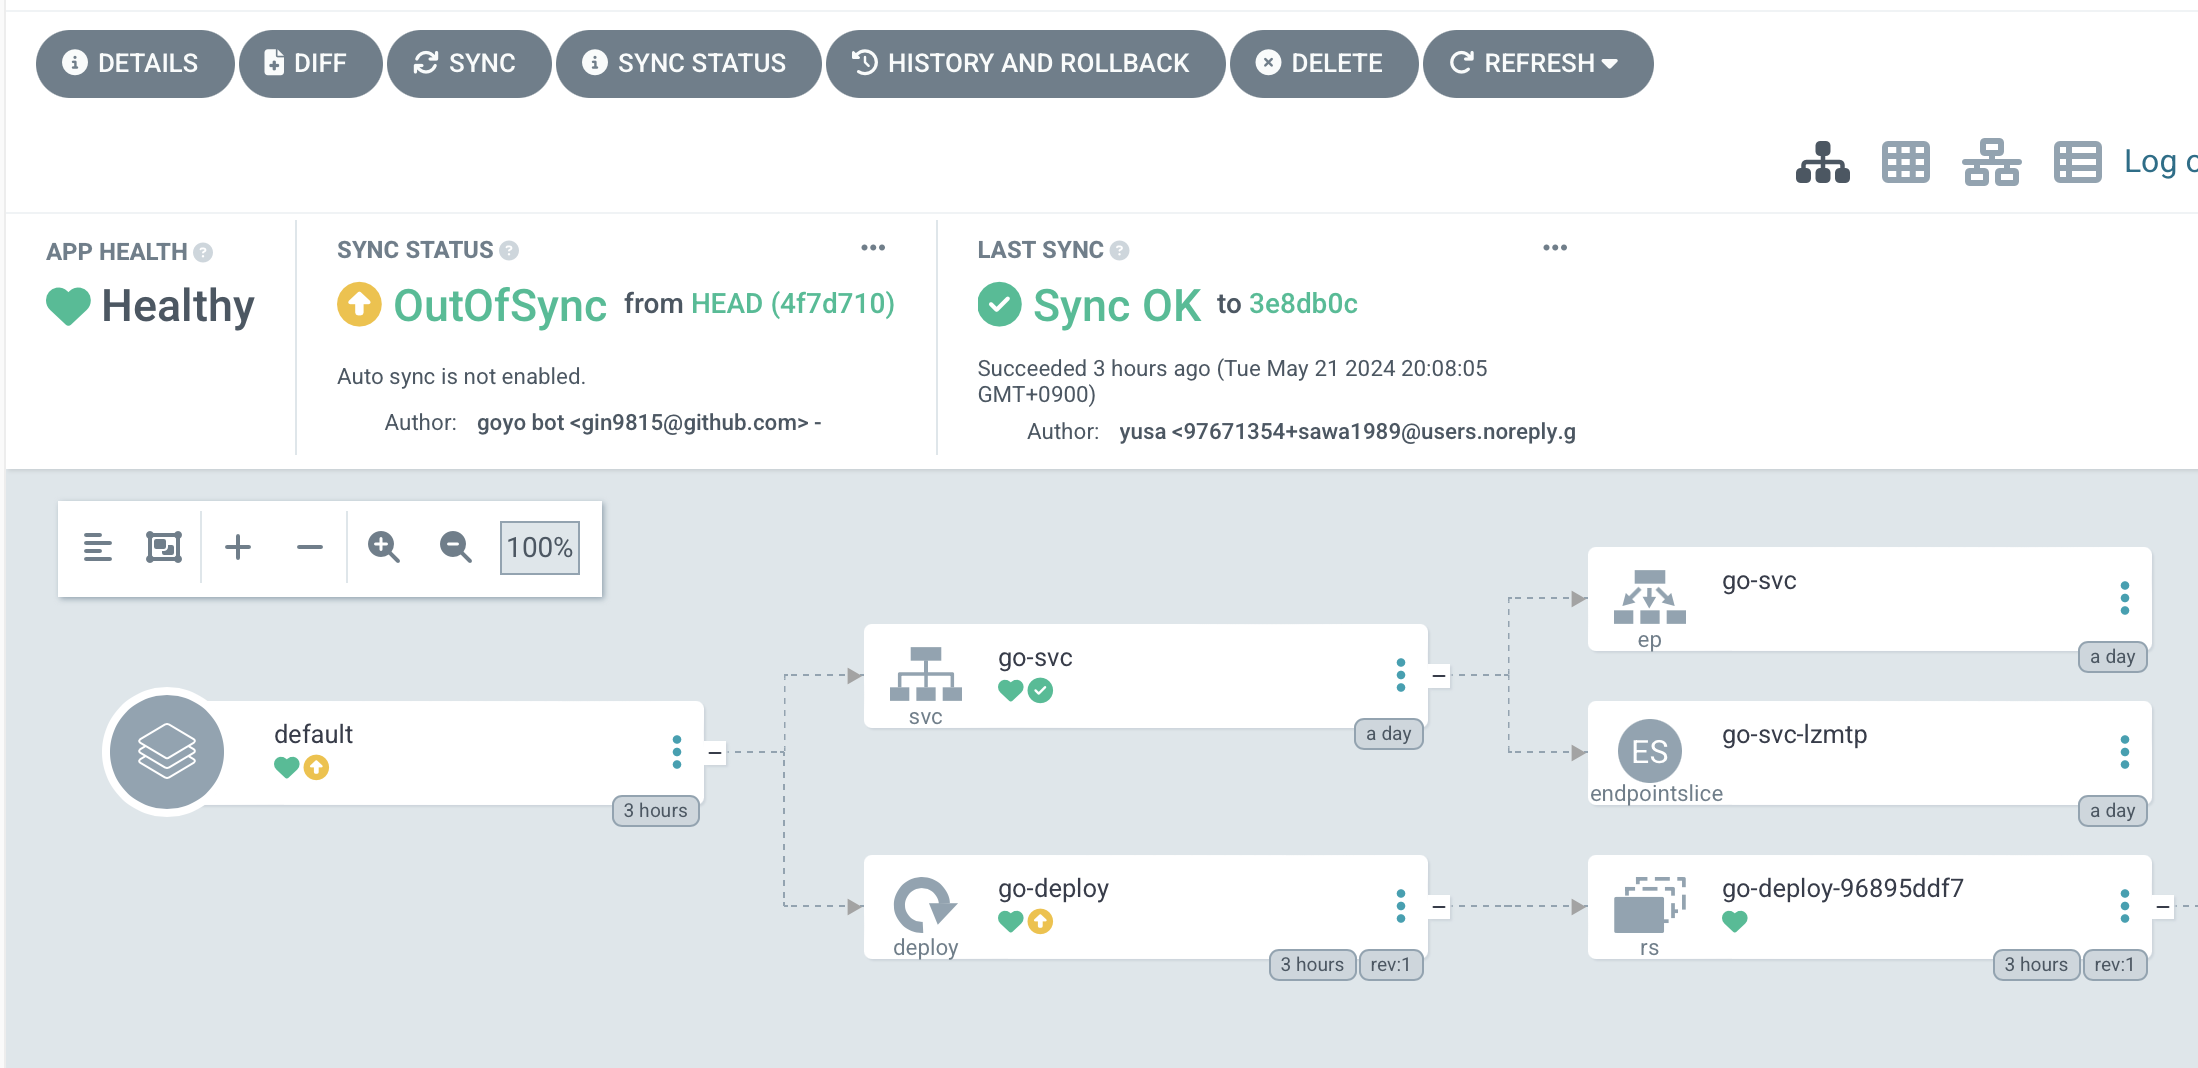
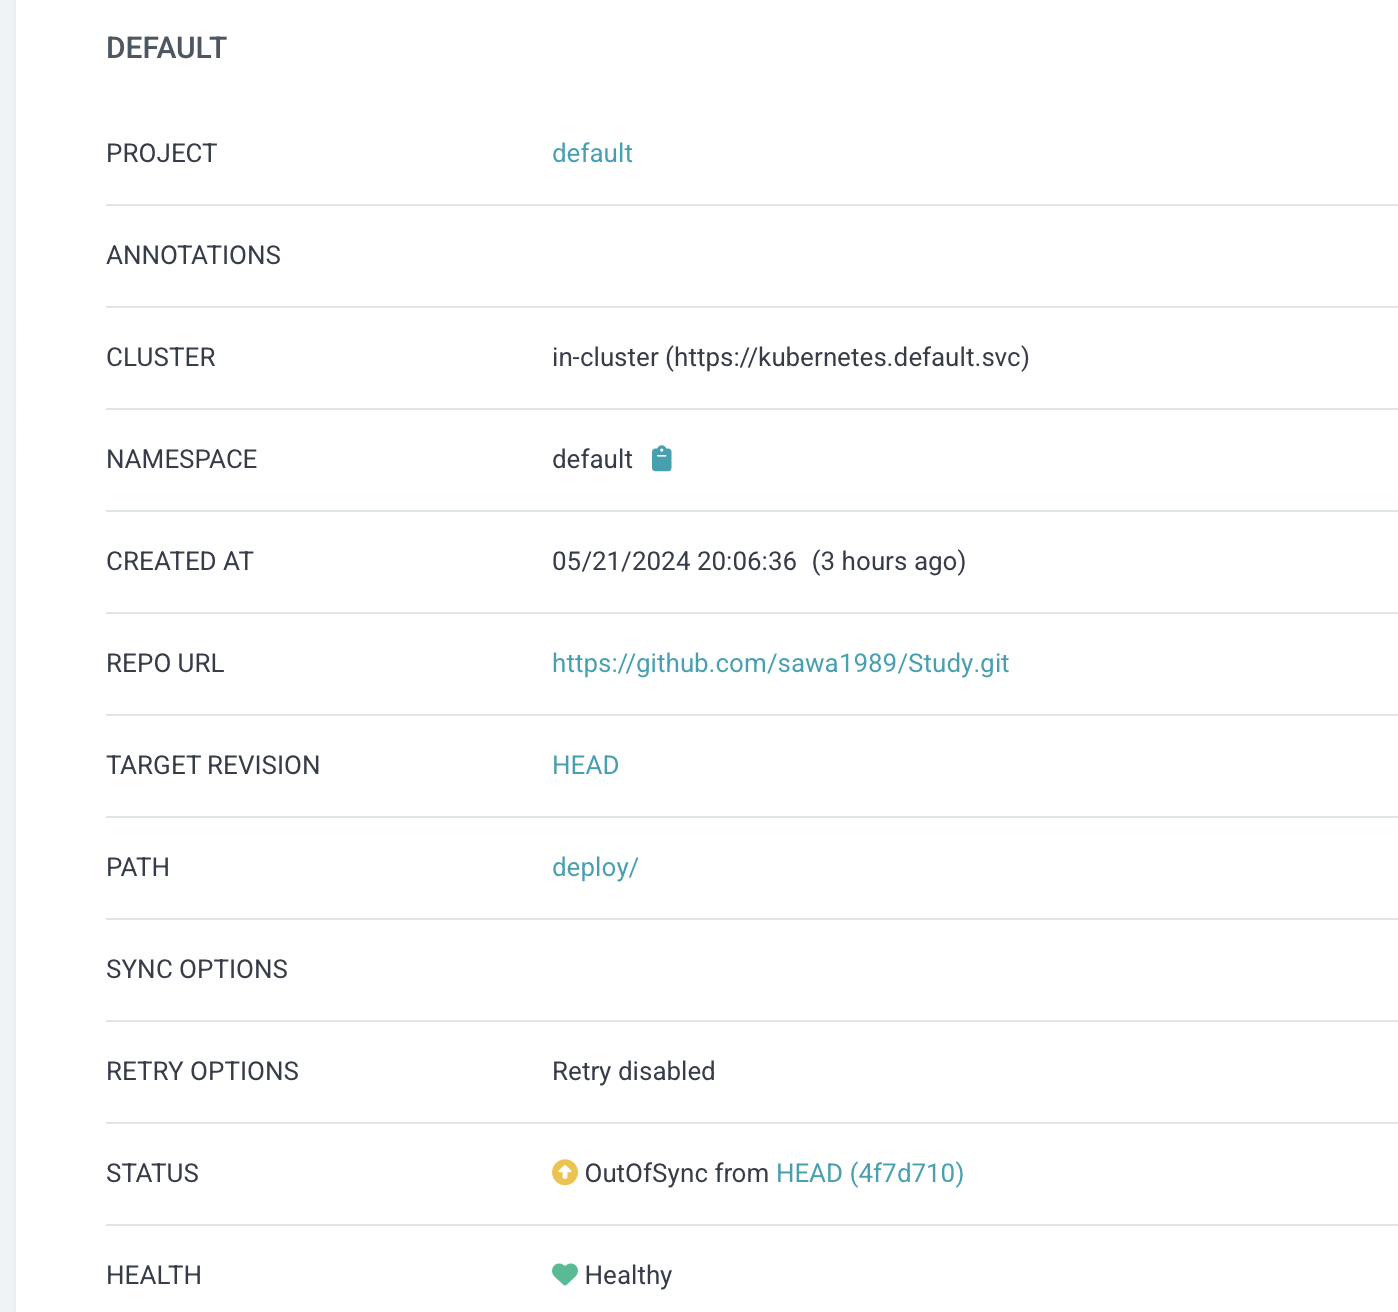
- ArgoCD 배포
kubectl create namespace argocd
kubectl apply -n argocd -f https://raw.githubusercontent.com/argoproj/argo-cd/stable/manifests/install.yaml
kubectl get all -n argocd
kubectl port-forward svc/argocd-server -n argocd 8080:443
kubectl -n argocd get secret argocd-initial-admin-secret -o jsonpath="{.data.password}" | base64 -d; echo
ArgoCD Create APP
사실 deploy파일과 코드 파일은 분리하는게 맞는데, 깃헙 액션 써보는 용도로 만든거니까!
goyo % tree
.
└── Study
    ├── Dockerfile
    ├── README.md
    ├── deploy
    │   └── deployment.yaml
└── main.go- Main.go
package main

import (
    "net/http"
)

func main() {
    http.HandleFunc("/", func(w http.ResponseWriter, req *http.Request) {
        w.Write([]byte("Hello Kyoin"))
    })

    http.ListenAndServe(":80", nil)
}- Dockerfile ( 멀티 스테이지 빌드가 좋지만, 일단 크게 만들엇!! 이 글을 보는 선생님들은 멀티 스테이지 빌드 꼭 하세요...! )
FROM golang:1.20.1-alpine3.17
WORKDIR /target
COPY . /target/
RUN go build -o server main.go
ENTRYPOINT ["/target/server"]- Deployment.yaml
apiVersion: apps/v1
kind: Deployment
metadata:
  name: go-deploy
  labels:
    app: go
spec:
  replicas: 1
  selector:
    matchLabels:
      app: go
  template:
    metadata:
      labels:
        app: go
    spec:
      containers:
        - name: go
          image: goyo9815/server1:081c749
          ports:
            - containerPort: 80
---
apiVersion: v1
kind: Service
metadata:
  name: go-svc
spec:
  selector:
    app: go
  type: NodePort
  ports:
    - protocol: TCP
      port: 80
      targetPort: 80
      nodePort: 30080
github-actions-demo.yml
- 도커 허브에서 토큰 만들어서, secret에 넣어주기! ( DOCKER_HUB_ID, DOCKER_HUB_TOKEN )
name: docker build and edit yaml

on:
  push:
    branches: [ "main" ]
  pull_request:
    branches: [ "main" ]

jobs:
  docker:
    runs-on: ubuntu-latest
    steps:
      -
        name: Checkout
        uses: actions/checkout@v4
      -
        id: commit
        uses: prompt/actions-commit-hash@v3
      -
        name: Set up QEMU
        uses: docker/setup-qemu-action@v3
      -
        name: Set up Docker Buildx
        uses: docker/setup-buildx-action@v3
      -
        name: Login to Docker Hub
        uses: docker/login-action@v3
        with:
          username: ${{ secrets.DOCKER_HUB_ID }}
          password: ${{ secrets.DOCKER_HUB_TOKEN }}
      -
        name: Build and push
        uses: docker/build-push-action@v5
        with:
          context: .
          push: true
          tags: goyo9815/server1:${{ steps.commit.outputs.short }}

    outputs:
      commit_hash: ${{ steps.commit.outputs.short }}


  edityaml:
    runs-on: ubuntu-latest
    needs: docker
    steps:
      -
        name: Checkout
        uses: actions/checkout@v4

      - name: Commit and push generated template
        run: |
          git config --global user.email "gin9815@github.com"
          git config --global user.name "goyo bot"
          export COMMIT_MESSAGE="Generated template from ${{ needs.docker.outputs.commit_hash }}"
          sed -i 's@goyo9815/server1:.*@goyo9815/server1:${{ needs.docker.outputs.commit_hash }}@g' ./deploy/deployment.yaml
          git add .
          git commit -m "$COMMIT_MESSAGE"
          git push

Are you nervous? Don't be