[Naver Maps] Vite + React + TypeScript 환경에서 Naver Maps 초기세팅

TypeScript
아래 둘 중 하나의 방식으로 네이버지도 API 타입 정의 파일을 설치한다.
yarn add -D @types/navermaps
npm i -D @types/navermapshttps://navermaps.github.io/maps.js.ncp/docs/tutorial-3-Using-TypeScript.html
자세한 설명을 위 링크를 참고하면 된다!
환경 변수 설정
발급받은 Client ID를 Root에 .env 등 파일을 통해 환경변수로 만들면 된다.
나같은 경우는 VITE_NAVER_MAP_KEY = "값"으로 두었다.
인증 오류
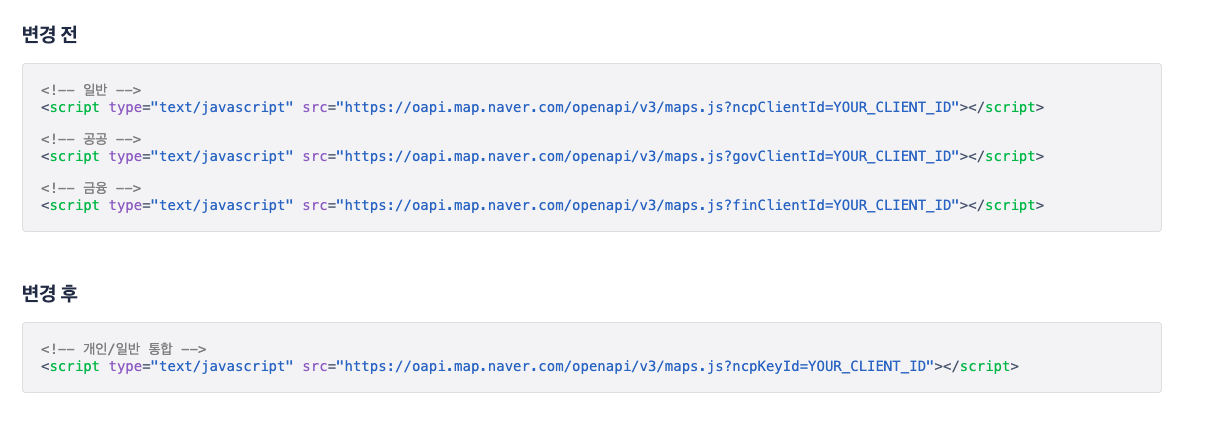
이렇게 세팅을 마쳤는데도, 401이 떠서 공식문서를 찾아봤다.
클라이언트 인증키가 ncpClientId -> ncpKeyId로 변경이 됐음을 확인했다.
https://navermaps.github.io/maps.js.ncp/
추가 정보는 위 링크를 참고하면 된다!
예시코드
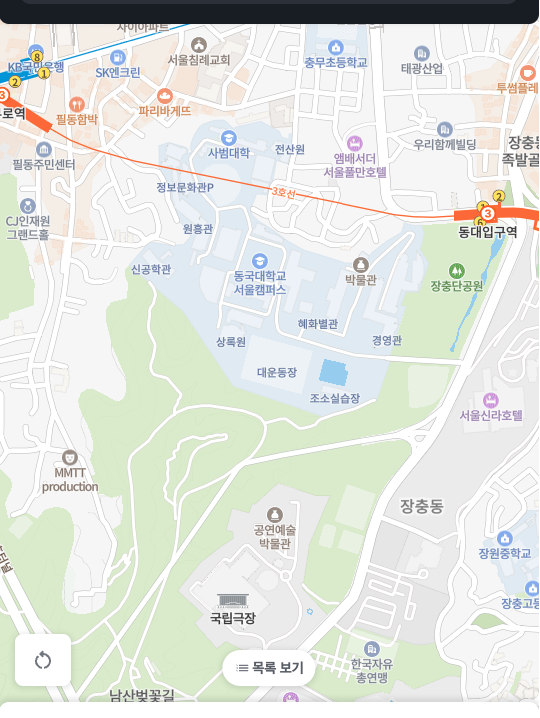
위와 같은 세팅을 마친 뒤 직접 컴포넌트에서 NAVER 지도 API v3 로드를 했다.
import { useState, useEffect } from "react";
import * as S from "./MainMap.styled";

let mapInstance: naver.maps.Map | undefined;

const loadScript = (src: string, callback: () => void) => {
  if (document.querySelector(`script[src="${src}"]`)) {
    callback();
    return;
  }
  const script = document.createElement("script");
  script.type = "text/javascript";
  script.src = src;
  script.onload = () => {
    callback();
  };
  document.head.appendChild(script);
};

const MainMap = ({
  latitude,
  longitude,
}: {
  latitude: number;
  longitude: number;
}) => {
  const [isScriptLoaded, setScriptLoaded] = useState(false);

  useEffect(() => {
    if (typeof window.naver !== "undefined") {
      setScriptLoaded(true);
    } else {
      loadScript(
        `https://oapi.map.naver.com/openapi/v3/maps.js?ncpKeyId=${
          import.meta.env.VITE_NAVER_MAP_KEY
        }`,
        () => setScriptLoaded(true)
      );
    }
  }, []);

  useEffect(() => {
    if (isScriptLoaded) {
      setTimeout(() => {
        mapInstance = new naver.maps.Map("map", {
          center: new naver.maps.LatLng(latitude, longitude),
          zoom: 16,
          zoomControl: true,
          zoomControlOptions: {
            style: naver.maps.ZoomControlStyle.SMALL,
            position: naver.maps.Position.TOP_RIGHT,
          },
        });

      }, 500);
    }
  }, [isScriptLoaded, latitude, longitude]);

  return <div id="map" css={S.getWrapper}></div>;
};

export default MainMap;
느낀점
문서 찾아보면 어떻게든 다 나온다.. 공식문서를 잘 보자!
(이 글을 읽는 시점에서 또 바뀔 수도 있으니까요!)

인증키가 ncpClientId -> ncpKeyId로 변경이 됐음을 확인!
좋은 정보 감사합니다! 참고할게요!