스프링 부트를 이용해 웹 서비스를 만들게 되면 기본적으로 In-memory database에 데이터를 저장하게 된다.
이번 포스팅에서는 대중적으로 많이 사용하는 database 중 하나인 Postgresql와 프로젝트를 연동하는 방법을 알아보겠다.
Postgresql 설치
먼저 자신의 OS에 맞는 postgresql을 설치해주어야 한다.
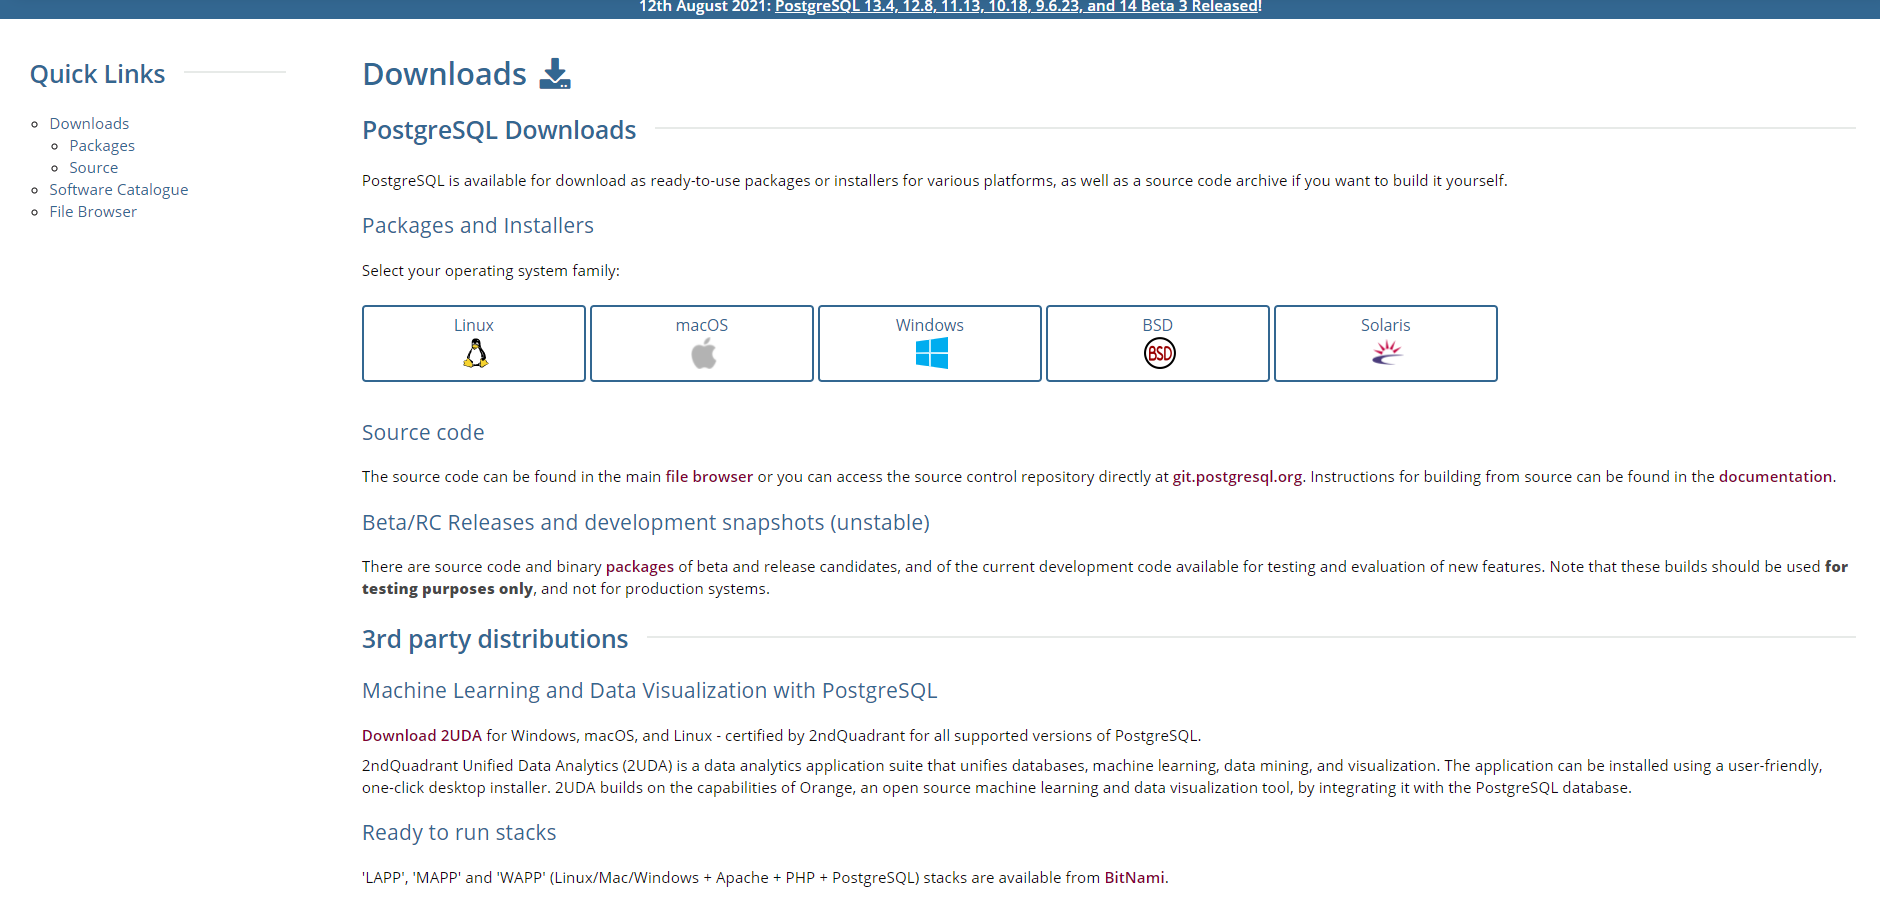
Postgresql 다운로드 사이트 바로가기
DB와 유저 생성 후 권한 주기

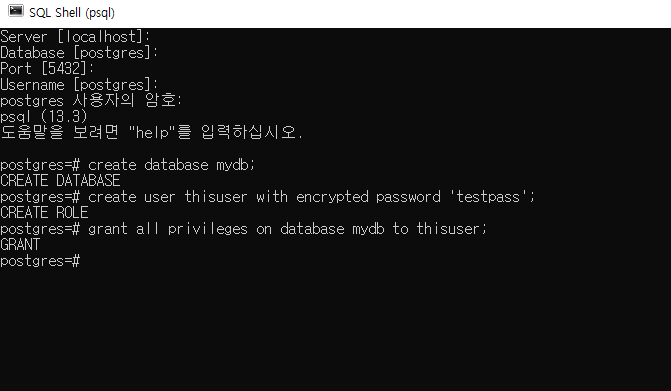
그 후 psql을 실행하여 아래와 같이 DB와 유저를 만든 후 그 유저에게 권한을 준다.
예시: DB: mydb, user: thisuser, password: testpass
프로젝트에 DB 정보 연동
이 단계까지 마쳤다면 이제 만들어진 DB와 user를 프로젝트와 연동해준다.
local환경에서 사용할 application.properties는 그대로 두고 application-dev.properties라는 properties를 하나 더 만들어 준다. 이 파일에 postgresql관련 설정을 해 두면 @Profile("local")과 같은 어노테이션으로 코드 변경 없이 유연하게 실행 환경을 변경할 수 있다.
application-dev.properties
spring.datasource.url=jdbc:postgresql://localhost:5432/mydb
spring.datasource.username=thisuser
spring.datasource.password=testpass
위와 같이 만들어 준 DB 정보를 기입해준다.
Edit configuration 설정
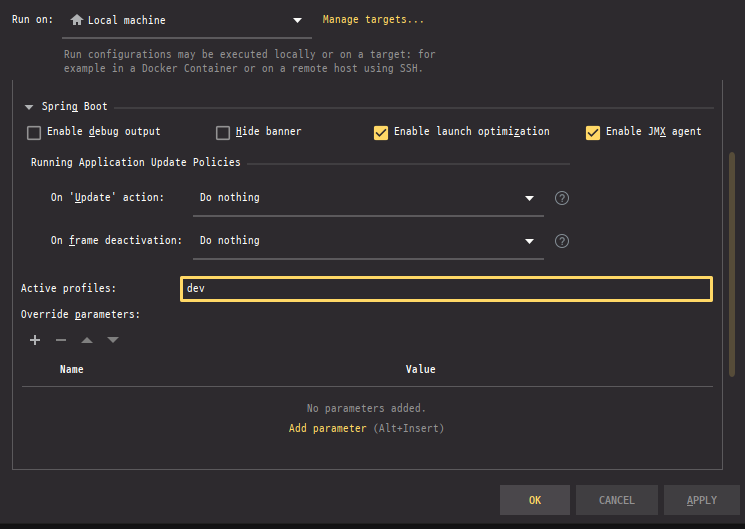
인텔리제이의 실행 탭에 Edit configuration 중 spring boot 탭에서 Active profiles에 profile의 이름을 설정하여 실행 시 사용할 profile을 설정할 수 있다.
@Profile()
@Profile() 어노테이션의 인자로 profile의 이름을 설정하여 특정 profile일 때 실행할 코드를 유동적으로 설정할 수 있다.
예를 들어 @Profile("local") 어노테이션이 달려 있는 class나 interface의 경우 local profile 환경일 때 실행이 된다. 여러 interface에 대해 각각 다른 파라미터를 줄 경우 profile 환경에 따라 다른 interface를 실행할 수 있다.
또 @profile({"local","dev"}) 와 같이 중괄호를 이용하여 복수의 profile환경도 넣어줄 수 있다.
intellij database 탭 설정
인텔리제이에서 쉽게 postgresql을 사용할 수 있도록 탭을 설정할 수 있다.
참고로 ultimate 버전에서만 해당 기능을 설정할 수 있다.
 오른쪽에 있는 database 탭 중 postgresql을 클릭해준다.

그 후 설정해둔 user name과 password, database를 기입한 후 Test Connection으로 커넥션을 테스트한 후 적용을 누르면 연동이 완료된다.