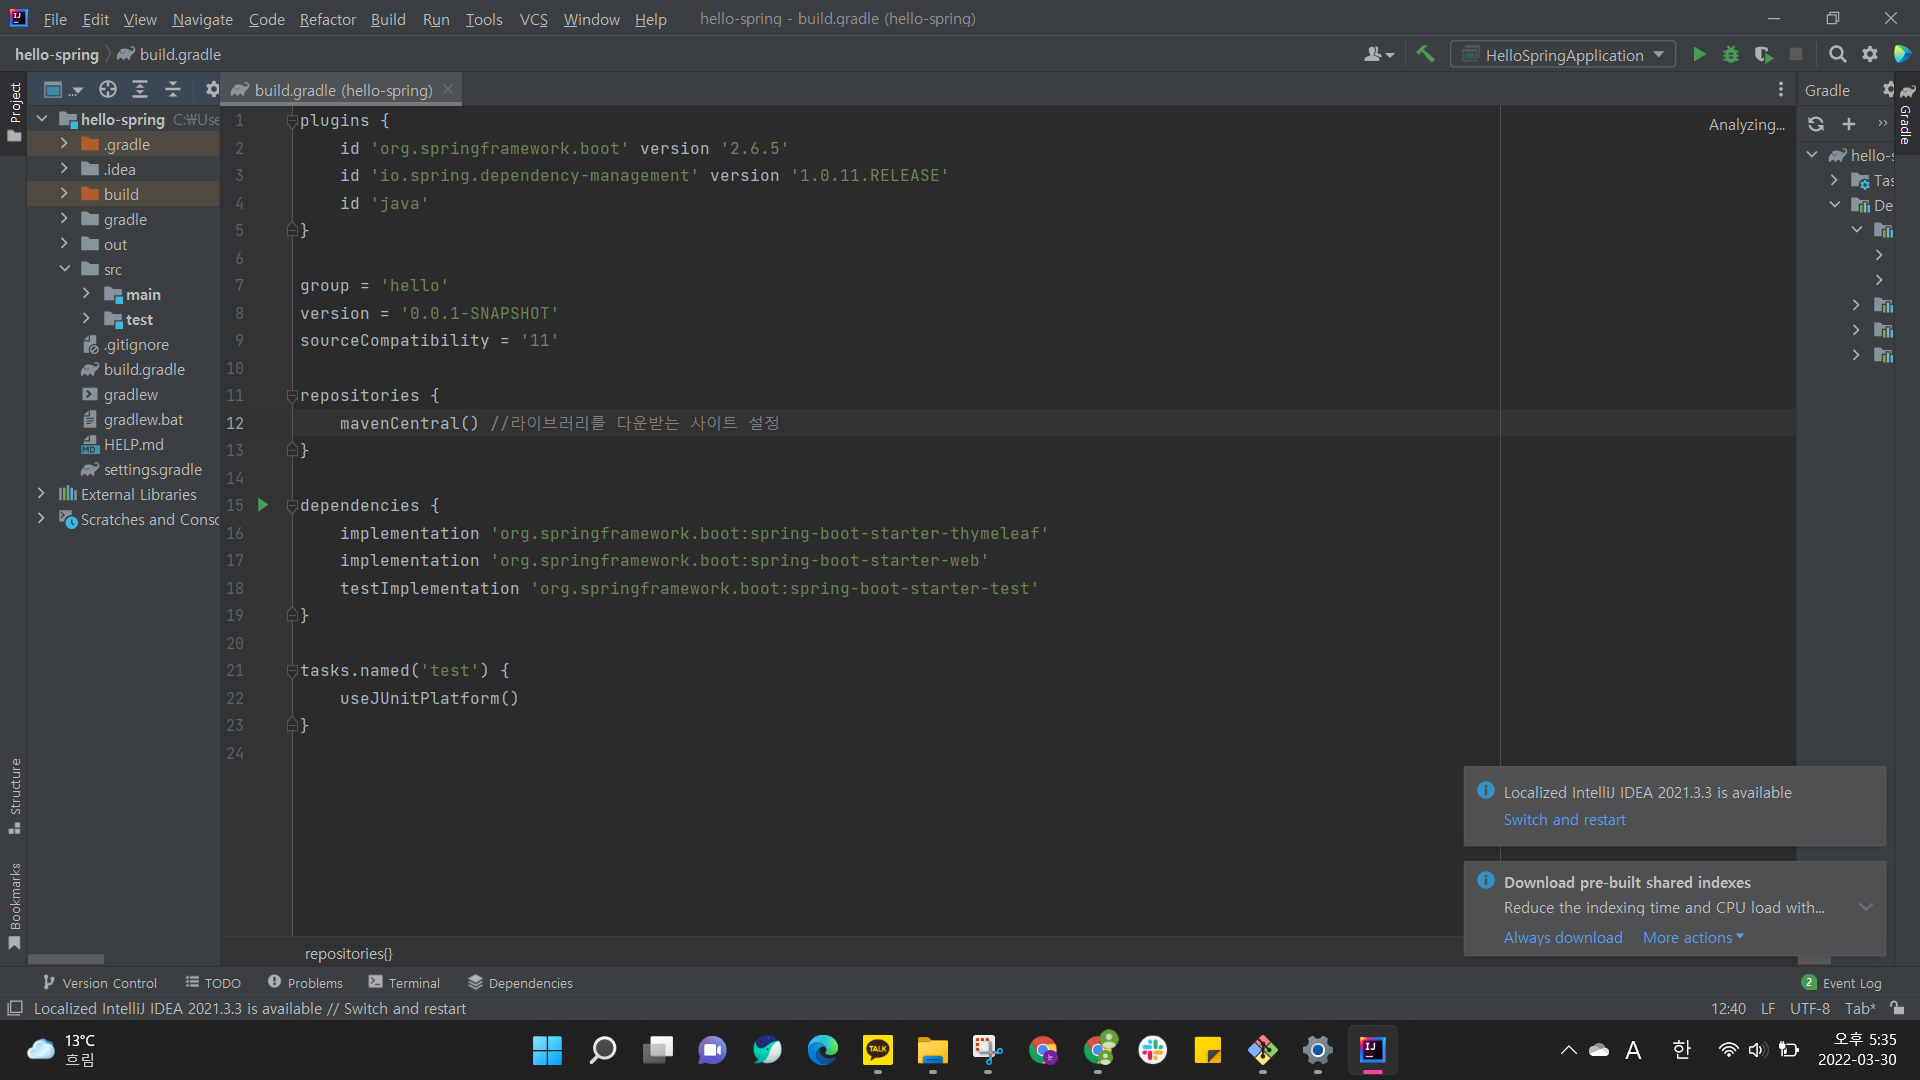
1. 프로젝트 환경
- gradle project, java, spring boot ver(2.6.4), dependencies(spring web, thymeleaf) 설정하여 .zip파일을 다운받고 압축을 푼 다음
IntelliJ에서 open as project

View 환경설정
<!DOCTYPE HTML>
<html>
<head>
    <title>Hello</title>
    <meta http-equiv="Content-Type" content="text/html; charset=UTF-8" />
</head>
<body>
Hello
<a href="/hello">hello</a>
</body>
</html>
빌드하고 실행하기
1. cmd로 gradlew.bat
2. gradlew build
3. cd build/libs
4. java -jar hello-spring-0.0.1-SNAPSHOT.jar
2. 스프링 웹 개발 기초
정적 컨텐츠
//컨트롤러 X, 파일을 바로
MVC와 템플릿 엔진
//Model, View, Controller
@Controller
public class HelloController {
 @GetMapping("hello-mvc")
 public String helloMvc(@RequestParam("name") String name, Model model) {
 model.addAttribute("name", name);
 return "hello-template";
 }
}<html xmlns:th="http://www.thymeleaf.org">
<body>
<p th:text="'hello ' + ${name}">hello! empty</p>
</body>
</html>API
//반환해서 띄워줌
@Controller
public class HelloController {
 @GetMapping("hello-string")
 @ResponseBody
 public String helloString(@RequestParam("name") String name) {
 return "hello " + name;
 }
}
@Controller
public class HelloController {
@GetMapping("hello-api")
@ResponseBody
public Hello helloApi(@RequestParam("name") String name) {
Hello hello = new Hello();
hello.setName(name);
return hello;
}
static class Hello {
private String name;
public String getName() {
return name;
}
public void setName(String name) {
this.name = name;
}
}
}// 객체가 json으로 반환되는 responsebody
