1. 비밀번호 암호화
현재는 비밀번호를 입력받은 그대로 저장하고 있다. 이것은 보안 또는 법적으로 문제가 될 수 있다.
그러므로 bcrypt를 활용해서 비밀번호를 암호화 해서 저장해 보도록 하자.
$ npm i bcrypt
import { Injectable } from "@nestjs/common";
import { InjectRepository } from "@nestjs/typeorm";
import { Repository } from "typeorm";
import * as bcrypt from "bcrypt";
import { CreateUserDto } from "./dto/create-user.dto";
import { User } from "./user.entity";

@Injectable()
export class UserService {
    constructor(
        @InjectRepository(User)
        private readonly userRepository: Repository<User>
    ){}
    async create(createUserDto: CreateUserDto):Promise<User> {
        const {email, password} = createUserDto;
        const hashedPassword = await bcrypt.hash(password, 10);
        const result = await this.userRepository.save({
            email,
            password: hashedPassword
        });
        return result
    }
}
실행시켜 보자.
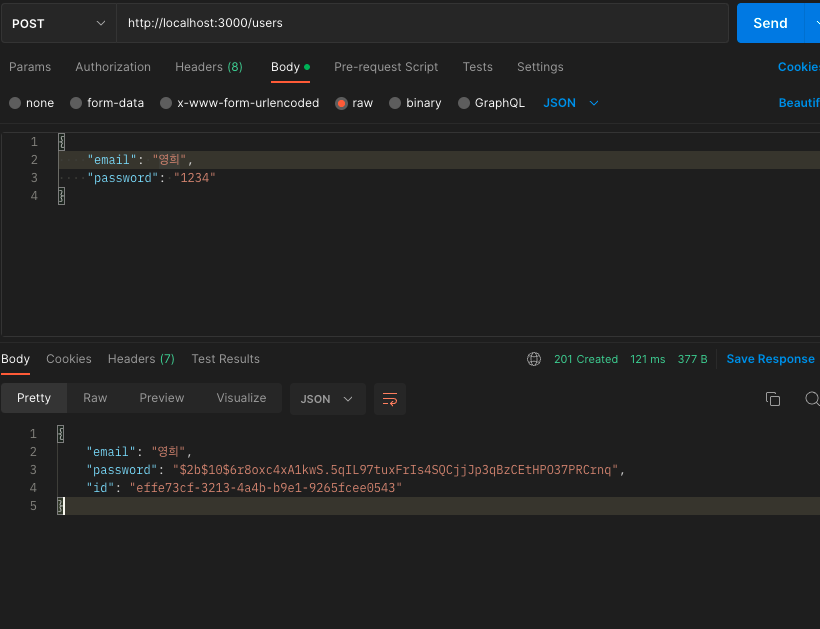
잘들어 간거 같다.
2. 중복 이메일 막기
보통 회원가입을 하고 로그인을 할 때는 고유값인 id, email을 사용한다.
그렇기에 이값들은 중복이 되면 안된다.
email값을 중복이 안되는 값으로 설정해 보자.
import { Column, Entity, PrimaryGeneratedColumn } from 'typeorm';

@Entity()
export class User {
  @PrimaryGeneratedColumn("uuid")
  id: number;

  @Column({unique: true})
  email: string;

  @Column()
  password: string;
}
email column에 unique속성을 주었다. 정상적으로 작동하는지 확인해 보자
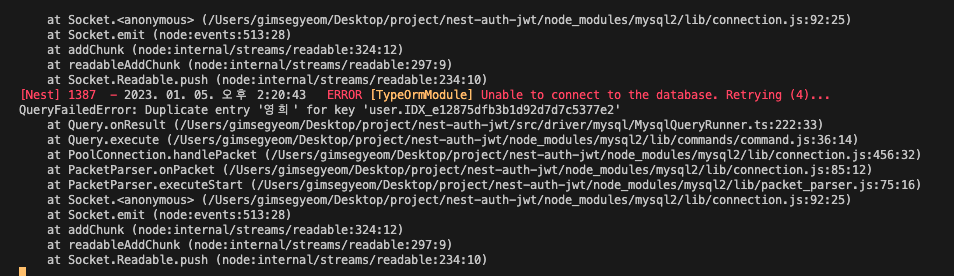
실행 시키니 '영희'라는 이메일이 중복으로 있다는 에러가 뜬다. 설정전에 중복으로 들어간 데이터 들을 지워주자
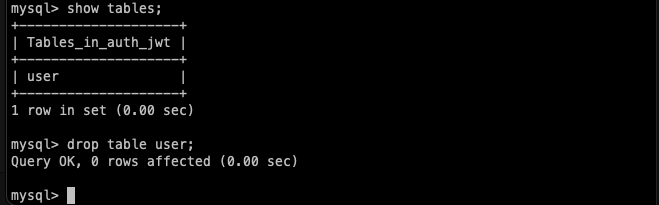
잘못된 데이터가 들어간 row가 많기 때문에 그냥 테이블 쨰로 삭제했다.
다시 테스트 하니 email의 중복을 막아주고 있다.
3. 유효성 체크
위에 테스트에서 봤듯이 현재 email을 입력 받고 있지만 이메일 형식이 아니더라도 DB에 저장 되는 것을 볼 수 있다.
이것을 이제 email형식에 맞게 들어 왔을 때 실행 되도록 해보겠다
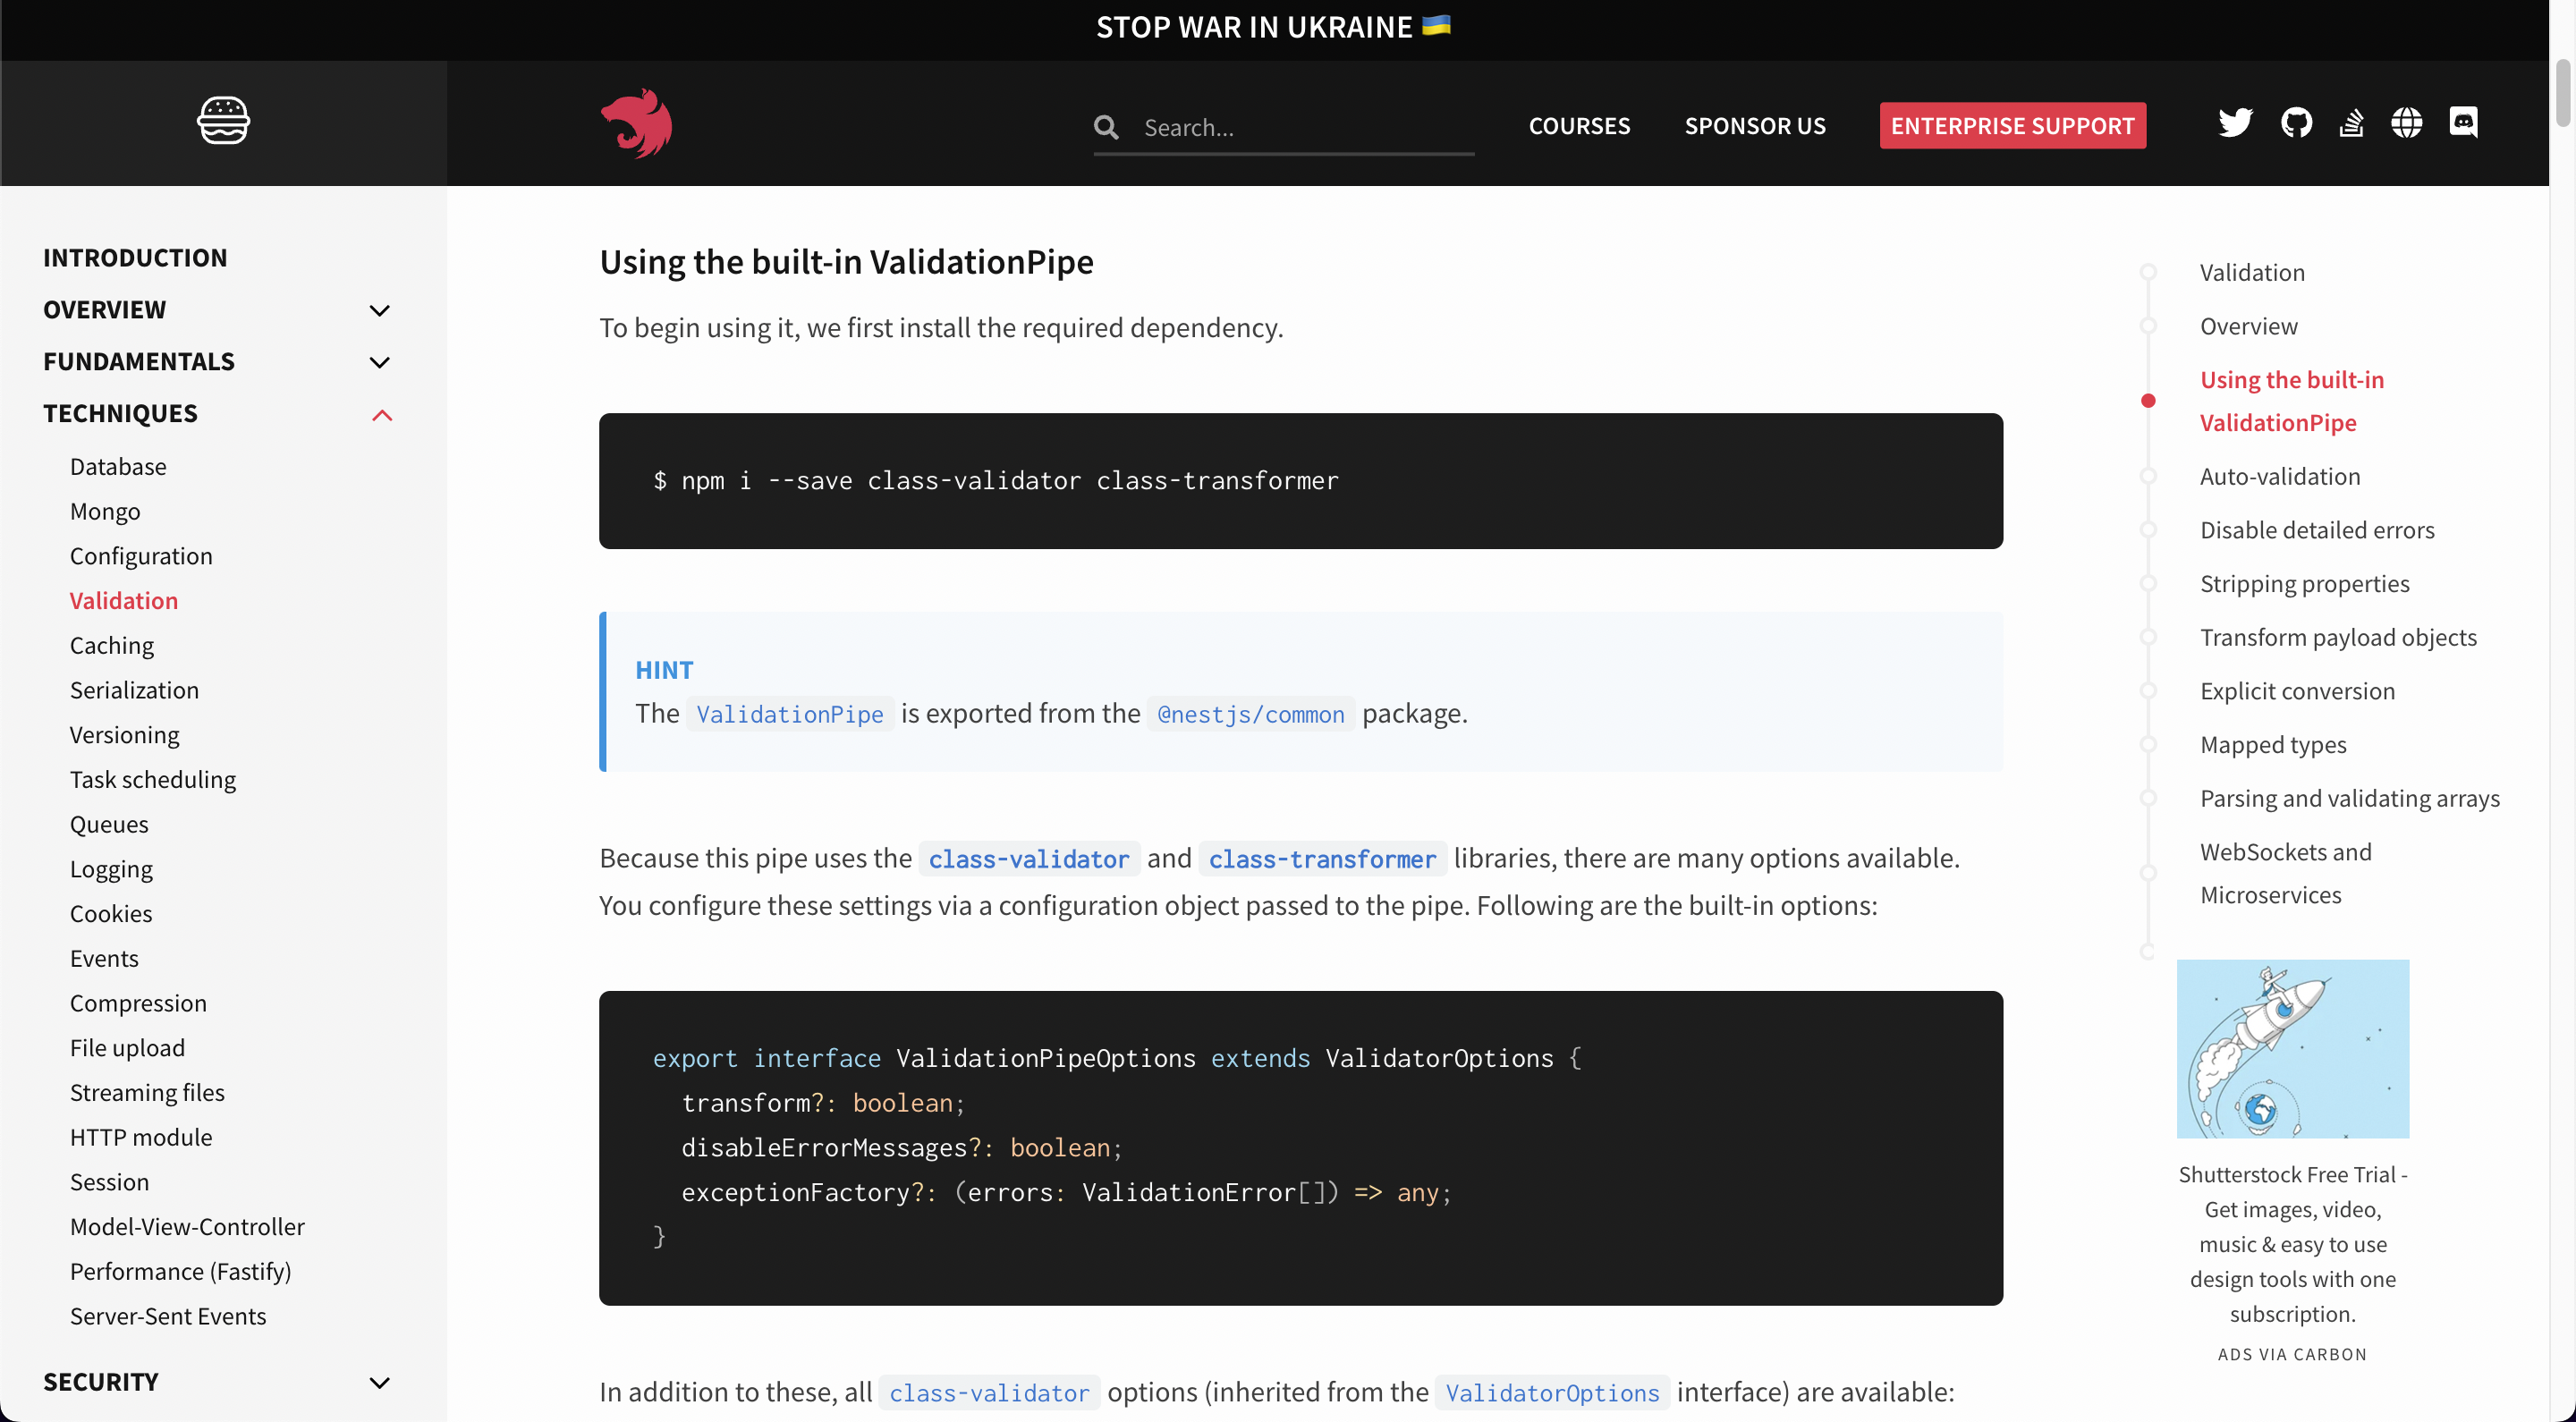
nestjs공식 문서에 따르면 class-validator class-transformer를 사용 하라고 나와있다.
import { IsEmail, IsNotEmpty } from "class-validator";

export class CreateUserDto {
    @IsEmail()
    email: string;
    @IsNotEmpty()
    password: string;
}

import { ValidationPipe } from '@nestjs/common';
import { NestFactory } from '@nestjs/core';
import { AppModule } from './app.module';

async function bootstrap() {
  const app = await NestFactory.create(AppModule);
  app.useGlobalPipes(
    new ValidationPipe({
      transform: true,
    }),
  );
  await app.listen(3000);
}
bootstrap();
Dto에 적용해 주었다.
main.ts에 pipes를 등록해 주어야 한다. (각각의 controller에 등록 해 주어도 된다)
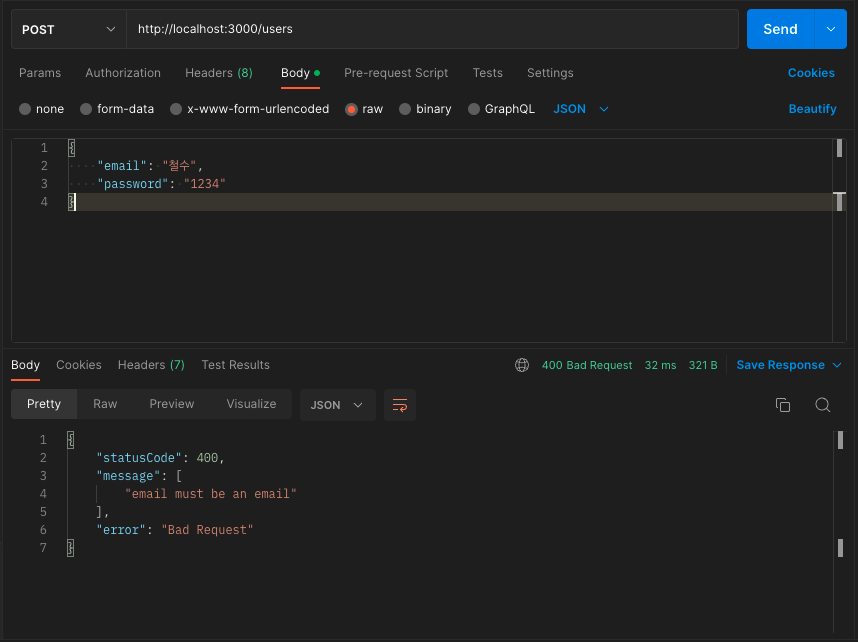
email 형식을 맞추어 달라는 에러 문구가 날라온다.
4. 마치며
일단 기본적인 처리는 마무리 된것 같다. 다음에는 login을 해서 email, password 정보가 맞는지 확인을 하고 jwt를 발급하는 로직을 작성해 보자.