
🖥 구글 폰트 적용하기
📍 원하는 폰트 다운로드
📝 구글폰트
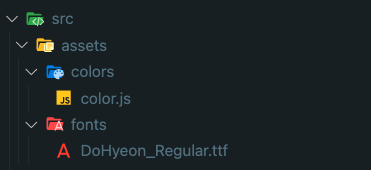
📍 src/assets/fonts에 저장
📍 root/react-native.config.생성
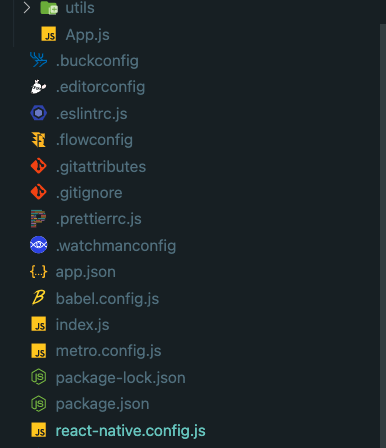
module.exports = {
    project: {
        ios: {},
        android: {},
    },
    assets: ['./src/assets/fonts/']
};
📍 연결작업
react-native link📍 ios/info.plist 확인

📍 폰트 사용
<Text style={{ color: colors.nvpRoot, fontFamily: 'DoHyeon-Regular', fontSize: 40, textDecorationLine: 'underline' }} >sasd</Text>
- 버튼안에 폰트 넣을때는,,!
button: {
        borderRadius: 10,
        backgroundColor: colors.nvpRoot,
        fontFamily: 'DoHyeon-Regular',
        fontSize: 21,
        marginBottom: 10,
        marginLeft: 4,
        marginRight: 4,

    },
    signUpButton: {
        borderRadius: 100,

    },
    buttonText: {
        fontFamily: 'DoHyeon-Regular',
        fontSize: 20,
        justifyContent: 'center',
        color: 'white'

    },
버튼 안의 텍스트 속성을 따로 지정해준뒤,
const SignUpButton = (props) => (
    <Button
        style={buttonStyles.signUpButton}
        icon={props.icon}
        mode="contained"
        color="#00B990"
        onPress={props.onPress}>
        <Text style={buttonStyles.buttonText}> {props.buttonName}</Text>
    </Button>
)
Text 컴포넌트를 가져와서 지정해준다
🖥 로고 png 적용하기
📍 Xcode
1. NVP -> Images
SplashIcon을 생성한다.

2. NVP -> LaunchScreen
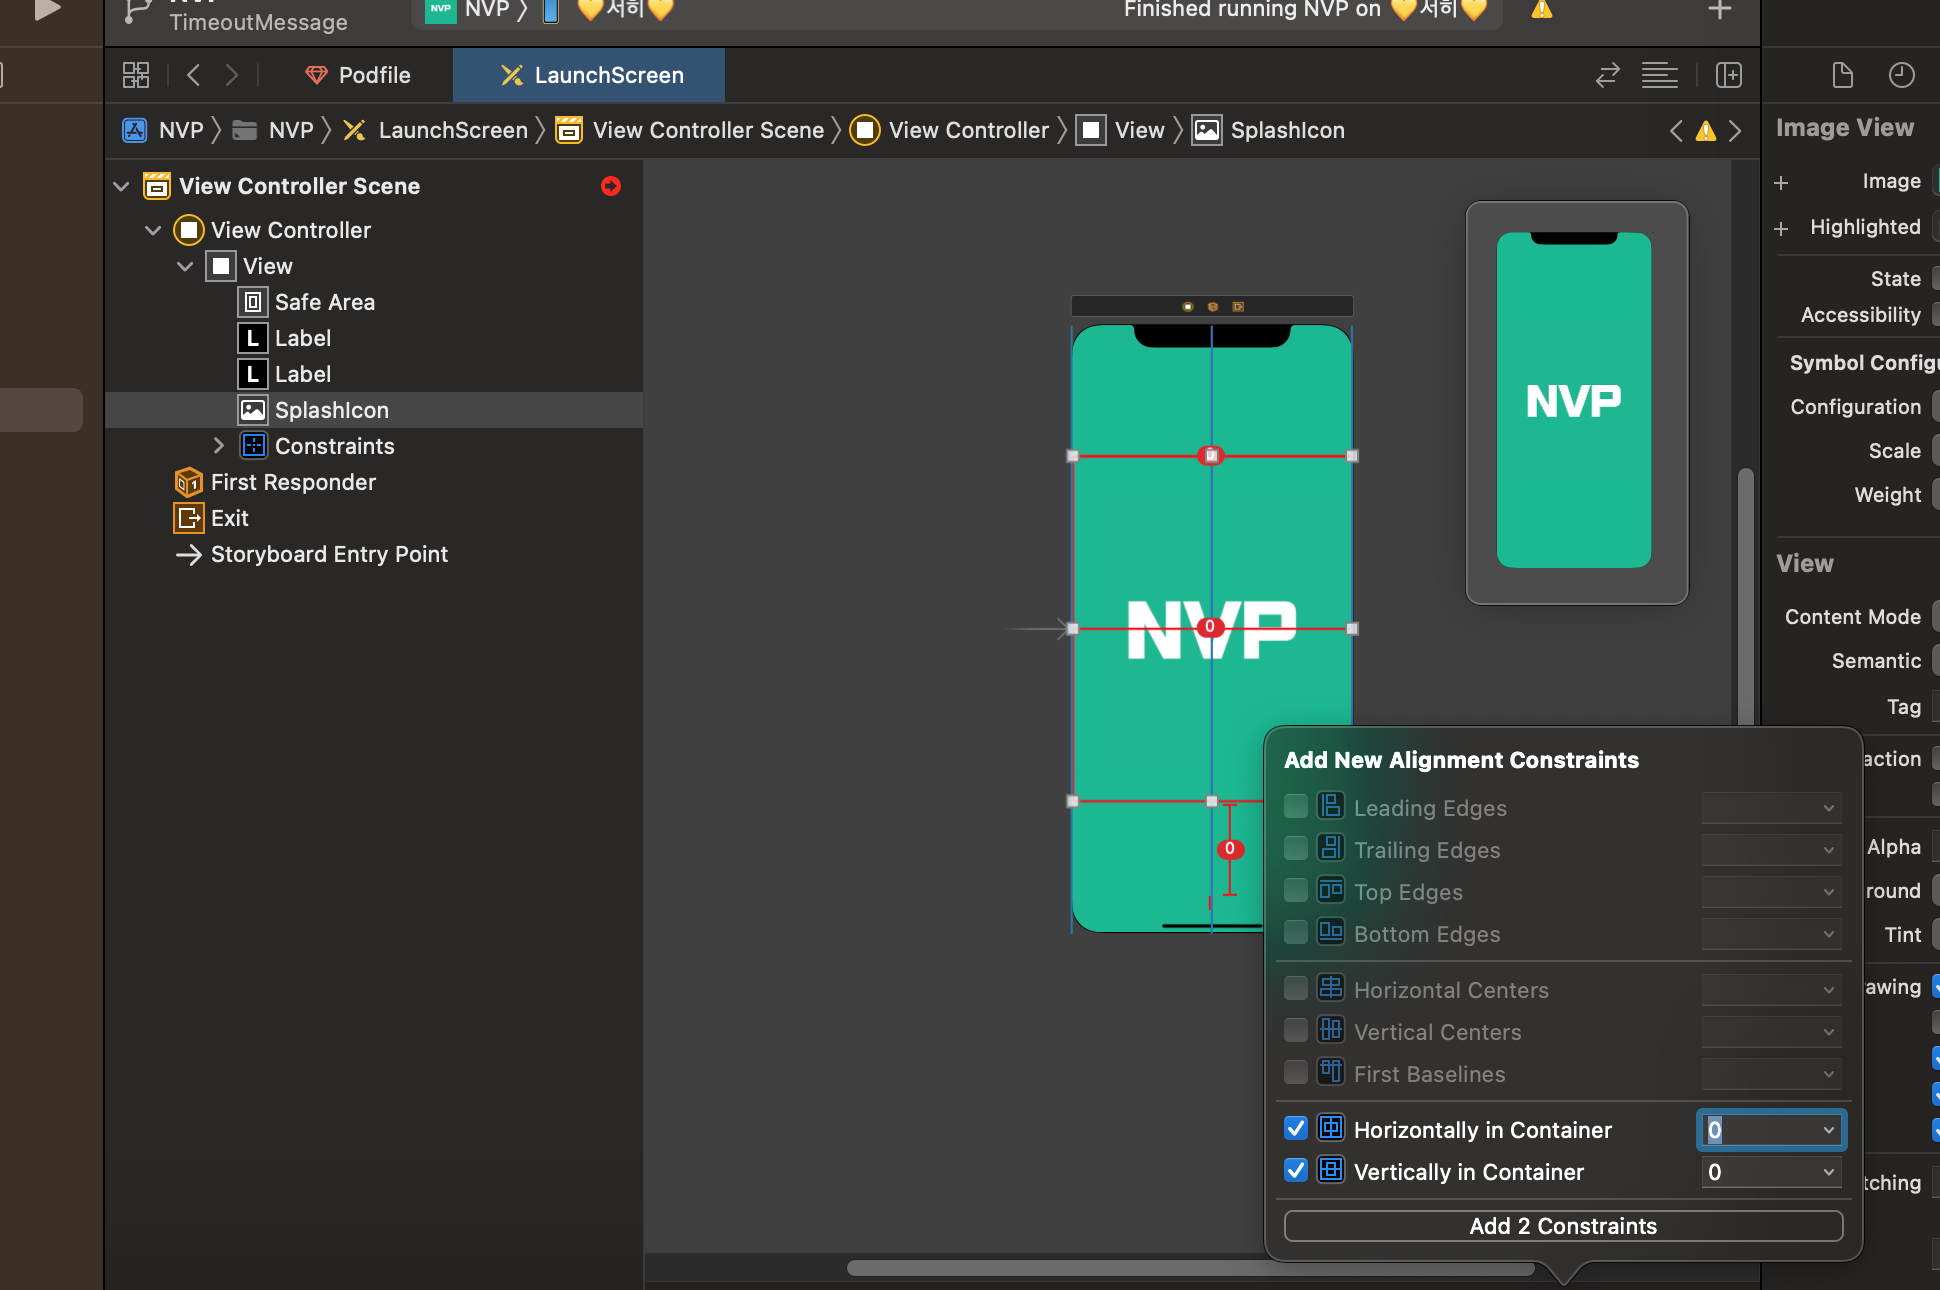
저장된 SplashIcon을 View에 불러온뒤
Add New Alignment Constraints 에서 Horizontally/Vertically in Container 를 모두 0 으로 설정하여 추가
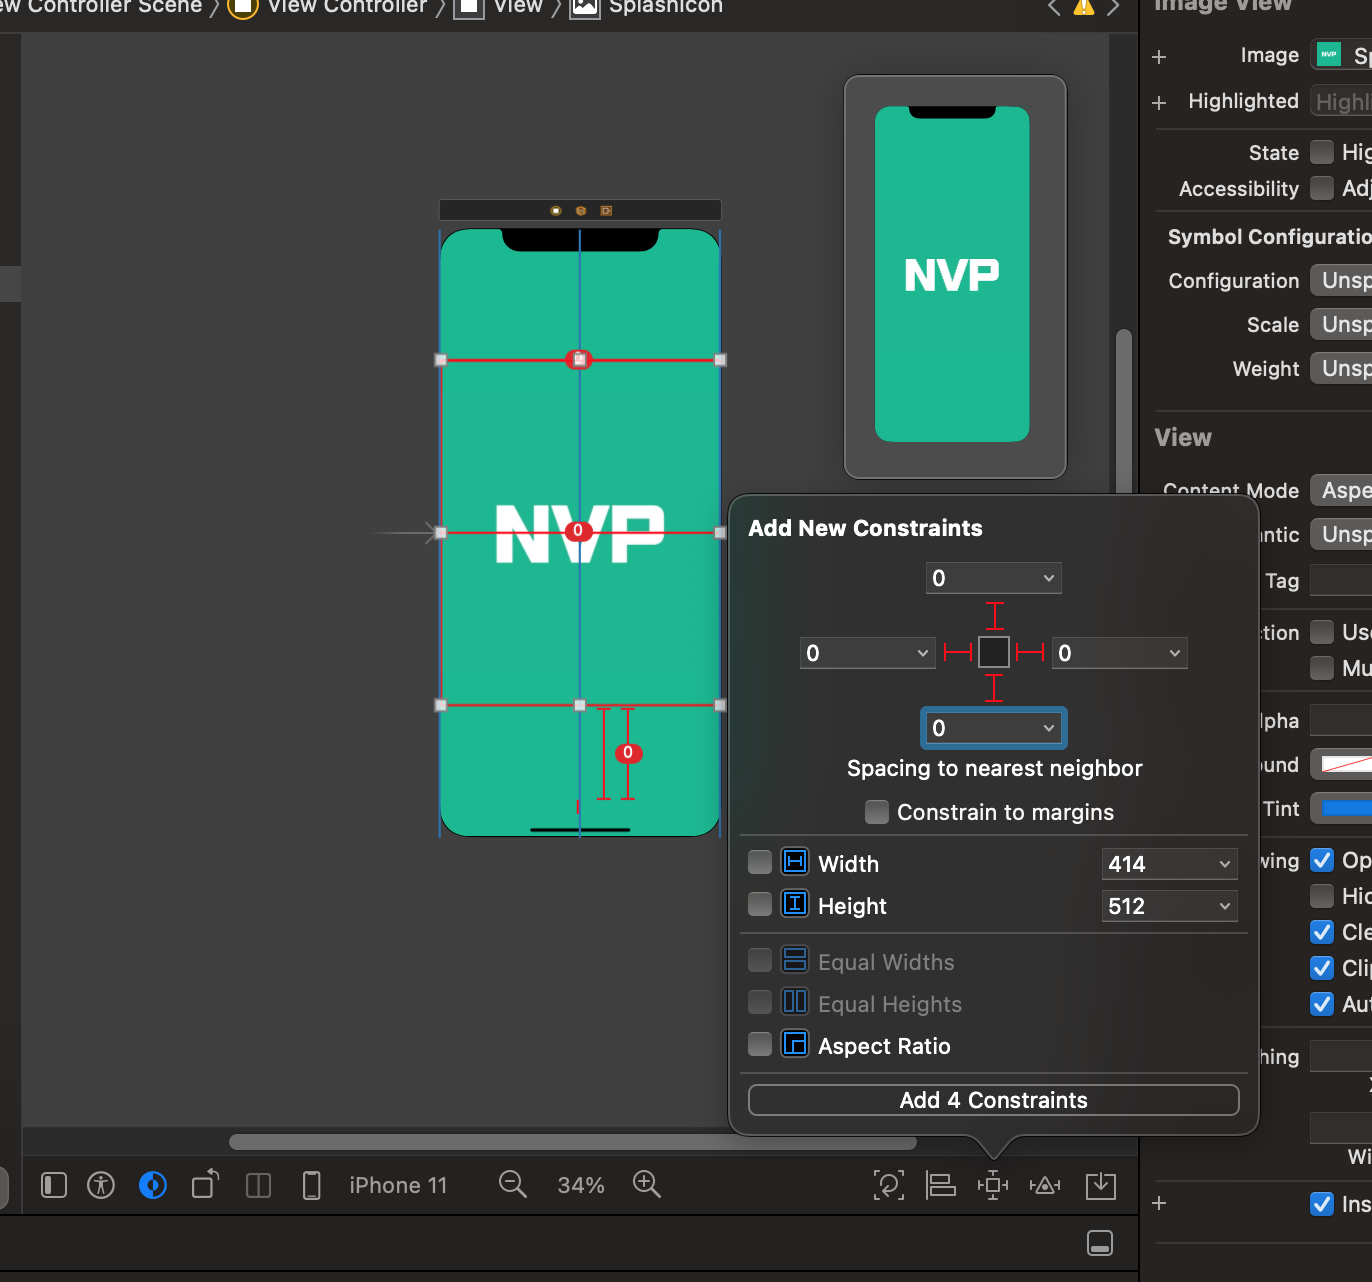
이후,
Add New Constraints에서 모든 방향을 0으로 맞춘후 추가하면 가운데 정렬이 된다!
📍 vsCode
1. assets/images
로고 추가를 먼저 진행
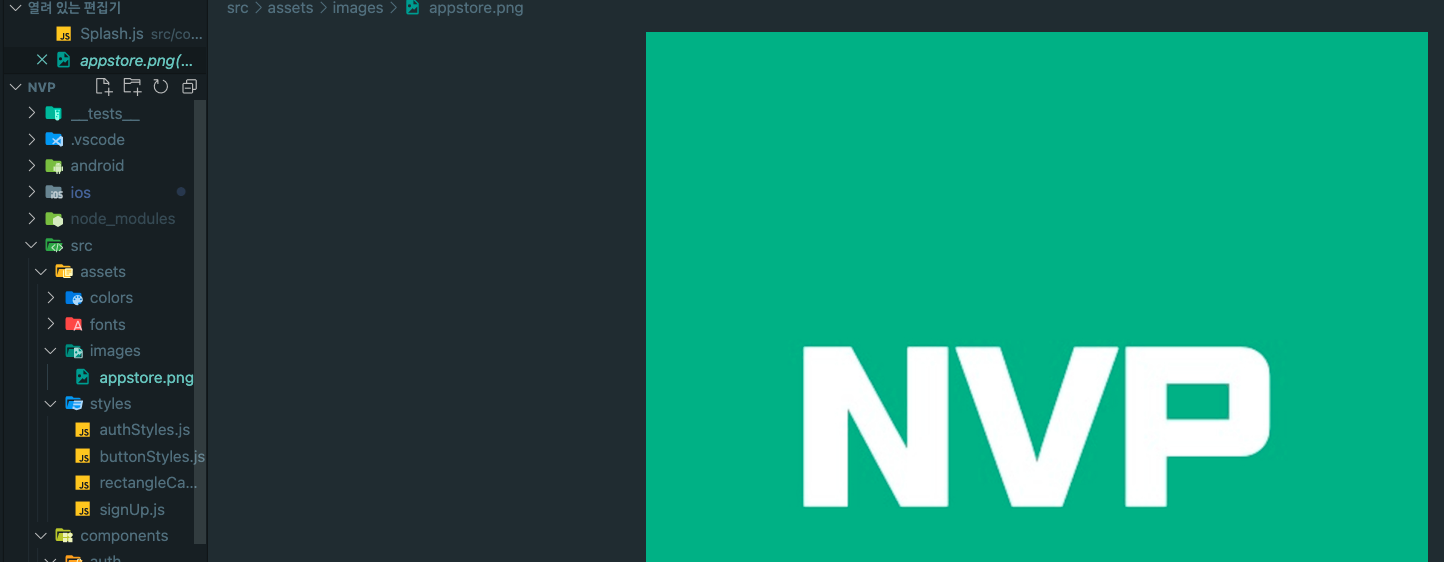
2. components/auth/Splash.js
useEffect() 를 통해 사용자의 정보가 있으면, Main으로 넘기고
사용자가 로그아웃을 진행하였다면 로그인 화면으로 넘어가게 구현
function Splash(props) {

    useEffect(() => {
        setTimeout(() => {
            AsyncStorage.clear();
            AsyncStorage.getItem('userUniqueId')
                .then((value) => {
                    console.log(value)
                    if (value != null) {
                        props.goMain(value)

                        props.navigation.replace('Main');

                    } else {
                        props.navigation.replace('Auth');
                        console.log(value);

                    }
                }
                );

        }, 3000);
    }, []);
    return (
        <ImageBackground source={require('../../assets/images/appstore.png')} resizeMode="contain" style={styles.image} />
    )
}
ImageBackground 를 통해 로고 넣음
이때,resizeMode를 contain으로 하여 너비와 높이가 모두 디바이스에 맞게 설정하였다!
const styles = StyleSheet.create({
    image: {
        justifyContent: 'center',
        alignContent: 'center',
        width: "100%", height: "100%",
        backgroundColor: colors.nvpRoot,

    },
});

export default Splash;
3. 결과
정상 출력완료!!!
