이건 카카오 테크 캠퍼스 프로젝트용..
팀원분이 파일 업로드하고 보여주는게 어렵고 잘 안되는 관계로 포트폴리오 사진을 1~2장만 하기로 했었는데 .... 나는 그 사실이 이해가 안가서 ..!! 그래서 직접 구현해보고 어느정도의 시간이 걸리는지 체크해보기로 했다! Spring Boot 3.1.3 버전이고 추가한 의존성은 thymeleaf 정도??
구현
설정하기
스프링부트 3점대로 들어오면서, MultipartResolver를 Bean으로 등록시켜줘야 한다고 .... 이것도 사실 몰라서 30분정도 삽질했다. ... . ..ㅎㅎㅎ 그리고 Multipart 파일을 저장할 폴더를 지정해주고, 요청 및 파일 사이즈 제한도 걸어주었다!
package com.seokwns.refilt.core.config;

import jakarta.servlet.MultipartConfigElement;
import org.springframework.boot.web.servlet.MultipartConfigFactory;
import org.springframework.context.annotation.Bean;
import org.springframework.context.annotation.Configuration;
import org.springframework.util.unit.DataSize;
import org.springframework.web.multipart.MultipartResolver;
import org.springframework.web.multipart.support.StandardServletMultipartResolver;

@Configuration
public class MultipartConfig {
    @Bean
    public MultipartResolver multipartResolver() {
        return new StandardServletMultipartResolver();
    }

    @Bean
    public MultipartConfigElement multipartConfigElement() {
        MultipartConfigFactory factory = new MultipartConfigFactory();
        factory.setLocation("/Users/seokjun/Downloads/test/");
        factory.setMaxRequestSize(DataSize.ofMegabytes(100L));
        factory.setMaxFileSize(DataSize.ofMegabytes(100L));

        return factory.createMultipartConfig();
    }
}
이러면 준비 끝! 과정은 생각보다 진짜 간단하다
HTML 파일
form으로 사진을 입력받을 페이지 하나를 만들고
<!DOCTYPE html>
<html lang="en" xmlns:th="http://www.w3.org/1999/xhtml">
<head>
    <meta charset="UTF-8">
    <title>hello</title>
</head>
<body>
<div>
  <form method="post" action="/upload" enctype="multipart/form-data">
    <input th:field="*{file}" type="file" name="uploadfile" multiple="multiple"/>
    <input type="submit" value="결과 확인"/>
  </form>
</div>
</body>
</html>
결과를 보여줄 페이지도 하나 만들면 끝 !!
<!DOCTYPE html>
<html lang="en" xmlns:th="http://www.w3.org/1999/xhtml">
<head>
    <meta charset="UTF-8">
    <title>result</title>
</head>
<body>
<ul th:each="file: ${files}">
  <li>
    <span th:text="${file.fileName}"></span>
    <a th:href="'/download?fileName='+${file.fileName}" re> [download] </a> <br />
    <a th:href="'/display?filename='+${file.fileName}">
      <img th:src="'/display?filename='+${file.fileName}" alt="이미지 확인하기" width="300px" />
    </a><br />
  </li>
</ul>
</body>
</html>html
요렇게 추가해주고! 서비스 로직을 추가해주자
Service 로직
package com.seokwns.refilt.service;

@Service
public class ImageService {
    public List<FileDTO> upload(MultipartFile[] uploadFiles) {
        List<FileDTO> files = new ArrayList<>();

        Arrays.stream(uploadFiles).forEach(multipartFile -> {
            FileDTO file = new FileDTO(multipartFile.getOriginalFilename(), multipartFile.getContentType());
            files.add(file);

            File newFile = new File(Objects.requireNonNull(multipartFile.getOriginalFilename()));
            try {
                multipartFile.transferTo(newFile);
            }
            catch (IOException exception) {
                exception.printStackTrace();
            }
        });

        return files;
    }

    public ResponseEntity<?> download(FileDTO dto) throws IOException {
        Path path = Paths.get("/Users/seokjun/Downloads/test/" + dto.fileName());
        String contentType = Files.probeContentType(path);

        HttpHeaders httpHeaders = new HttpHeaders();
        httpHeaders.setContentDisposition(
                ContentDisposition.builder("attachment")
                        .filename(dto.fileName(), StandardCharsets.UTF_8)
                        .build()
        );
        httpHeaders.add(HttpHeaders.CONTENT_TYPE, contentType);

        Resource resource = new InputStreamResource(Files.newInputStream(path));
        return new ResponseEntity<>(resource, httpHeaders, HttpStatus.OK);
    }

    public ResponseEntity<?> display(String filename) {
        String path = "/Users/seokjun/Downloads/test/" + filename;
        Resource resource = new FileSystemResource(path);

        if (!resource.exists()) {
            return new ResponseEntity<>(new ResponseData<>(false, HttpStatus.NOT_FOUND, "사진이 존재하지 않습니다.").status());
        }

        HttpHeaders httpHeaders = new HttpHeaders();
        try {
            Path filepath = Paths.get(path);
            httpHeaders.add("Content-Type", Files.probeContentType(filepath));
        } catch (IOException e) {
            throw new RuntimeException(e);
        }

        return new ResponseEntity<>(resource, httpHeaders, HttpStatus.OK);
    }
}
참고로 FileDTO는 아시다시피 filename, contentType 을 전달하는 용도이다
이러면 끝 !!!!!!
Controller
마지막으로 컨트롤러를 작성해서 테스트해보자
@RequiredArgsConstructor
@Controller
public class ImageController {
    private final ImageService imageService;

    @GetMapping("/main")
    public String hello() {
        return "hello";
    }

    @PostMapping("/upload")
    public String upload(@RequestParam("uploadfile") MultipartFile[] uploadFiles, Model model) {
        List<FileDTO> files = imageService.upload(uploadFiles);
        model.addAttribute("files", files);
        return "results";
    }

    @GetMapping("/download")
    public ResponseEntity<?> download(@ModelAttribute FileDTO dto) throws IOException {
        return imageService.download(dto);
    }

    @GetMapping("/display")
    public ResponseEntity<?> display(@RequestParam("filename") String filename) {
        return imageService.display(filename);
    }
}
결과 확인
사진 1장
우선 1장 업로드 해보기!

두근두근

완전 빠름! 누르면 즉시 보여진다
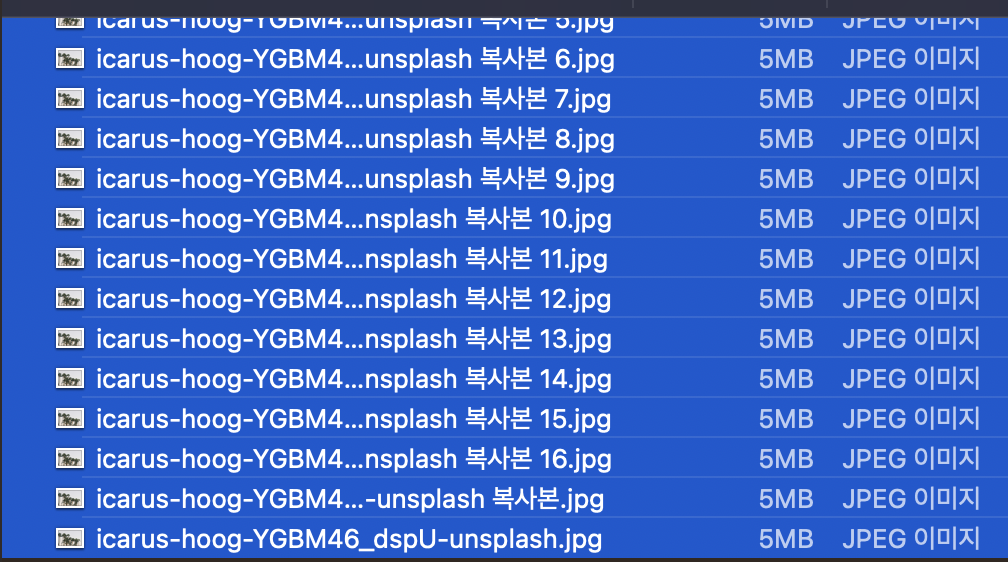
5MB 사진, 17장
그 다음은 조금 용량이 있는 사진 17장! unsplash에서 아무거나 다운받아서 17장을 테스트해 보았다!
결과는??
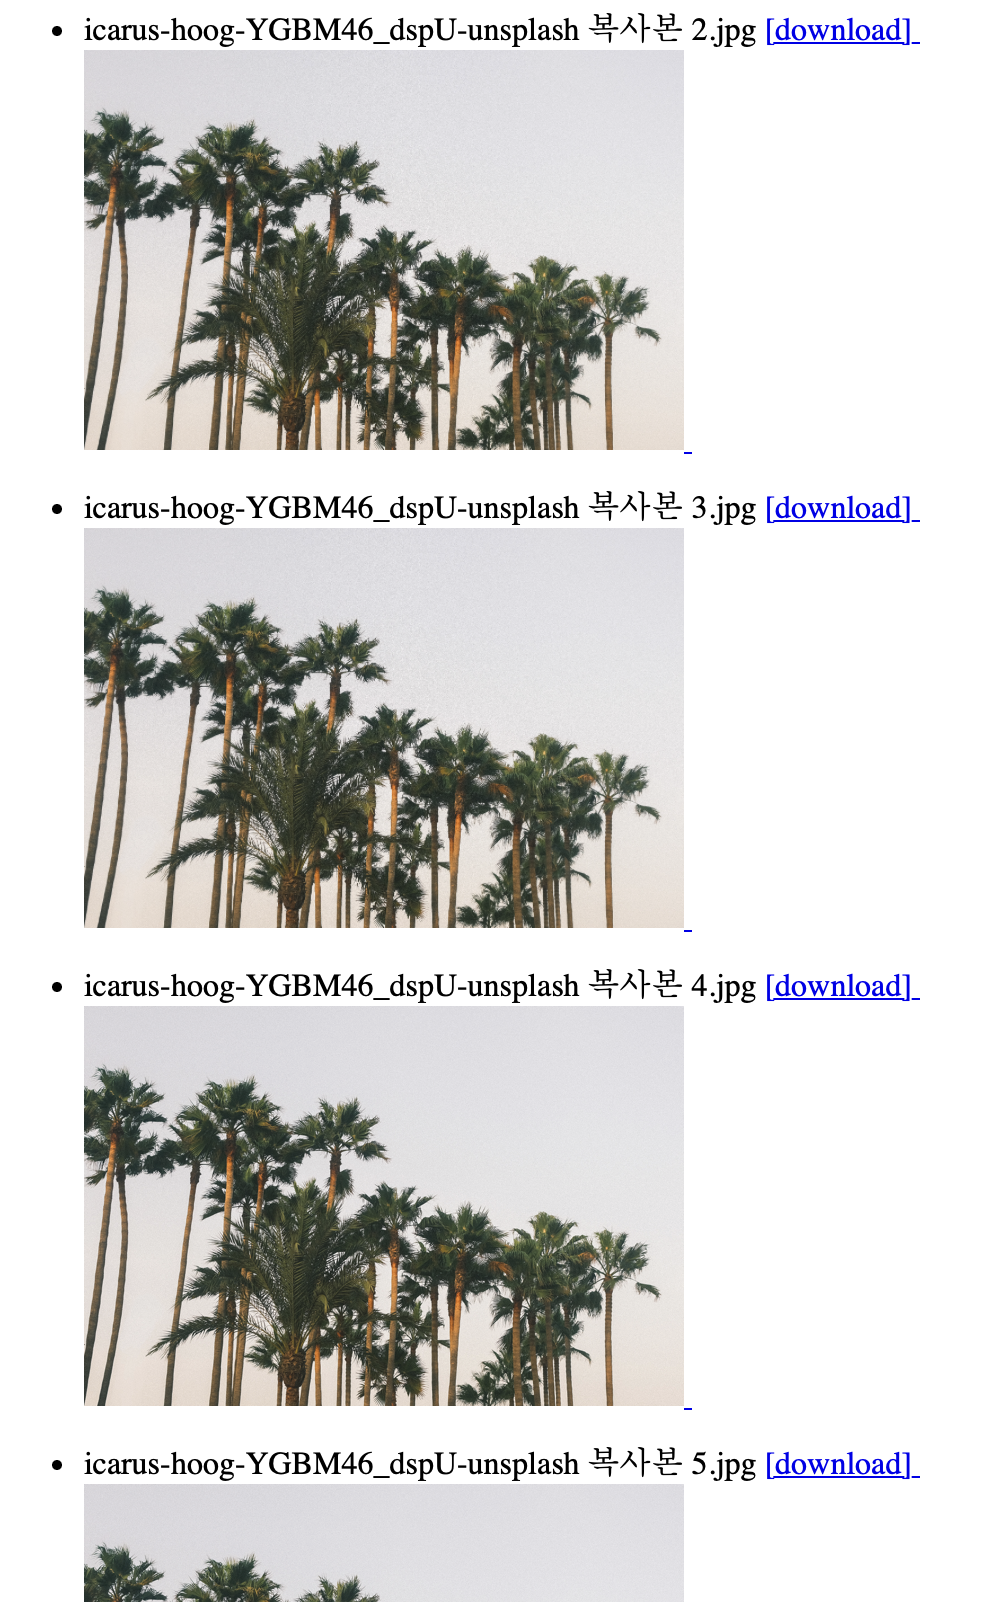
1초?? 정도 걸리는데 잘 나온다!!! 저장 여부도 확인해보니
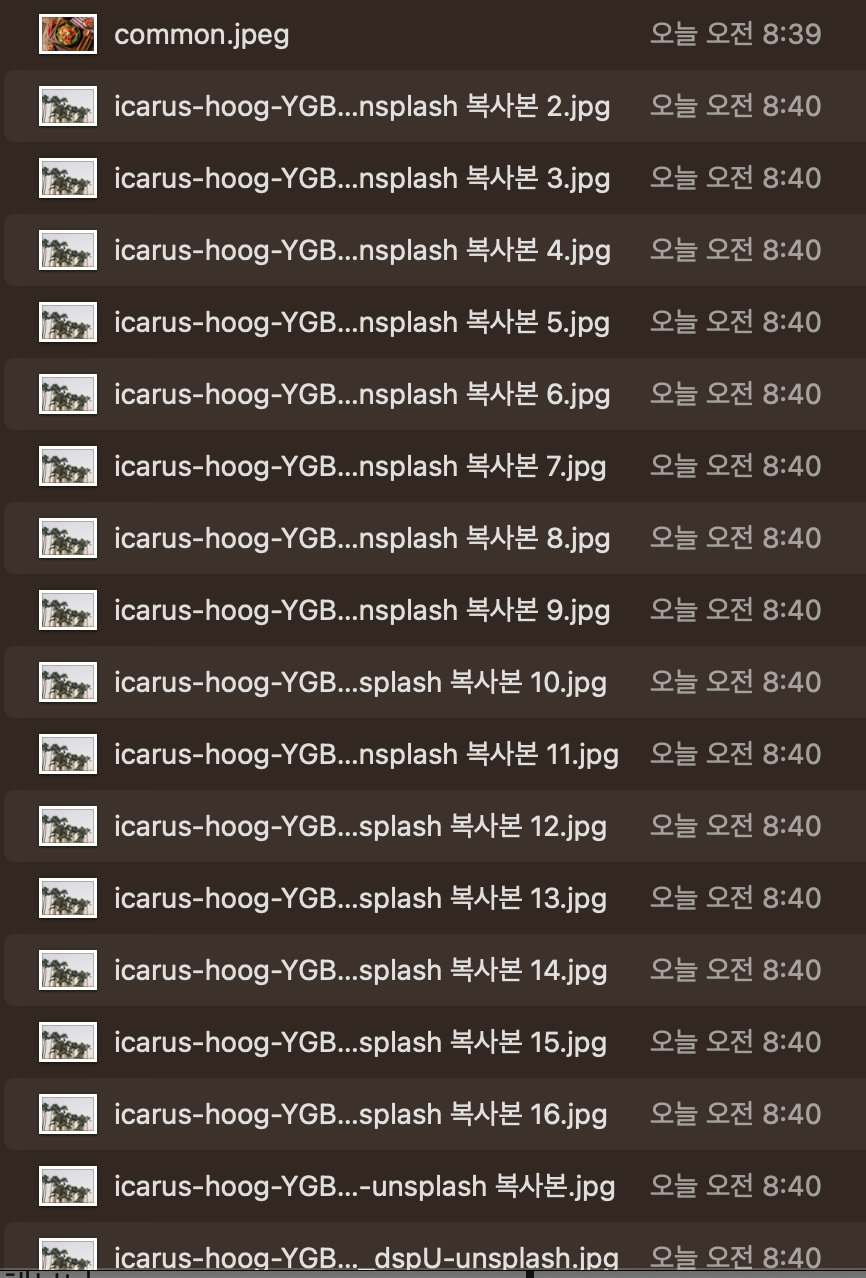
오류 없이 잘 저장된 것을 확인할 수 있었다!
마무리
Spring Boot로 사진 업로드/다운로드/보여주기 를 해보았는데 3점대를 쓰니 다른 것도 많고 ... security 때문에 삽질을 좀 했다.....ㅎㅎ 그래도 오래걸리지 않는다는 것을 알게 되어서 오늘 회의때 포트폴리오 사진을 더 !!!! 많이 !!!! 추가하자고 건의해야지
그리고 위 로직을 좀 수정할 필요가 있어보인다! GetMapping 말고 PostMapping으로 수정하고 시큐리티도 적용시키고 등등 .... 갈 길이 멀다.
참고문헌