
Express에서 HTTP 요청에 대한 Log를 남겨주는 미들웨어인 Morgan과 같은 미들웨어를 NestJS에서도 구현해보자
Middleware
미들웨어는 클라이언트로부터 들어온 요청을 각 컨트롤러의 요청 핸들러가 처리하기 이전에 코드를 실행할 수 있는 기능입니다. 미들웨어 함수는 애플리케이션의 요청-응답 주기에서 요청(request) 및 응답(response) 객체에 접근할 수 있으며 next()라는 미들웨어 함수를 사용할 수 있습니다
// middlewares/logger.middleware.ts

import { Injectable, Logger, NestMiddleware } from '@nestjs/common';
import { Request, Response, NextFunction } from 'express';

@Injectable()
export class LoggerMiddleware implements NestMiddleware {
  private logger = new Logger('HTTP'); // HTTP(context)의 역할 -> HTTP 관련된 요청에서만 logger가 실행 됨 , express의 debug 라이브러리와 같은 역할

  use(request: Request, response: Response, next: NextFunction): void {
    const { ip, method, originalUrl } = request;
    const userAgent = request.get('user-agent') || ''; // header에서 가져옴

    // 응답이 끝났을 때
    response.on('finish', () => {
      const { statusCode } = response;
      const contentLength = response.get('content-length');
      this.logger.log(
        `${method} ${originalUrl} ${statusCode} ${contentLength} - ${userAgent} ${ip}`,
      );
    });

    next();
  }
}

// middleware 자체는 router 즉, controller보다 먼저 실행됨
// 실행순서
// line 9-10 -> request에 대한 기록을 하고 나서
// line 21 -> router로 이동
// line 13-19 -> router가 finish된 후 실행
구현한 미들웨어를 적용해보자
// app.module.ts
import { MiddlewareConsumer, Module, NestModule } from '@nestjs/common';
import { ConfigModule, ConfigService } from '@nestjs/config';
import { AppController } from './app.controller';
import { AppService } from './app.service';
import { LoggerMiddleware } from './middlewares/logger.middleware';

@Module({
  imports: [
    ConfigModule.forRoot({ isGlobal: true }),
  ],
  controllers: [AppController],
  providers: [AppService, ConfigService],
  // provider의 원형
  // -> providers: [
  //   {
  //     provide: AppService,
  //     useClass: AppService
  //   }
  // ]
})

//implement -> 사용시 아래 코드를 반드시 구현해야하는 강제성이 생김 / 없어도 오류는 나지 않지만, 만약 오타를 작성했을 때 implements를 사용하지 않는다면 에러를 확인하기 어렵지만 implements를 사용하여 강제성이 생김으로써 좀 더 에러를 찾는데 수월함 ( 타입 검사도 용이 )
export class AppModule implements NestModule {
  configure(consumer: MiddlewareConsumer): any {
    consumer.apply(LoggerMiddleware).forRoutes('*');
  }
}
@Module 데코레이터에는 미들웨어를 넣을 부분이 없으므로 대신 미들웨어를 Module 클래스의 configure 메서드를 만들어서 세팅할 수 있다. 미들웨어를 사용하는 모듈들은 NestModule 인터페이스를 implements 해야 한다.
forRoutes(컨트롤러)나 forRoutes(주소)로 특정 주소에만 미들웨어 적용 가능하다. *는 전체에 적용하겠다는 것을 의미한다.
정상적으로 작동하는지 확인해보자
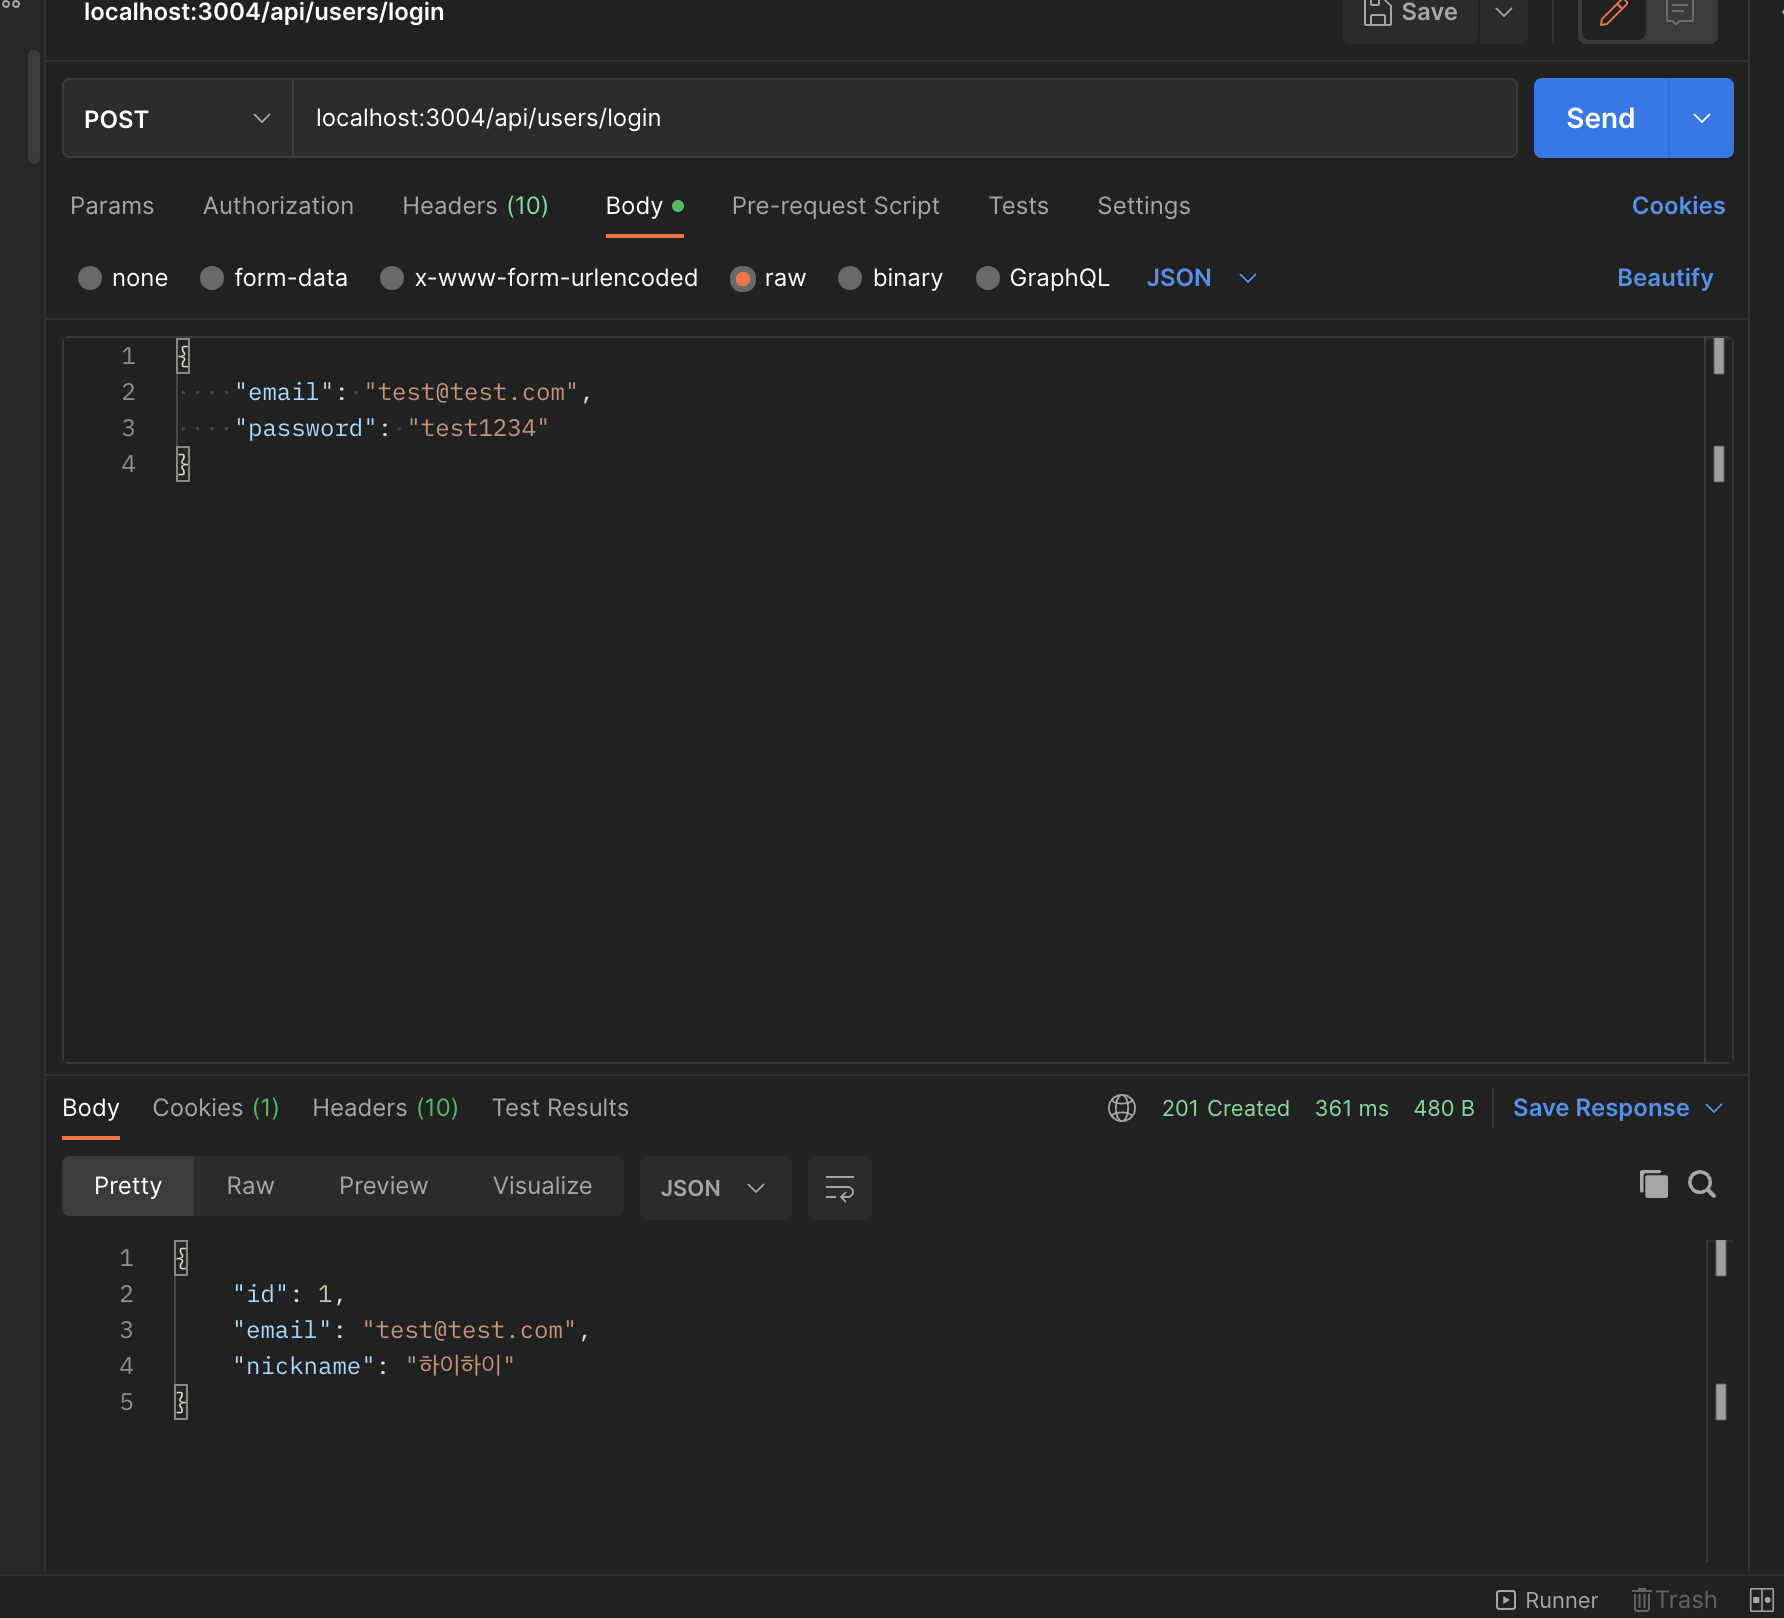
해당 요청을 날렸을 때

위의 middleware에서 구현한 것처럼
${method} ${originalUrl} ${statusCode} ${contentLength} - ${userAgent} ${ip} 가 정상적으로 Log에 찍히는 것을 확인할 수 있다.