
Text에 형광펜을 친 모양으로 예쁘게 꾸미고 싶다면 어떻게 해야 될까요?

맨 밑에 바로 사용 가능한 Full code가 있으니 급하신 분은 모든 Step을 건너뛰고 맨 밑으로 가서 Full code를 가져가세요 :)
Step 1 : 새로운 Stateless Widget 생성
먼저 HighLightedText 라는 이름의 새로운 Stateless Widget을 만들어 주겠습니다.
이 위젯은 String(문장), double(폰트 사이즈), Color(형광펜 색깔)타입의 parameter 3개를 받아오도록 하겠습니다.
class HighlightedText extends StatelessWidget {
  final String data;
  final Color color;
  final double fontSize;
  const HighLightText(
    this.data, {
    super.key,
    required this.color,
    this.fontSize = 14,
  });

  @override
  Widget build(BuildContext context) {
    return Container();
  }
}
Step 2 : widget 구조 구상
위 사진처럼 텍스트에 형광펜 친 모양을 하기 위해서는
Stack 위젯을 사용해서 Text 위에 반투명한 색을 입힌 Container를 덮어 씌워 주기로 합니다.
return Stack(
      children: [
        Text(
          data,
          style: TextStyle(
            fontSize: fontSize,
            fontWeight: FontWeight.bold,
            colot: color,
          ),
        ),
        Positioned(
          child: Container(
            width: ?,
            height: ?,
            decoration: BoxDecoration(
              borderRadius: BorderRadius.circular(2),
              color: color.withOpacity(0.2),
            ),
          ),
        ),
      ],
    );
Step 3 : Text의 사이즈 구하기 (중요 ⭐️)
가장 중요한 것은 Container의 width, height를 어떻게 정의하냐인데요,
딱 Text의 길이만큼만 형광펜을 쳐야하기 때문에 Text의 size를 구해줘야 합니다.
그러기 위해서 Text의 사이즈를 구하는 method를 만들어주겠습니다.
  Size getTextSize({
    required String text,
    required TextStyle style,
    required BuildContext context,
  }) {
    final Size size = (TextPainter(
      text: TextSpan(text: text, style: style),
      maxLines: 1,
      textScaleFactor: MediaQuery.of(context).textScaleFactor,
      textDirection: TextDirection.ltr,
    )..layout())
        .size;
    return size;
}Step 4 : 도출된 Size로 형광펜 Container 사이즈 적용하기
Stateless Widets의 빌드 단계에서 textSize라는 이름으로 새 Size 타입의 variable을 생성하여 값을 받아옵니다.
그리고 형광펜 Container에 width, height을 적용하고
Position에도 적용하여 형광펜이 글씨 중간부터 아래까지만 쳐지도록 하겠습니다.
final Size textSize = getTextSize(
      text: data,
      style: TextStyle(
        fontSize: fontSize,
        fontWeight: FontWeight.bold,
        color: color,
      ),
      context: context,
    );
return Stack(
children: [
Text(
data,
style: TextStyle(
fontSize: fontSize,
fontWeight: FontWeight.bold,
color: color,
),
),
Positioned(
top: textSize.height / 2,
child: Container(
decoration: BoxDecoration(
borderRadius: BorderRadius.circular(2),
color: color.withOpacity(0.2),
),
height: textSize.height / 2,
width: textSize.width,
),
)
],
);Full code
class HighLightedText extends StatelessWidget {
final String data;
final Color color;
final double fontSize;
const HighLightedText(
this.data, {
super.key,
required this.color,
this.fontSize = 14,
});
Size getTextSize({
required String text,
required TextStyle style,
required BuildContext context,
}) {
final Size size = (TextPainter(
text: TextSpan(text: text, style: style),
maxLines: 1,
textScaleFactor: MediaQuery.of(context).textScaleFactor,
textDirection: TextDirection.ltr,
)..layout())
.size;
return size;
}
@override
Widget build(BuildContext context) {
final TextStyle textStyle = TextStyle(
fontSize: fontSize,
color: color,
fontWeight: FontWeight.bold,
);
final Size textSize = getTextSize(
text: data,
style: textStyle,
context: context,
);
return Stack(
children: [
Text(data, style: textStyle),
Positioned(
top: textSize.height / 2,
child: Container(
decoration: BoxDecoration(
borderRadius: BorderRadius.circular(2),
color: color.withOpacity(0.2),
),
height: textSize.height / 2,
width: textSize.width,
),
)
],
);
}
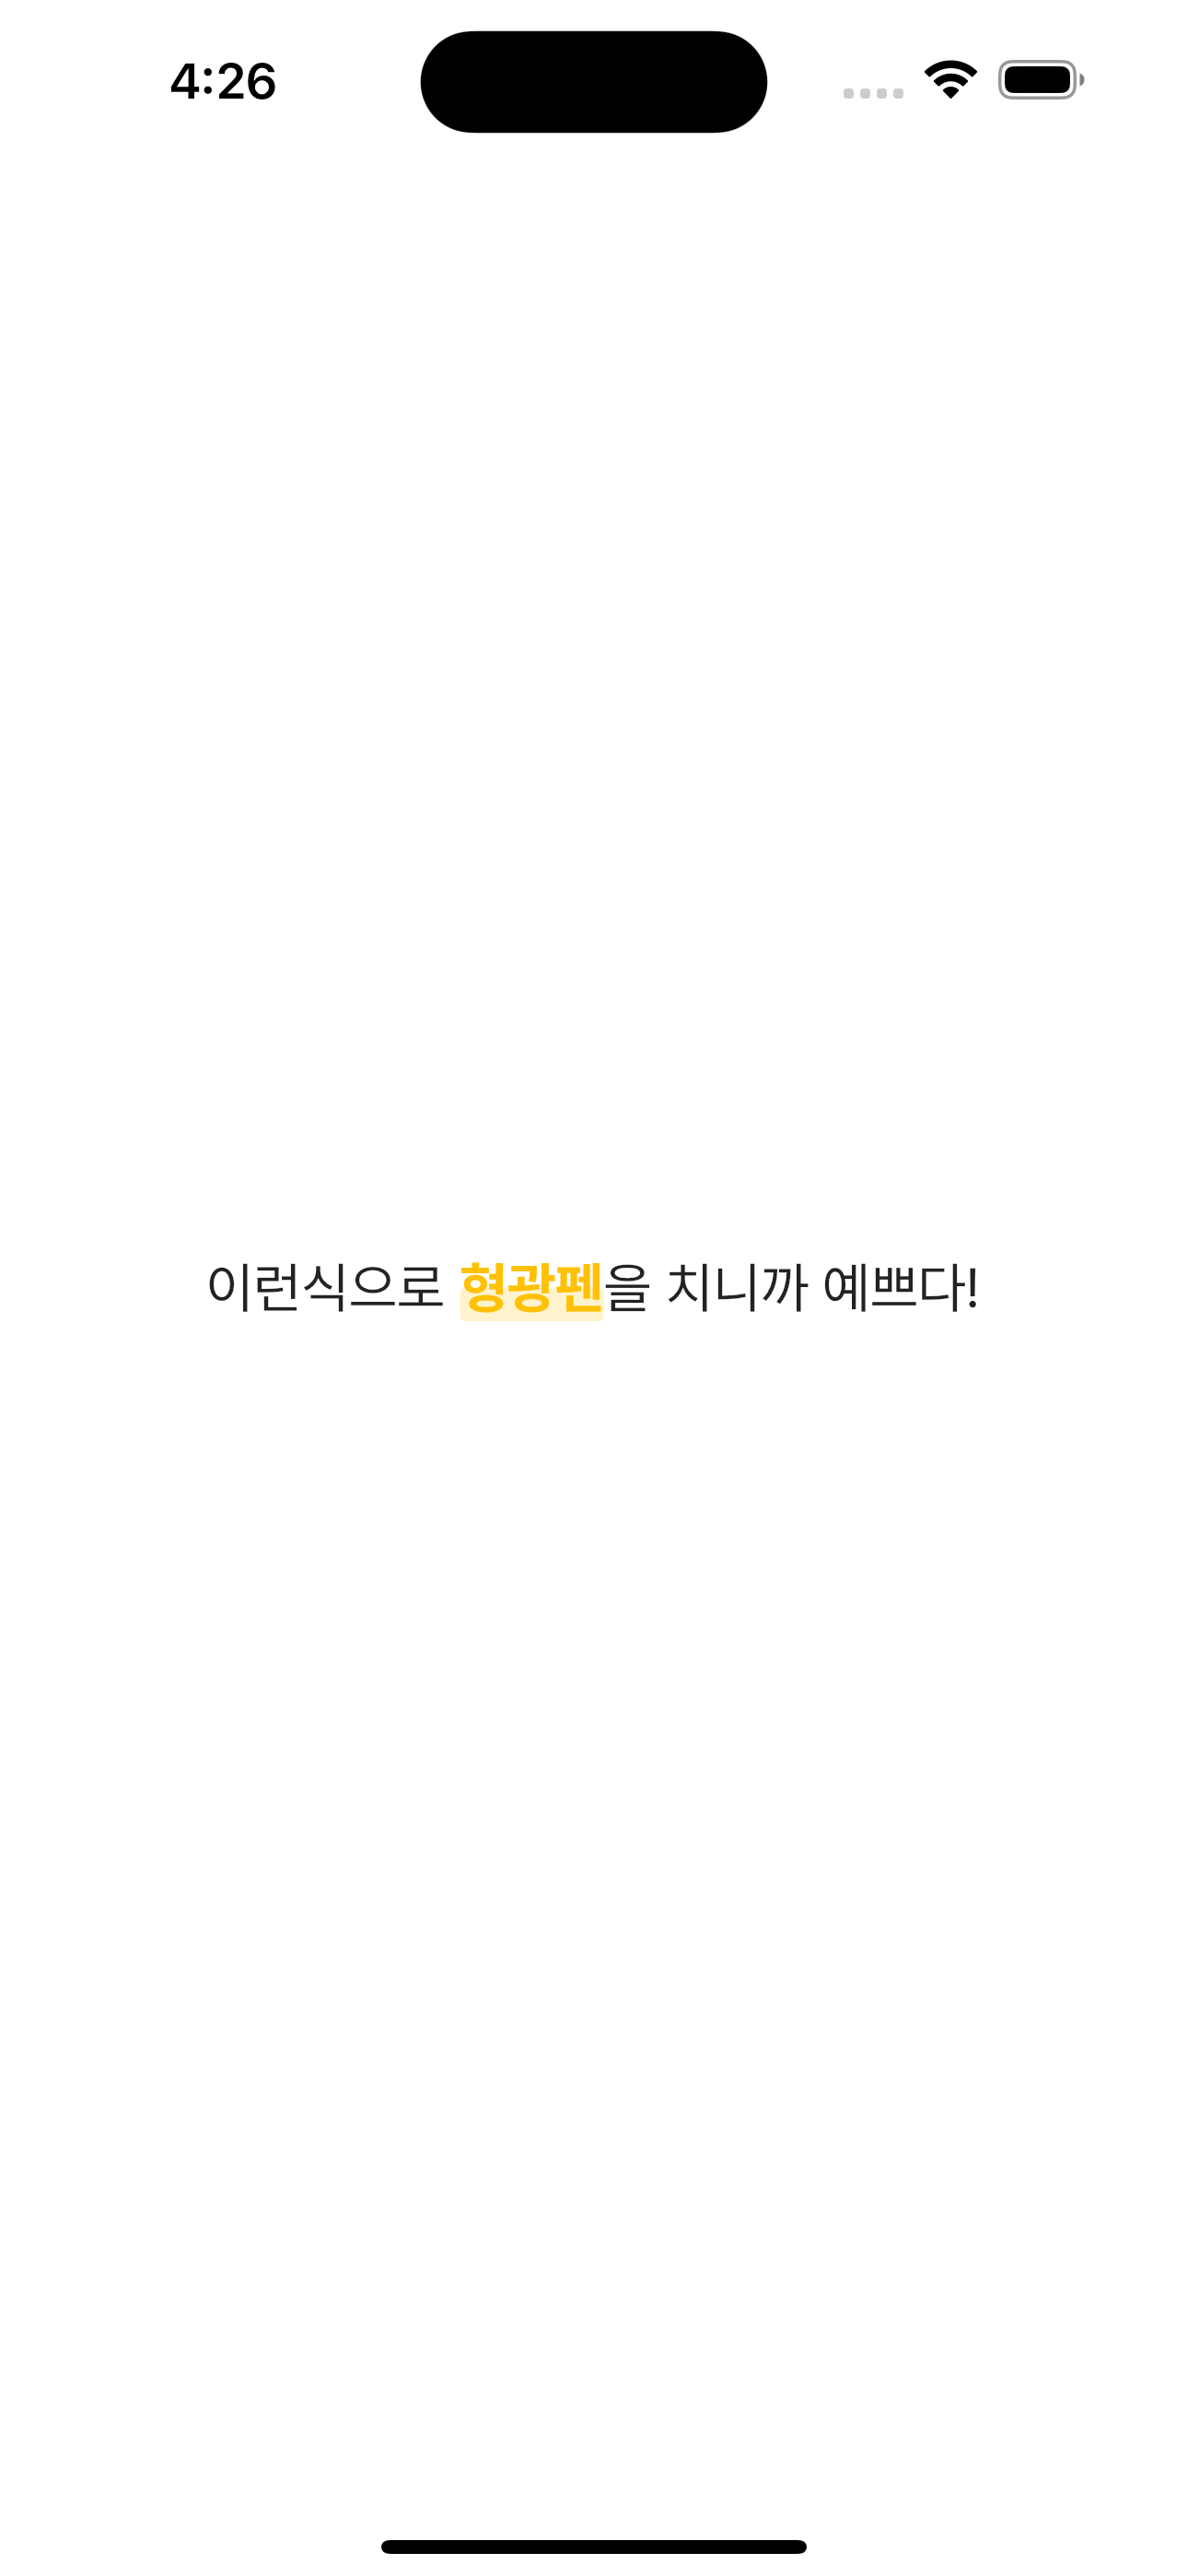
}활용예시
class MyHomePage extends StatelessWidget {
  const MyHomePage({super.key});

  @override
  Widget build(BuildContext context) {
    return Scaffold(
      body: Center(
        child: Row(
          mainAxisAlignment: MainAxisAlignment.center,
          children: const [
            Text('이런식으로 ', style: TextStyle(fontSize: 20)),
            HighLightedText('형광펜', color: Colors.amber, fontSize: 20),
            Text('을 치니까 예쁘다!', style: TextStyle(fontSize: 20)),
          ],
        ),
      ),
    );
  }
}
Flutter Package (updated: 2022.11.23)
위 내용은 pub.dev에 colored_text로 등록하였습니다.
이제 flutter package로 간편하게 사용 가능합니다 :)

Flutter developer
안녕하세요? flutter 공부 중 이 글을 보고 도움이 됐습니다. 감사합니다!!
한 가지 궁금한게 있습니다. 지금 현재는 텍스트가 길어서 줄이 바뀔 경우 효과가 적용이 되지 않아서 수정을 해 보는데 잘 안 되더라구요 ㅠㅠ
혹시나 해서 size를 구하는 함수의 maxLines를 변경해보았는데도 안 되네요.
그래서 도움을 받을 수 있을까 해서 문의드려 봅니다.
시간되실때 답변주시면 감사드리겠습니다!