Setting Steps
시작하기 앞서...
node.js 20.11.0 LTS 버전을 설치합니다 (NODE.JS 다운로드 바로가기)
Project Workspace 구성
- 처음 NextJS 프로젝트의 디렉토리가 될 Workspace 공간을 생성합니다.
Ex) C:\Documents\nextjs-workspace\
-
아래 커맨드를 입력하여 package.json을 생성합니다.
npm init -y
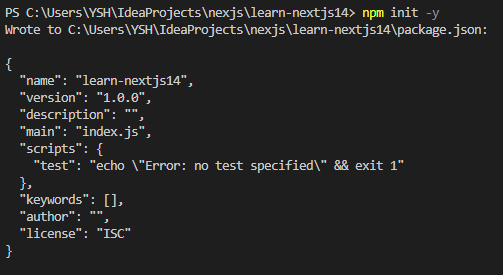
그러면, 아래와 같은 결과가 출력이 됩니다.> package.json
{ "name": "learn-nextjs14", "version": "1.0.0", "description": "", "main": "index.js", "scripts": { "test": "echo \"Error: no test specified\" && exit 1" }, "keywords": [], "author": "", "license": "ISC" } -
package.json 항목의 내용을 아래와 같이 수정합니다.
- license : "MIT"
- scripts : { "dev": "next dev" }
-
아래 커맨드를 입력하여 next-js의 구성 파일을 다운로드 받는다.
npm install react@latest react-dom@latest next@latest
해당 시점에서, next@latest의 버전은 14.1.0버전이며,
Node.js 18.17.0버전 이상부터 다운로드 받을 수 있다.Node.js의 버전이 낮은 경우, 아래와 같이 오류 문구가 발생합니다.

구성파일을 다운로드 받게되면, node-modules 등의 폴더가 생성된다. -
app/page.tsx 또는 app/page.jsx 파일 생성
NextJS에서는 app 디렉토리의 page.jsx 또는 page.tsx 파일이 index.js의 역할을 수행한다.
파일 내용은 아래와 같이 입력합니다.> page.tsx
export default function Page() { return <h1>Hello NextJS</h1> } -
커맨드를 다음과 같이 입력합니다.
npm run dev
그러면, 다음과 같은 화면과 함께 실행 화면이 나타납니다.
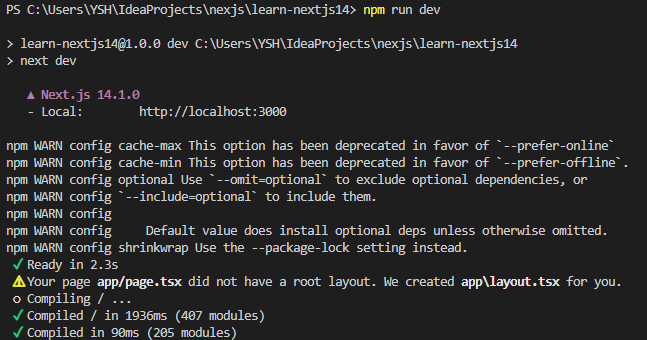
- 위의 사진의 문구를 보면, 아래의 Log내용이 있음을 확인할 수 있습니다.
[Your page app/page.tsx did not have a root layout. We created app/layout.tsx for you.] - 위의 내용을 토대로, page.tsx를 렌더링 하기 위해서는 nextJS에서는 layout.tsx가 필요하며,
파일이 없는 경우 직접 생성해 주는 것을 확인할 수 있습니다.
> layout.tsx
export const metadata = { title: 'Next.js', description: 'Generated by Next.js', } export default function RootLayout({ children, }: { children: React.ReactNode }) { return ( <html lang="en"> <body>{children}</body> </html> ) } - 위의 사진의 문구를 보면, 아래의 Log내용이 있음을 확인할 수 있습니다.
-
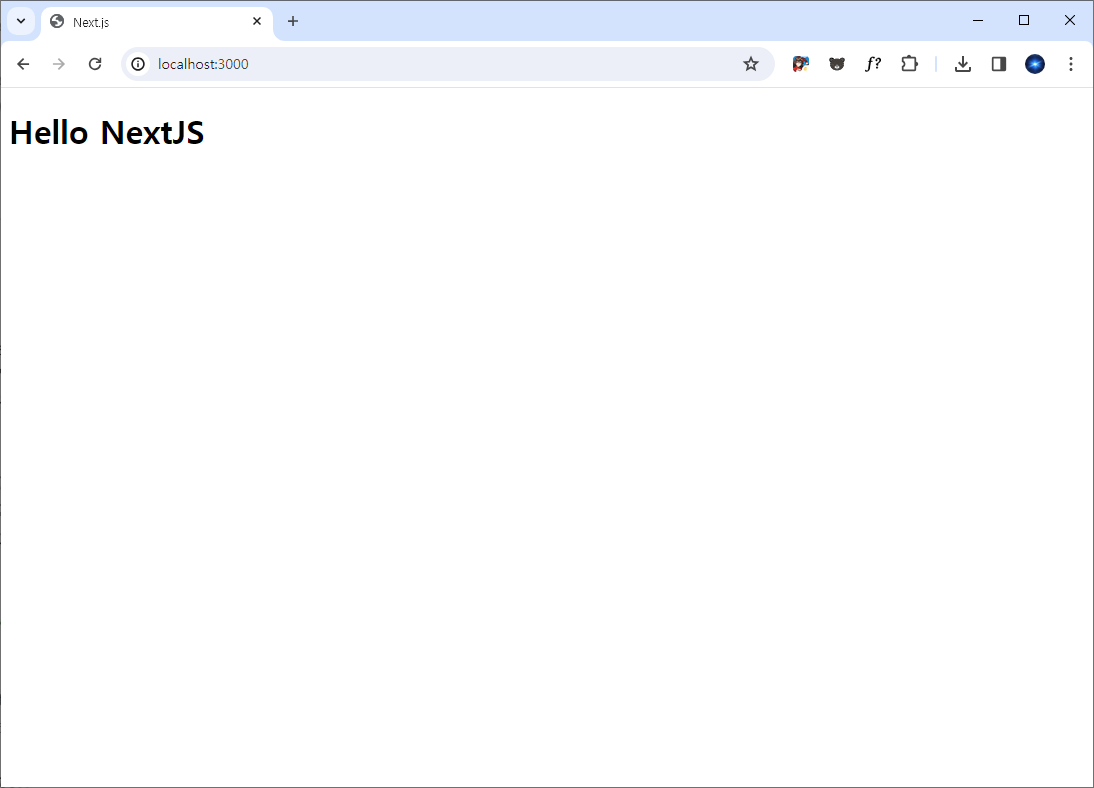
위의 사진과 같이, localhost:3000 경로로 웹페이지가 나타나게 되며 아래의 화면과 같이 나타납니다.

개발 한웅큼 메모 한 스푼