스프링 프레임워크 설정
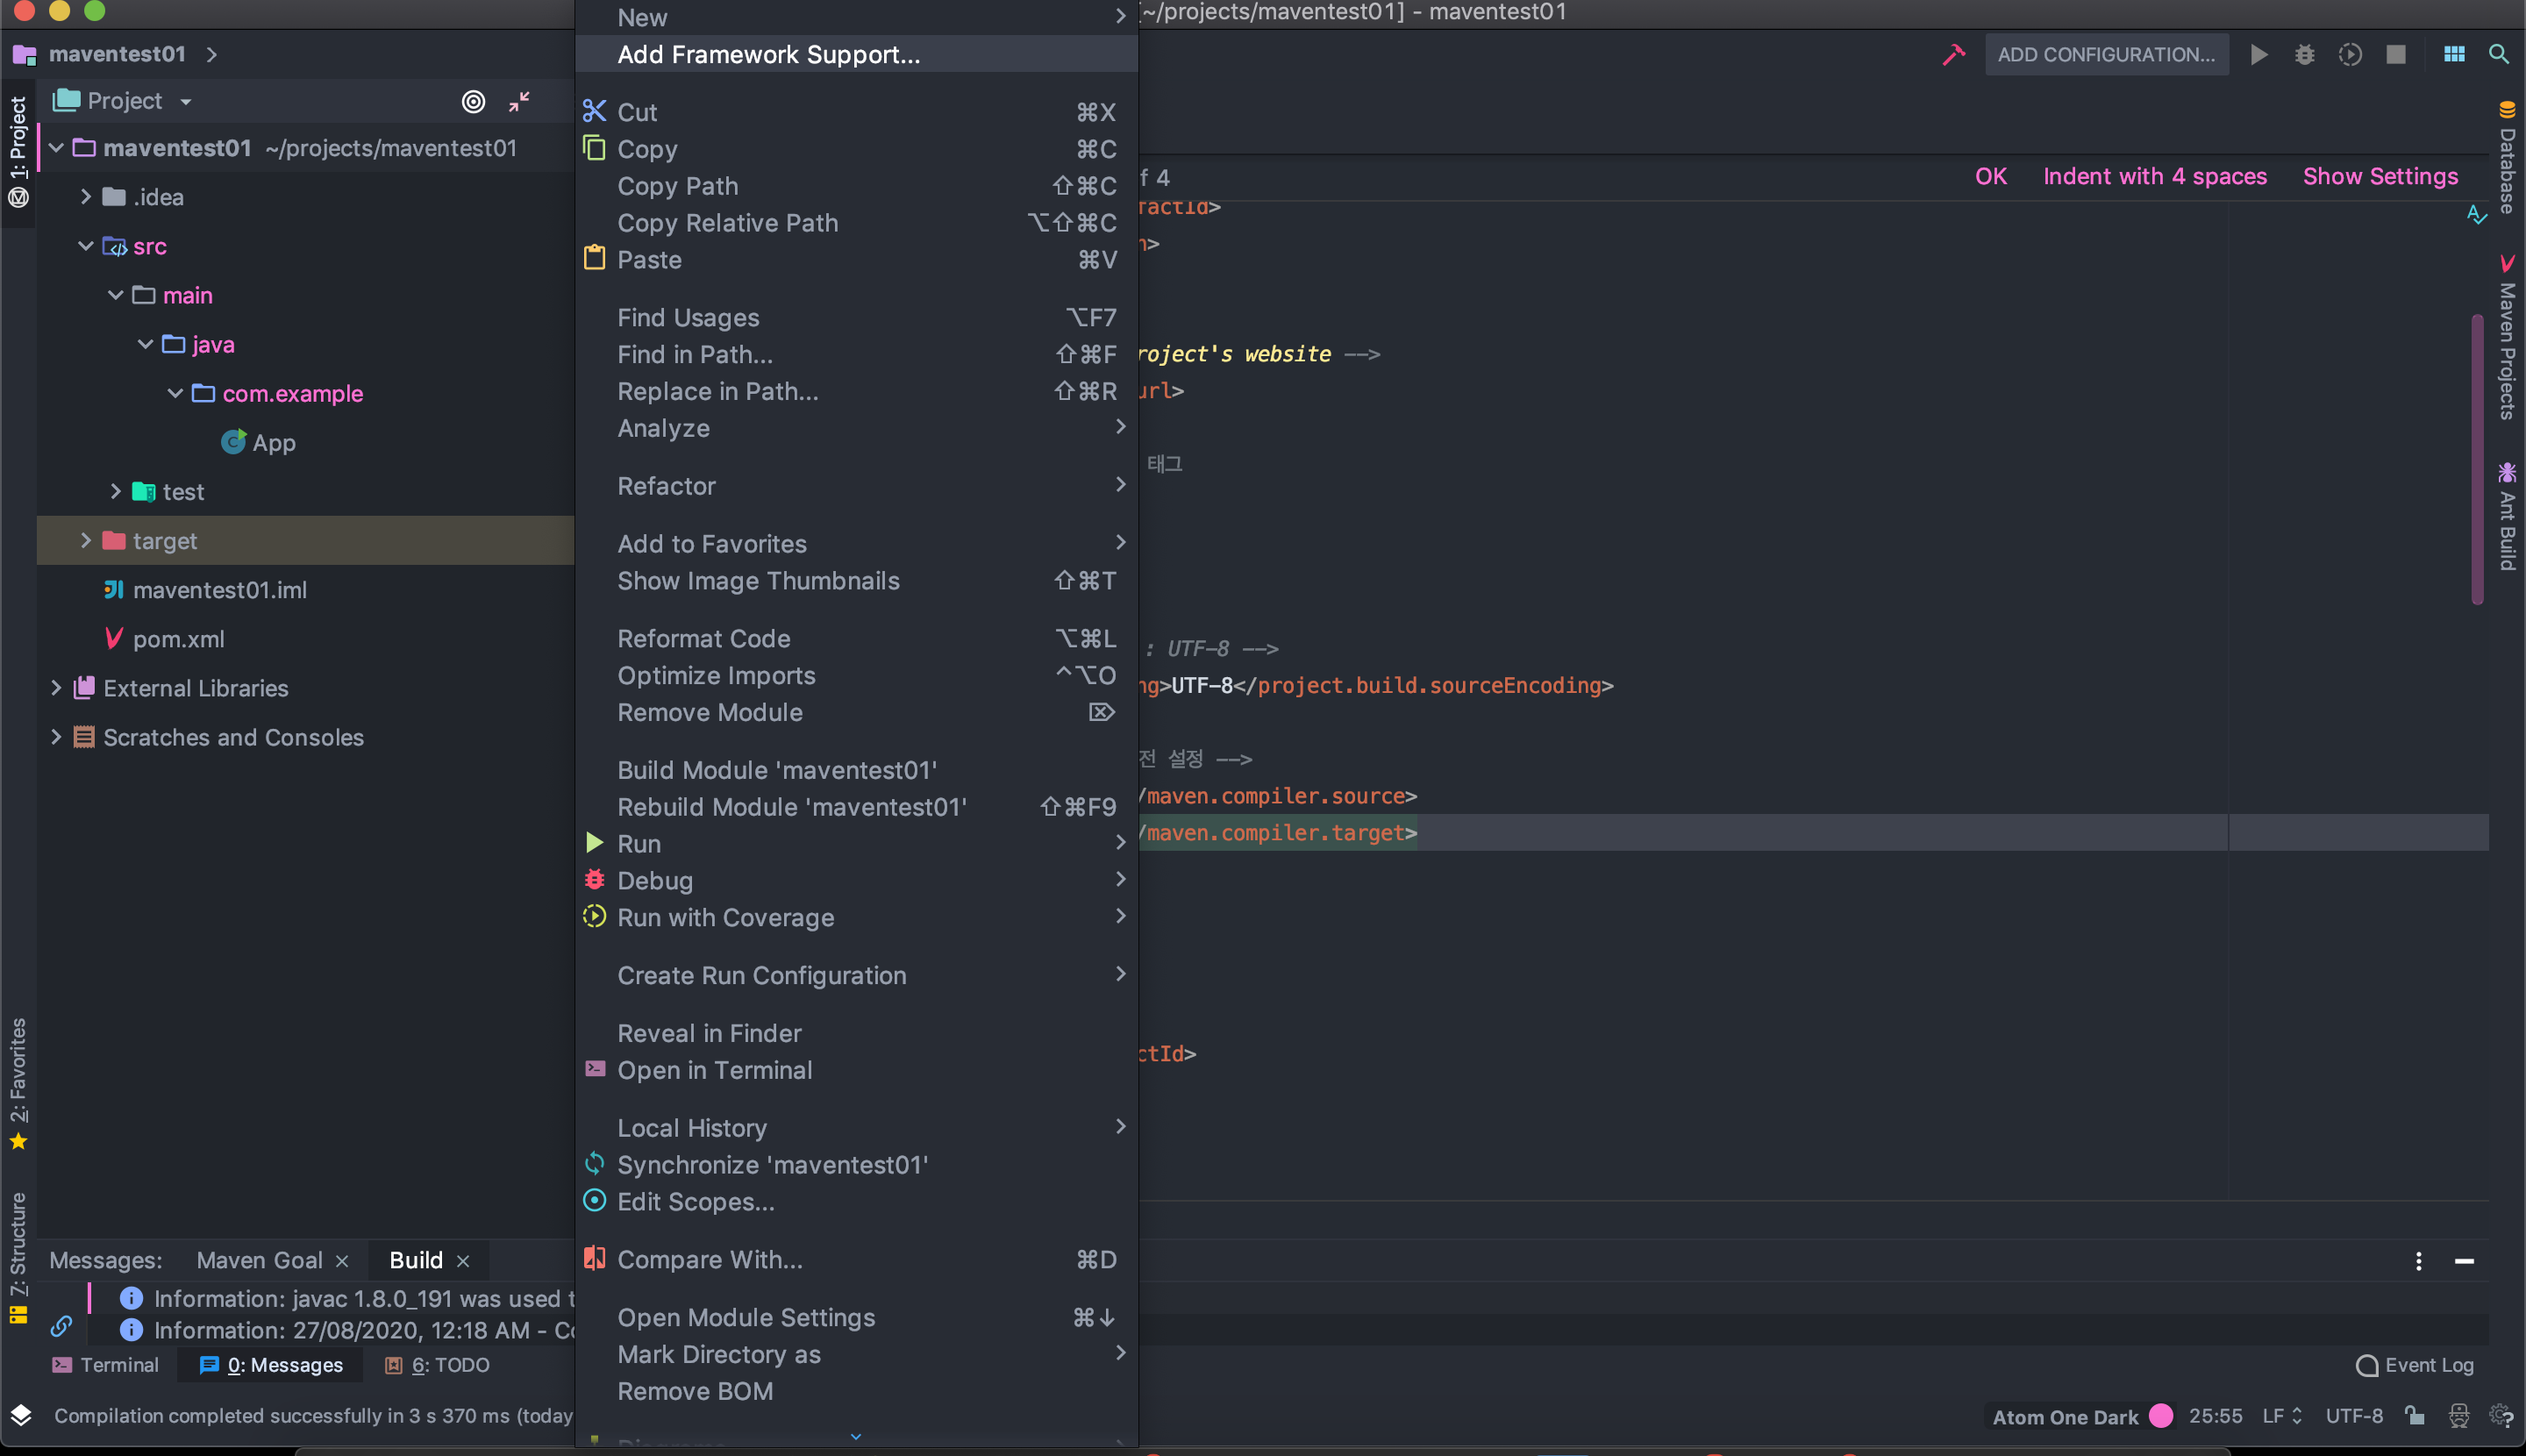
- 프로젝트 최상위 폴더(maventest01) 우클릭
- Add Framework Support 클릭

- Spring MVC 클릭
- OK
여기서 Spring MVC 버전 바꾸지 말고 진행하자..
Spring 버전과 Spring MVC 버전 맞추는게 좋은 것 같다. 괜히 버전 바꾸지 말자............. - 버전 낮췄다가 다시 설정 바꾼 미래의 나
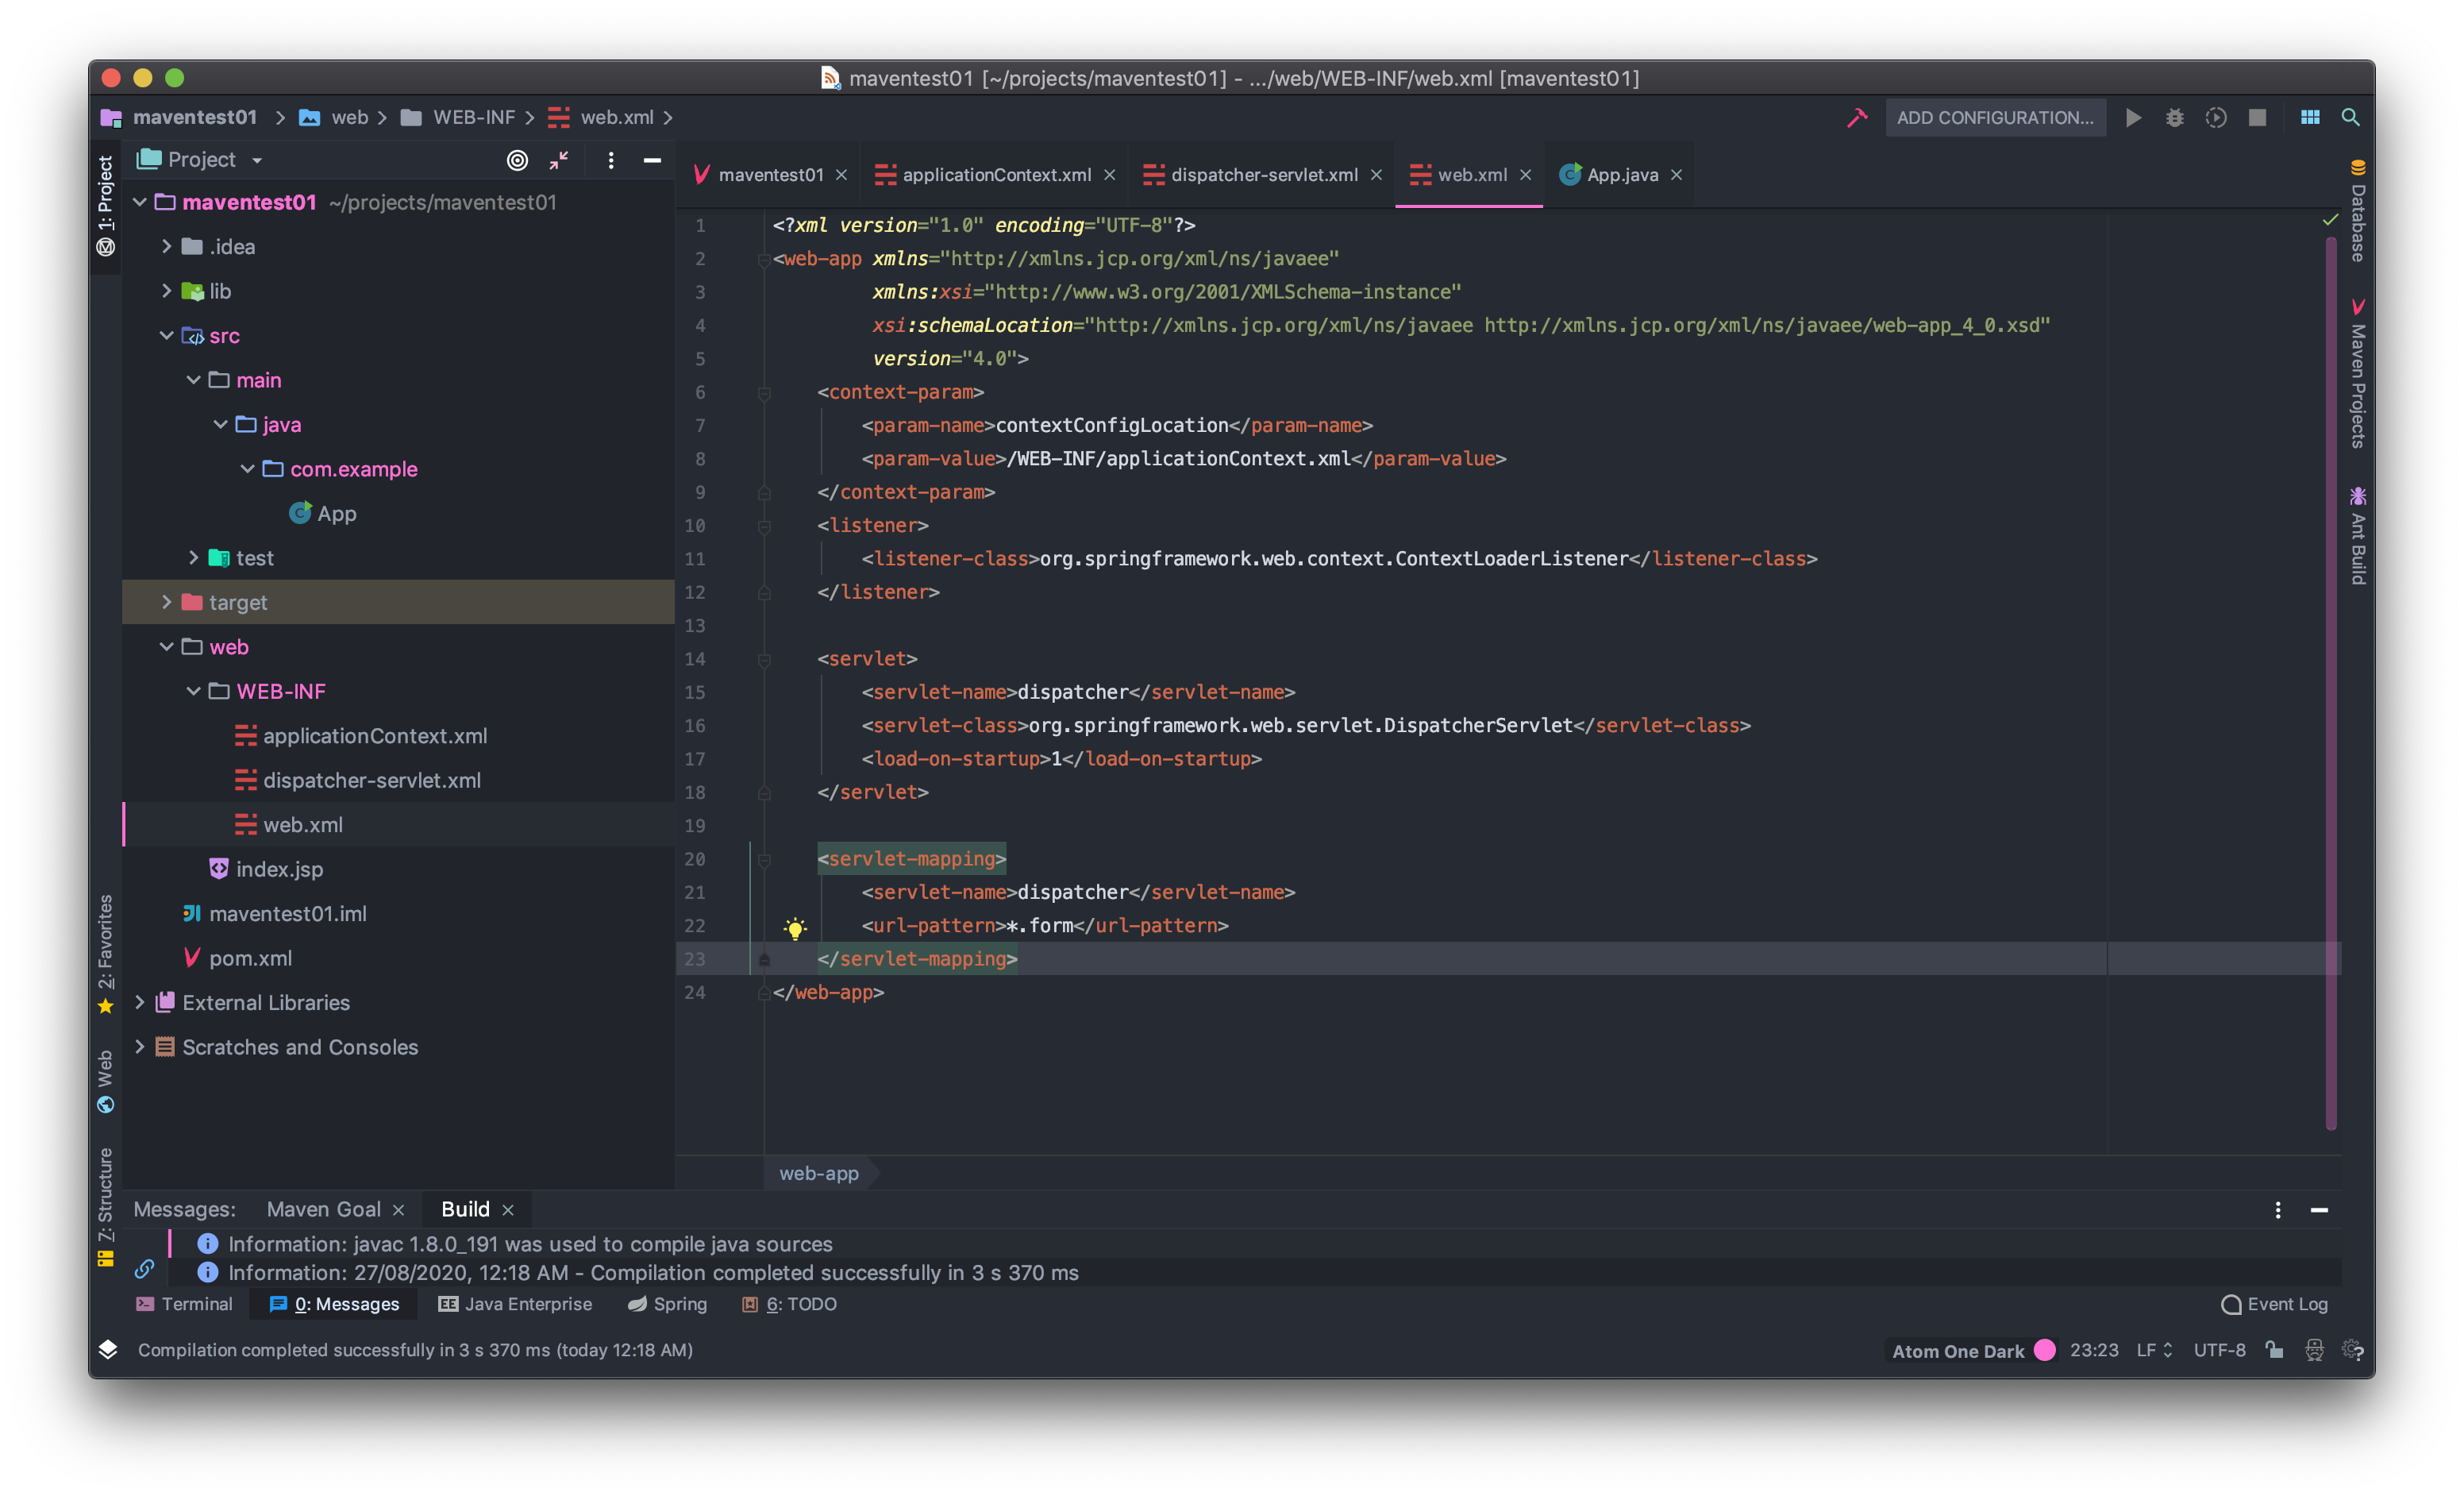
왼쪽에 [web] 폴더가 생성되었다면 무사히 Spring 프레임워크 설정이 된 것이다!!
- WEB-INF 설명
applicationContext : 빈(Bean)설정
dispatcher-servlet : 내부 웹 관련 처리 작업 설정
web.xml : tomcat 구동 관련 설정
사실 아직 저 xml들의 사용법은 잘 모르겠지만, 천천히 알아가면 되겠지 🧐
Tomcat 설정
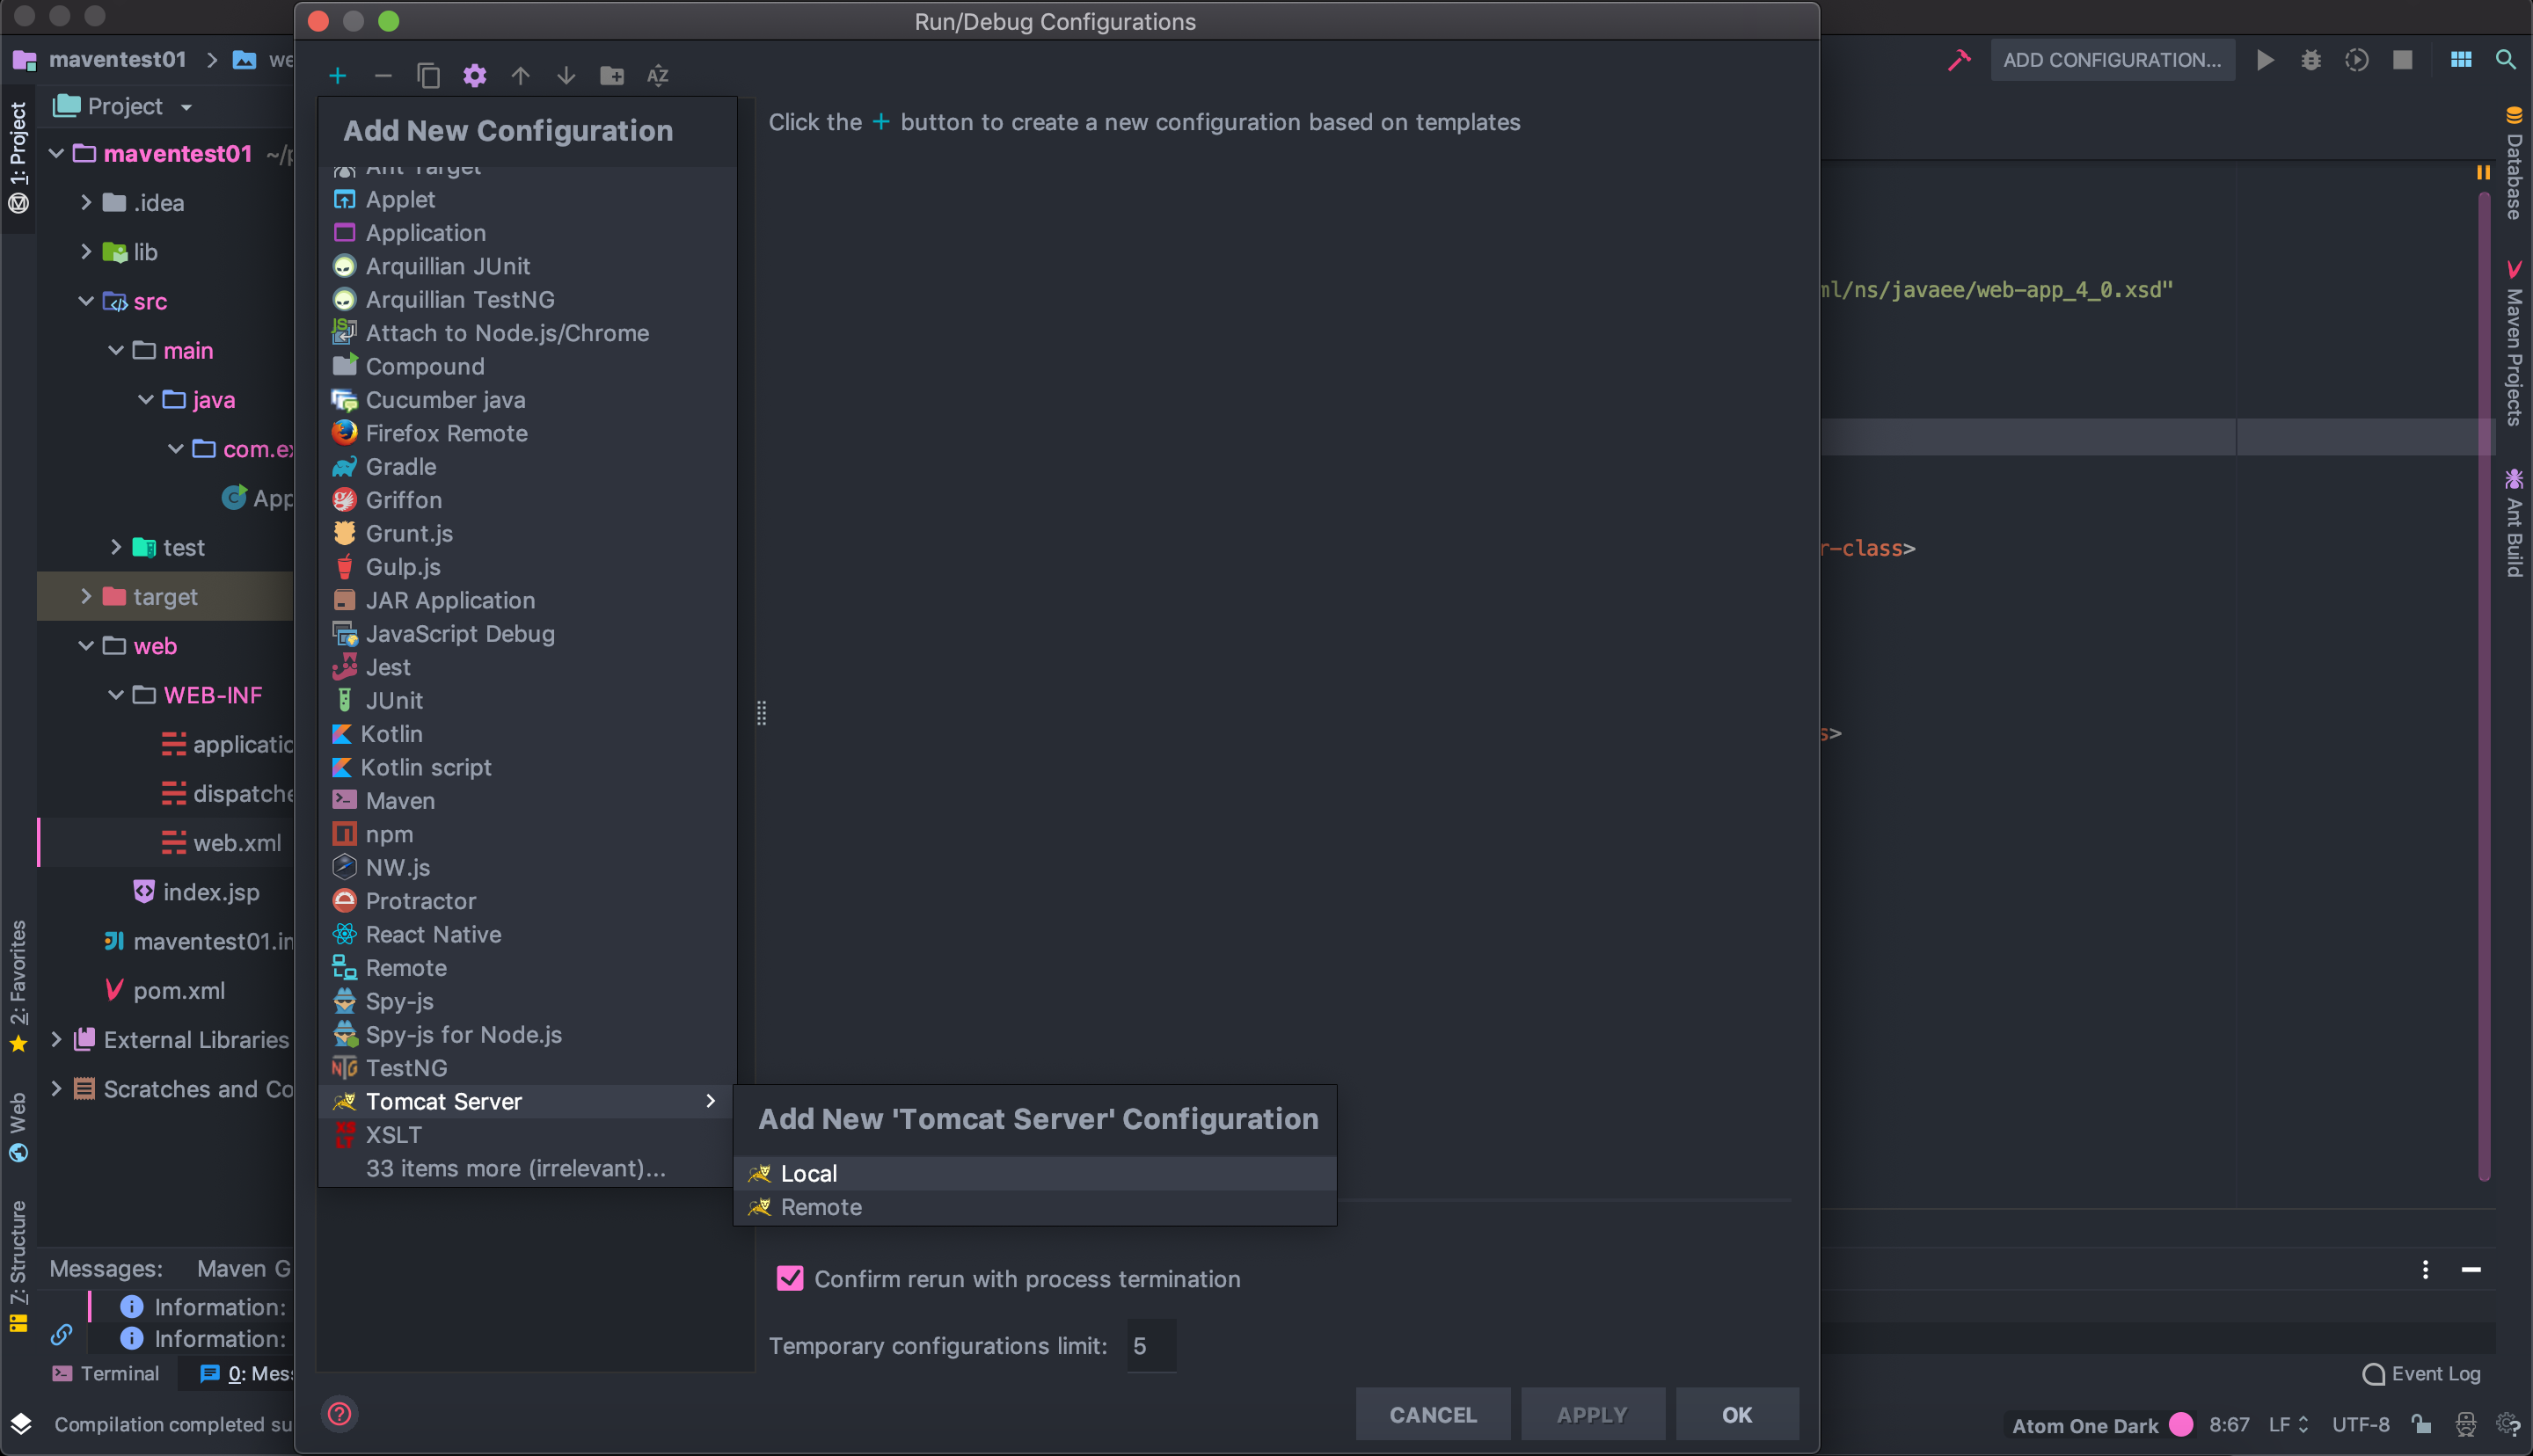
- 우측 상단의 Add Configuration을 클릭
- 새로 뜬 창에서 왼쪽 위 + 클릭
- 하단의 Tomcat Server > Local 선택
- OK
- Tomcat 설정 완료 !
Lombok PlugIn 설치
Lombok은 class내부에 있는 변수들의 getter, setter들을 자동으로 만들어주는 플러그인이다. 매우 유용한 것 같다😊
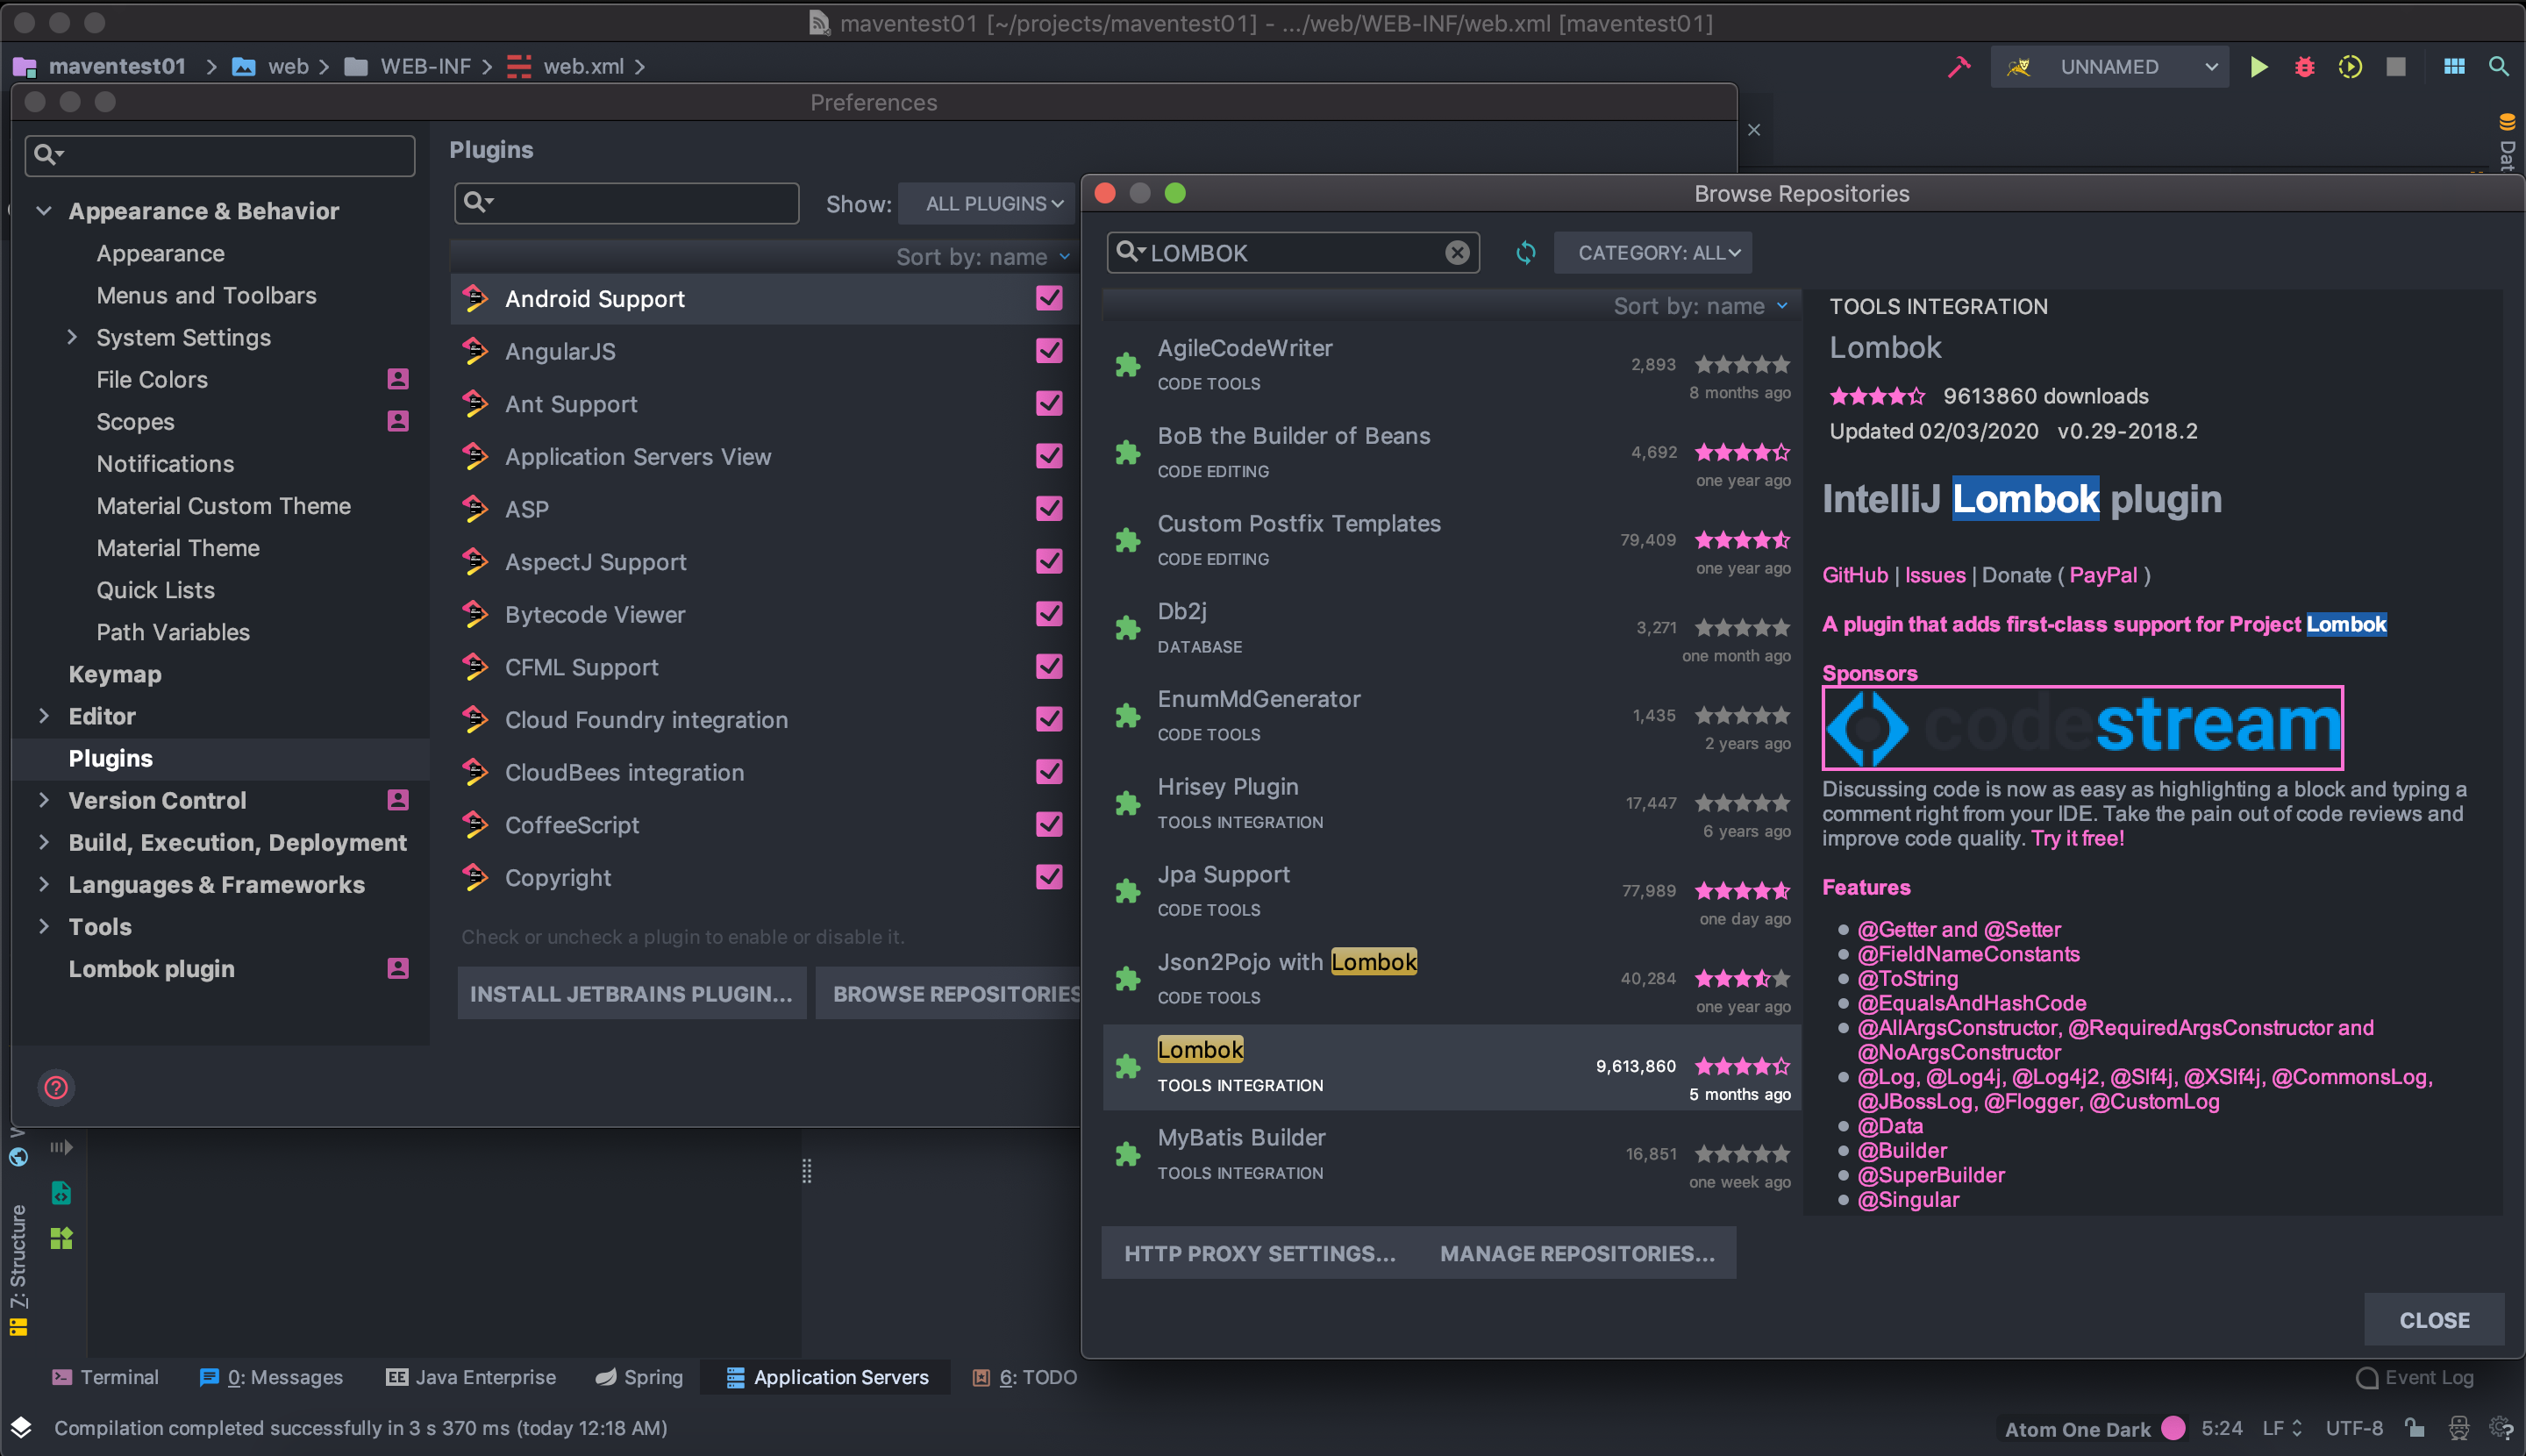
- " Command + , " 를 눌러 Prefernces 창으로 이동
- Plugins 탭
- Browse repositories 클릭
- Lombok 검색
- Lombok install
- IntelliJ 재시작
- Lombok PlubIn 설치 완료
DataBase 설정
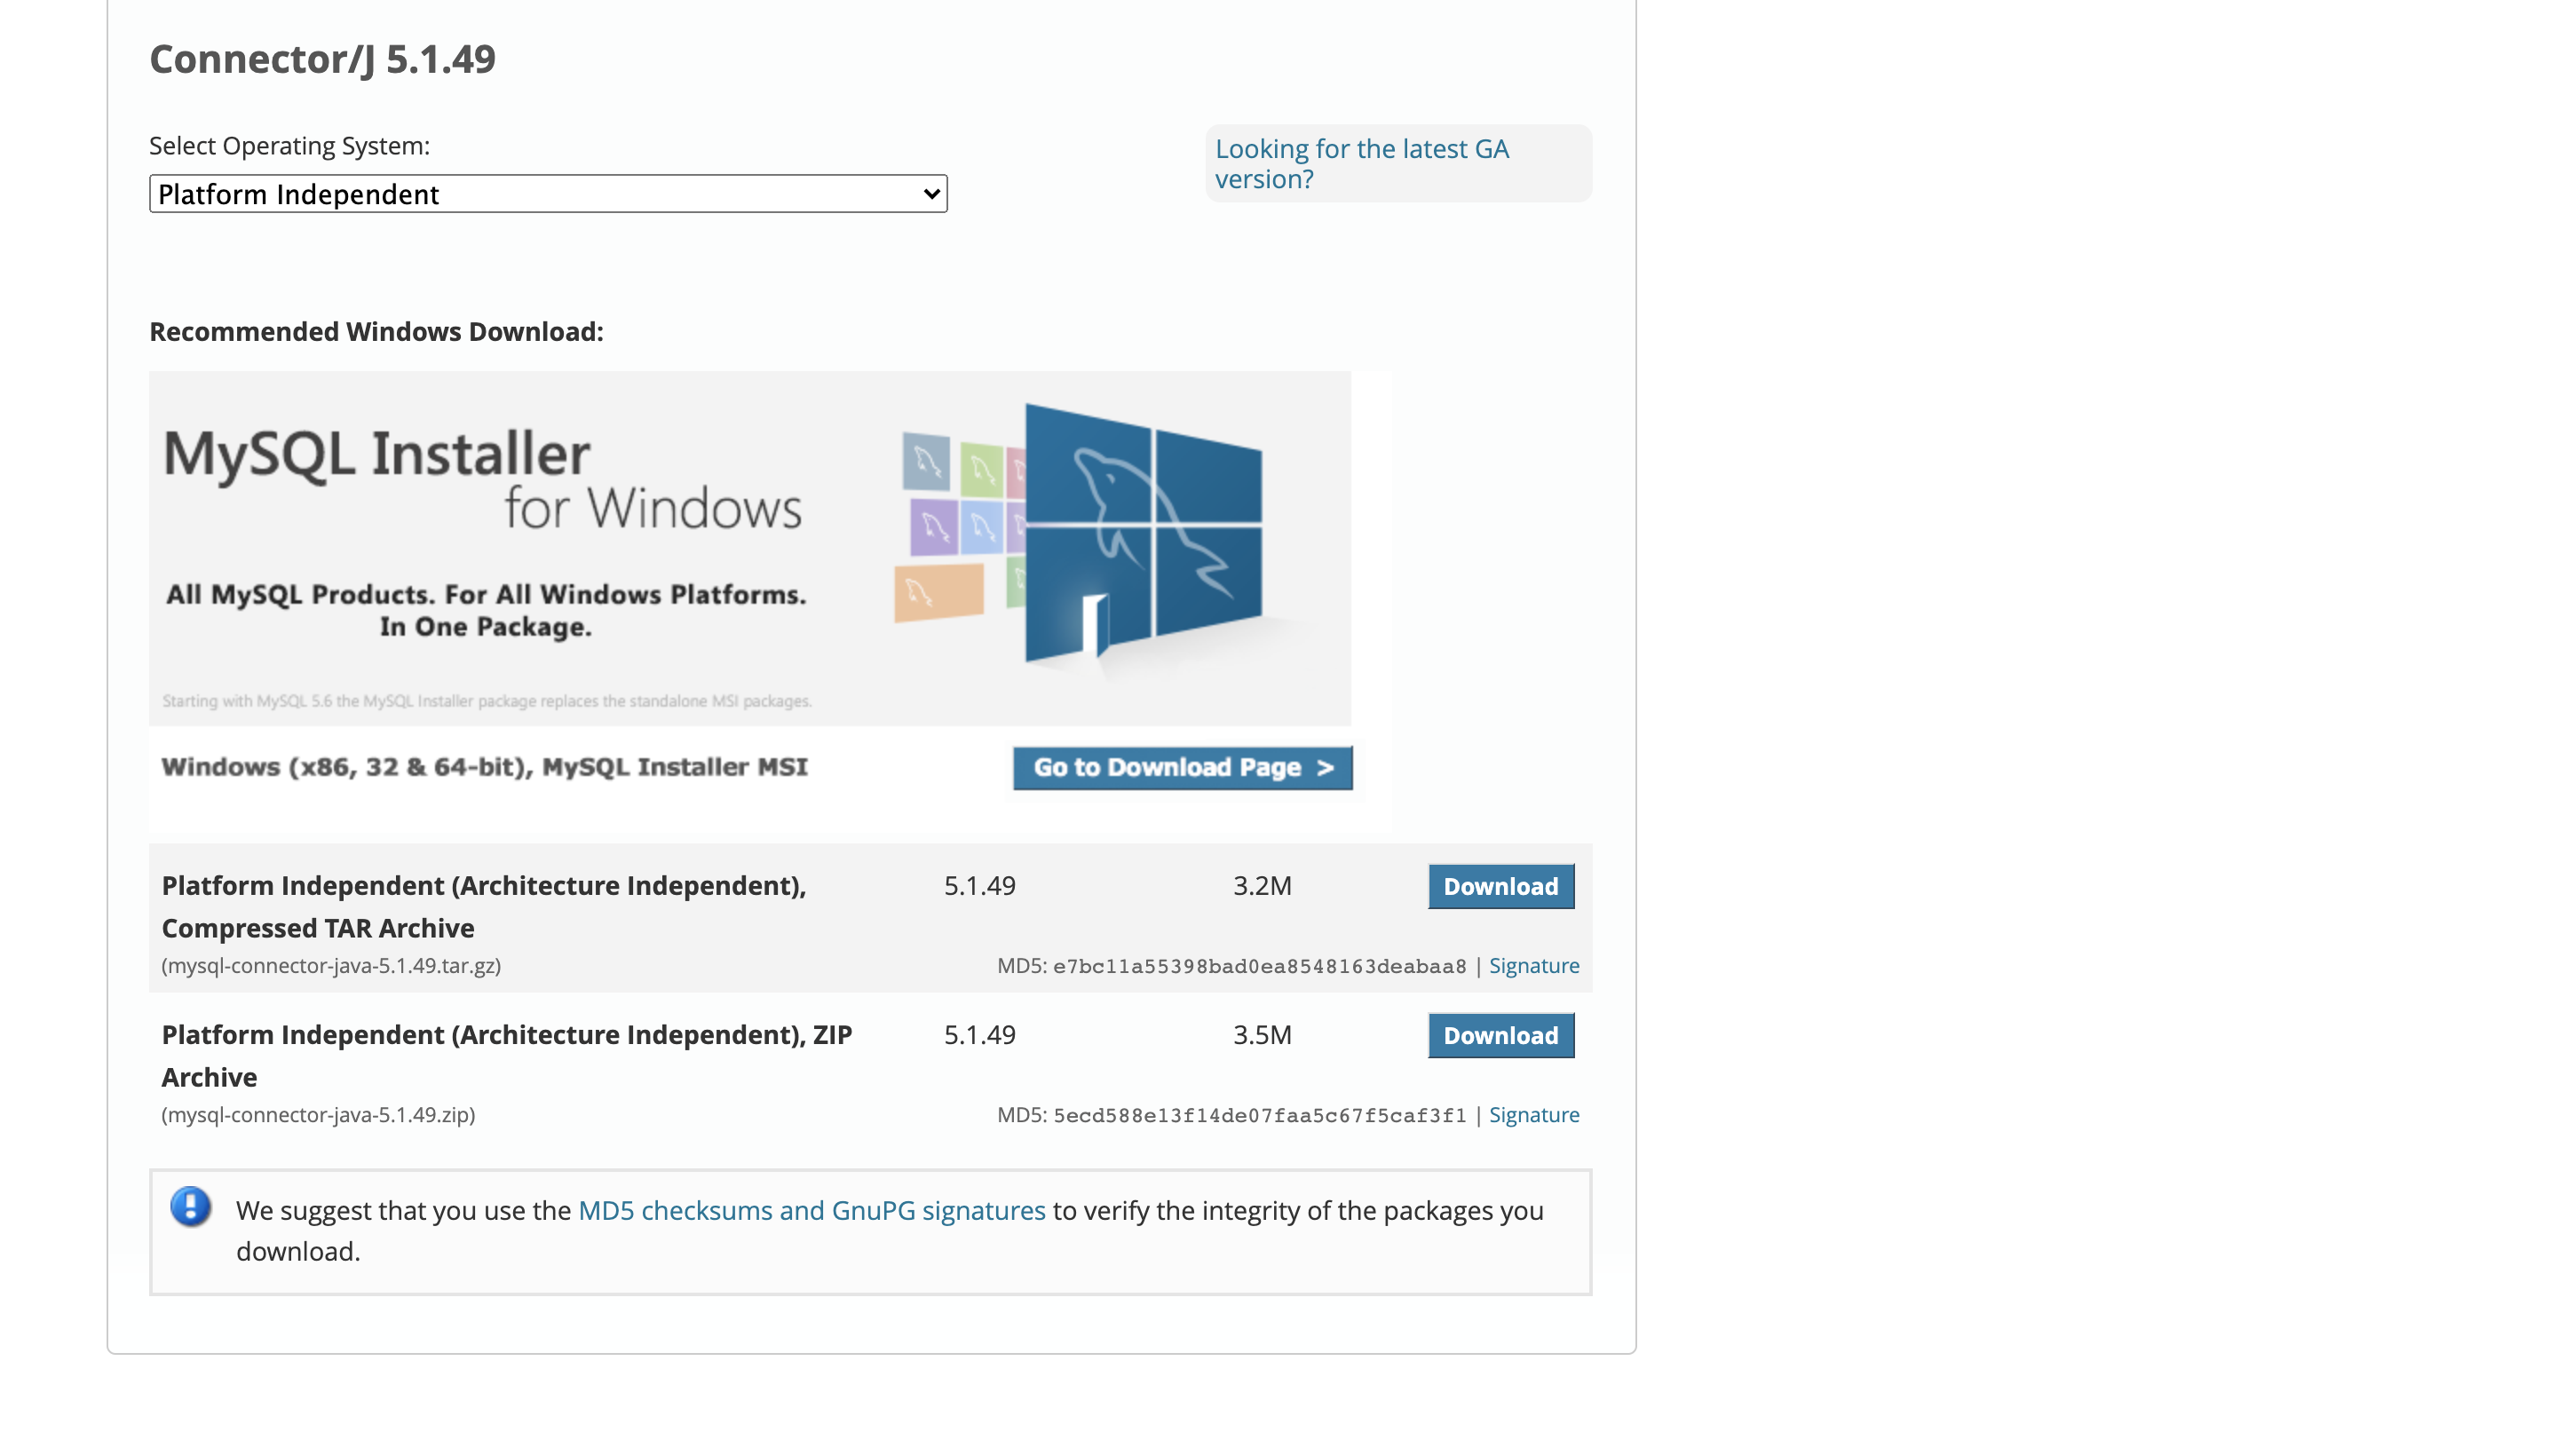
- 여기 접속
- "Looking for Previous GA version" 클릭
- TAR Archive를 Download 하기
- No thanks, just start my download 클릭
- 다운로드 시작
다시 말하지만, 라이브러리는 한 버전 낮은 것이 국.룰.

다운로드한 압축파일 풀기!

- 다시 IntelliJ로 돌아와서
- “Commend + ;” 단축키를 사용하여 Project Structure 창 열기
- Project Settings >Libraries 탭
- 왼쪽 위 [ + ] 클릭 -> Java 클릭
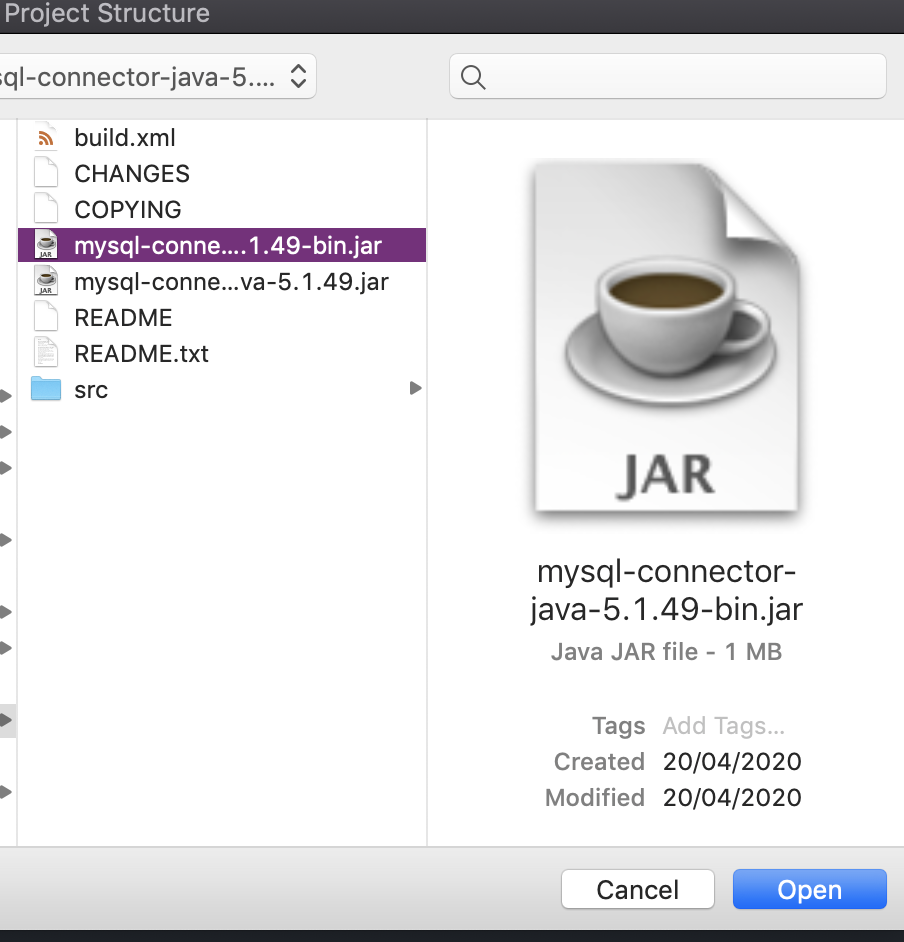
- 위에서 압축 푼 파일에 있는 mysql-connector-java-{version}-bin.jar 선택

- 적용할 프로젝트 선택
- OKOKOK!
- DataBase 설정 완료..
Pom.xml 설정
이건 근데 아직 잘 모르는게 너무 많아서... 우선 이해한 것 위주로 !
<?xml version="1.0" encoding="UTF-8"?>

<project xmlns="http://maven.apache.org/POM/4.0.0" xmlns:xsi="http://www.w3.org/2001/XMLSchema-instance"
  xsi:schemaLocation="http://maven.apache.org/POM/4.0.0 http://maven.apache.org/xsd/maven-4.0.0.xsd">
  <modelVersion>4.0.0</modelVersion>

  <groupId>com.example</groupId>
  <artifactId>maventest01</artifactId>
  <version>1.0-SNAPSHOT</version>

  <name>maventest01</name>
  <!-- FIXME change it to the project's website -->
  <url>http://www.example.com</url>

  <!-- properties : 상수를 설정하는 태그-->

  <properties>
    <!-- sourceEncoding 한글 설정 : UTF-8 -->
    <project.build.sourceEncoding>UTF-8</project.build.sourceEncoding>

    <!-- source 와 class의 JDK 버전 설정 -->
    <maven.compiler.source>1.8</maven.compiler.source>
    <maven.compiler.target>1.8</maven.compiler.target>

    <!-- java version 8 -->
    <java-version>1.8</java-version>

    <!-- Spring 프레임워크 버전. 꼭 확인하자 내가 사용하고 있는 Spring 버전이 무엇인지! 이 버전이 다르면 실행이 안된다.. -->
    <org.springframework-version>5.2.3.RELEASE</org.springframework-version>

  </properties>

  <!-- depencencies : 의존성 주입 ! 그냥 사용하는 라이브러리들 넣는다는 느낌으로 우선 이해-->
  <dependencies>
    <!-- spring framework를 위한 선언 -->
    <dependency>
      <groupId>org.springframework</groupId>
      <artifactId>spring-context</artifactId>
      <version>${org.springframework-version}</version>
      <exclusions>
        <exclusion>
          <groupId>commons-logging</groupId>
          <artifactId>commons-logging</artifactId>
        </exclusion>
      </exclusions>
    </dependency>

    <!-- spring MVC 를 위한 선언. 위에서 선언한 상수로 버전 설정. -->
    <dependency>
      <groupId>org.springframework</groupId>
      <artifactId>spring-webmvc</artifactId>
      <version>${org.springframework-version}</version>
    </dependency>

    <!-- servlet 을 위한 선언 -->
    <dependency>
      <groupId>javax.servlet</groupId>
      <artifactId>javax.servlet-api</artifactId>
      <version>3.1.0</version>
    </dependency>
    <dependency>
      <groupId>javax.servlet.jsp</groupId>
      <artifactId>jsp-api</artifactId>
      <version>2.1</version>
      <scope>provided</scope>
    </dependency>
    <dependency>
      <groupId>javax.servlet</groupId>
      <artifactId>jstl</artifactId>
      <version>1.2</version>
    </dependency>

    <!-- test를 위한 junit 선언-->
    <dependency>
      <groupId>junit</groupId>
      <artifactId>junit</artifactId>
      <version>4.11</version>
      <scope>test</scope>
    </dependency>

    <!-- 위에서 설정한 mysql connector 선언 -->
    <dependency>
      <groupId>mysql</groupId>
      <artifactId>mysql-connector-java</artifactId>
      <version>5.1.49</version>
    </dependency>

  </dependencies>

  <build>
    <pluginManagement><!-- lock down plugins versions to avoid using Maven defaults (may be moved to parent pom) -->
      <plugins>
        <!-- clean lifecycle, see https://maven.apache.org/ref/current/maven-core/lifecycles.html#clean_Lifecycle -->
        <plugin>
          <artifactId>maven-clean-plugin</artifactId>
          <version>3.1.0</version>
        </plugin>
        <!-- default lifecycle, jar packaging: see https://maven.apache.org/ref/current/maven-core/default-bindings.html#Plugin_bindings_for_jar_packaging -->
        <plugin>
          <artifactId>maven-resources-plugin</artifactId>
          <version>3.0.2</version>
        </plugin>
        <plugin>
          <artifactId>maven-compiler-plugin</artifactId>
          <version>3.8.0</version>
        </plugin>
        <plugin>
          <artifactId>maven-surefire-plugin</artifactId>
          <version>2.22.1</version>
        </plugin>
        <plugin>
          <artifactId>maven-jar-plugin</artifactId>
          <version>3.0.2</version>
        </plugin>
        <plugin>
          <artifactId>maven-install-plugin</artifactId>
          <version>2.5.2</version>
        </plugin>
        <plugin>
          <artifactId>maven-deploy-plugin</artifactId>
          <version>2.8.2</version>
        </plugin>
        <!-- site lifecycle, see https://maven.apache.org/ref/current/maven-core/lifecycles.html#site_Lifecycle -->
        <plugin>
          <artifactId>maven-site-plugin</artifactId>
          <version>3.7.1</version>
        </plugin>
        <plugin>
          <artifactId>maven-project-info-reports-plugin</artifactId>
          <version>3.0.0</version>
        </plugin>
      </plugins>
    </pluginManagement>
  </build>
</project>
필요한 라이브러리는 필요할 때 추가해야한다.
아직은 잘 모르지만 언젠간 완벽하게 이해하는 날이 오길...
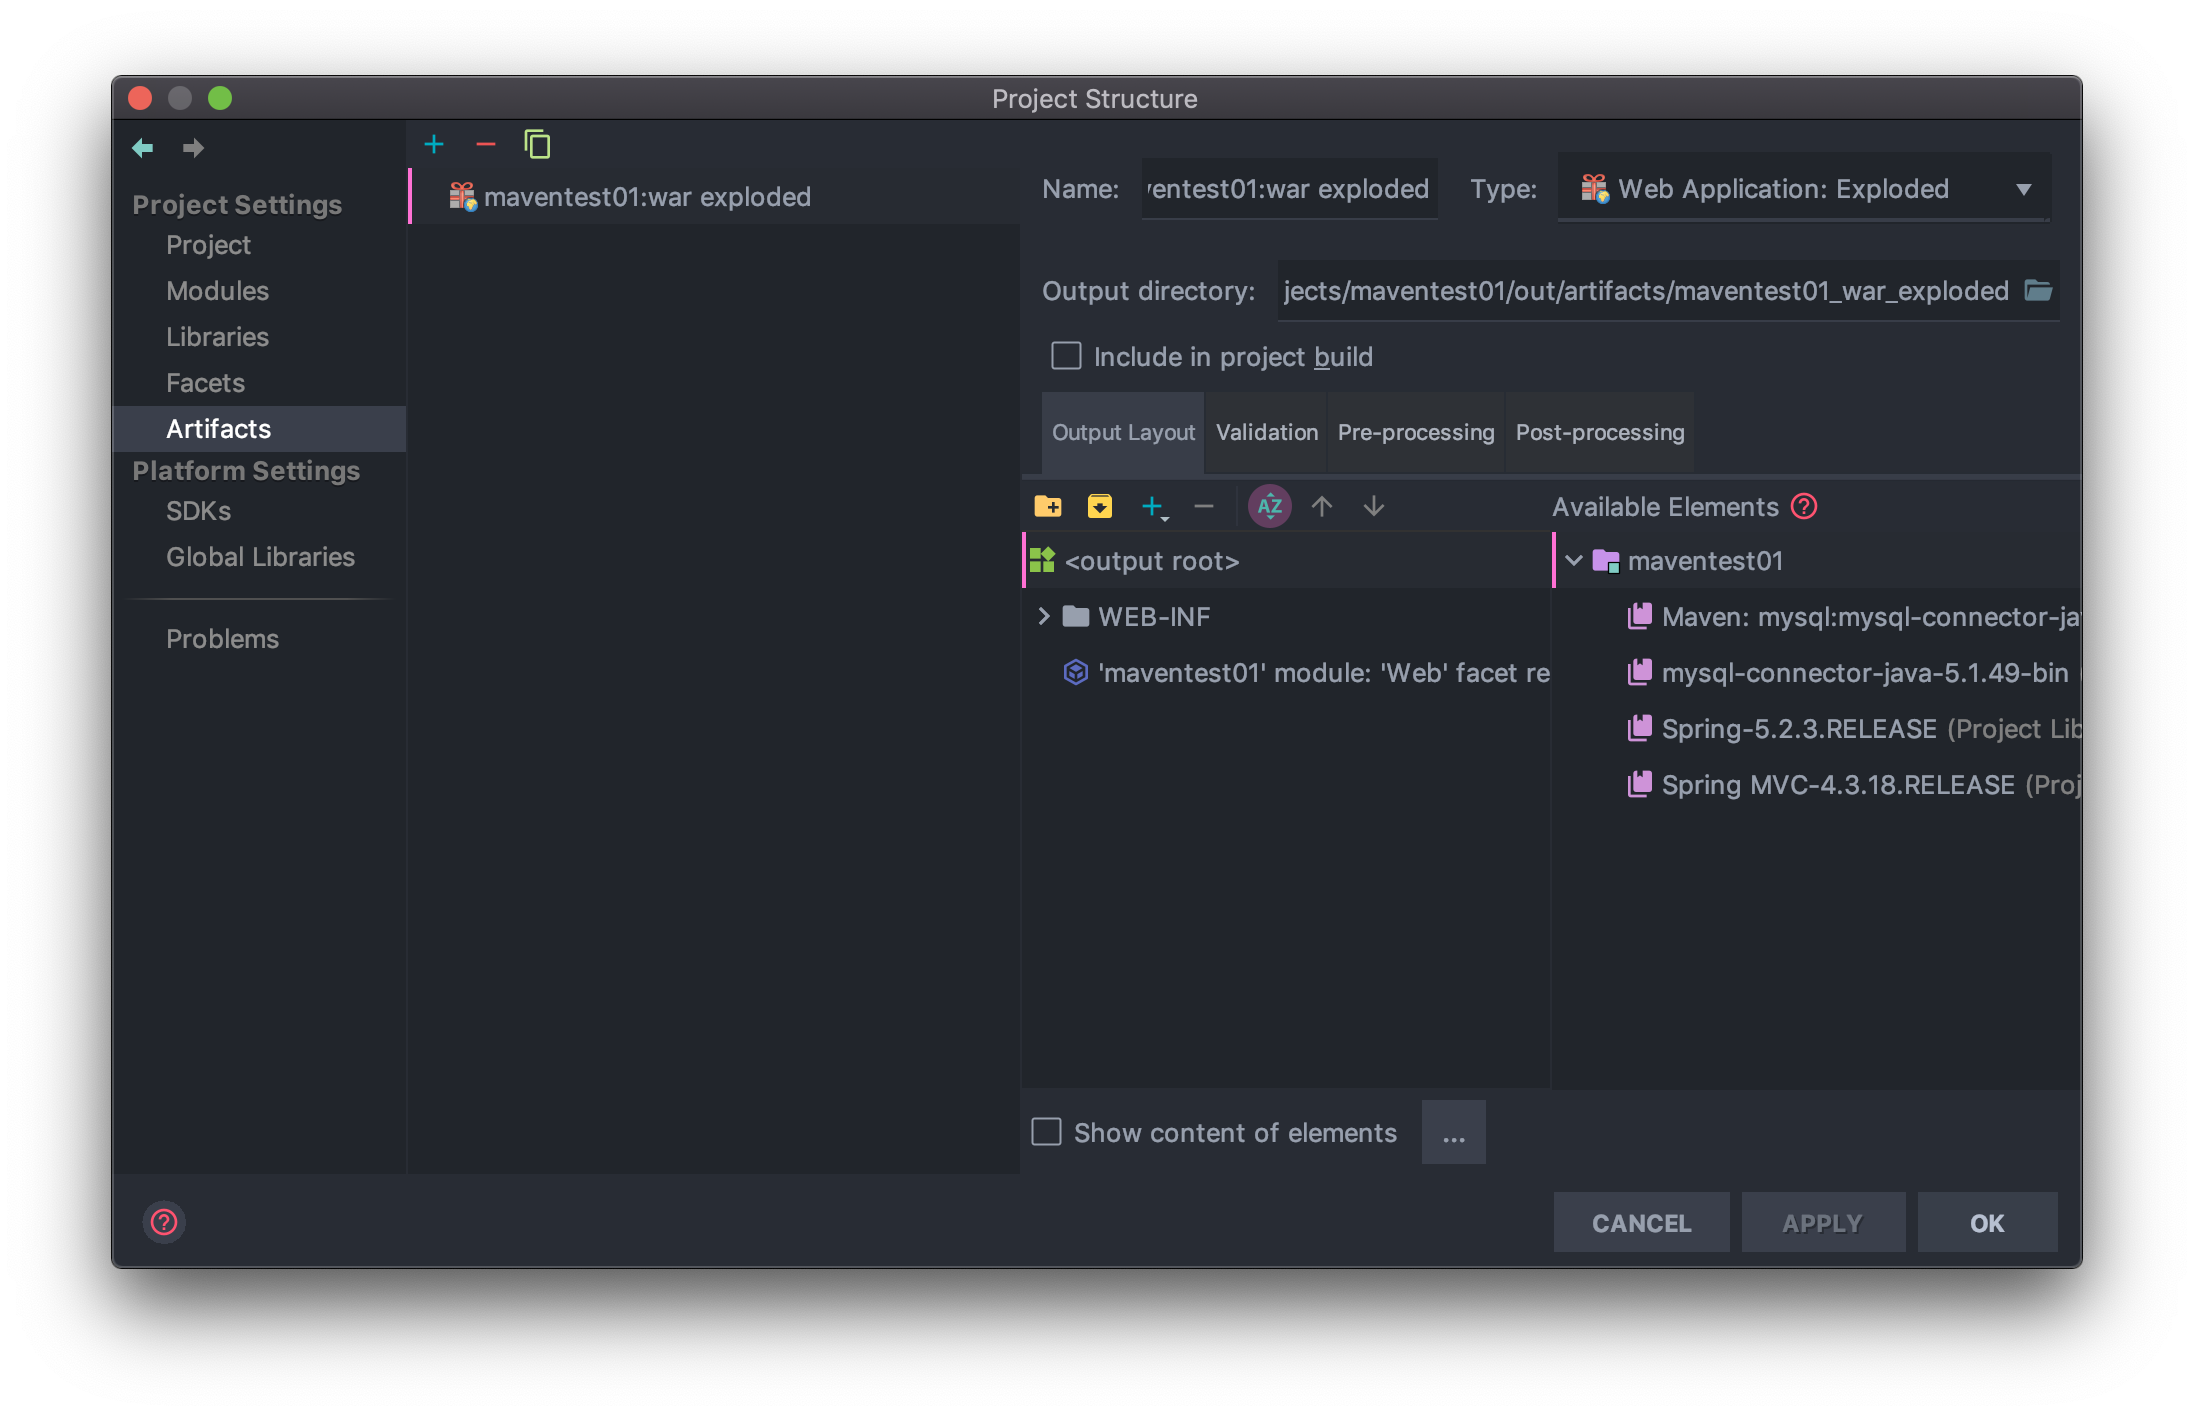
- “Command + ;“ 눌러서 Project Structure 창 열기
- Artifacts 탭 클릭
- 오른쪽 Available Elements 의 라이브러리들 모두 더블클릭
- OK
기나긴 설정이 끝났다. 드디어.
이제 잘 작동하는지 확인하러 가야지 🤣
근데 이런 설정들 프로젝트 만들때마다 매번 해줘야하는건가...?
아래의 링크를 보고 작성했습니다. 감사합니다. 정말 도움 많이됐어요!