개발 환경 세팅
우선, 개발 환경을 세팅해야 합니다. visual studio code에서 npm init을 통해 기본 환경을 만들어줍니다.
이후, npm i express socket.io를 통해 express와 sokcet.io를 설치합니다.
기본적으로 Node.js에서 동작시킬 서버를 만듭니다.
const express = require('express');

const app = express();

app.use(express.json());
app.use(express.urlencoded({ extended: false }));

app.get('/', (req, res, next) => {
  res.send('<h1>Hello, world!</h1>');
});

app.use((err, req, res, next) => {
  console.error(
    `message: ${err.message}, status: ${err.status}`
  );
  res.status(err.status || 500).json({
    message: err.message,
    status: err.status
  });
});

app.listen(3000, () => {
  console.log(`Server listing at 3000 port!`);
});
HTML 작성하기
주의! 이 프로젝트를 진행하는 개발자는 프론트엔드 경험이 없기 때문에 코드가 더러울 수 있고, 구조가 못마땅할 수 있습니다.
socket.io의 공식 홈페이지에 나와있는 문서를 따라만들기로 했다. 아직, 무엇하나 잘 알지 못하기 때문에 우선은 튜토리얼을 한다는 느낌으로 진행했다.
<!DOCTYPE html>
<html lang="en">
<head>
  <meta charset="UTF-8">
  <link rel="stylesheet" href="/css/style.css">
  <title>Real-time chat application in Node.js</title>
</head>
<body>
  <ul id="messages"></ul>
  <form id="form" action="">
    <input id="input" autocomplete="off">
    <button>Send</button>
  </form>
</body>
</html>
그런데 공식 튜토리얼(?)을 보면 style도 html에 작성되어 있는 것 같기에, css 파일로 옮겨보고자 했다.
css 파일 작성하기
body {
  margin: 0;
  padding-bottom: 3rem;
  font-family: -apple-system, BlinkMacSystemFont, 'Segoe UI', Roboto, Helvetica, Arial, sans-serif;
}

#form {
  background: rgba(0, 0, 0, 0.15);
  padding: 0.25rem;
  position: fixed;
  bottom: 0;
  left: 0;
  right: 0;
  display: flex;
  height: 3rem;
  box-sizing: border-box;
  backdrop-filter: blur(10px);
}

#input {
  border: none;
  padding: 0 1rem;
  flex-grow: 1;
  border-radius: 2rem;
  margin: 0.25rem;
}

#input:focus {
  outline: none;
}

#form > button {
  background: #333;
  border: none;
  padding: 0 1rem;
  margin: 0.25rem;
  border-radius: 3px;
  outline: none;
  color: #fff;
}

#messages {
  list-style-type: none;
  margin: 0;
  padding: 0;
}

#messages > li {
  padding: 0.5rem 1rem;
}

#messages > li:nth-child(odd) {
  background: #efefef;
}
일단 공식 튜토리얼에 적힌 style을 그대로 css로 옮기면 다음과 같다(다만, 프론트엔드와 연이 없어서 이게 뭘 의미하는지는 조금밖에 모르겠다).
작성한 HTML 페이지 보여주기
이제 만든 HTML 페이지를 서버가 켜졌을 때 보여지도록 해야 한다. app.js에 다음과 같은 코드를 추가한다.
app.get('/', (req, res, next) => {
  res.sendFile(__dirname + '/public/index.html');
});
다만, 이 코드만 작성하면 index.html 파일만 보이고 css 파일에 작성한 스타일이 적용되지 않는다. 서버에서 정적 파일을 다루기 위해 express.static() 메서드를 호출한다(당연히 위 라우팅보다 먼저 작성해야 한다).
app.use(__dirname + '/public');실행 결과

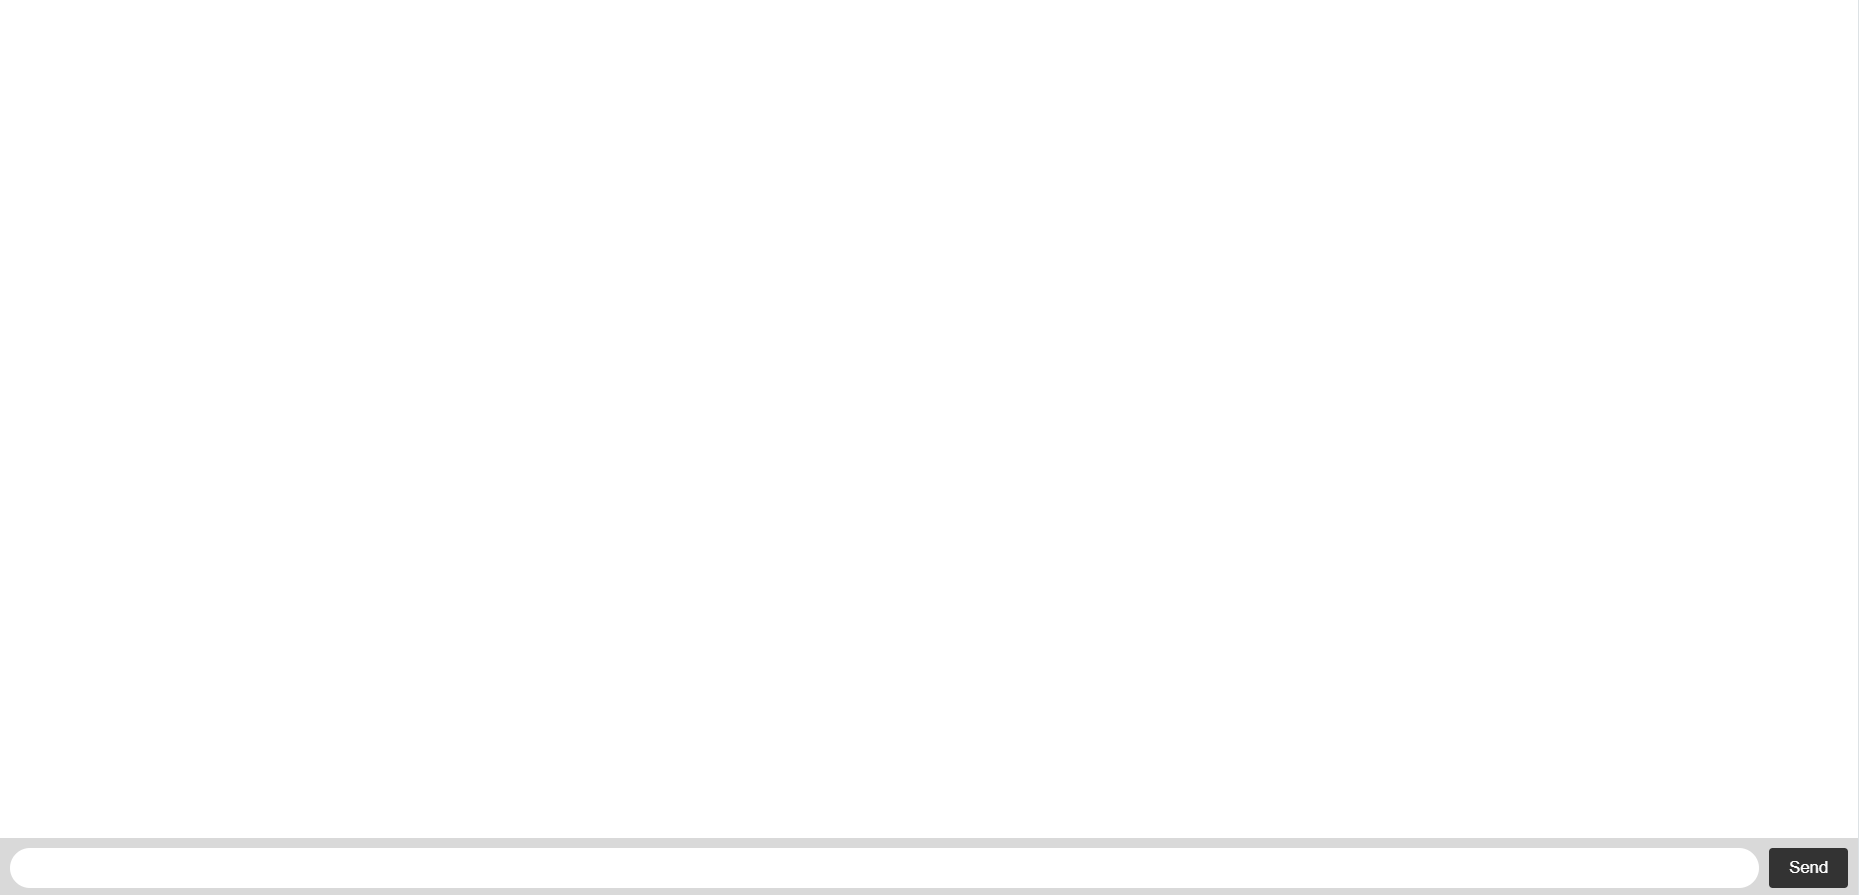
하단에 메시지 전송 폼이 생겼고, 스타일이 잘 적용된 것을 볼 수 있다.
