안녕하세요. Son입니다.
오랜만에 글 작성해봅니다.
이번에 사내 프로젝트를 진행하면서, Suspense와 ErrorBoundary가 동작방식에 어떤 차이가 있는지 궁금하여 사내 세미나 글을 작성해보았습니다.
직접 해당 컴포넌트들을 구현해보며 어떻게 내부적으로 동작하는지, 어떤 차이가 있는지 알아보겠습니다.
What is Suspense
정의
<Suspense>는 자식 요소를 로드하기 전까지 화면에 대체 UIFallback를 보여줍니다.Suspense는 자식요소가 로딩되기전에 로딩스피너나, 스켈레톤같은 UI를 이용해 대체UI(폴백)를 보여주는 컴포넌트입니다.
자식 요소가 로딩되는 여러이유가 있지만 Suspense는 비동기적 데이터 로딩 상태를 처리하기위해 도입 되었습니다.
그럼 어떻게 자식요소가 로딩상태인지 판단을 할까요?
바로바로바로.. 프로미스입니다!
좀만 생각해보면 당연한 걸 수도 있습니다. 비동기 작업처리는 프로미스를 이용하므로, Suspense도 당연하게 프로미스를 기반으로 다양한 처리를 합니다.
하위 컴포넌트에서 로딩상태에 들어가면 pending상태가 되고, 비동기작업 완료 시 resolve, 실패 시 reject를 던지도록하고 상위에서 이를 catch하여 자식의 상태를 감지하는식으로 동작하게 됩니다.
구현전에 설계를 해봅시다.
1. 비동기 함수(데이터로딩 같은) 실행시에, Promise를 던져 로딩상태를 감지한다.
2. Promise가 resolve될 때까지 폴백 UI를 렌더링한다.
3. Resolve가 되면 해당 컴포넌트를 렌더링한다.
구현해보기
// CustomSuspense.jsx
import { useState, useEffect } from "react";

export default function CustomSuspense({ children, fallback }) {
  const [loading, setLoading] = useState(true);
  useEffect(() => {
    try {
      setLoading(false);
    } catch (promise) {
      if (promise instanceof Promise) {
        promise.then(() => setLoading(false));
        // catch는 ErrorBoundary에서 처리
      }
    }
  }, []);
  if (loading) {
    return fallback;
  }
  return children;
}
러프하게 짜본 서스펜스 컴포넌트입니다.
Fallback 상태를 useState로 선언하여 관리하고 있습니다.
promise처리를 하고나면 리렌더링을 유발하여 children을 처리하기 위함입니다.
// ChildComponent.jsx
let data = null;
export default function ChildComponent() {
if (!data) {
throw new Promise((resolve) => {
setTimeout(() => {
data = "Hello, World!";
resolve(data);
}, 3000);
});
}
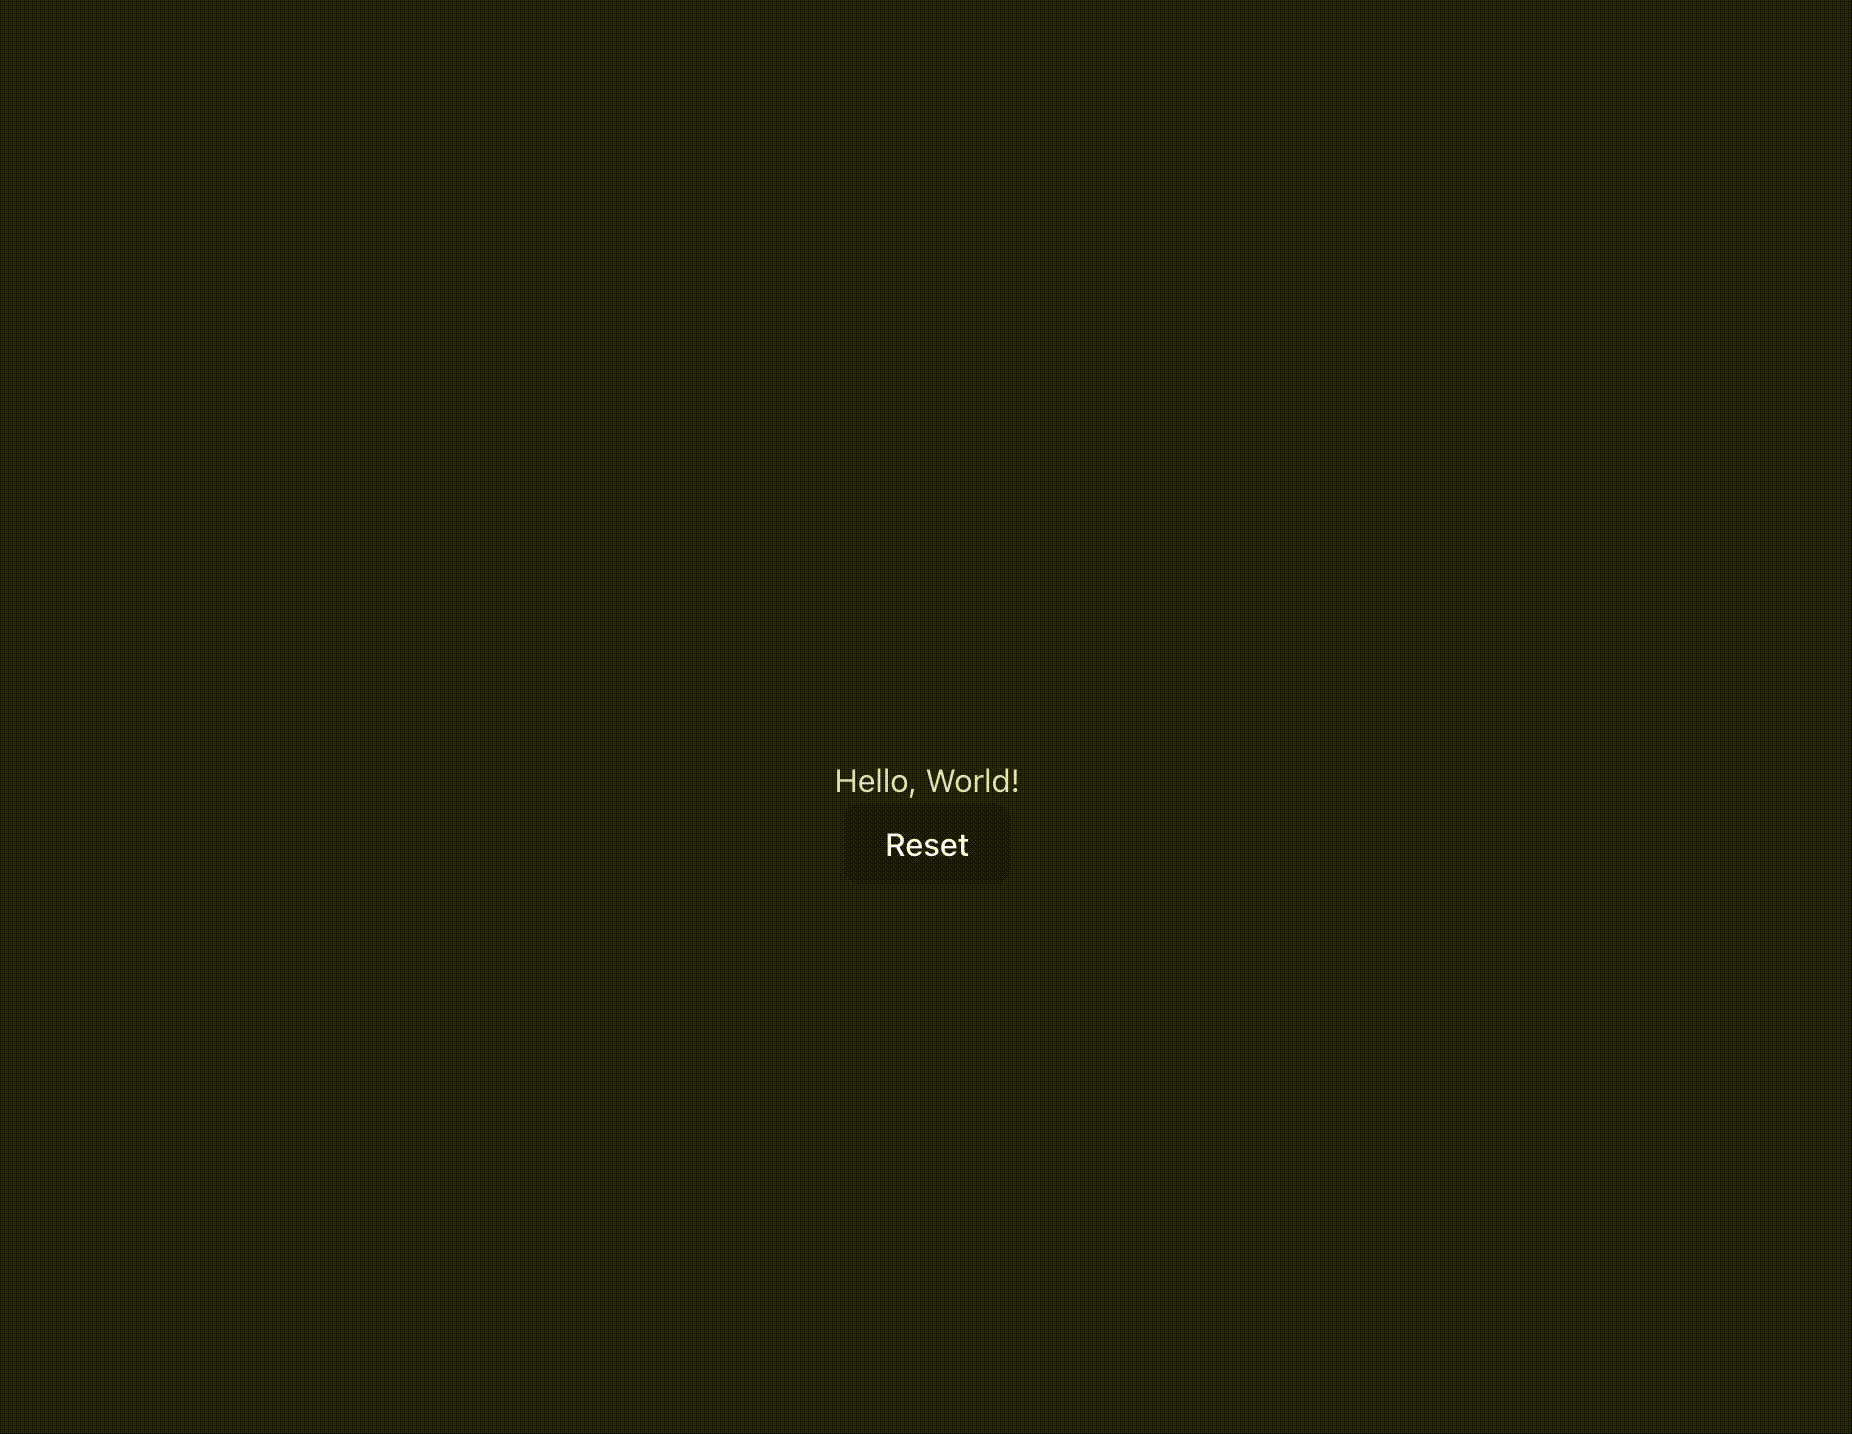
return (
<>
<div>{data}</div>
<button onClick={() => window.location.reload()}>Reset</button>
</>
);
}자식에선 비동기함수(setTimeout)이 콜백으로 들어간 promise를 던졌습니다.
// App.jsx
import "./App.css";
import ChildComponent from "./ChildComponent";
import CustomSuspense from "./CustomSuspense";

function App() {
  return (
    <>
      <CustomSuspense fallback={<div>Loading...</div>}>
        <ChildComponent />
      </CustomSuspense>
    </>
  );
}

export default App;- ChildComponent에서 비동기함수를 처리하는 동안 Promise를 던짐.
- 비동기함수가 종료된 후 resolve가 되어 Suspense가 리렌더링. (useState 작동)
- 리렌더링되면 fallback이 아닌 Children이 렌더링
Suspense시연
해당 구현방식은 함정이 있습니다. 저희는 실제 Suspense와 비슷하게 구현했습니다.
promise.then(() => setLoading(false));
이렇게 Promise를 캐치한 것 같지만.. 실제로는 캐치를 못합니다. (콘솔로그 찍어보시면 안잡혀요) 리액트 내부에서 Promise를 던지고 잡는 방식은 리액트 내부 스케쥴러랑 관련이 있습니다. 그래서 비슷하게나마 이런식으로 컴포넌트가 동작하지않을까~ 예상하여 구현한 방식입니다.
그렇지만 저희는 예제를 만들어보고 이해해보면서, 어떤식으로 Suspense가 동작하는지 확실하게 익혀보았습니다!
What is ErrorBoundary
정의
ErrorBoundary는 throw Error를 catch하는 컴포넌트입니다.
하위컴포넌트에서 Error를 던졌을 때, 이를 감지하여 fallback UI나 재실행같은 로직을 실행할 수 있습니다.
에러 캐치를 위해 설계된 생명주기 메서드를 통해 ErrorBoundary는 Class로 실제 구현할 수 있습니다.
(Promise는 생명주기 메서드로 캐치불가)
구현해보기
import React from "react";

export default class ErrorBoundary extends React.Component {
  constructor(props) {
    super(props);
    this.state = { hasError: false };
  }

  static getDerivedStateFromError(error) {
    // 다음 렌더링에서 폴백 UI가 보이도록 상태를 업데이트 합니다.
    console.log(error);
    return { hasError: true };
  }

  componentDidCatch(error, errorInfo) {
    // 에러 리포팅 서비스에 에러를 기록할 수도 있습니다.
    console.log(error, errorInfo);
  }

  render() {
    if (this.state.hasError) {
      return this.props.fallback;
    }

    return this.props.children;
  }
}
리액트 공식홈페이지에 있는 예제입니다.
getDrived메소드와 componentDidCatch메소드 둘 다 에러캐치가 가능한데 용도가 다릅니다.
리액트는 이렇게 권장하고 있습니다.
getDerivedStateFromError() : 오류가 발생한 후 대체 UI를 렌더링하려면 해당 메소드를 사용합니다.
componentDidCatch() : 오류 정보를 기록하는 데 사용합니다. errorInfo인자로 구체적인 정보를 확인할 수 있습니다.
// ChildComponent.jsx
export default function ChildComponent() {
  throw Error("Data is not loaded yet");
}
자식에선 Error를 Throw합니다.
// App.jsx
import "./App.css";
import ChildComponent from "./ChildComponent";
import CustomErrorBoundary from "./CustomErrorBoundary";

function App() {
  return (
    <>
      <CustomErrorBoundary
        fallback={<div>Error occurred while loading data.</div>}
      >
        <ChildComponent />
      </CustomErrorBoundary>
    </>
  );
}

export default App;
의도한 Fallback화면이 나타나게 됩니다.
Moreover
실제 리액트 내부에서 어떻게 throw를 감지하는지 봅시다!
리액트 코드
구현 코드는 reconciler/ReactFiberWorkLoop.js 에 있습니다.
그 중 handleThrow함수에서 promise처리를 합니다.
'* *'로 주석 중간마다 해석을 적어놨습니다!
function handleThrow(root: FiberRoot, thrownValue: any): void {
  // A component threw an exception. Usually this is because it suspended, but
  // it also includes regular program errors.
  //
  // We're either going to unwind the stack to show a Suspense or error
  // boundary, or we're going to replay the component again. Like after a
  // promise resolves.
  //
  // Until we decide whether we're going to unwind or replay, we should preserve

** 컴포넌트가 Suspended, Error가 나는 상황을 처리한다고 합니다. **

  if (
    thrownValue === SuspenseException ||
    thrownValue === SuspenseActionException
  ) {
    // This is a special type of exception used for Suspense. For historical
    // reasons, the rest of the Suspense implementation expects the thrown value
    // to be a thenable, because before `use` existed that was the (unstable)
    // API for suspending. This implementation detail can change later, once we
    // deprecate the old API in favor of `use`.
    thrownValue = getSuspendedThenable();
    ** 던져진 값 저희는 Promise겠죠? 이름 thenable[https://velog.io/@fepanbr/JS-thenable]이란 인터페이스의 함수로 처리합니다. **
    // TODO: Suspending the work loop during the render phase is
    // currently not compatible with sibling prerendering. We will add
    // this optimization back in a later step.
    // Don't suspend work loop, except to check if the data has
    // immediately resolved (i.e. in a microtask). Otherwise, trigger the
    // nearest Suspense fallback.
    workInProgressSuspendedReason = SuspendedOnImmediate;
  ** 해당 코드를 보면 맨위에 상태와 관련되어 정의가 되어있습니다. 플래그 라고 생각하시면 됩니다.**
    /*
    export opaque type SuspendedReason = 0 | 1 | 2 | 3 | 4 | 5 | 6 | 7 | 8 | 9;
const NotSuspended: SuspendedReason = 0;
const SuspendedOnError: SuspendedReason = 1;
const SuspendedOnData: SuspendedReason = 2;
const SuspendedOnImmediate: SuspendedReason = 3;
const SuspendedOnInstance: SuspendedReason = 4;
const SuspendedOnInstanceAndReadyToContinue: SuspendedReason = 5;
const SuspendedOnDeprecatedThrowPromise: SuspendedReason = 6;
const SuspendedAndReadyToContinue: SuspendedReason = 7;
const SuspendedOnHydration: SuspendedReason = 8;
const SuspendedOnAction: SuspendedReason = 9;
    */
  } else if (thrownValue === SuspenseyCommitException) {
    thrownValue = getSuspendedThenable();
    workInProgressSuspendedReason = SuspendedOnInstance;
    ** 리액트 커밋단계에서 에러발생 시 처리 **
  } else if (thrownValue === SelectiveHydrationException) {
    // An update flowed into a dehydrated boundary. Before we can apply the
    // update, we need to finish hydrating. Interrupt the work-in-progress
    // render so we can restart at the hydration lane.
    //
    // The ideal implementation would be able to switch contexts without
    // unwinding the current stack.
    //
    // We could name this something more general but as of now it's the only
    // case where we think this should happen.
    workInProgressSuspendedReason = SuspendedOnHydration;
    ** 하이드레이션 중 처리 **
  } else {
    // This is a regular error.
    const isWakeable =
      thrownValue !== null &&
      typeof thrownValue === 'object' &&
      typeof thrownValue.then === 'function';

    workInProgressSuspendedReason = isWakeable
      ? // A wakeable object was thrown by a legacy Suspense implementation.
        // This has slightly different behavior than suspending with `use`.
        SuspendedOnDeprecatedThrowPromise
      : // This is a regular error. If something earlier in the component already
        // suspended, we must clear the thenable state to unblock the work loop.
        SuspendedOnError;
    ** 일반적인 에러 상황시**
  }
}
이렇게 내부에선 단순히 thenable객체로 매핑을해주고, workinProgress에 상태를 수정하여 reconciler가 처리를 하게 해줍니다.
However
그런데 Suspense,ErrorBoundary는 왜 사용하는걸까요?
우리가 일반적으로 로딩상태나 에러 상태가 발생하면 useState를 이용하여 컴포넌트의 상태를 지역상태로 만들어 분기처리합니다.
이때 Suspense를 이용하면 컴포넌트처럼 선언적으로 해당 상태들을 감지하고 표현할 수 있습니다. (DX가 향상!)
그럼 모든 상황에 Suspense쓰면 되겠네요?!
초중고에서 배운 시험 꿀팁이 있죠.
"모든", "전혀" 이런 Type Assertion을 해버리면 틀린 문장일 확률 100%죠.
Suspense도 마찬가지 입니다.
모든 상황에 좋지 않아요.
Network Waterfall 문제
<Suspense>
  <Child1 />
</Suspense>
export function Child1 () {
const {data1} = fetchData1();
const {data2} = fetchData2();
const {data3} = fetchData3();
}이런 상황이 있다면 어떨까요?
data1을 fetching하면 pending상태에 들어가 loading을 반환하고 프로미스가 끝날때까지 기다리게됩니다.
2,3도 마찬가지죠.
결과적으로 1 -> 2 -> 3 형태로 순차적으로 비동기 코드를 기다리게 됩니다.
이런현상을 Waterfall이라고 합니다.
이렇듯 Suspense는 Network Waterfall문제를 야기할 수 있습니다.
그래도.. 우린 해결법이 있습니다.
1. Promise.all을 이용하여 병렬적으로 API요청하기!
2. TanstackQuery사용중이라면? useSuspenseQueries를 사용하자.
UX문제
로딩스피너 같은 fallback UI가 무차적으로 남발되면, 사용자 입장에선 체감 로딩 시간이 길게 느껴질 수 있습니다. (로딩 시간이 길어지면 지루함을 느낌)
그래서 너무 남발하기보단, 정말 필요한 상황에서만 사용하도록 하는것이 좋습니다!
참고문헌
Suspense도입과 Waterfall현상
ErrorBoundary 만들기
Suspense직접 만들어보기
Suspense내부동작