Subnet of Class C
IP Host Add: 192.168.50.121
Subnet Mask: 255.255.255.248
192.168.5.121 = 11000000/10101000/00110010/01111001
255.255.255.248= 11111111/11111111/11111111/11111000
Subnet = 11000000/10101000/00110010/01111000
Broadcast = 11000000/10101000/00110010/01111111
Subnet Address = host part all 0
usable host address = 192.168.50.121-126
Broadcast Address = host part all 1
example
IP Host add: 192.168.7.0
subnet mask: 255.255.255.0
Network: 8
Host
1. seoul = 120
2. busan = 50
3. dokdo = 20
장비 간 2 ip
Seoul
1. vlan 10: 192.168.7.0/26 <가용 범위: 1~63>
2. vlan 20: 192.168.7.64/27 <가용 범위: 65~95>
3. vlan 30: 192.168.7.96/27 <가용 범위: 97~127>
Busan
1. vlan 10: 192.168.7.128/27 <가용 범위: 129~159>
2. vlan 20: 192.168.7.160/27 <가용 범위: 161~191>
Dokdo
192.168.7.192/27 <가용 범위: 193~222>
장비 간 2 ip /네트워크 8개
192.168.7.224 | 228 | 232 | 236 | 240
Router to Switch telnet login
1. switch setting
//모든 설정은 (config)에서
# enable password cisco
# line vty 0 4
# exec-timeout 0 0
# password cisco
# transport input telnet (ssh) //error 시 삭제
# int vlan 1
# ip add 192.168.1.194 255.255.255.224
# no shut
# ip default-gateway 192.168.1.222
2. router setting
#telnet 192.168.1.194
password: cisco
switch> en
password: cisco
switch# //switch로 telnet 실행
3. ubuntu setting
(base)~$ telnet 192.168.200.100
password: cisco
Router> en
password: cisco
Router# telnet 192.168.1.194
password: cisco
switch> en
password: cisco
switch# //router를 통해 switch로 telnet login
PYQT5 setting
(base)~$ sh pycharm.sh //pycharm 실행
(base)~$ designer //pyqt 실행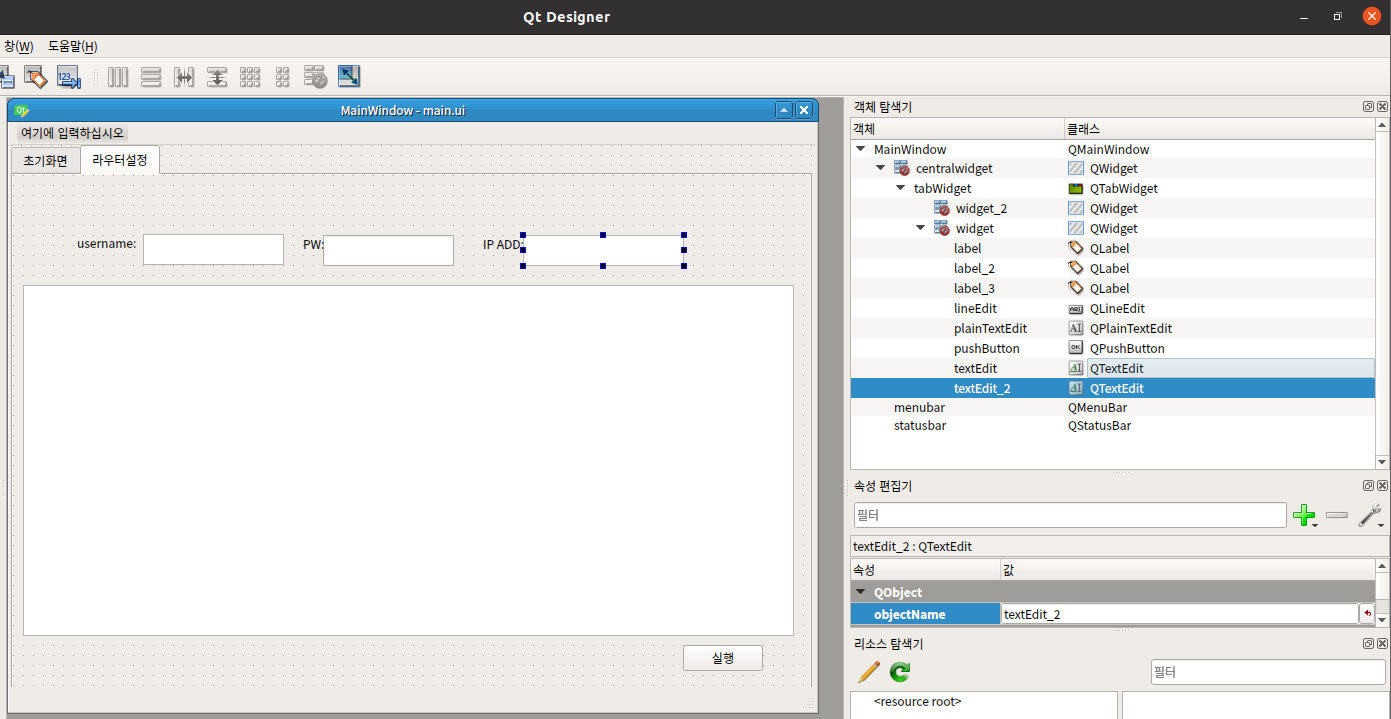
pycharm setting
1. pycharm terminal
/pythonProject$ sudo apt install pyqt5-dev-tools //pyqt5 설치
/pythonProject$ pip install pyqt5
/pythonProject$ pyuic5 main.ui -o main.py //main.ui을 main.py로 변환
2. main.py code 수정
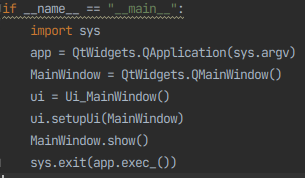
1) run main.py 실행 시 main.ui 실행 setting
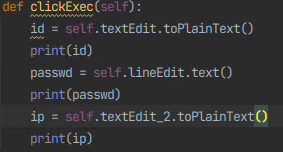
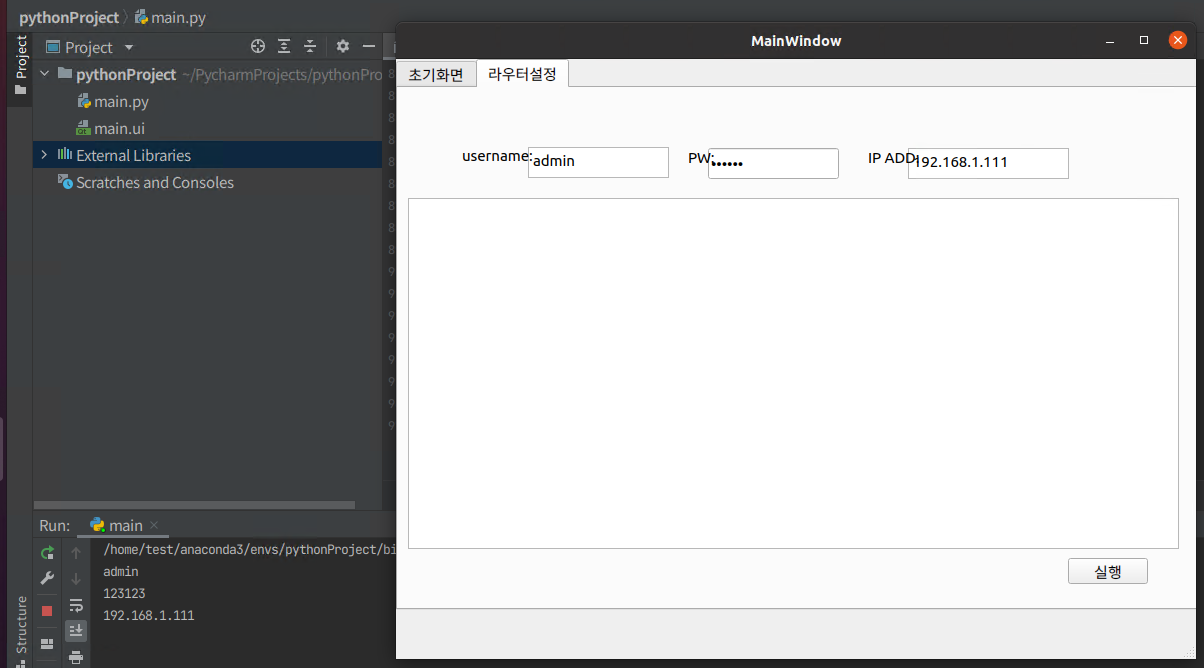
2) id, pwdm ip add 입력 후 실행 button click
def setupUi(self, MainWindow):

def clickExec(self):
3) result
VPN setting
- annyconnect-win-4.4~ download
- group name, account name, password 입력