👩💻 1. 테스트 코드 소개
📌TDD : 테스트가 주도하는 개발
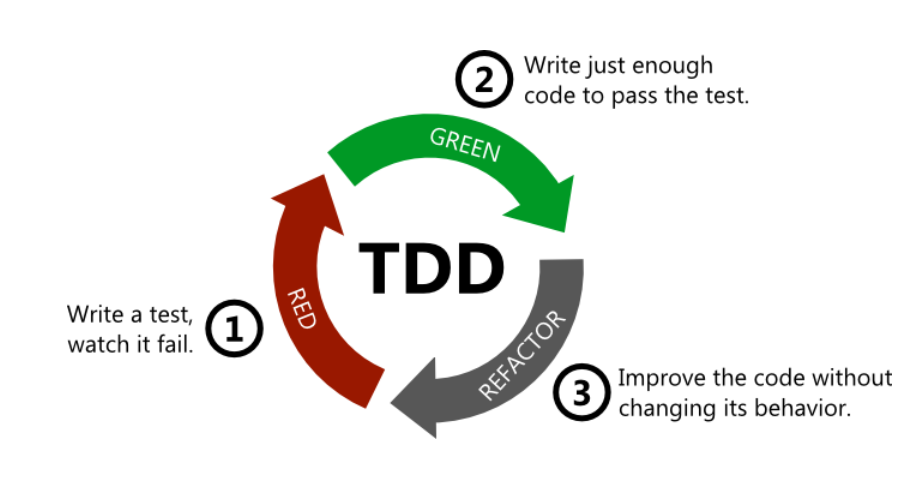
Red: 항상 실패하는 테스트를 먼저 작성하고
Green: 테스트가 통과하는 프로덕션 코드를 작성하고
Refactor : 테스트가 통과하면 프로덕션 코드를 리팩토링한다.
📌단위테스트 : 기능 단위 테스트 코드를 작성
✍ 테스트 코드 작성시 장점
- 개발단계 초기에 문제를 발견하도록 도와준다.
- 개발자가 나중에 코드를 리팩토링하거나 라이브러리 업그레이드 등에서
기존 기능이 올바르게 작동하는지 확인 가능하다. - 기능에 대반 불확실성을 감소시킨다.
- 시스템에 대한 실제 문서를 제공한다.
Hello Controller 테스트 코드 작성
Java > New > Package
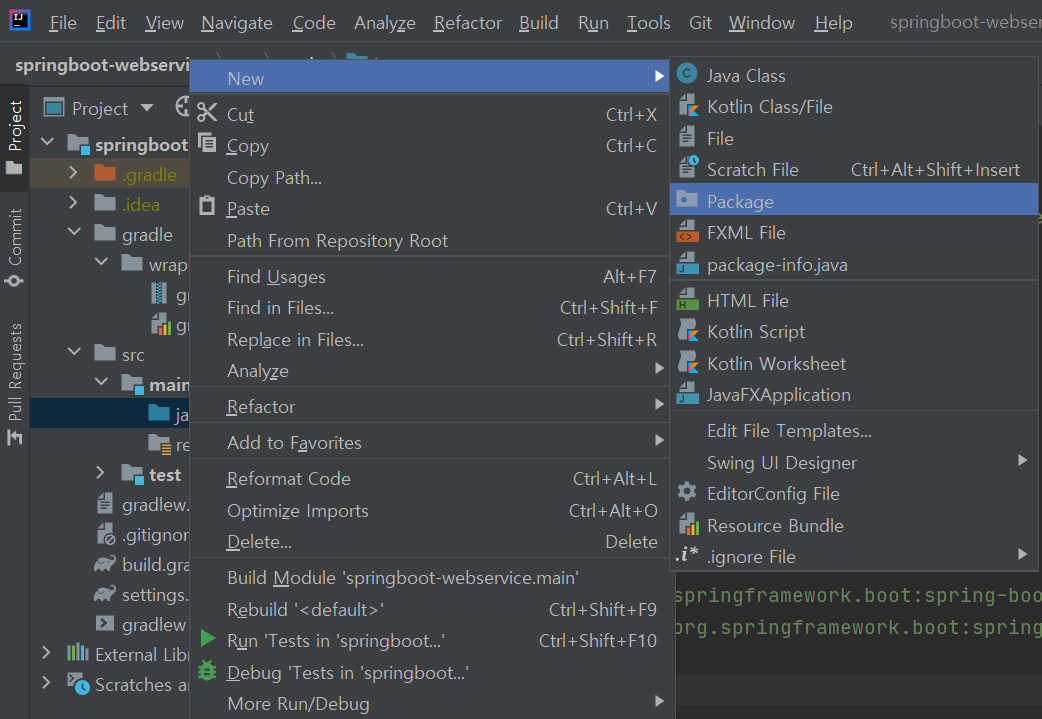
com.spring.book.springboot 패키지 생성

com.spring.book.springboot > New > Java Class
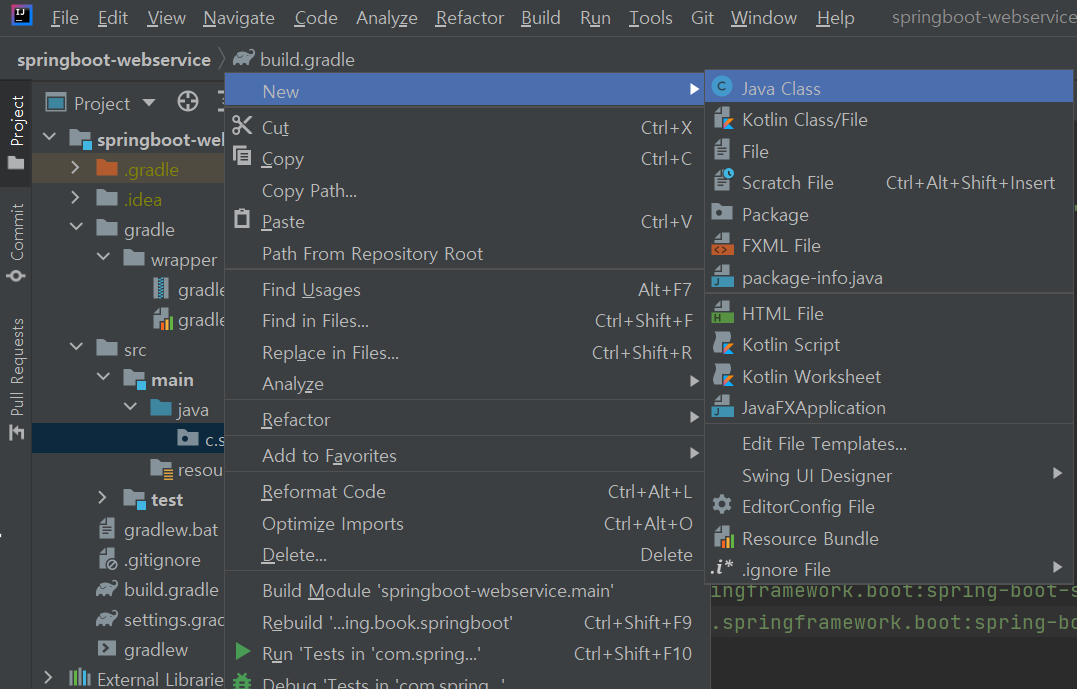
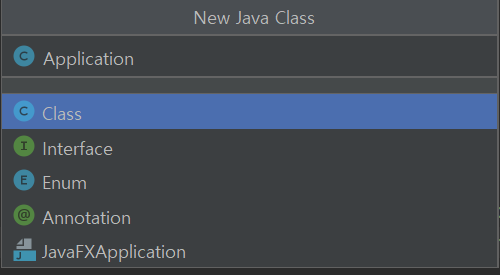
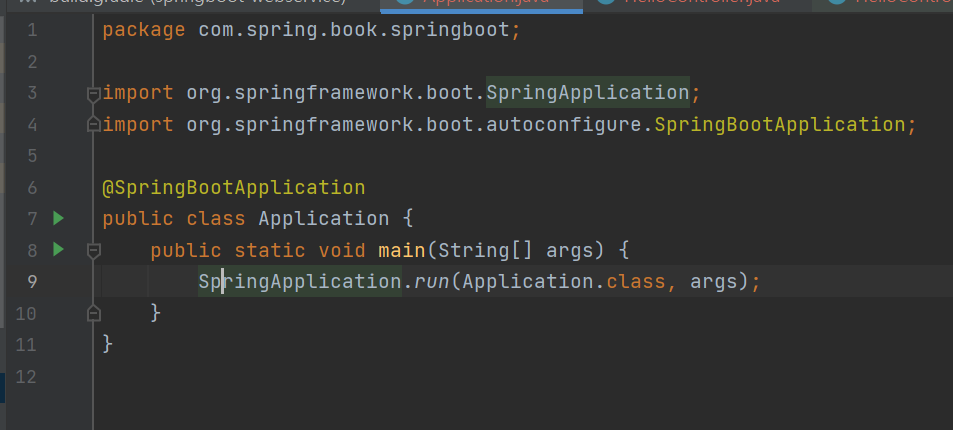
Application Class 생성
코드 작성
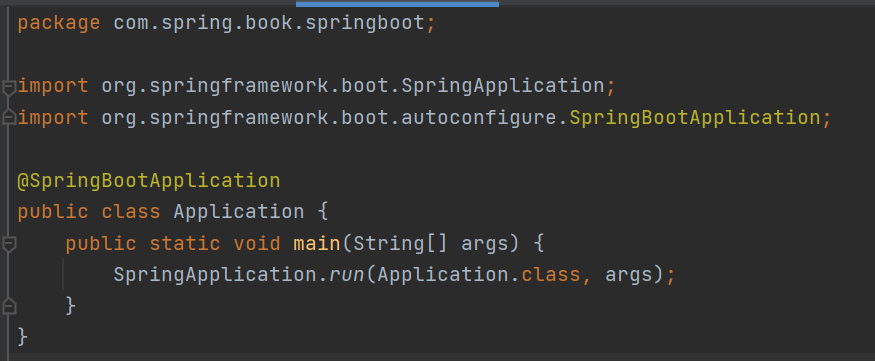
@SpringBootApplication: 스프링 부트의 자동 설정, 스프링 Bean 읽기와 생성을 모두 자동으로 설정- @SpringBootApplication이 있는 위치부터 설정을 읽기 때문에 이 클래스는 항상 프로젝트의 최상단에 위치해야한다.
New > Package
web 패키지 생성 - 컨트롤러와 관련된 클래스

package com.spring.book.springboot.web;

import org.springframework.web.bind.annotation.GetMapping;
import org.springframework.web.bind.annotation.RestController;

@RestController //JSON을 반환하는 컨트롤러로 만들어준다.
public class HelloController {

    @GetMapping("/hello") // Get의 요청을 받을 수 있는 API 생성
    public String hello(){
        return "hello";
    }
}
test 코드 작성
src /test / java 디렉토리에
위의 HelloController와 똑같이 패키지 다시 생성
package com.spring.book.springboot.web;

import com.spring.book.springboot.web.HelloController;
import org.junit.Test;
import org.junit.runner.RunWith;
import org.springframework.beans.factory.annotation.Autowired;
import org.springframework.boot.test.autoconfigure.web.servlet.WebMvcTest;
import org.springframework.test.context.junit4.SpringRunner;
import org.springframework.test.web.servlet.MockMvc;

import static org.springframework.test.web.servlet.result.MockMvcResultMatchers.content;
import static org.springframework.test.web.servlet.request.MockMvcRequestBuilders.get;
import static org.springframework.test.web.servlet.result.MockMvcResultMatchers.status;

@RunWith(SpringRunner.class)
@WebMvcTest(controllers = HelloController.class)
public class HelloControllerTest {
    @Autowired
    private MockMvc mvc;

    @Test
    public void hello가_리턴된다() throws Exception{
        String hello = "hello";

        mvc.perform(get("/hello"))
                .andExpect(status().isOk())
                .andExpect(content().string(hello));
    }
}
✍ @RunWith(SpringRunner.class)
- 테스트를 진행할 때 JUnit에 내장된 실행자 외 다른 실행자 실행
- 스프링 부트 테스트와 JUnit 사이에 연결자 역할
✍ @WebMvcTest
- 여러스프링 테스트 어노테이션 중 web에 집중할 수 있는 어노테이션
- 선언할 경우
@Controller,@ControllerAdvice사용가능 - 단,
@Service,@Component,@Repository등사용불가
✍ @AutoWired
- 스프링이 관리하는 빈 주입 받음
✍ private MockMvc mvc
- 웹 API 테스트 시 사용
- 스프링 MVC 테스트의 시작점
- 이 클래스를 통해 HTTP,GET,POST 등에 대한 API 테스트 가능
✍ mvc.perform(get("/hello"))
- MockMvc를 통해 /hello 주소로 HTTP GET 요청
✍ .andExpect(status().isOk())
- mvc.perform의 결과 검증
- HTTP Header의 Status 검증
- 200, 400, 500 등의 상태 검증 (여기선 200인지 아닌지 검증)
✍ .andExpect(content().string(hello))
- mvc.perform 결과 검증
- Controller에서 "hello"를 리턴하기 때문에 이 값이 맞는지 검증
✅화살표 클릭해서 테스트 코드 실행!

테스트가 통과됐다! 😉

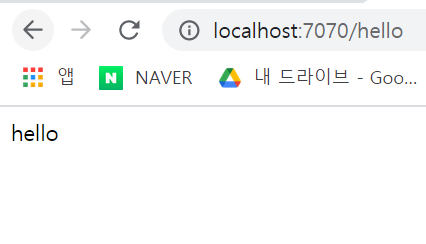
Application 실행후 localhost:포트번호/hello를 실행하자!
hello 가 잘 뜨면 성공이다!
📢[오류] 포트번호 8080이 사용중이라면?
Run - Edit Configurations...
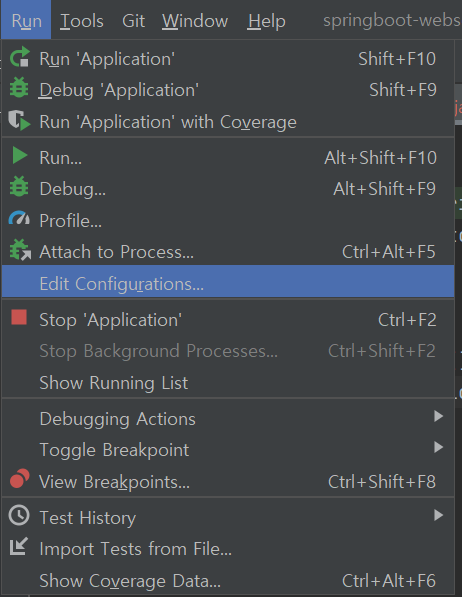
[해결법]
💡 server.port = 포트번호
로 지정해주면 된다.

