Github collaboration usually requires creating multiple branches to manage different versions of the code then finally merging them to the main branch. Today's let's learn about how to create such branches and safe ways of merginging it to the main.
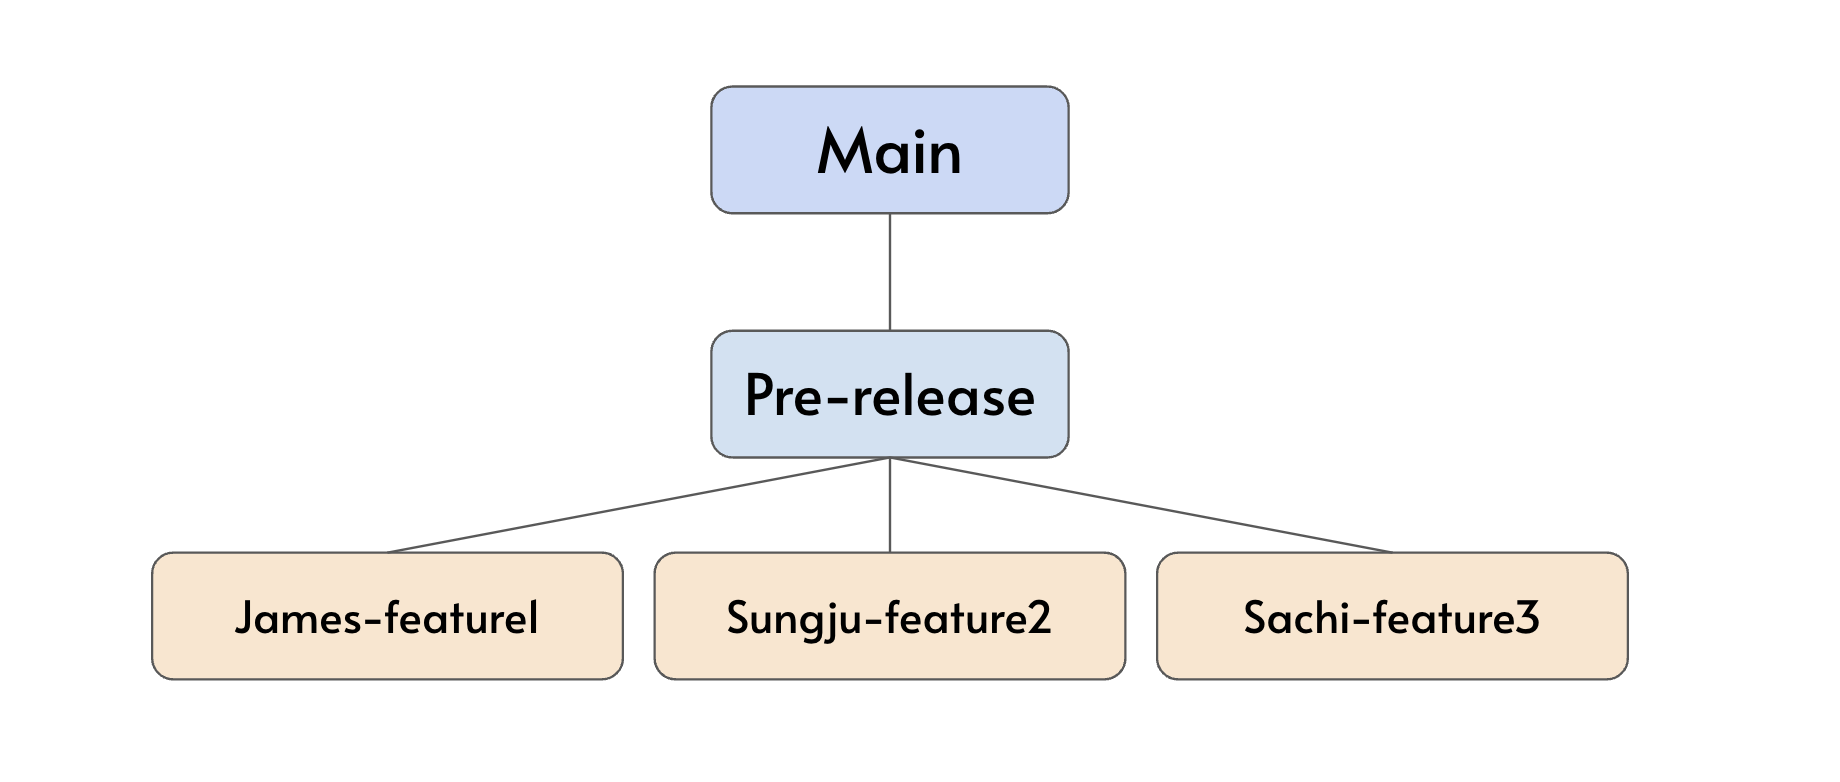
Let's assume that we plan to have our branch built like the below image where the highest level of branch besides the main is the 'pre-release' branch. Such branch is made to reduce the possibility of any problematic code to get pushed to the main branch.
Creating A Branch
[step 1] Check what branch you are on
In our case, we would like to go to the Pre-release branch.
First check which branch you are on:
git branch
[step 2] Switch to the Pre-release branch go to it:
git checkout Pre-releaseOr
git switch Pre-release
[step 3] Make a branch
⚠️ Don't forget to replace 'Sungju-feature2' with the name you want! ⚠️
git branch Sungju-feature2[step 4] Switch to your newly created branch like [step 2]
[step 5] Set up the upstream branch
After creating your local branch you need to connect this to a remote branch in order for other team members to see what you have been working on.
git push --set-upstream origin Sungju-feature2Merging
As an example let's say Sungju is done with developing feature2 and has pushed it to her remote branch 'Sungju-feature2'. Now, she wants to push it to the 'Pre-release' branch so that it can get merged with other features that other people have developed.
[step 1] Check what branch you are on
In our case, we would like to go to the Pre-release branch.
First check which branch you are on:
git branch
[step 2] Switch to the Pre-release branch go to it:
git checkout Pre-releaseOr
git switch Pre-release
[step 3] Then, merge with the feature branch you developed:
git merge Sungju-feature2[step 4] git push!
git add .
git commit -m "merging feature2"
git push origin Pre-release
Removing
You will have to delete your branch twice: one you created locally, and another created remotely. Also, you cannot be on the branch you are deleting.
Local Branch Removal
git branch -d branch_nameYou can use the one below to forcefully delete in case of unmerged changes.
git branch -D branch_nameRemote Branch Removal
git push origin --delete branch_name