Introduction
I have purchased an AP license to start operating Aruba APs in my home lab.
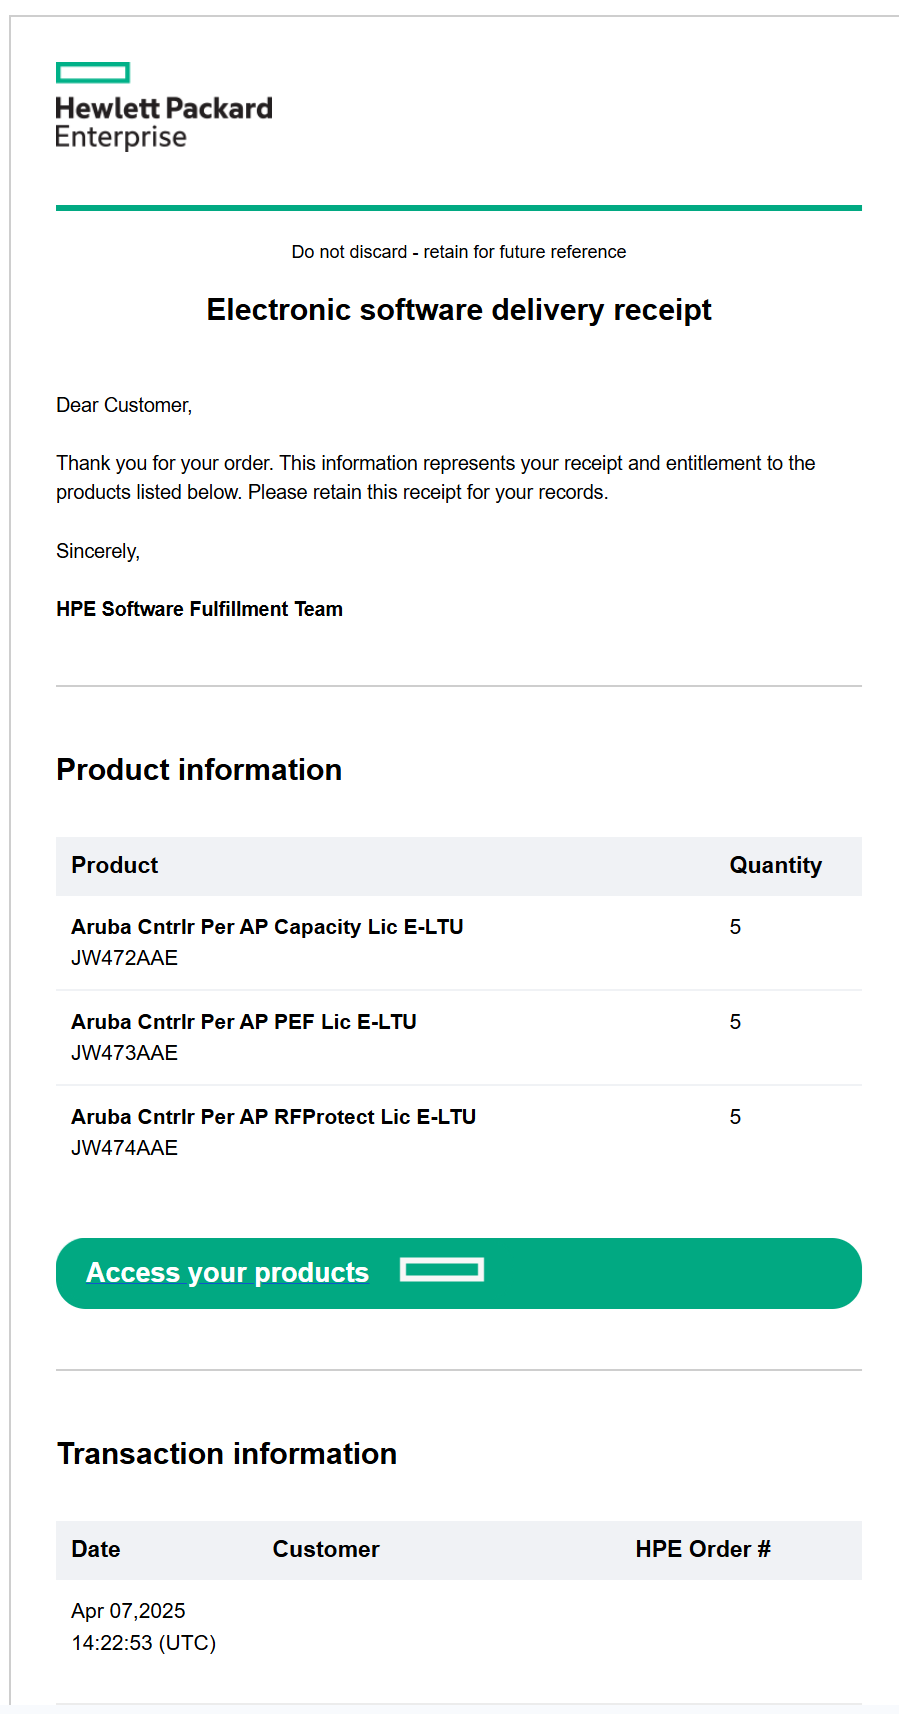
There are three types of licenses for APs that are commonly used: LIC-AP, LIC-PEF, and LIC-RFP.
Each is an AP registration license, a Policy Enforcement Firewall license that allows me to use ACLs / firewalls, and an RF Protect license that allows me to use Spectrum Analysis / WIPS functions.
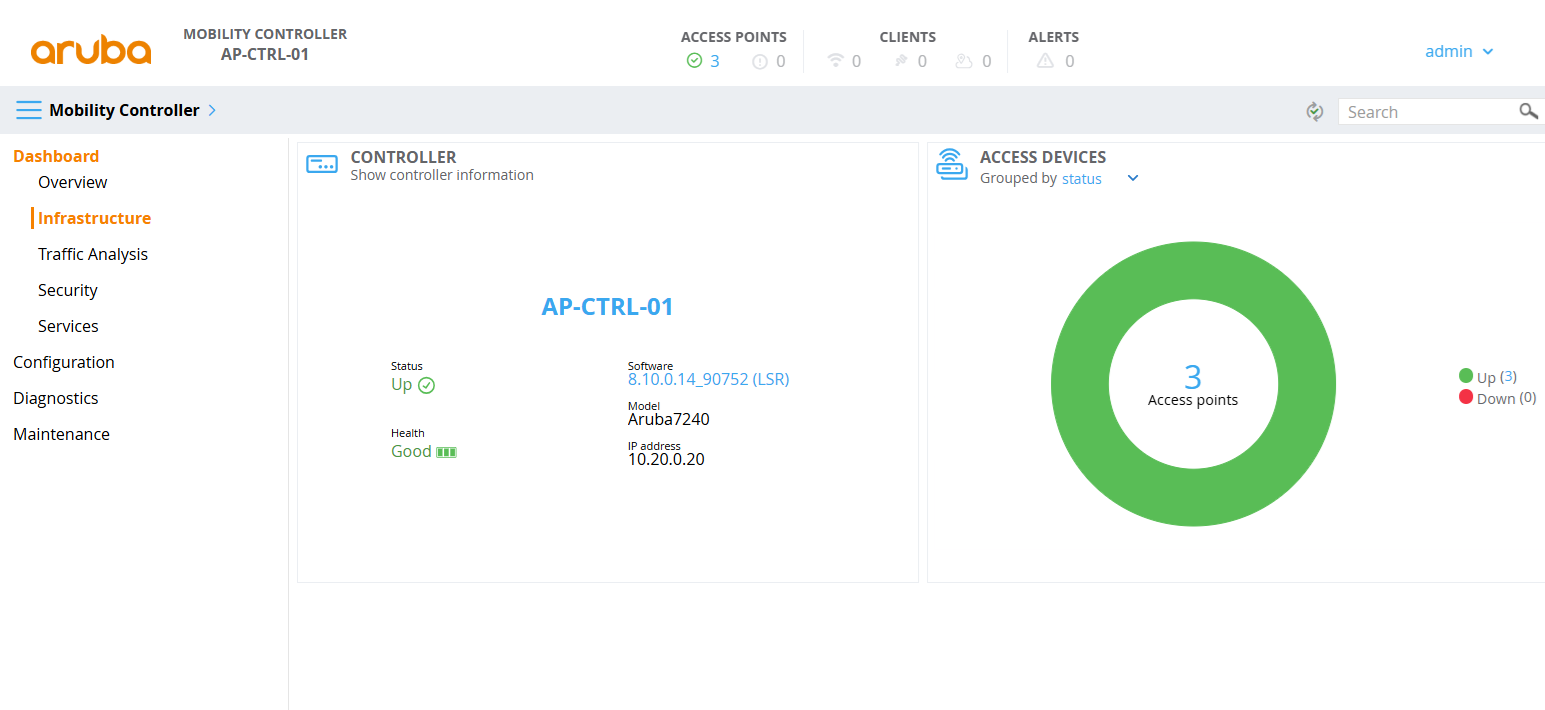
After purchasing a license, I will receive an email like the one above and can click the Access Your Products link to go through the onboarding and license registration process on the HPE Networking Support portal.
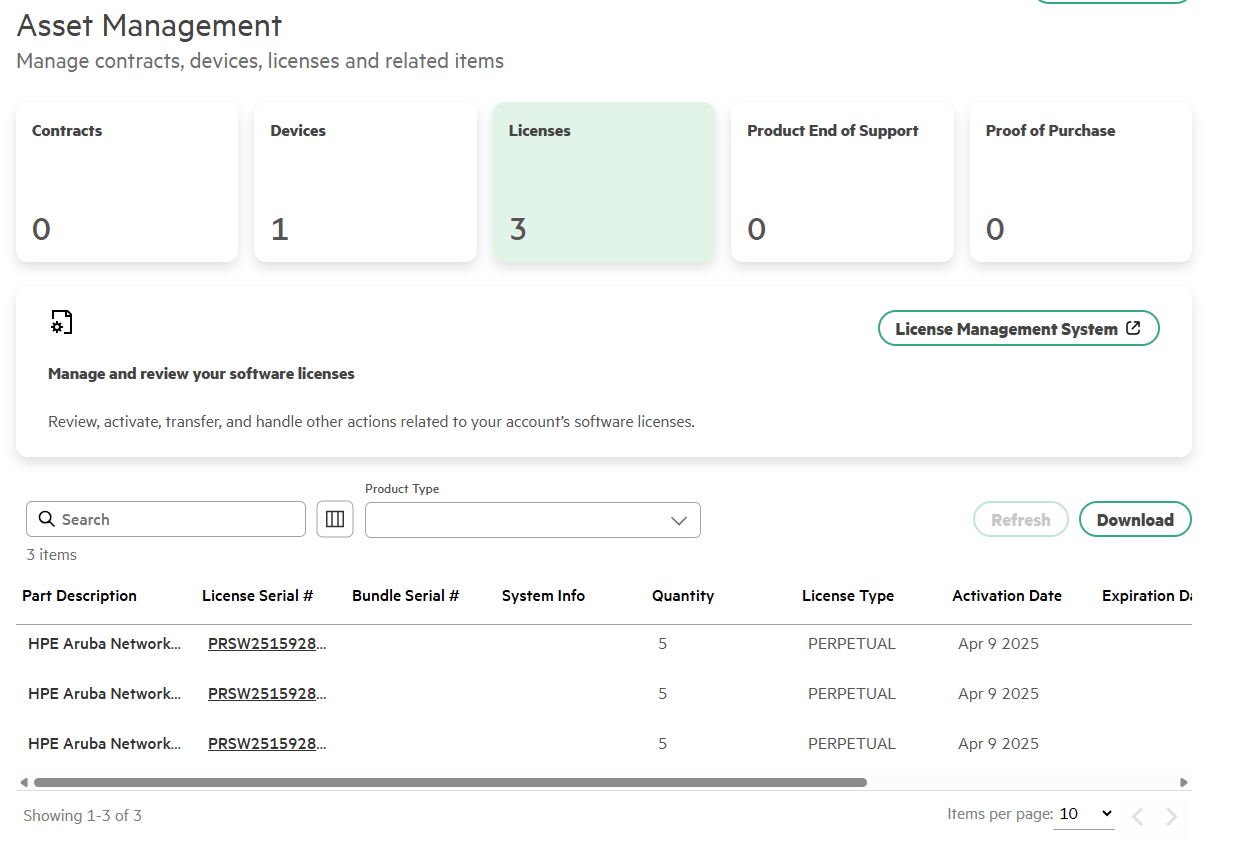
The registered license looks like the one below, and I can find the activation key in the License Management System. The activation key will also be sent to my email after registration is complete.

Now that the license is ready, let's get ready to build the Wireless Test environment in earnest.
Architecture Design
The AP controller is located in the server room in Hwaseong City, but it doesn't make sense to go down to Hwaseong every time to test Wi-Fi and Zigbee. So I designed the following topology.
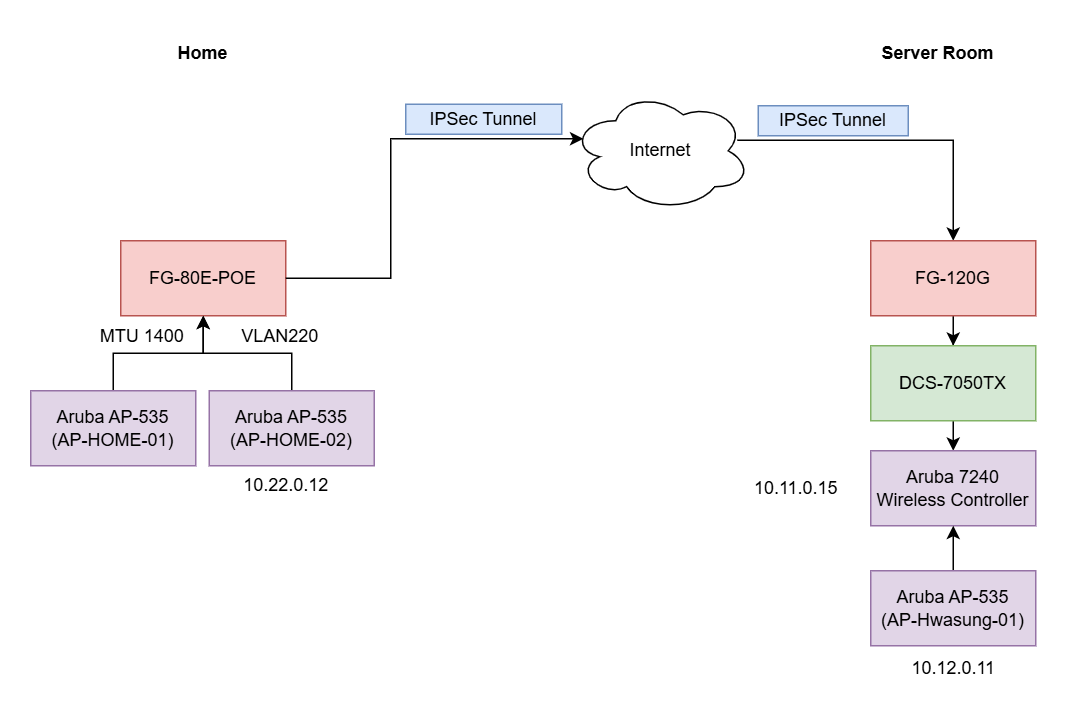
I install a Fortigate 80E-POE at home as a firewall and PoE switch, and connect the 7240 Wireless controller in the server room with the AP at home via IPSec Tunnel. This will allow me to connect multiple wireless devices directly through the AP at home and test them as I want.
Provisioning the AP
The most important thing in the above configuration is the Uplink VLAN and the MTU value to the controller. Let's follow the process to provision the APs and see what settings we need to change.
Create an AP Group
First, we need to create an AP Group to which the APs to be provisioned will be assigned.
The AP Group menu is located at Configuration > System > Profiles > AP > AP Group and creates a new profile.
In the ProfileName > AP System menu, you will see a value called SAP MTU. Set this value to 1400.
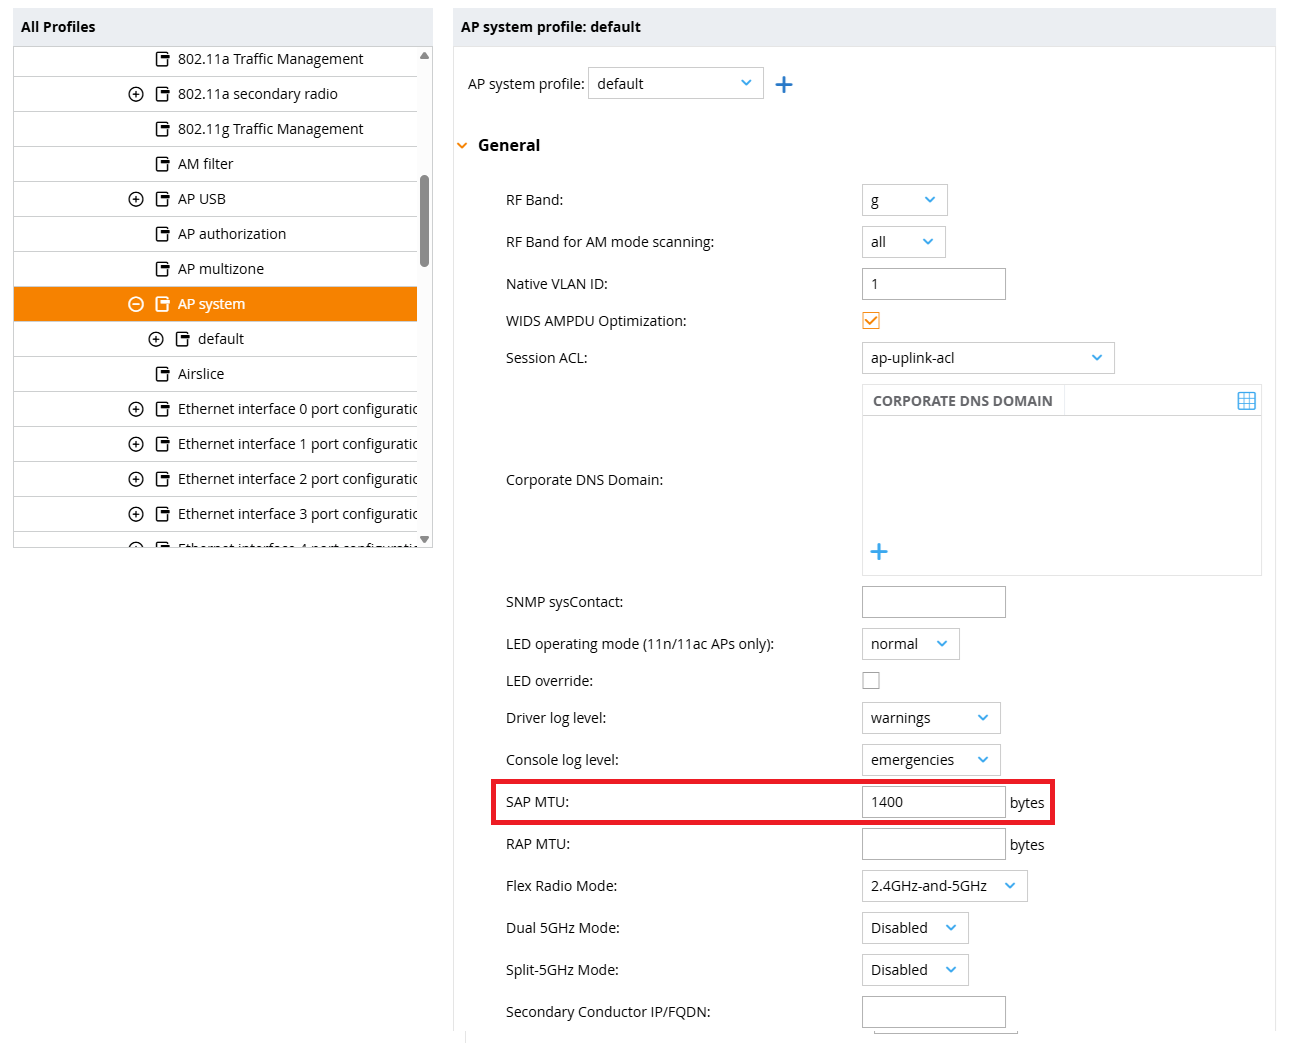
where the value of 1400 takes into account the encapsulation overhead of IPSec and GRE. IPSec has an overhead of up to 52 bytes and GRE has an overhead of 24 bytes, which means that packets of up to 1424 bytes can be forwarded over the WAN. It is most reasonable to set this to 1400 bytes with a small margin.
RAP MTU is the MTU value used for Remote AP connections, which defaults to 1200 bytes. Aruba seems to have taken a more conservative approach for uncontrolled WAN segments.
Registering the Allowlist
Register the APs that we want to connect to the controller to the Allowlist.
Go to the Configuration > Access Points > Allowlist menu, select the Campus AP Allowlist tab, and add a new AP.
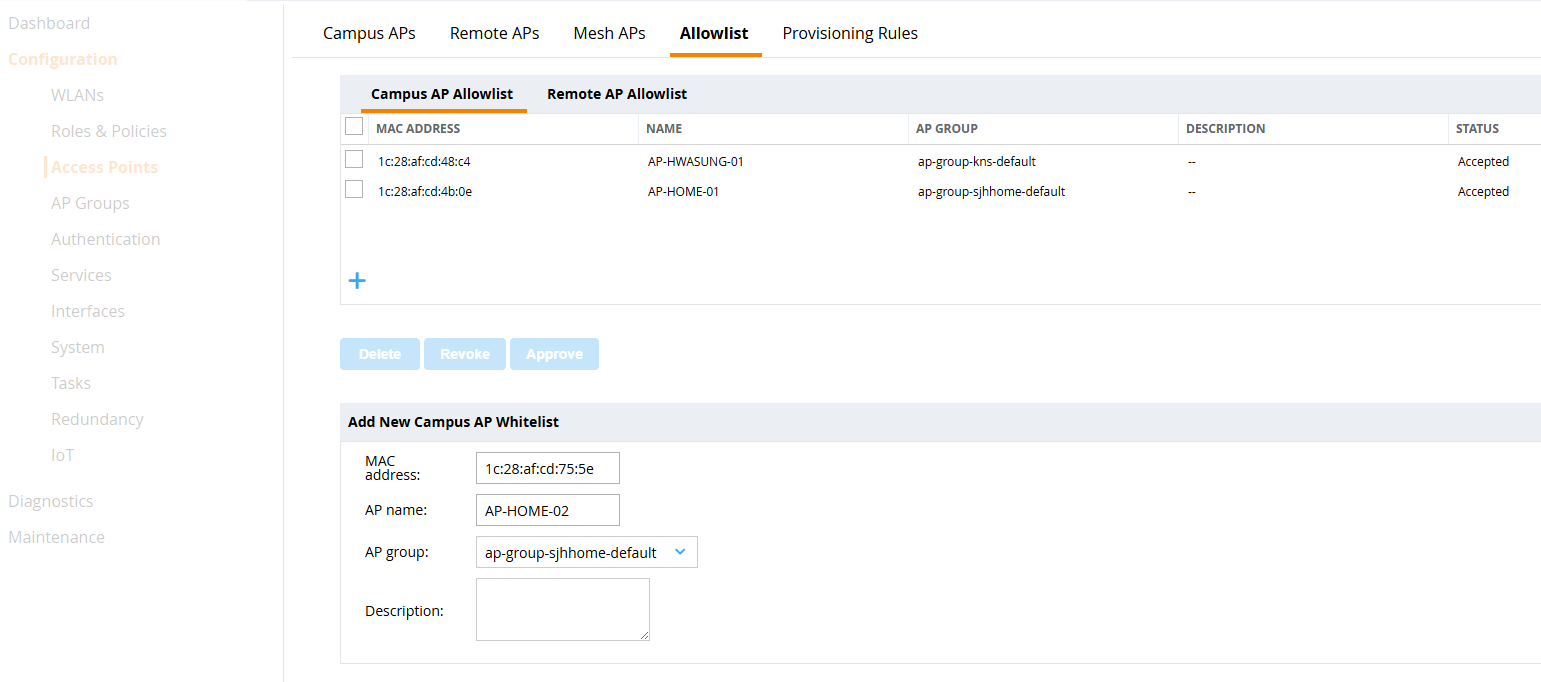
The MAC address can be found on the label on the back of the AP or on the AP's serial console.
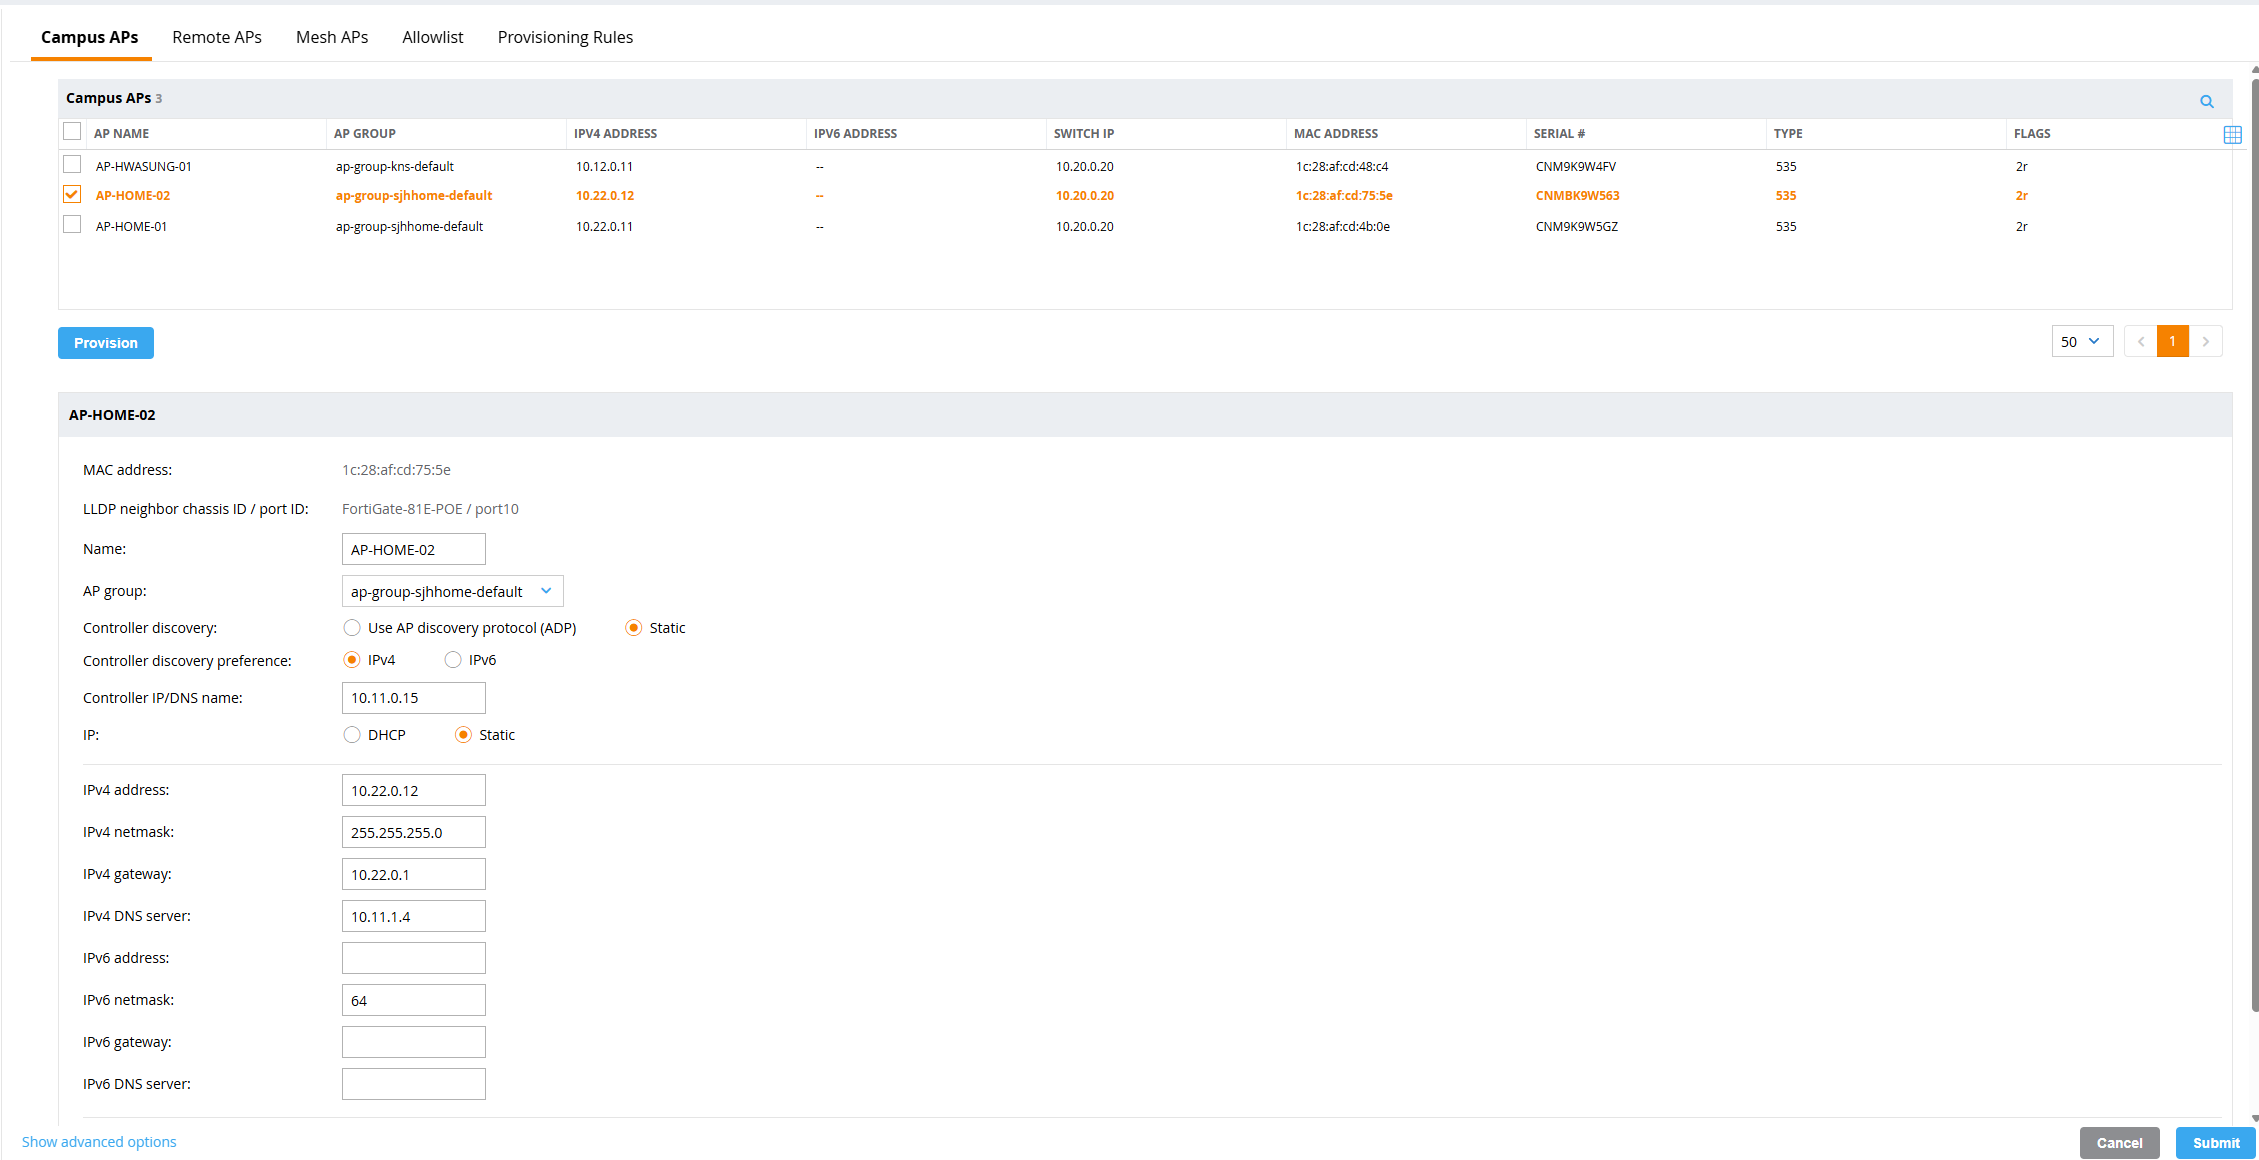
Provisioning the AP
Basically, follow the steps in the previous post.
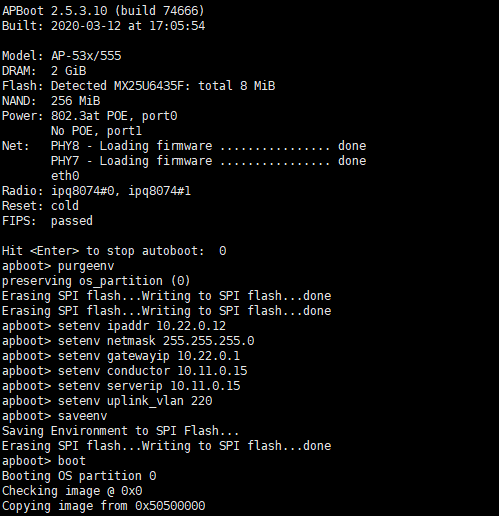
However, the boot parameters are set as follows
# AP-HOME-02
apboot> purgeenv
apboot> setenv ipaddr 10.22.0.12
apboot> setenv netmask 255.255.255.0
apboot> setenv gatewayip 10.22.0.1
apboot> setenv master 10.11.0.15
apboot> setenv serverip 10.11.0.15
apboot> setenv uplink_vlan 220
The uplink_vlan is important here. To make multiple APs belong to a single VLAN, I was grouped the PoE switch ports into a single switch and configured a VLAN interface on the switch, which will behave like a trunk port, so I have to make the APs send out VLAN-tagged packets.
Setting uplink_vlan as an apboot environment variable will make the APs send out packets with the VLAN tag.
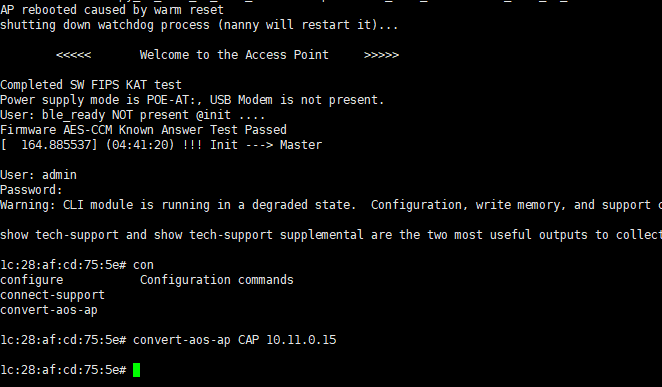
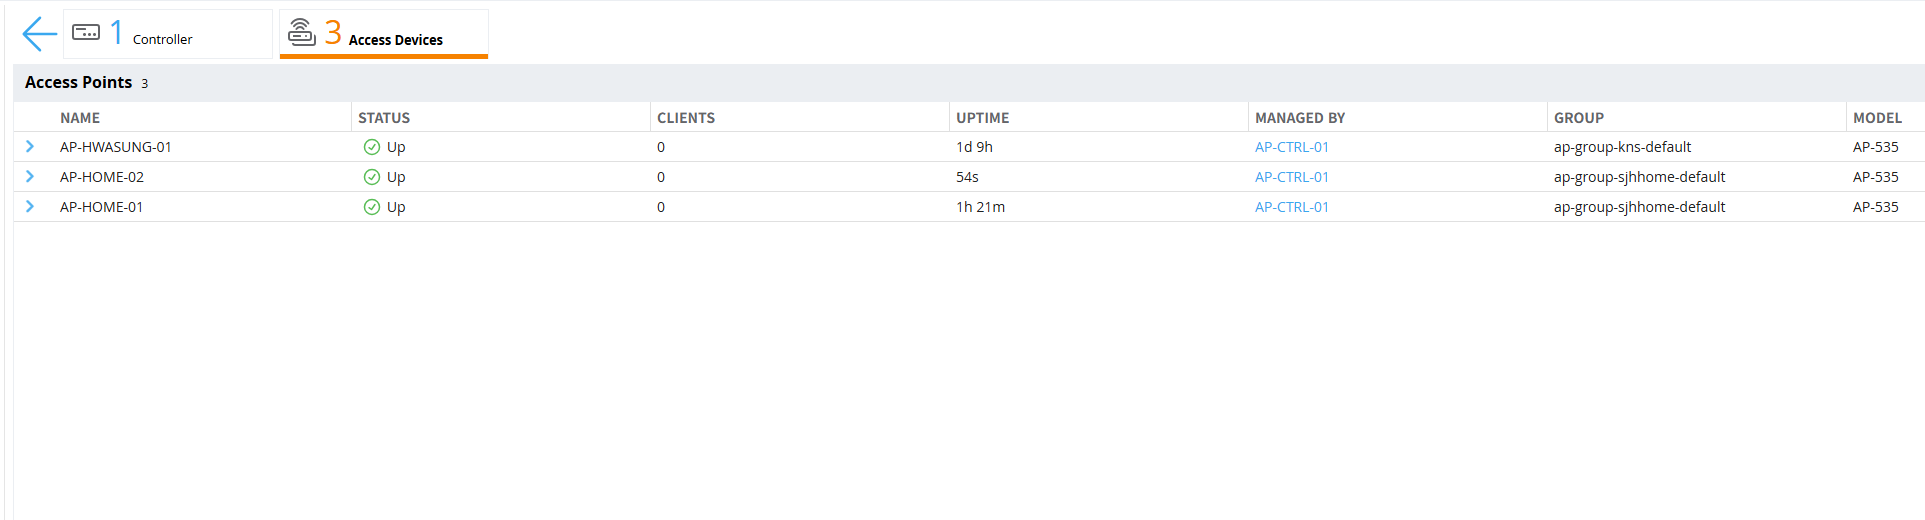
After the AP initialization is complete, the controller will proceed with provisioning.
When AP provisioning is complete, the AP will automatically restart and you should see the newly added AP on the controller, as shown below.
Conclusion
In this post, we learned how to establish an AP - Controller connection over an IPSec tunnel and how to initially provision an AP.
In the next post, I will cover how to configure the Virtual AP profile and set/broadcast the SSID.