1. 프로젝트 생성
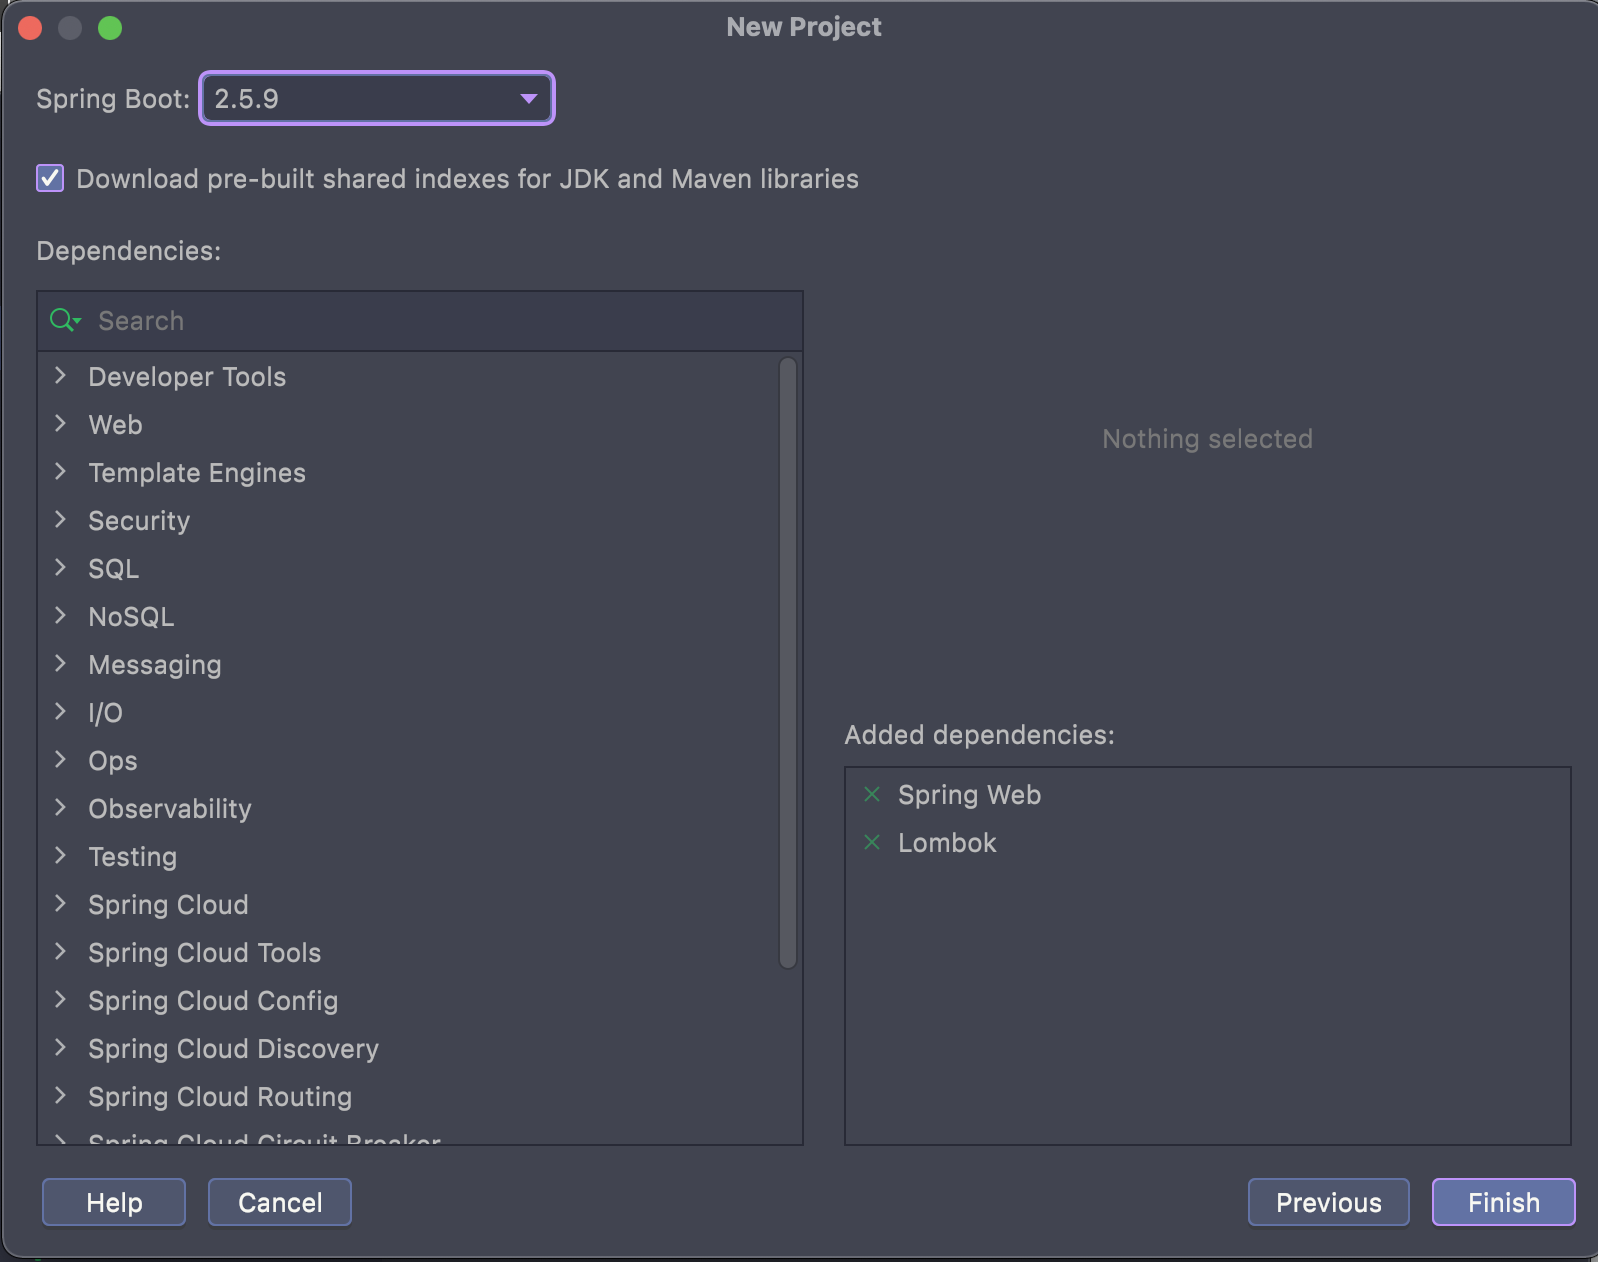
라이브러리는 web, lombok만 넣어주었다. swagger는 검색 잘 안된다.
web - 톰캣 실행 목적
lombok- 어노테이션 활용 목적
참고로 spring 2.5.9로 설정했는데 swagger랑 버전 차이가 너무 많이 나면 에러발생해서 애플리케이션 실행이 안된다.
정확히 무슨 버전과 잘 맞는지는 모른다. 하나씩 내려봐야한다.

2. Enable annotation processing
롬복 사용했으니까 체크해준다.
프로젝트 새로 생성할때마다 체크해준다.

3. build.gradle 설정
swagger 2.9.2로 넣어주었다.
// 생략
dependencies {
    // swagger
    implementation 'io.springfox:springfox-swagger2:2.9.2'
    implementation 'io.springfox:springfox-swagger-ui:2.9.2'
    // 톰캣
    implementation 'org.springframework.boot:spring-boot-starter-web'
    // 롬복 getter 편하게 사용
    compileOnly 'org.projectlombok:lombok'
    annotationProcessor 'org.projectlombok:lombok'
    // 스프링 부트
    testImplementation 'org.springframework.boot:spring-boot-starter-test'
}
// 생략
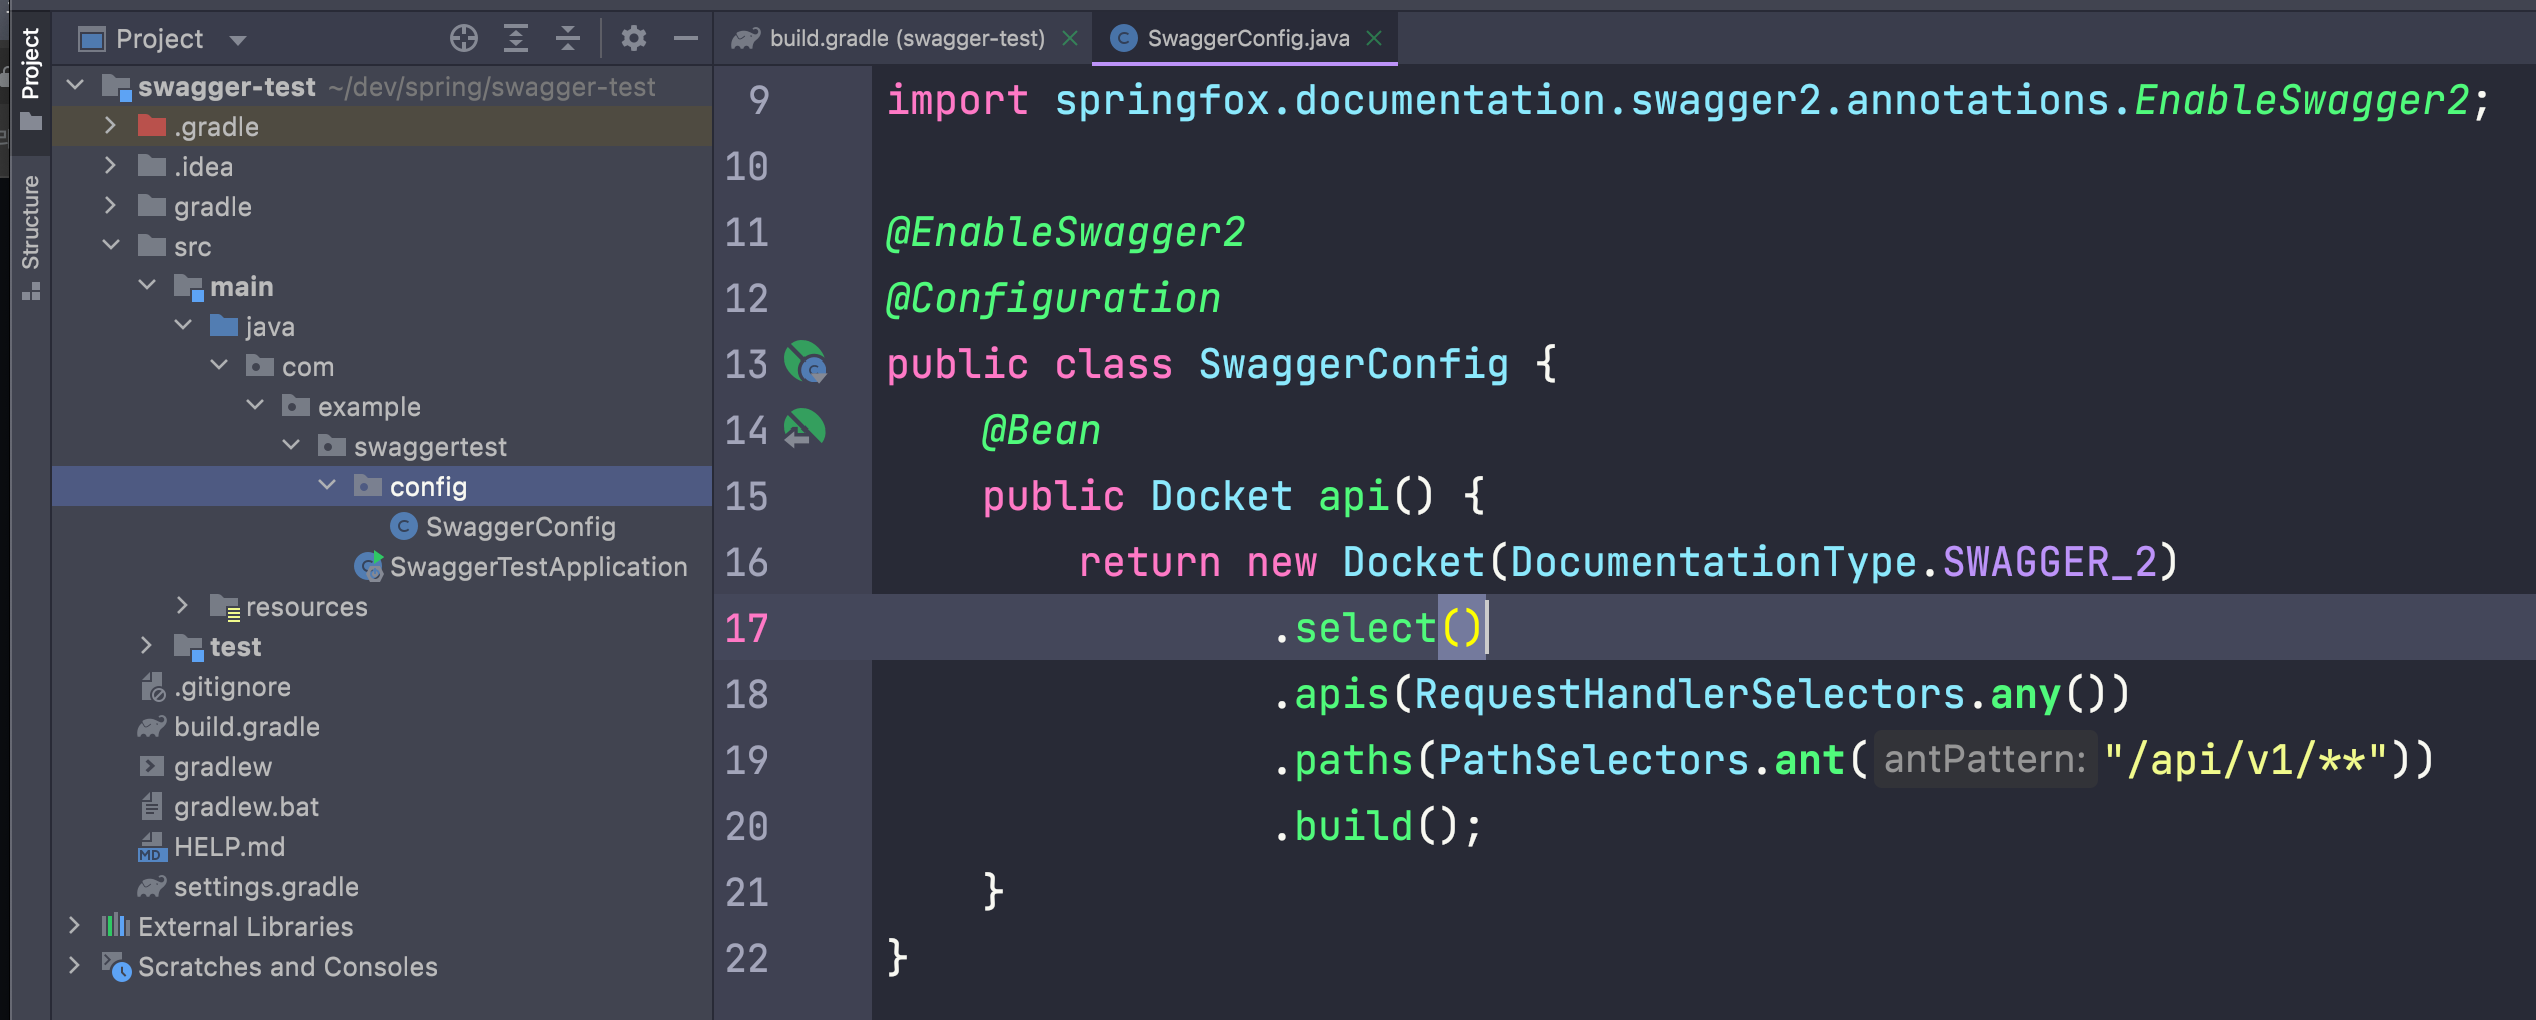
4. SwaggerConfig
SwaggerConfig 파일을 만들어서 Bean 등록 해줍니다.

package com.example.swaggertest.config;

import org.springframework.context.annotation.Bean;
import org.springframework.context.annotation.Configuration;
import springfox.documentation.builders.PathSelectors;
import springfox.documentation.builders.RequestHandlerSelectors;
import springfox.documentation.spi.DocumentationType;
import springfox.documentation.spring.web.plugins.Docket;
import springfox.documentation.swagger2.annotations.EnableSwagger2;

@EnableSwagger2
@Configuration
public class SwaggerConfig {
    @Bean
    public Docket api() {
        return new Docket(DocumentationType.SWAGGER_2)
                .select()
                .apis(RequestHandlerSelectors.any())
                .paths(PathSelectors.ant("/api/v1/**"))
                .build();
    }
}
5. 컨트롤러 생성
package com.example.swaggertest.controller;

import org.springframework.web.bind.annotation.PostMapping;
import org.springframework.web.bind.annotation.RequestBody;
import org.springframework.web.bind.annotation.RequestMapping;
import org.springframework.web.bind.annotation.RestController;

@RequestMapping("/api/v1/test")
@RestController
public class TestController {

    @PostMapping
    public String greeting(@RequestBody RequestDto body) {
        return "Hi " + body.getName() + " ~~~";
    }
}
package com.example.swaggertest.controller;
import lombok.Getter;
@Getter
public class RequestDto {
private String name;
}6. 실행 및 확인
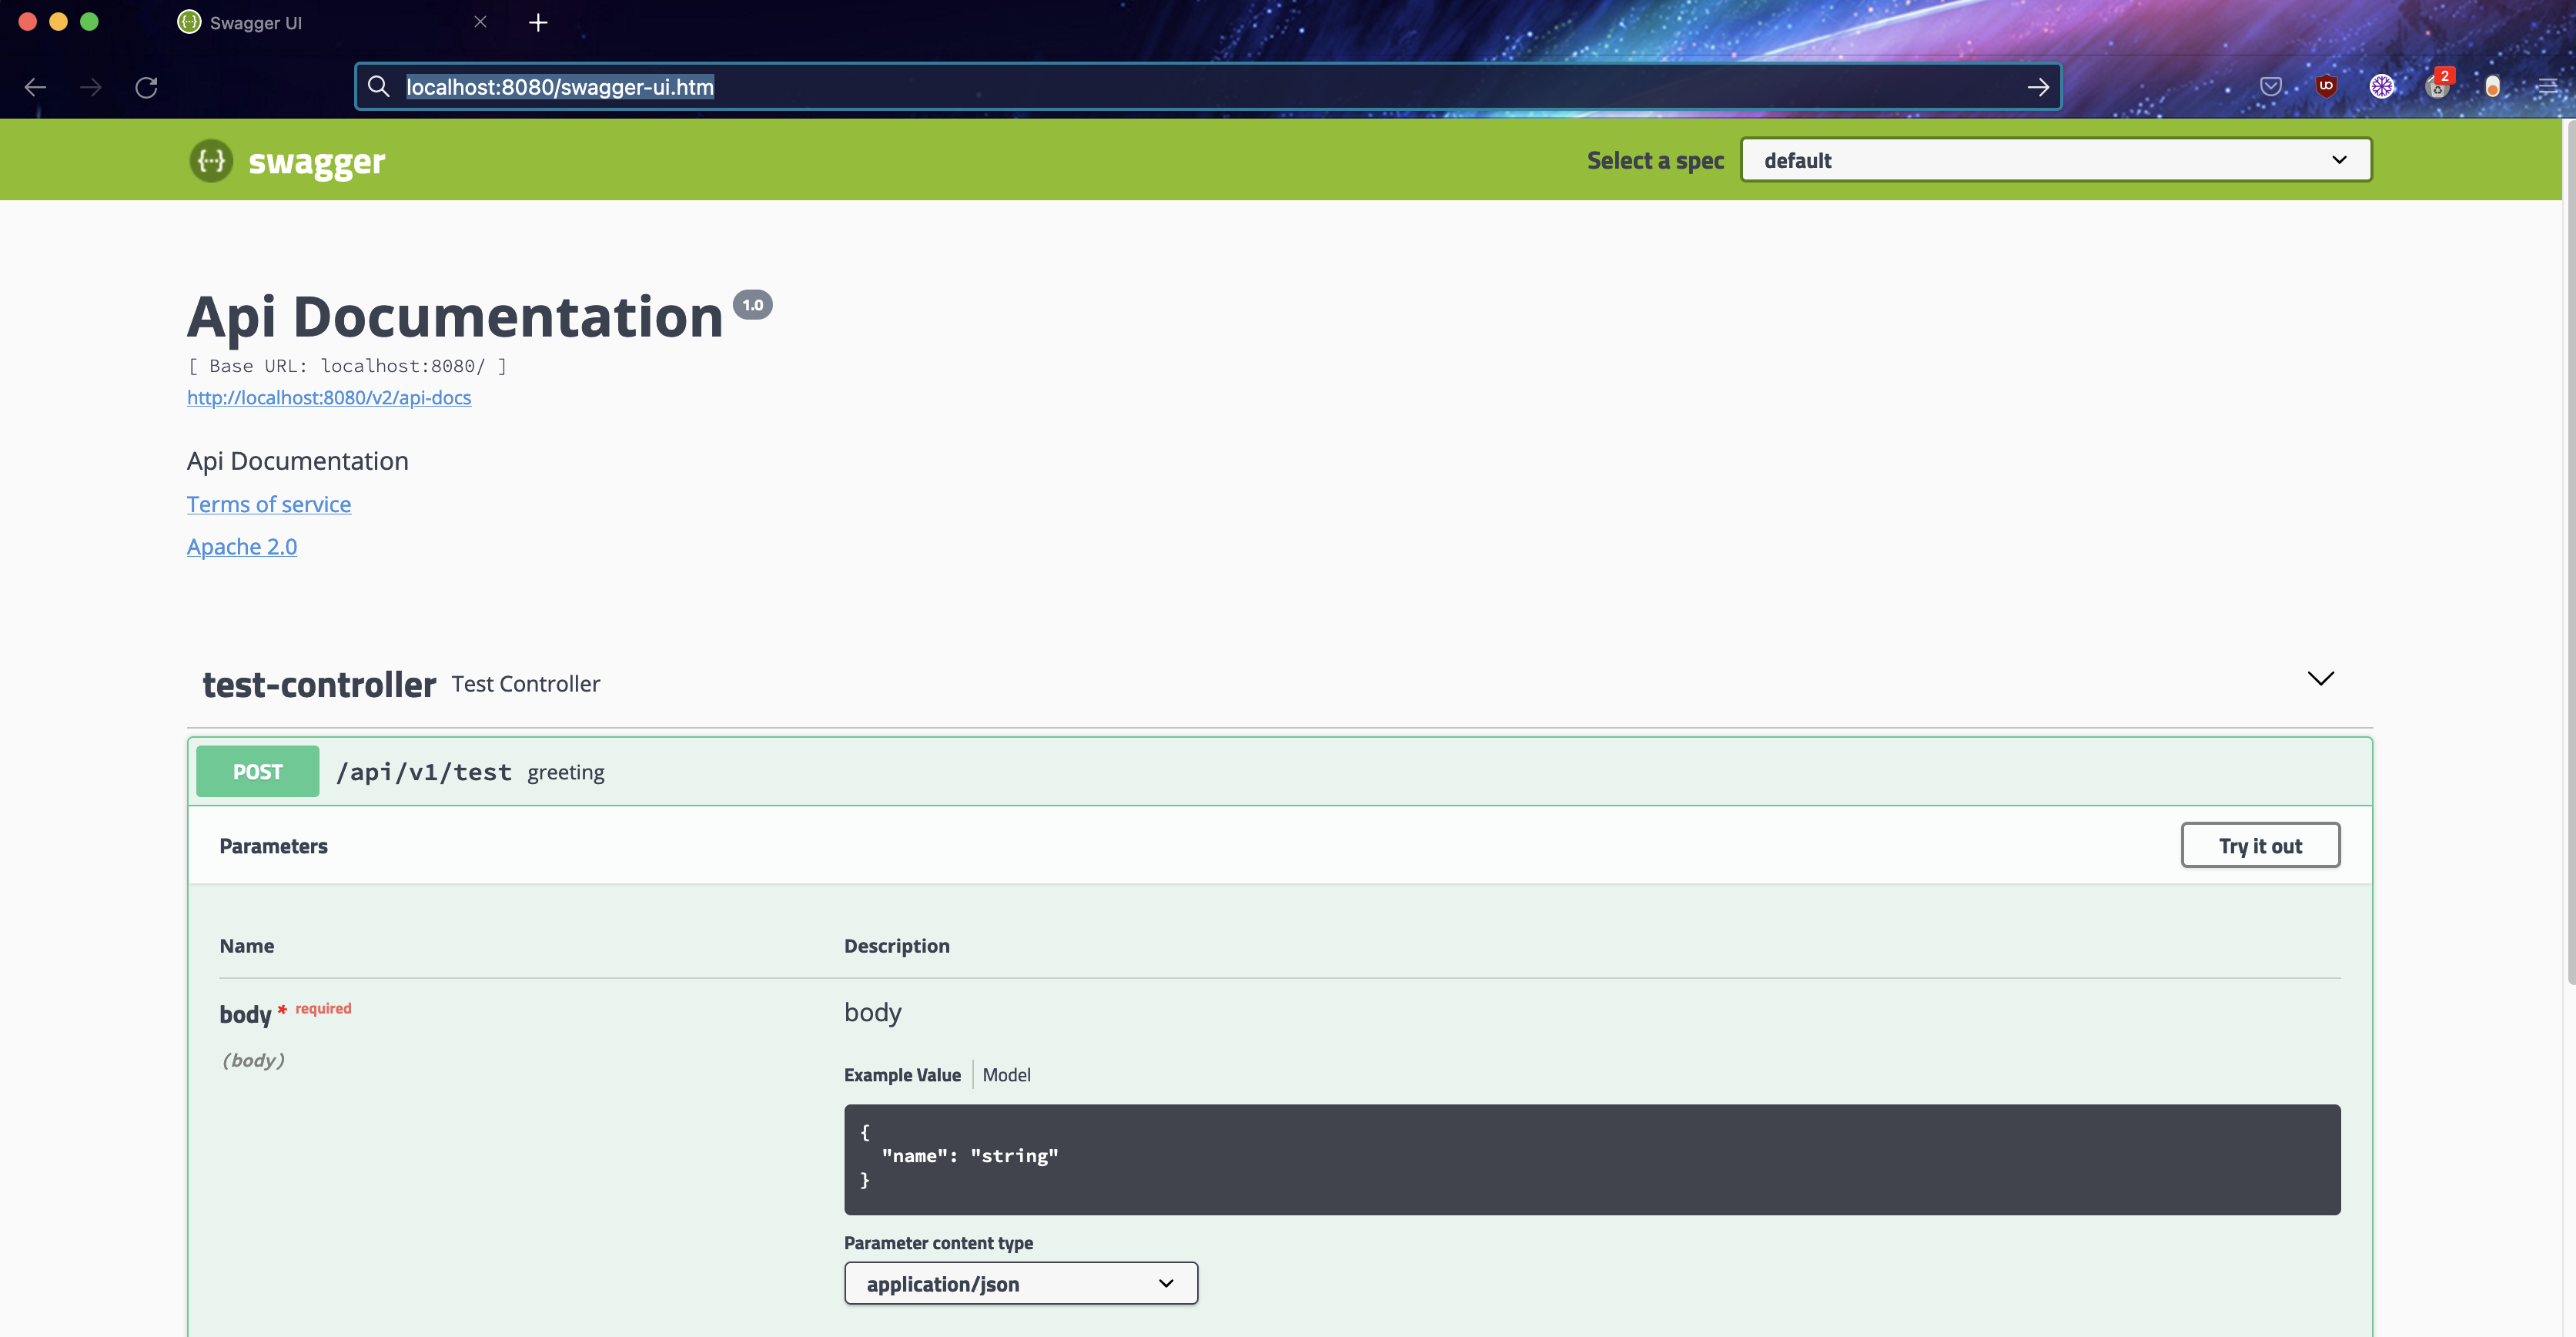
http://localhost:8080/swagger-ui.html 기본 세팅은 여기로 설정되어있습니다.

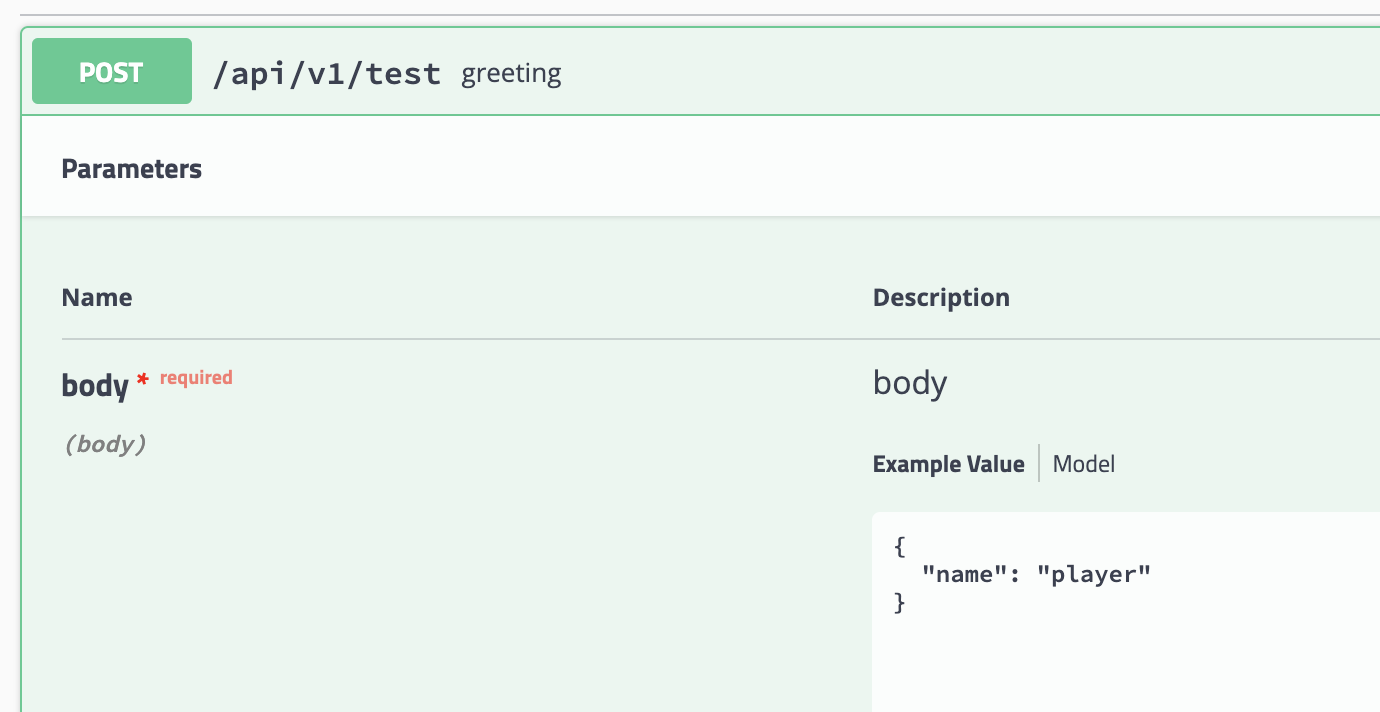
json으로 POST 보내고

response 확인

