
실습 목표
- docker 컨테이너로 ES와 Kibana 실행하고, sample.json 데이터를 ES API를 통해 저장 및 조회해보기
Step 1. ES 컨테이너 실행하기
-
ES 이미지 pull (버전명 표기 필수, latest 지원 안함.)
2024.07.22 기준 가장 최신버전 -
8.14.3docker pull elasticsearch:8.14.3 -
run
docker run --name es -d -p 9200:9200 -p 9300:9300 -e "discovery.type=single-node" elasticsearch:8.14.3-e "discovery.type=single-node": 싱글 node로 실행함
-
컨테이너 접속하여 password 변경
- ES의 보안정책 때문에 password 를 변경하지 않고는 로그인이 불가능함
docker exec -it es bash -- 컨테이너 쉘 진입 후 bin/elasticsearch-setup-passwords interactive- 수차례에 걸쳐 다양한 시스템에 대한 비밀번호 설정해주어야 함
- 본 실습에서는 모두
passwd로 통일함 (필수로 6자 이상이어야 함)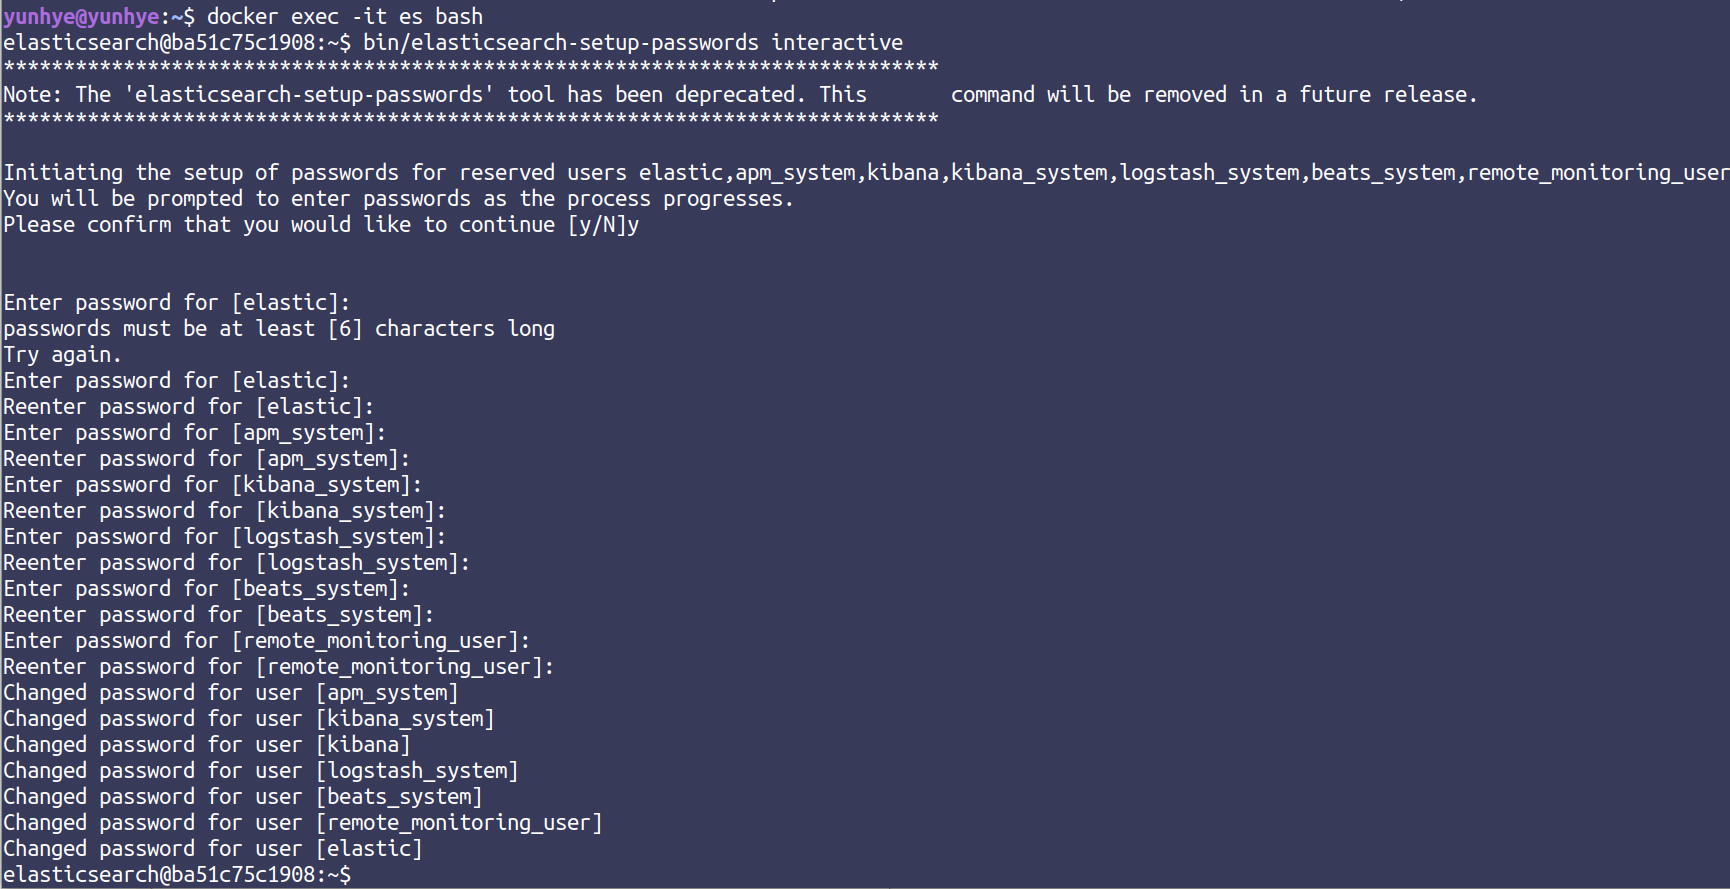
- 본 실습에서는 모두
-
docker restart & ES 접속
docker restart es-
접속 - https://localhost:9200 (https 필수)
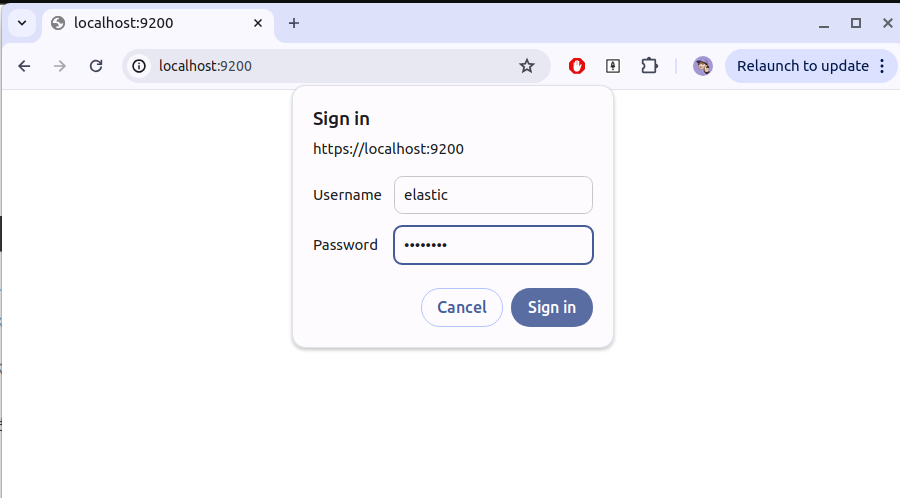
- Username: elastic
- Password: passwd (위에서 설정한 값)
-
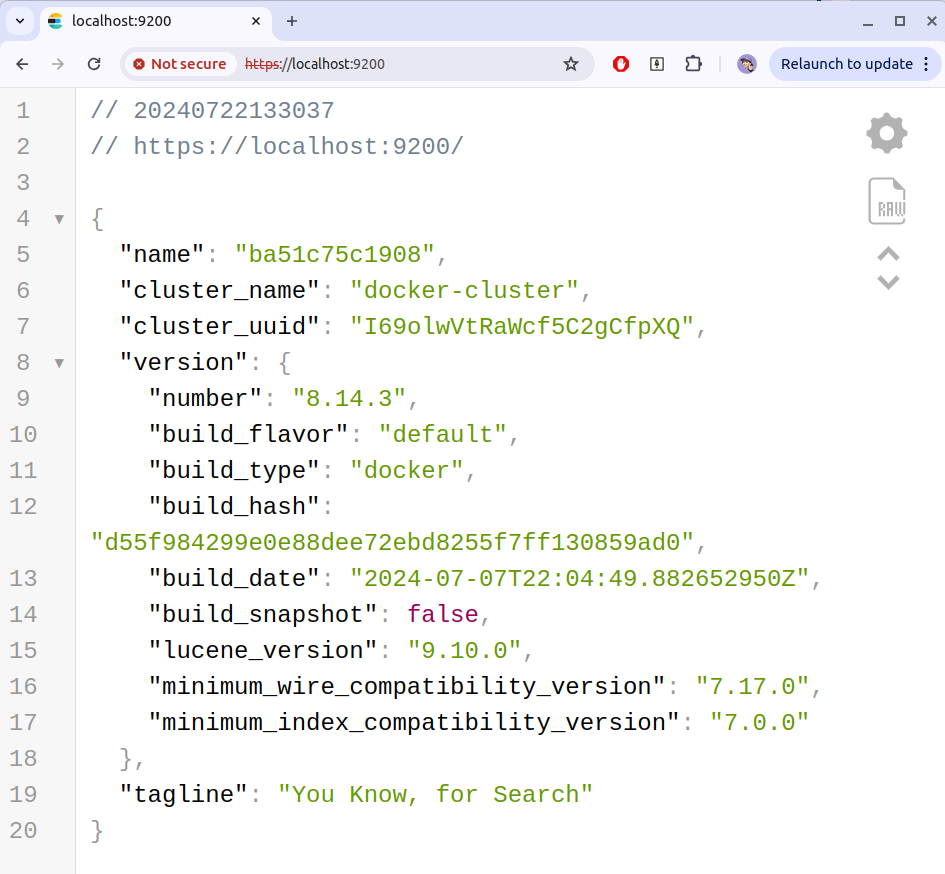
접속 완료
-
Step 2. Kibana 컨테이너 실행하기
-
Kibana image pull (버전명 표기 필수, latest 지원 안함.)
docker pull kibana:8.14.3 -
run
docker run -d --link es:elasticsearch -p 5601:5601 --name kibana kibana:8.14.3--link es:elasticsearch: 앞은 ES의 컨테이너 명
-
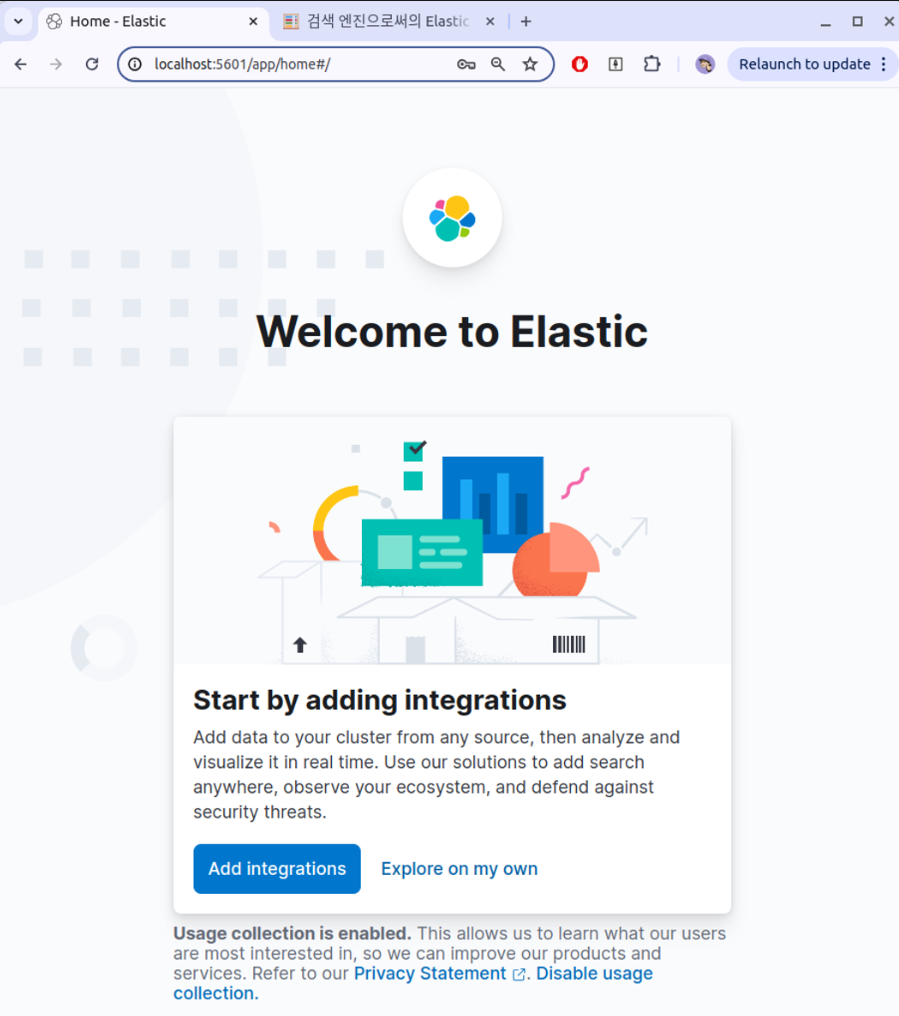
Kibana 접속 localhost:5601 (https 없어야 함)
-
토큰 입력
- 접속 시, 아래와 같이 토큰 입력창이 나옴
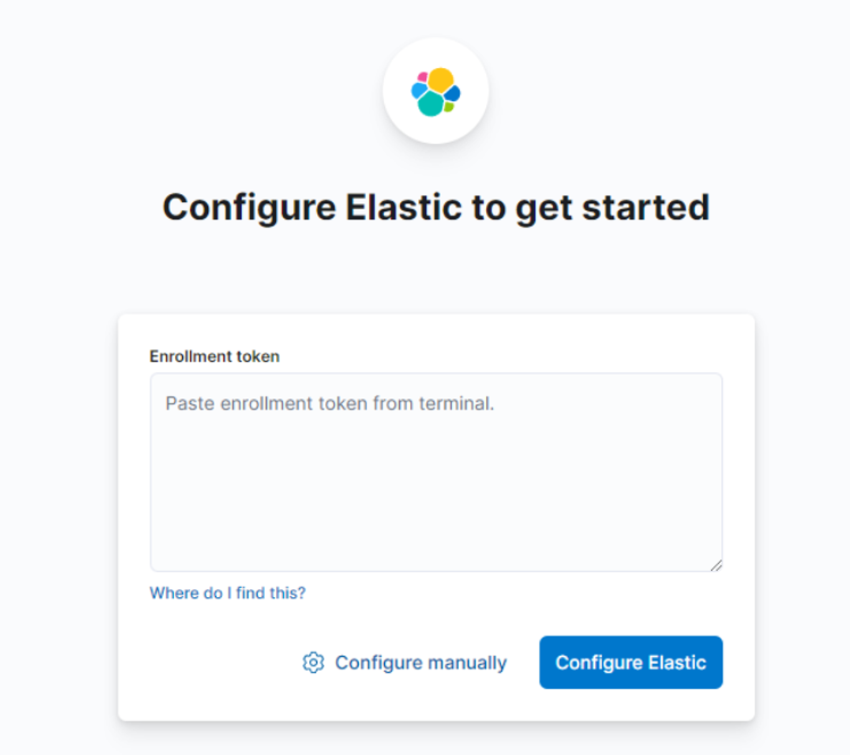
- 아래 명령어로 토큰 열람
yunhye@yunhye:~$ docker exec -it es /usr/share/elasticsearch/bin/elasticsearch-create-enrollment-token -s kibana
WARNING: Owner of file [/usr/share/elasticsearch/config/users] used to be [root], but now is [elasticsearch]
WARNING: Owner of file [/usr/share/elasticsearch/config/users_roles] used to be [root], but now is [elasticsearch]
/*이 자리에 토큰이 나옴*/
- 아래 명령어로 토큰 열람
-
6자리 인증 번호 입력
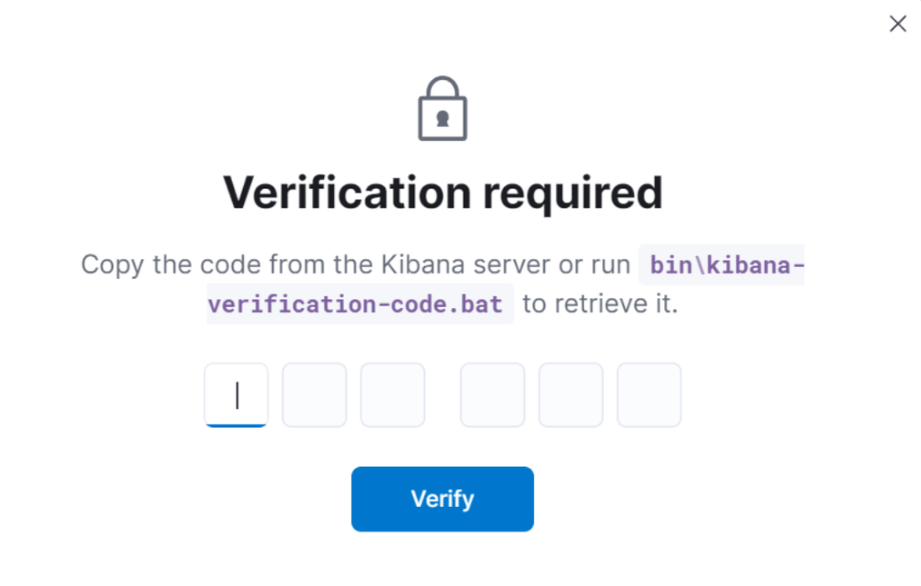
- kibana 컨테이너 접속, 아래 명령어대로 쉘 실행하여 비밀번호 get
docker exec -it kibana bash kibana@c5f876df70f4:~$ cd bin kibana@c5f876df70f4:~/bin$ ./kibana-verification-code Kibana is currently running with legacy OpenSSL providers enabled! For details and instructions on how to disable see https://www.elastic.co/guide/en/kibana/8.14/production.html#openssl-legacy-provider Your verification code is: XXX XXX -- 6자리 숫자 나옴- 해당 인증번호 복붙하면, 6의 로그인 페이지로 이동함
- kibana 컨테이너 접속, 아래 명령어대로 쉘 실행하여 비밀번호 get
-
es 계정 로그인
- es 계정으로 로그인 (위에서 설정해 준, elastic / passwd)

- 로그인 성공
- es 계정으로 로그인 (위에서 설정해 준, elastic / passwd)
Step 3. 데이터 저장
-
Kibana Dev Tool 활용하여 간단 예제 실행
- 키바나 접속 후, 사이드 바 하단 Managemenst > Dev Tools

- Kibana 제공 기본 예제 실행
PUT /my-index: 인덱스 생성POST /my-index/_doc: 인덱스에 데이터 넣기 (body 작성해야함)GET /my-index/_search?q="rocky mountain": 데이터 조회 (검색)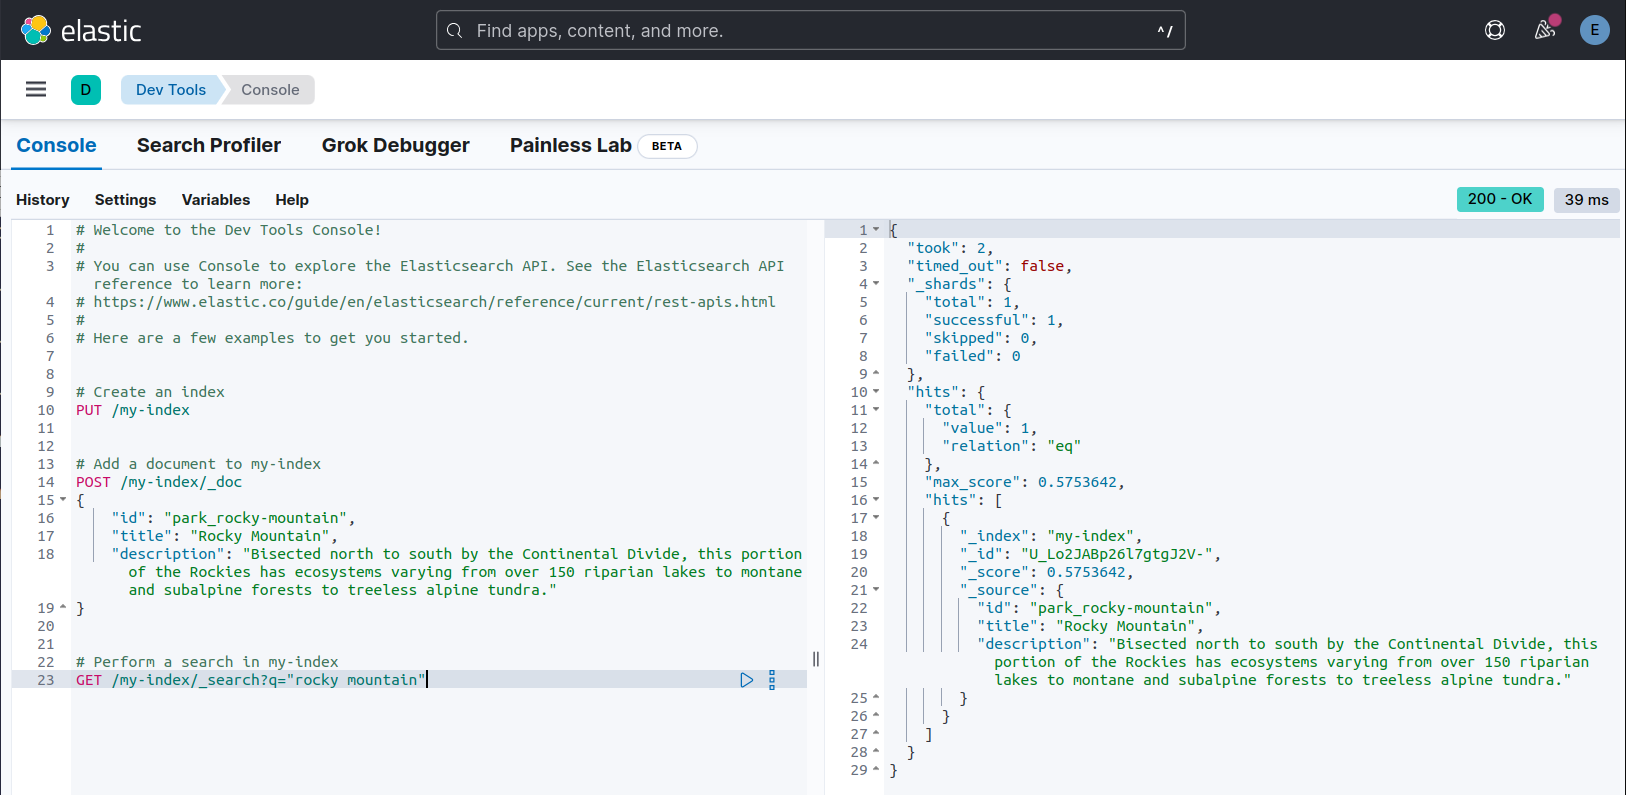
- 키바나 접속 후, 사이드 바 하단 Managemenst > Dev Tools
-
Create Index
- Postman 실행 (Dev Tool 활용해도 무방함)
- create index - 아래와 같이 작성 후 요청보내서, sample 인덱스 생성
- PUT https://localhost:9200/sample
- Authorization 아래와 같이 설정 해주어야 함
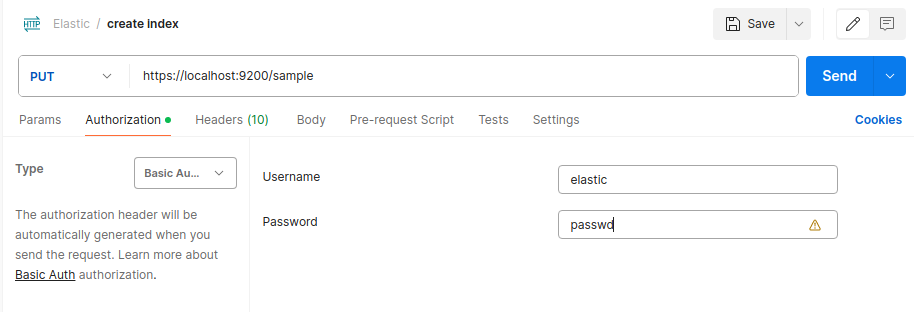
- Authorization 아래와 같이 설정 해주어야 함
- PUT https://localhost:9200/sample
- 데이터 삽입
- 아래 스크립트를 통해 sample.json을 읽어 post api를 통해 데이터 적재
- script.py
 import requests
 import json
 from requests.auth import HTTPBasicAuth
 import logging
 import time

 # 로깅 설정
 logging.basicConfig(level=logging.INFO, format='%(asctime)s - %(levelname)s - %(message)s')

 # Elasticsearch 서버의 주소와 인증 정보
 url = "https://localhost:9200/sample/_doc"
 username = "elastic"
 password = "passwd"

 # JSON 파일 경로
 file_path = "../OCR_file/sample.json"

 # JSON 파일을 읽어서 데이터 로드
 with open(file_path, 'r', encoding='utf-8-sig') as file:
     data = json.load(file)

 # 각 객체를 Elasticsearch에 개별 document로 POST
 for obj in data:
     try:
         response = requests.post(url, json=obj, auth=HTTPBasicAuth(username, password), timeout=10,  verify=False)
         response.raise_for_status()  # HTTP 에러 발생 시 예외 발생
         logging.info(f"Successfully inserted document: {response.json()['_id']}")
     except requests.exceptions.HTTPError as e:
         logging.error(f"HTTP error occurred: {e.response.text}")
     except requests.exceptions.ConnectionError as e:
         logging.error(f"Error connecting to Elasticsearch: {e}")
         time.sleep(5)  # 재시도 전에 잠시 대기
     except requests.exceptions.Timeout as e:
         logging.error(f"Request timed out: {e}")
     except requests.exceptions.RequestException as e:
         logging.error(f"An error occurred: {e}")
- script.py
- 아래 스크립트를 통해 sample.json을 읽어 post api를 통해 데이터 적재
Step 4. 데이터 조회
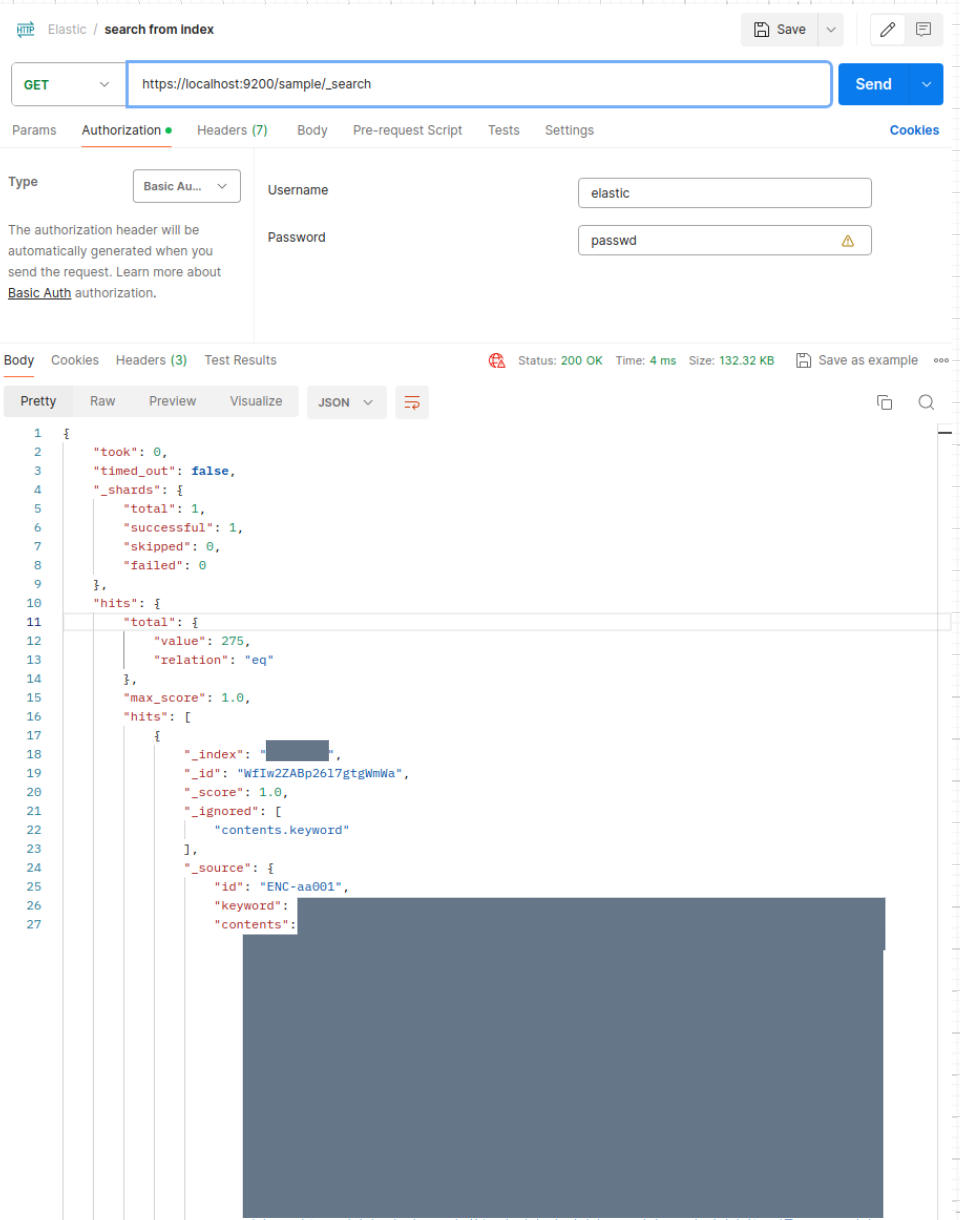
- 모든 sample 데이터가 잘 저장된 것을 확인할 수 있다.
References
https://ksb-dev.tistory.com/309
https://velog.io/@limsubin/elasticsearch-Single-kibana-cerebro-를-Docker로-올려보자

Java Developer